Hello all,
First time posting here. I picked up a 1989 mill that says Millport on the head and Bridgeport on the ram, go figure. The machine is missing lots of parts including most quill auto-feed parts, several screws, covers, etc. The quill does not fully retract and the clock spring is either broken or missing. I'll be entertained for a while putting this thing back in shape. I'm not planning on a full restore but just enough to make it usable and maybe CNC it someday.
Here's some pictures for your reference and a short video showing the current state of the motor along with my questions and request for help, if you can.
It's a Millport
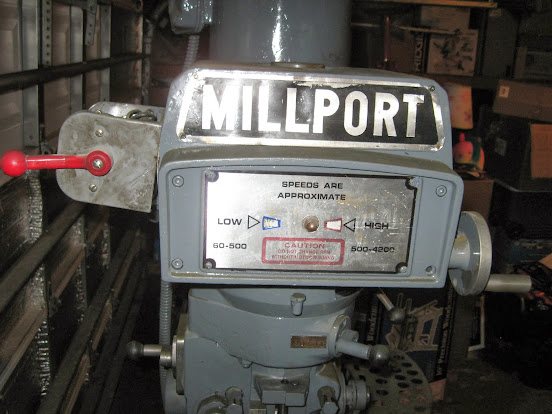
It's a Bridgeport

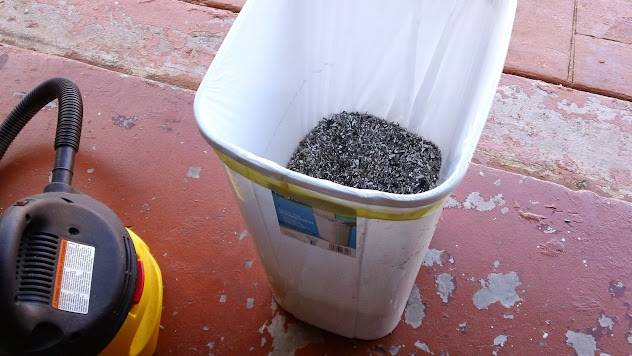
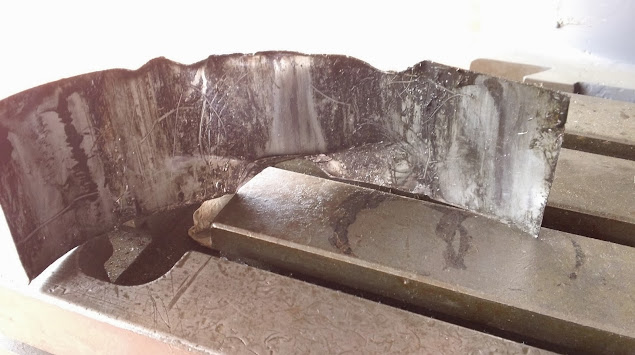
There's about 16" x 12" x 8" of Aluminum chips in that bin that came from inside the main cast. Prev owner was a pig.
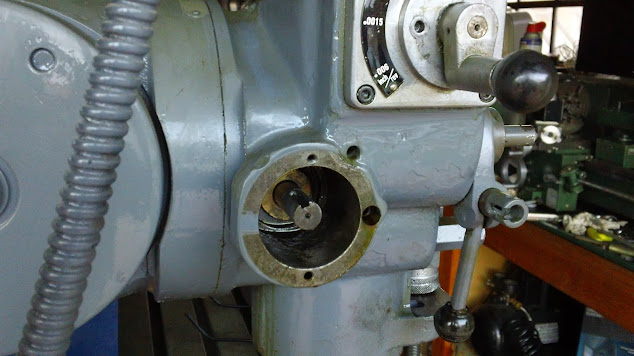
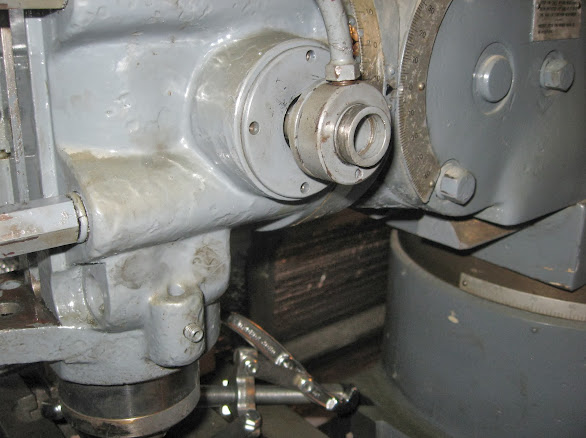
Empty quill overload clutch space
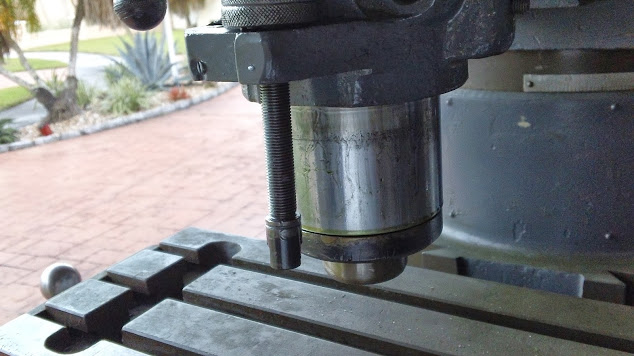
Quill won't go back in much further than this.
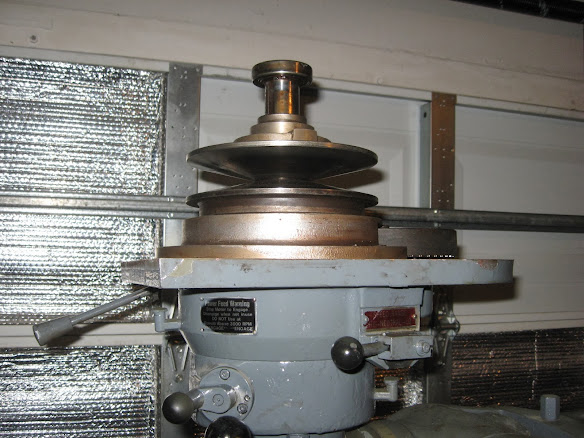
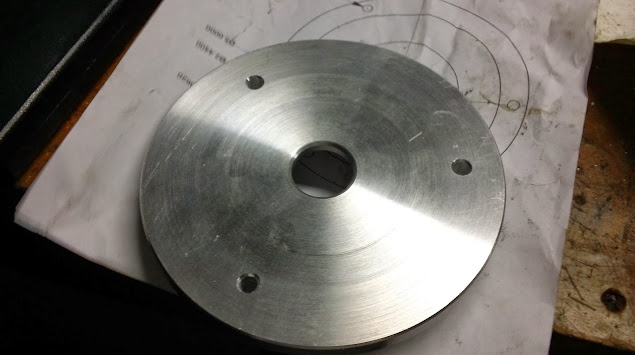
Vari-disc assembly, unusual? That socket head screws into the motor shaft and keeps the spring/assembly in place.

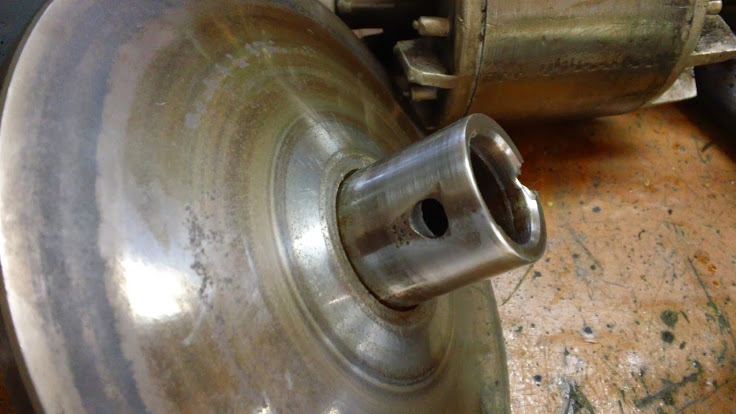
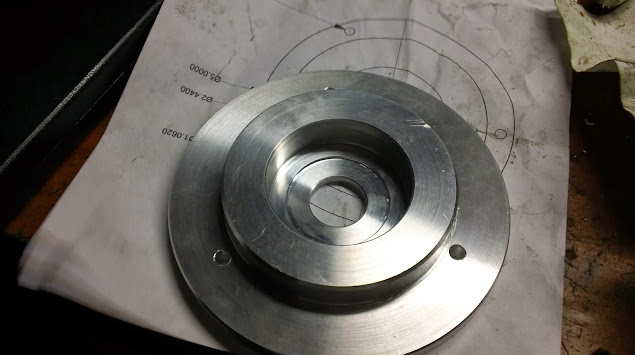
Note the sleeve that goes over the motor shaft. This is completely loose fitting right now and I suspect it's missing some sort of insert, shim or sleeve. True?
In this video you can hear the busted bearings. I ordered a couple of replacements already.
Question: I can't figure out which motor this is but I suspect is a 2 hp. The motor nameplate - if at all attached - is covered by several layers of paint. If you listen to the motor you will hear a whine from the VFD I'm using for the testing. I think I can tune it to make it a little quieter if I had the nameplate values. Anyone with a good nameplate picture for a 2 hp? Or maybe a 1.5 hp as well just in case? I suppose I can measure it and get those values if a pic/data is not readily available. What I have on it is that it's 220V, 4 poles, 60Hz. Bearings are: 6206Z for the bottom (closest to machine) and 6205-2RS top.
Thanks!
First time posting here. I picked up a 1989 mill that says Millport on the head and Bridgeport on the ram, go figure. The machine is missing lots of parts including most quill auto-feed parts, several screws, covers, etc. The quill does not fully retract and the clock spring is either broken or missing. I'll be entertained for a while putting this thing back in shape. I'm not planning on a full restore but just enough to make it usable and maybe CNC it someday.
Here's some pictures for your reference and a short video showing the current state of the motor along with my questions and request for help, if you can.
It's a Millport
It's a Bridgeport
There's about 16" x 12" x 8" of Aluminum chips in that bin that came from inside the main cast. Prev owner was a pig.
Empty quill overload clutch space
Quill won't go back in much further than this.
Vari-disc assembly, unusual? That socket head screws into the motor shaft and keeps the spring/assembly in place.
Note the sleeve that goes over the motor shaft. This is completely loose fitting right now and I suspect it's missing some sort of insert, shim or sleeve. True?
In this video you can hear the busted bearings. I ordered a couple of replacements already.
Question: I can't figure out which motor this is but I suspect is a 2 hp. The motor nameplate - if at all attached - is covered by several layers of paint. If you listen to the motor you will hear a whine from the VFD I'm using for the testing. I think I can tune it to make it a little quieter if I had the nameplate values. Anyone with a good nameplate picture for a 2 hp? Or maybe a 1.5 hp as well just in case? I suppose I can measure it and get those values if a pic/data is not readily available. What I have on it is that it's 220V, 4 poles, 60Hz. Bearings are: 6206Z for the bottom (closest to machine) and 6205-2RS top.
Thanks!


