Brief bit of setup info, from decades back --
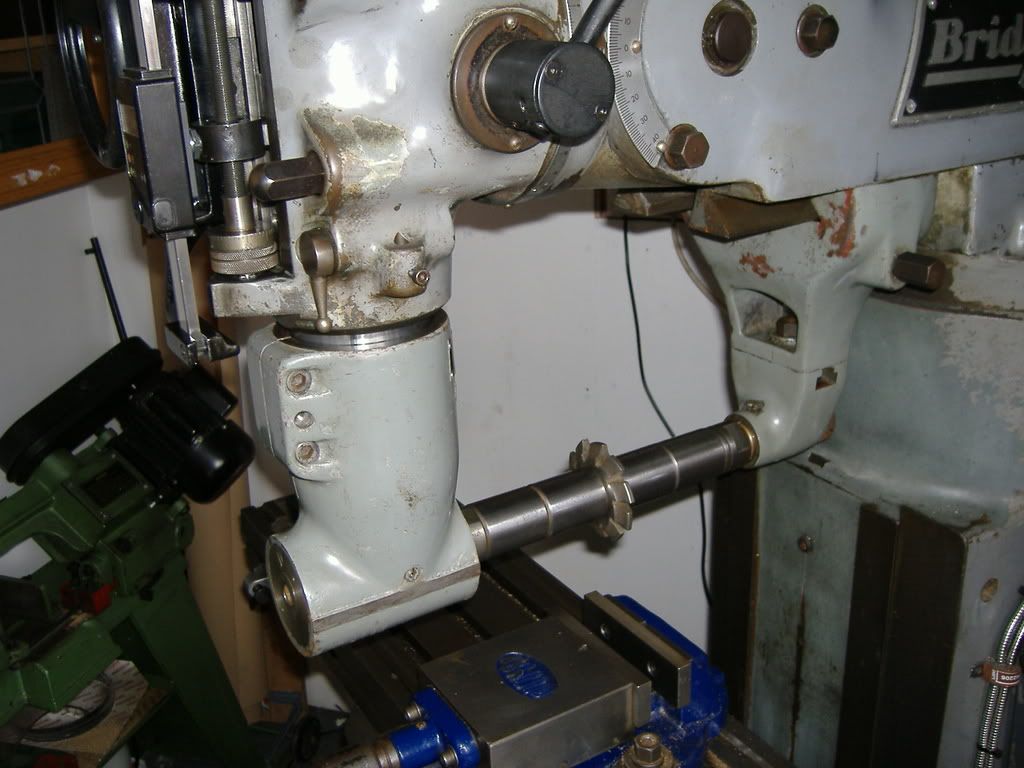
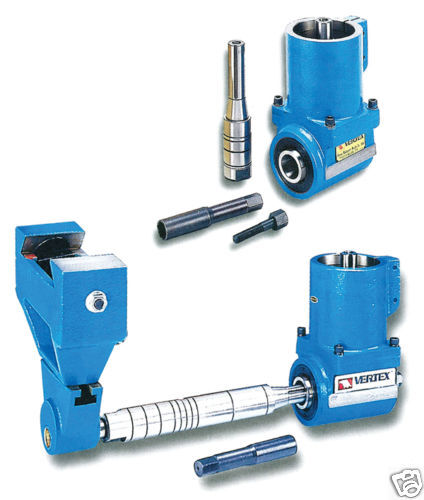
There are a couple of milled flats on either side of the R-8 arbor hole, running parallel to the arbor hole axis from end to end. Use these flats to indicate the head into squareness (or parallelism, however you want to think of it) to the table travels.
There are both clamp screws and jack screws on the split clamp at the "insert-quill" end of the head. Lower the quill a few inches, make sure the split clamp is open (loose), and insert the quill into the right-angle head. As I recall, there may be a shoulder that stops the insertion at some fixed point (fuzzy on that, though). Lightly clamp the split clamp to quill, and screw the drawbar in from the top of the head.
Now indicate the housing flats in the way you want, tighten the split clamp, and you are ready for attaching arbor and spacers, cutters, rotisserie chicken, what-have-you. If you are using a long arbor and the end support that mounts under the ram (for REAL horizontal mill setup), re-indicate along the length of the arbor to assure correct alignment to table axes. More reference length, better accuracy and measurement resolution. REMEMBER that you are also in control of Z-position of the right angle head at the quill, and if you use a second arbor support, the arbor needs to be parallel in Z-plane as well.
Legal disclaimer: These guidelines are meant for reference only. Nothing herein written should be construed as a basis for legal recourse against the writer or writer's representatives in case of injury or death on the part of unwitting user of equipment herein described. Your mileage may vary. Your results may vary. The use of the equipment herein described is entirely at the user's discretion and dependent on suitability as determined solely by the user. Have a nice day.

")