AlfaGTA
Diamond
- Joined
- Dec 13, 2002
- Location
- Benicia California USA
This was mentioned within the FP1 DRO posting...Thought should open a new thread so as not to hijack the original post...
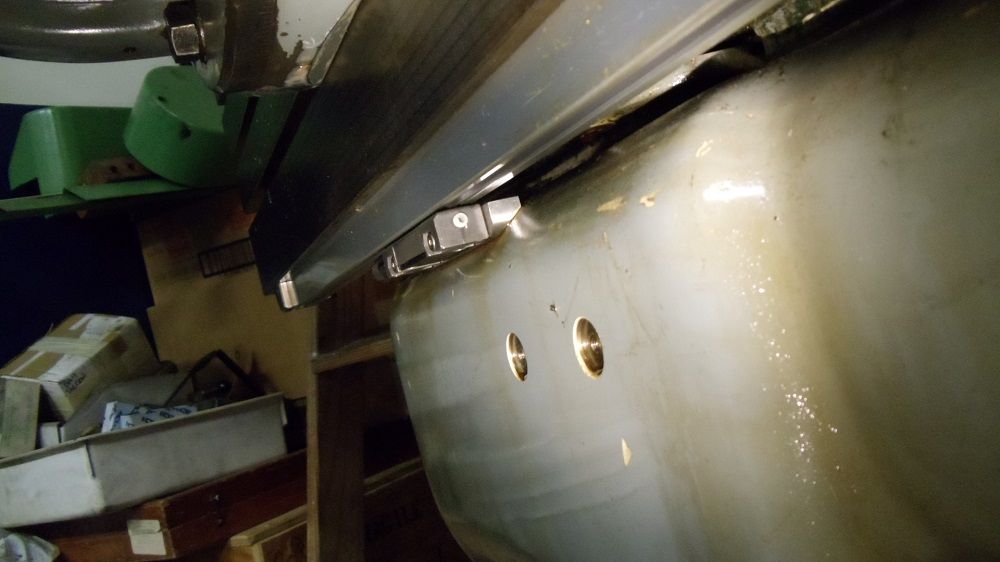
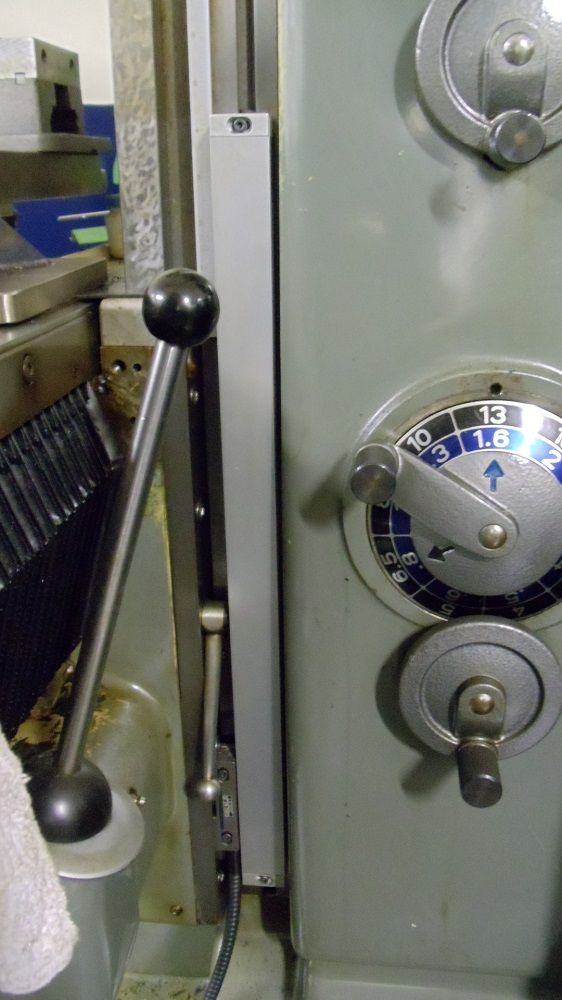
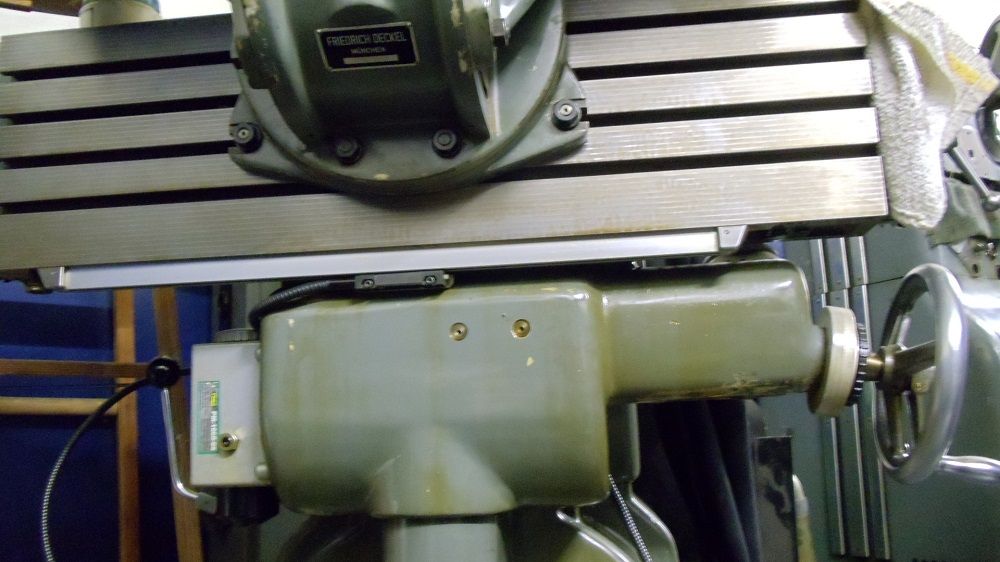
Some shots of the setup i used on my first gen FP2.
"X" axis slide was removed as was the vertical slide.
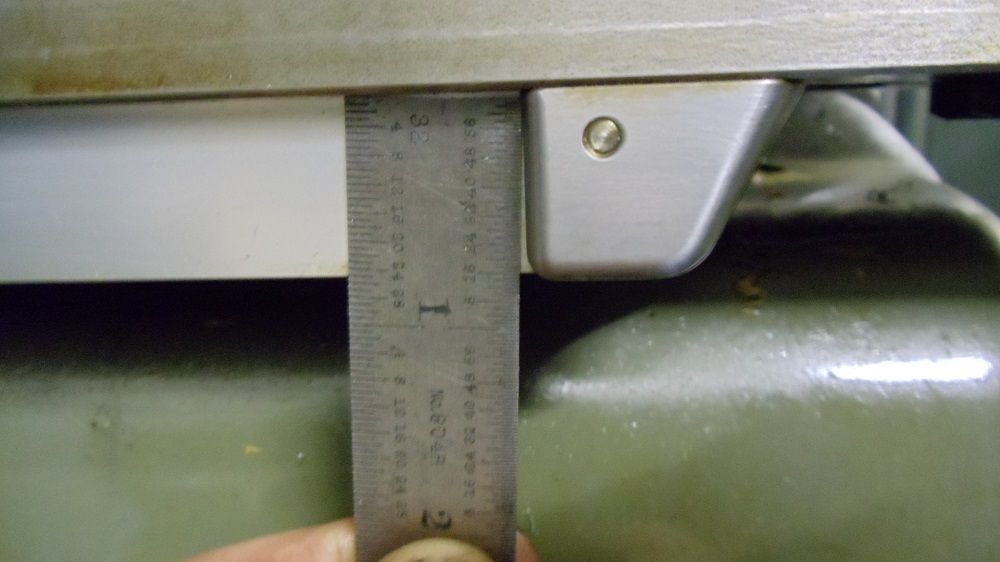
A channel was milled into the bottom of the "X" slide to allow the standard Heidenhain linear scale to "nest" so as to reduce the height of the
installed scale.....
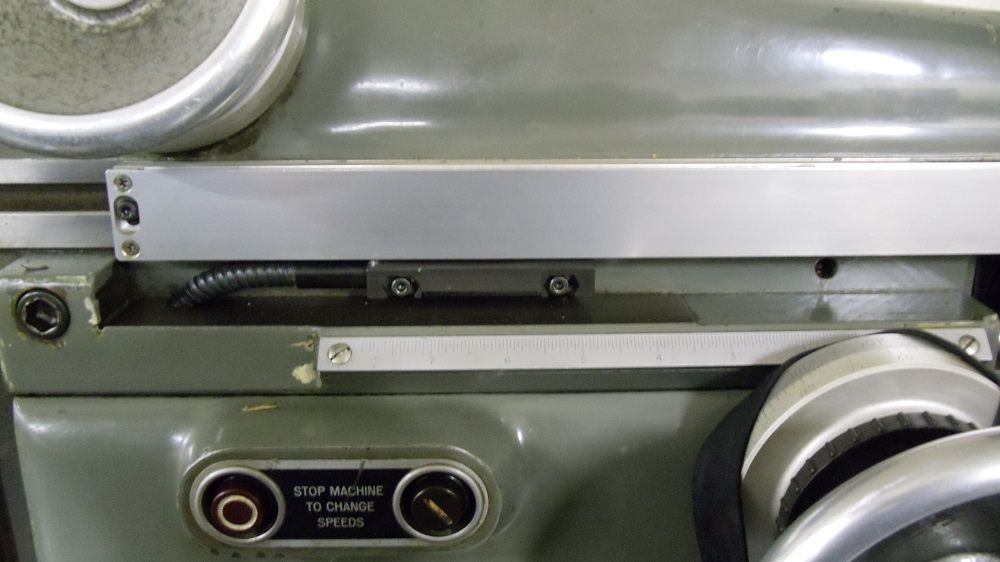
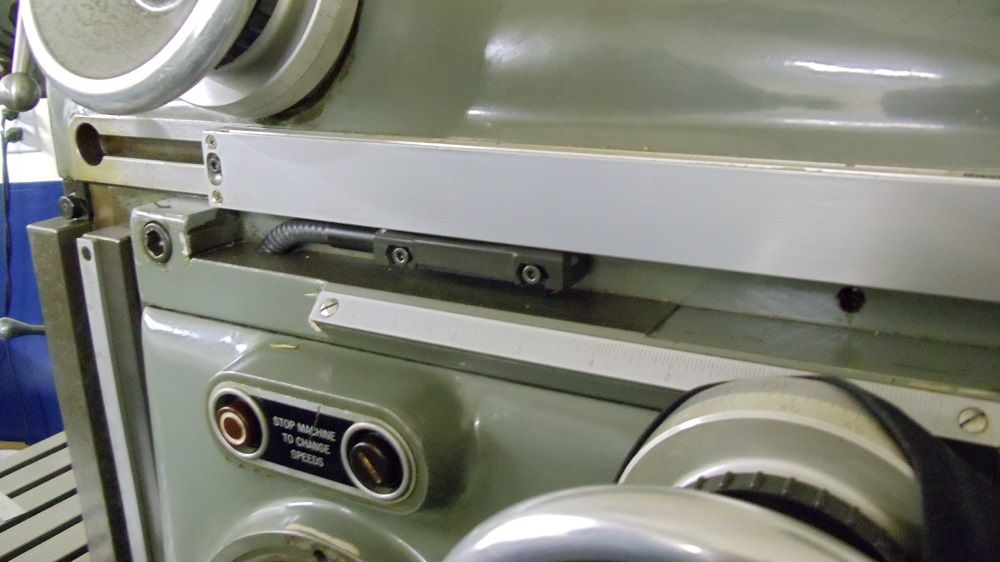
Note the offset to move the scale as far away from the operators side of the slide as practical....this is done to keep the scale from crossing above the elevating hand wheel for the "Z".
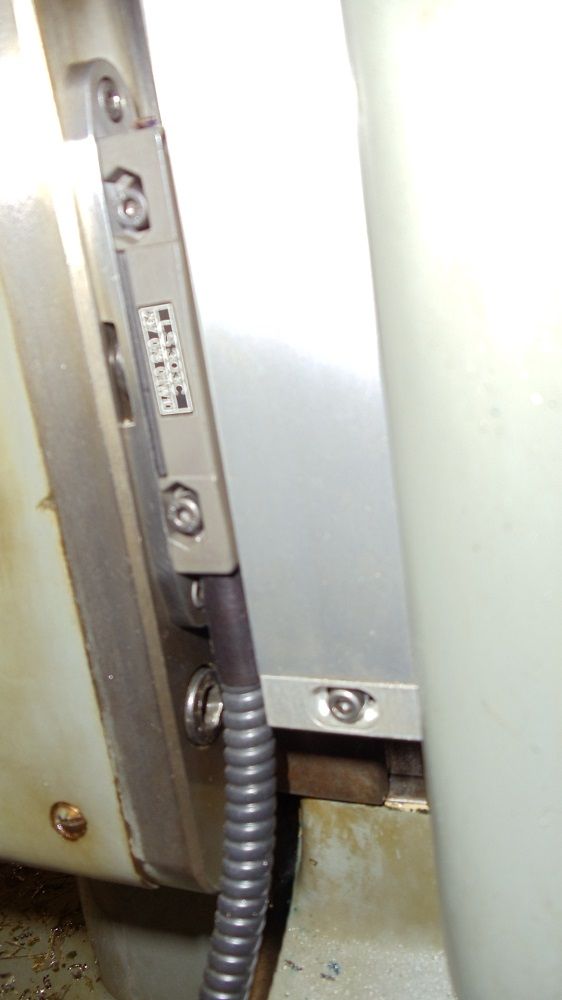
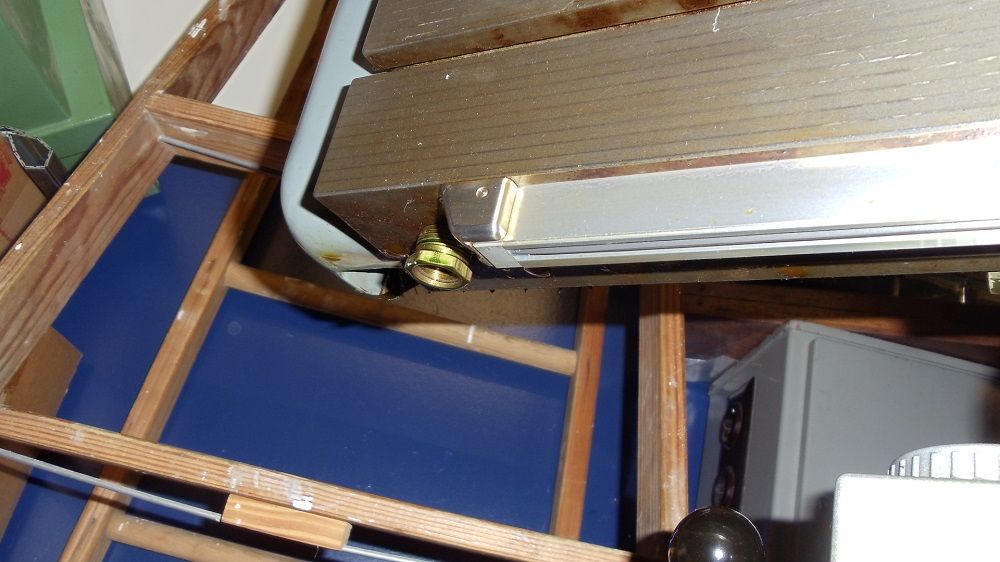
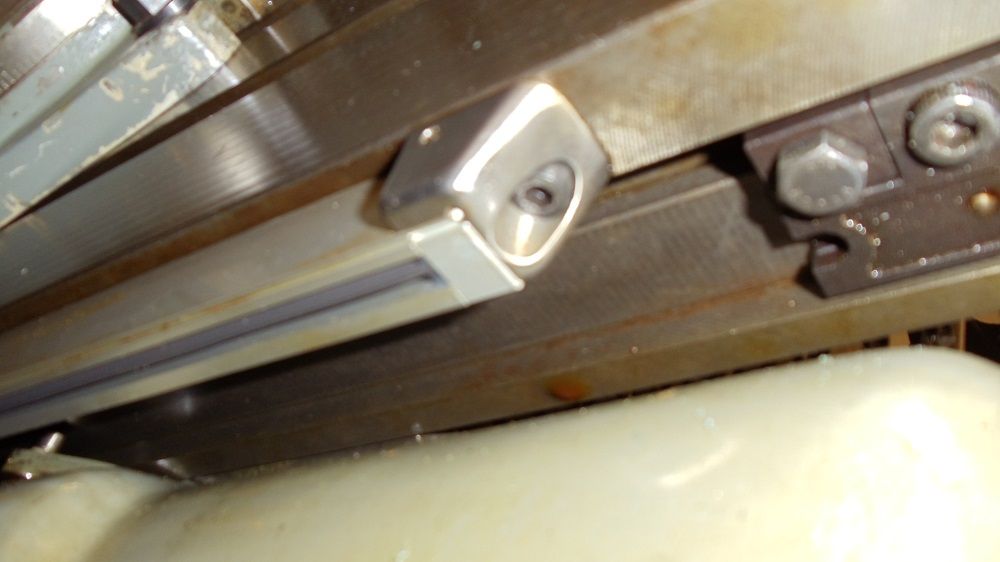
The read head is installed using a parallel distance block off a pocket milled into the vertical slide casting..... The two spot faced threaded hole on the same casting are from a previous life.
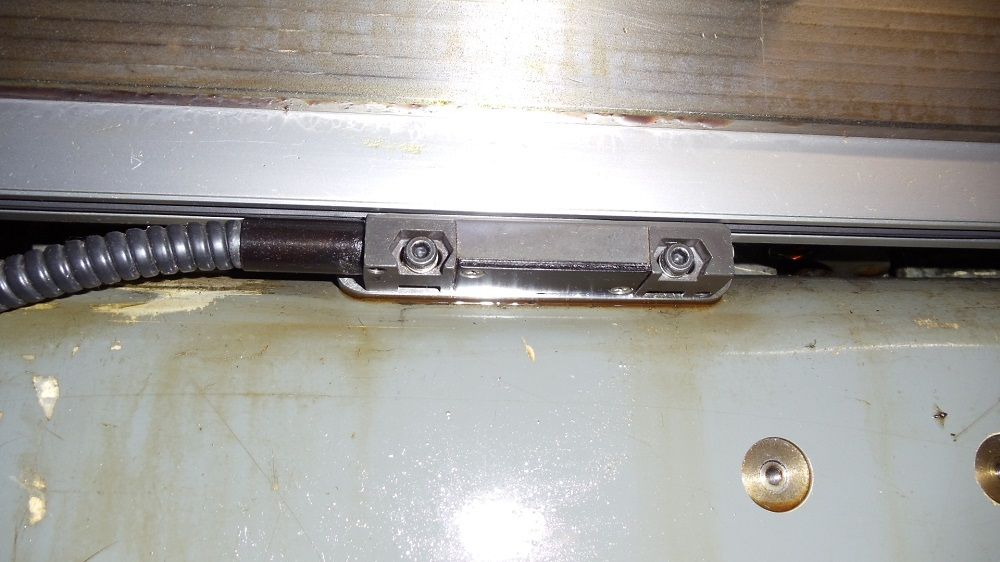
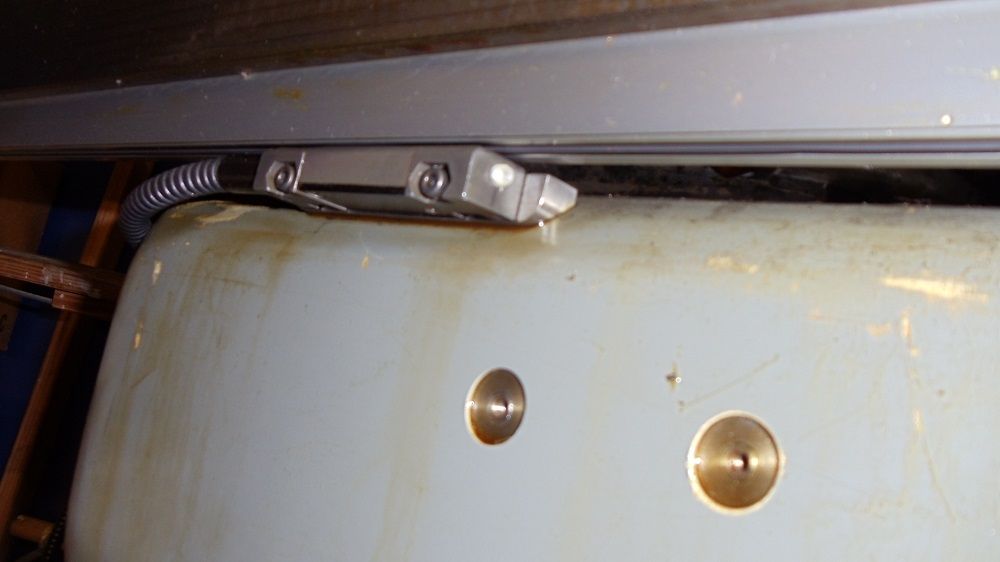
The end brackets are milled from steel and sit on the original slide surface....They are made in the form of an "L" With the mounting screws in from the rear...giving the rear of the scale minimum thichness
so as not to interfere with the original trip stops which remain intact behind the scale...
Sorry about the blurry photos.....
Bit more to follow.....
Cheers Ross
Some shots of the setup i used on my first gen FP2.
"X" axis slide was removed as was the vertical slide.
A channel was milled into the bottom of the "X" slide to allow the standard Heidenhain linear scale to "nest" so as to reduce the height of the
installed scale.....
Note the offset to move the scale as far away from the operators side of the slide as practical....this is done to keep the scale from crossing above the elevating hand wheel for the "Z".
The read head is installed using a parallel distance block off a pocket milled into the vertical slide casting..... The two spot faced threaded hole on the same casting are from a previous life.
The end brackets are milled from steel and sit on the original slide surface....They are made in the form of an "L" With the mounting screws in from the rear...giving the rear of the scale minimum thichness
so as not to interfere with the original trip stops which remain intact behind the scale...
Sorry about the blurry photos.....
Bit more to follow.....
Cheers Ross