i might also add the following as a cursory explanation or the basics of the operation
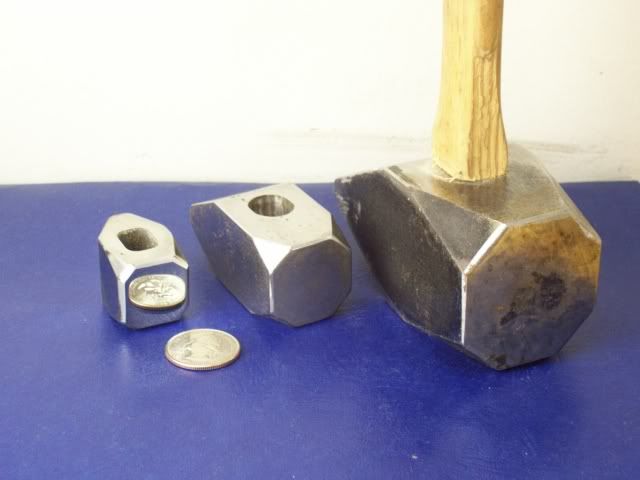
1. pick some carbon steel stock, such as an axle shaft that is the approx size for the head you want.
2. anneal it by heating to dull red, and letting it cool slowly, in an ash pit, or sand or whatever. the idea is to soften it to the point of machining it, so the slower it cools the better it will be to work with generally.
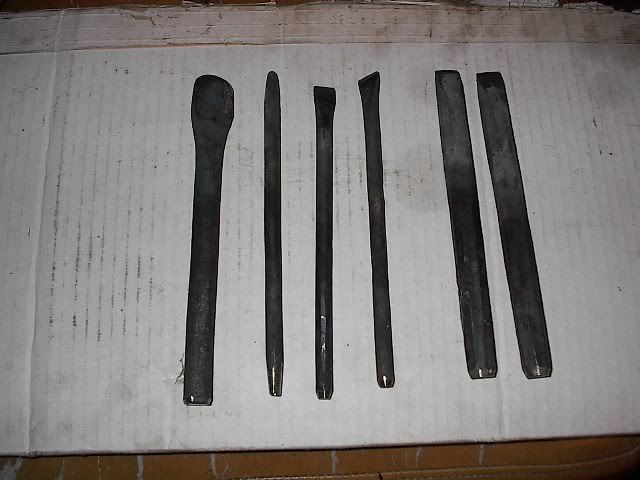
3. machine whatever shape you want, by whatever means you like, lathe, mill, torch, forge, anvil, or between two hard rocks
4. reheat the wear surface, namely the face of the hammer head to full red and then immediately dunk into room temp water, while swirling the head around to get the water to cool it as rapidly as possible. now the face of the head will be very hard, too hard for most applications.
5. grind and polish the now hardened face to a nice shine, this is important because the next step is drawing a temper into the face, which reduces the hardness to an acceptable level for the use it is to be used for.
6. now heat slowly from the handle hole, useing a propane torch. the key is to heat slowly so as to watch the polished face to see the color change from bright shiny silver thru the spectrum from faint straw (yellow) to full purple.
7. for ball peen hammer faces i would go to a dark straw color, for a claw hammer maybe a light straw color.
8. under good light you will see the color run up, and if you heat slowly it wont run up to fast. when it gets to the color you want, recool it immediately in the water bucket. this stops the tempering process.
The end result will be a face that has been hardened to a reasonable depth, and leaving the balance of the head softer so it won't crack or shatter.
also it is good to note that in the step above illustrating the different colors for ball peen and claw hammers: claw hammers strike soft nails and therefore can be harder for longer wear, whereas ball peen routinely are used to strike chisels and punches that are harder than a nail and will crack, splinter or chatter if they are not tempered sufficiently.
now i am sure there are others here that will tell you better ways of doing it, and also which steels to purchase to produce your hammers.
but this will give you an idea of what you can do with scrap and a little work, that will produce very servicable and long lived hammers
also i might add the following caveat, disclaimer etc.
the color dark straw may still be too hard for a hammer, it has been awhile and i havent looked it up on the color chart, do so before you endevour to heat treat the head.
also, building hammers, chisels, punches, etc and heat treating them at home is both fun and rewarding, the use of these tools carries with it the responsibility of the maker to wear eye protection when using these tools (as you should with any tool i guess)
and if in doubt about the hardness of a hammer face it might be wise to temper is to a darker color on the chart, and thus lower the face hardness. this will make it less likely to fracture, splinter or shatter. but may make it dent up a bit more than you would like, it is a comprimise. the key is to find the happy medium.
bob g