Long Tom
Stainless
- Joined
- Aug 21, 2011
- Location
- Fiddlefart, Oregon
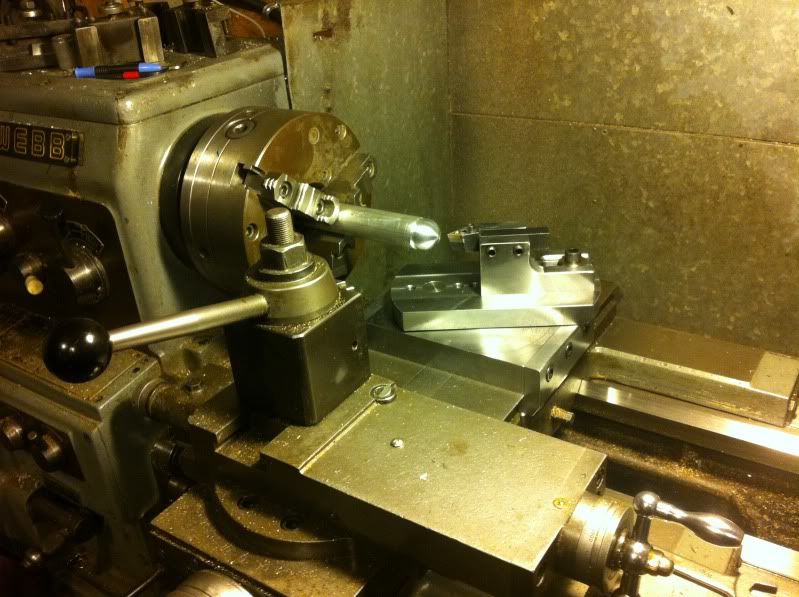
Well, I said I'd do it so here are some pics of my radius turner for my Webb WL-435. I post this with some trepidation. This is NOT an elegant tool. It's not gonna impress this crowd. It's very simple and lacks.... I dunno.... subtlety. I called it caveman-simple on another thread, and that's about right.
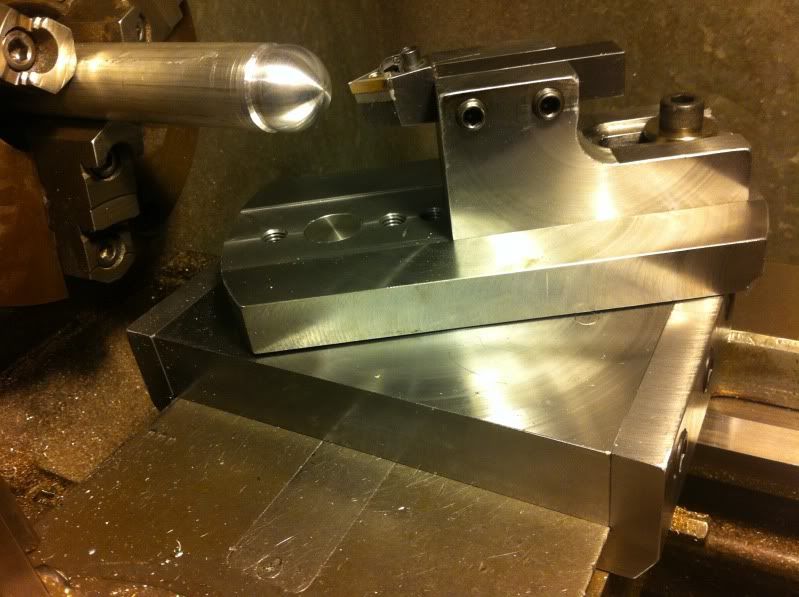
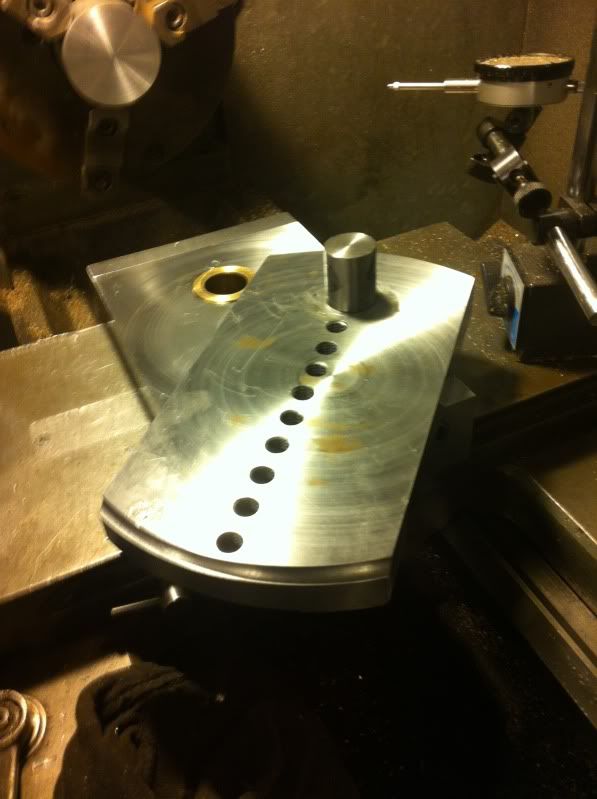
Moving on from my inferiority complex, the thing is nice and beefy. Top plate is around 1" thick and bottom around 1-1/4". The toolholder in the middle channel there is fitted nicely to a sliding fit- a few thou clearance. Holes are all 1/2-13. The top plate has a polished 1-1/8" SS shaft (SS, because I had a nice piece of T304 around) pressed into it, which is fitted very closely (too closely?) to a bronze bushing in the bottom plate. Zero "bad" play that I can feel; the bushing is a bit tight, but only a bit, and it's a new assembly, so I'm approaching changes cautiously.
What is really neat about this tool on this machine is that there's enough room to mount it and still have full functionality of the carriage/crosslide/compound. Meaning I don't have to remove the compound to use it; it can stay mounted.
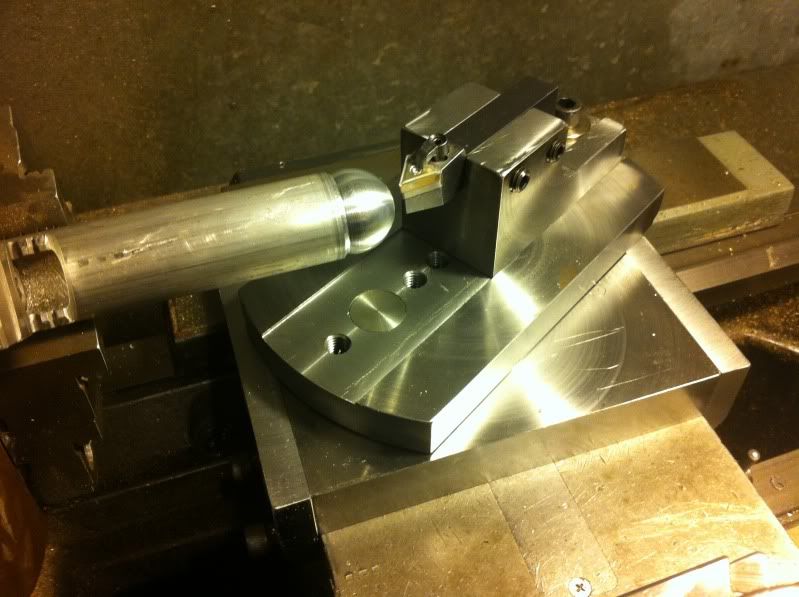
It mounts to an angled slot.... like 1/2 a dovetail... on either side of the carriage. I fitted that all together very carefully. As you tighten the end plates (with the three bolts per side) it pulls in and down. Seems to work great. You can see it in one of the pics.
I need to add a handle for more difficult cuts that need some leverage. Waiting to inspiration to strike there. Also, I'm using two grub screws to retain the 3/4" indexable cutter holder. That's a little dicey given that the cutting forces are trying to pry that holder out of the slot. I may add a top plate.
Being able to leave this mounted means it'll get used a lot. I'm actually pretty pleased with my tool- crude as it is.
That's 2" aluminum stock for scale.
Pics:
I'm gonna pull it apart to try different lube in the shaft/bushing; I'll take a couple more pics then of the seperate pieces.
Moving on from my inferiority complex, the thing is nice and beefy. Top plate is around 1" thick and bottom around 1-1/4". The toolholder in the middle channel there is fitted nicely to a sliding fit- a few thou clearance. Holes are all 1/2-13. The top plate has a polished 1-1/8" SS shaft (SS, because I had a nice piece of T304 around) pressed into it, which is fitted very closely (too closely?) to a bronze bushing in the bottom plate. Zero "bad" play that I can feel; the bushing is a bit tight, but only a bit, and it's a new assembly, so I'm approaching changes cautiously.
What is really neat about this tool on this machine is that there's enough room to mount it and still have full functionality of the carriage/crosslide/compound. Meaning I don't have to remove the compound to use it; it can stay mounted.
It mounts to an angled slot.... like 1/2 a dovetail... on either side of the carriage. I fitted that all together very carefully. As you tighten the end plates (with the three bolts per side) it pulls in and down. Seems to work great. You can see it in one of the pics.
I need to add a handle for more difficult cuts that need some leverage. Waiting to inspiration to strike there. Also, I'm using two grub screws to retain the 3/4" indexable cutter holder. That's a little dicey given that the cutting forces are trying to pry that holder out of the slot. I may add a top plate.
Being able to leave this mounted means it'll get used a lot. I'm actually pretty pleased with my tool- crude as it is.
That's 2" aluminum stock for scale.
Pics:
I'm gonna pull it apart to try different lube in the shaft/bushing; I'll take a couple more pics then of the seperate pieces.
")

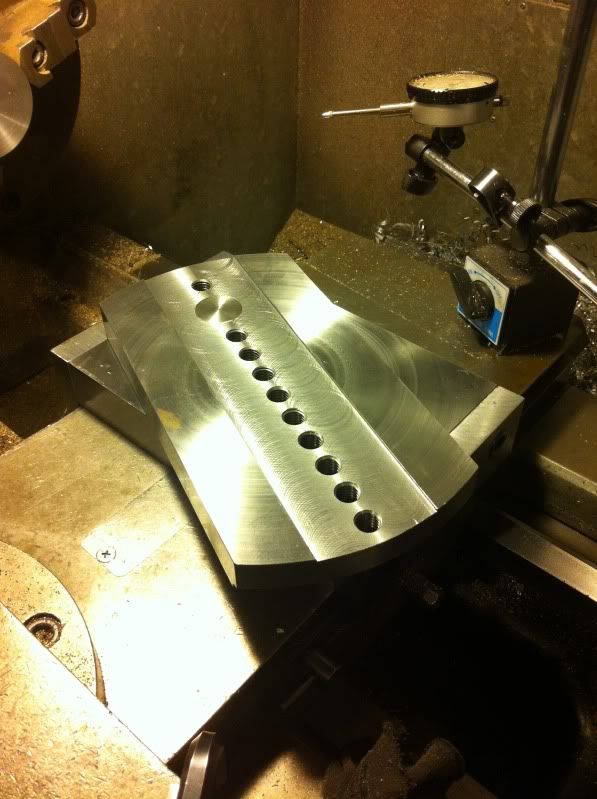
") ) A wear plate between rotating parts could support the toolbit under heavy loads. Prob not necessary for light cuts, but for when you get brave and hog some material.
) A wear plate between rotating parts could support the toolbit under heavy loads. Prob not necessary for light cuts, but for when you get brave and hog some material.
.jpg")