What's new
What's new

Mazatrol Turning - optimizing

Pete Deal

Titanium
Joined
Apr 10, 2007
Location
Morgantown, WV
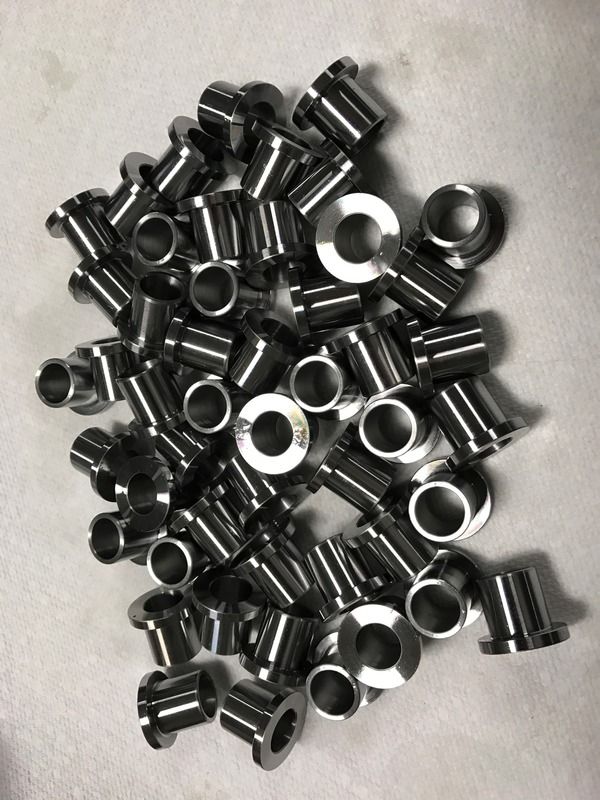
I am making these little flanged bushings out of 4140ht. Quan is a few hundred at a time. I have split roughing and finish turning into separate processes to minimize tool changes. For the finish process is it possible to do the whole thing, including the face of the part using a bar out process? The goal being to eliminate the edge process in finishing the face. I thought I saw some where where someone put a little short small phantom diameter at the front of the part to get it to do this. Since the part gets drilled it is not important to have the face of the part be faced to the middle on the finish pass.


df7bab2d3fee4e443452ce976f8ba5f9.jpg
c2f47747450f343622445611ccec6e24.jpg
3f35cd9df8aa32891b598beb133c35db.jpg
 
Don't your lathe have a "layout" setting for the programs ? There you can arrange all the roughing and finishing units in whatever sequence you like.
A fake diameter at the start of the part would do what you want. Also you can save time by not finishing where you are drilling, only roughing. Or better yet, since you are cutting off, just drill the cut off face directly. What is your cycle time on the first OP ?
 
Program a diameter just smaller than the hole if it will allow it ( I'm not sure if that control will have a fit if you try to put a diameter less than what has been drilled).

Say SPTX .375 STP Z0
FPTX .375 FPTZ .0001.

Leave the rest of the program the same (edit the SPTZ of the next line to .0001) and .0001 shouldn't affect the rest of you shoulder lengths.

E̶d̶i̶t̶:̶ ̶i̶t̶ ̶m̶a̶y̶ ̶b̶e̶ ̶b̶e̶s̶t̶ ̶i̶f̶ ̶y̶o̶u̶ ̶h̶a̶v̶e̶ ̶r̶o̶u̶g̶h̶i̶n̶g̶ ̶i̶n̶ ̶o̶n̶e̶ ̶P̶n̶o̶ ̶w̶i̶t̶h̶o̶u̶t̶ ̶p̶u̶t̶t̶i̶n̶g̶ ̶t̶h̶a̶t̶ ̶"̶p̶h̶a̶n̶t̶o̶m̶"̶ ̶s̶t̶e̶p̶,̶ ̶a̶n̶d̶ ̶f̶i̶n̶i̶s̶h̶ ̶i̶n̶ ̶a̶ ̶s̶e̶p̶a̶r̶a̶t̶e̶ ̶o̶n̶e̶ ̶w̶i̶t̶h̶ ̶t̶h̶e̶ ̶s̶t̶e̶p̶.̶ ̶I̶f̶ ̶y̶o̶u̶ ̶d̶o̶n̶'̶t̶,̶ ̶i̶t̶ ̶w̶i̶l̶l̶ ̶p̶r̶o̶b̶a̶b̶l̶y̶ ̶t̶r̶y̶ ̶t̶o̶ ̶r̶o̶u̶g̶h̶ ̶t̶h̶a̶t̶ ̶.̶0̶0̶0̶1̶"̶ ̶s̶t̶e̶p̶ ̶i̶n̶ ̶t̶h̶e̶ ̶f̶r̶o̶n̶t̶ ̶w̶i̶t̶h̶ ̶a̶ ̶b̶u̶n̶c̶h̶ ̶o̶f̶ ̶w̶a̶s̶t̶e̶d̶ ̶m̶o̶v̶e̶

Ignore that. Philabuster corrected me below.
 
Last edited:
Panza: I am still new at this but I don't know what you mean by "layout setting"

ManualEd: That is more or less what I was thinking. For the rough process I would leave the edge/bar out combination especially needed for a new bar where there is no hole hole remnant from the last part. The .0001 part I had not thought of. I was thinking to offset the face/shoulder to make work but using .0001 would make it easier.

It may be called "program layout" (I think?) depending on your control.
 
Edit: it may be best if you have roughing in one Pno without putting that "phantom" step, and finish in a separate one with the step.
If you don't, it will probably try to rough that .0001" step in the front with a bunch of wasted moves.

Nope. The roughing process will ignore that .0001" face as long as it is shorter than the PNO 0 Z stock allowance.
 
I have split roughing and finish turning into separate processes to minimize tool changes. For the finish process is it possible to do the whole thing, including the face of the part using a bar out process?


Yes,
All in one continous pass.
But it will be a BAR FAC cycle, not BAR OUT cycle.
Your starting point will be at the cut off location then moving away from the chuck heading to Z zero cut the entire profile all the way to X and Z zero.

It works on T-Plus and should work here to.

If you want step by step in BAR FAC cycle post the diameters and lengths of your part, not inside.


Back
Top