gernoff
Hot Rolled
- Joined
- Mar 19, 2011
- Location
- Great Falls, Montana
Took some time off from working on my 10EE lathe rebuild to work on a few needed fixtures......... (for working on my 10EE lathe!)


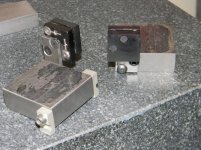
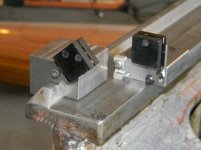

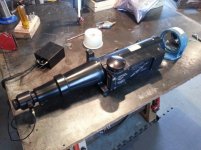
There are a couple of home build 10sec (approx) levels. I will be building carbon fibre heatshields for the levels. I would also comment that if you are going to build something similar at this precision level, the thread pitch for the mount studs should be at least 40tpi and higher if you have it. I went with 10-32, and its very hard to move the adjust knob in a small enough increment to zero the levels. I have a .275-40 tap so will be fabbing a new set of studs, and will increase the diameter of the adjust knobs. The fixtures in the 3rd and 4th pictures will carry precision mirrors and are for use with a comparison autocollimator. The autocollimator compares the relative tilt angle between the two mirrors and is much easier to use than a standard collimator since any slight movement of the autocollimator telescope itself will not affect the readings. In use I will set the fixtures as shown in the 3rd images and one mirror will be moved along the way in fixed length increments, the tilt reading (sloping rise or drop) at each step will be converted to a height change and I can then pliot the profile of the way. The last picture is a Pratt and Whitey 15" master precision level (double master precision actually).
The 15" level base has been scraped in, I still have some work to do on the bases of the 10sec levels and the way measurement fixtures.


