Luke Rickert
Hot Rolled
- Joined
- Oct 24, 2007
- Location
- OSLO
Ok sorry for saturating the list with questions but this is how it goes with a new machine ") particularly one that isn't quite exactly as described when it was sold. I am also trying to document the answers so the next person who needs to do this sort of work will find them
particularly one that isn't quite exactly as described when it was sold. I am also trying to document the answers so the next person who needs to do this sort of work will find them
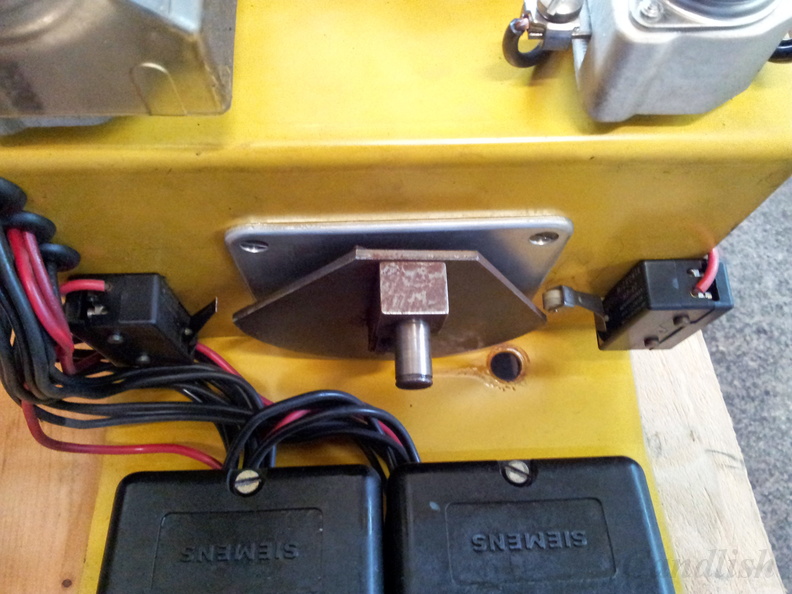
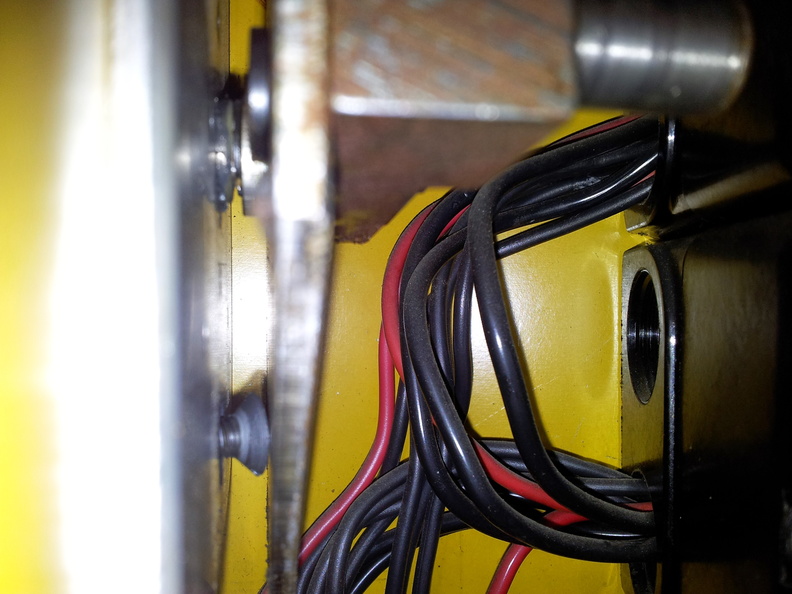
Anyway I have a fairly early machine around 1970 or '71 as far as I can guess as there is no number plate(it is a generation before Ole's) and the the direction control lever is super sloppy. I pulled the control rods, ball screw cover etc and removed the bottom of the apron. It was a mess in there so getting that cleaned out was a good thing. I now need to figure out how to fix the control slop. From the look of it someone has already replace the key, it has a very slight amount of play but I am not sure how much will add up with all the other slop to cause the problem. The slot in the rod does not appear to be worn and the key on the end of the shaft is a nice tight fit. This would imply that the problem is with the linkage joints or inside the switch box. Any suggestions of how to proceed? Does anyone else know how much slop they have between the lever key and the slot? the key slop is hard to estimate and I can't get a good measurement on the key width but I think it is around 3 degrees of rotation. There is no indication of wear on the key. Should I try to make a new key and housing that fits with no slop at all? I think that would require a gib rather than a key to actually get a better sliding fit. If I manually move the switch lever from the end of the machine it seems to feel fine as one would expect but there must be slop somewhere in the system. The linkage length is adjustable, perhaps that could be useful, the "shift gate" is also somewhat adjustable maybe I can do something with that?
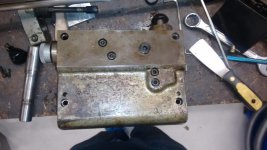
By the way for anyone else working on a 135 to pull the bottom off the apron you only need to remove the bolts at the four corners and the ones in the inside are a bit of a pain in the rear to access, I ended up with my short 6mm wrench again but there is probably a better tool for such things. (picture of the bottom showing the holes is attached)
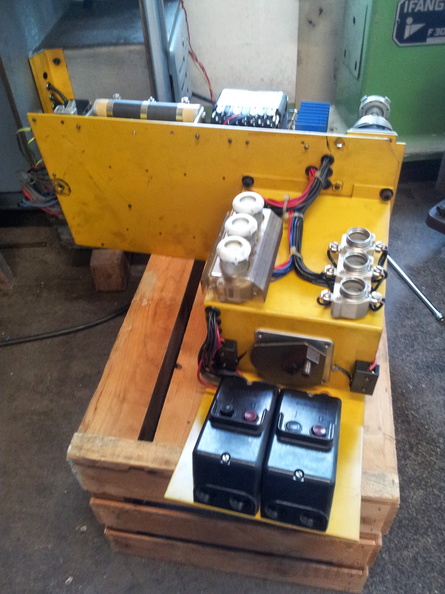
I was able to pull the control rod without removing lower part of the apron but I think the design might have changed with the next generation of machine as Ole said he needed to access a setscrew at the back of the apron to get the rod out. My control rod is just the rod, there is no sleeve etc which is what I understood to be the case from talking with Ole but I could have been confused.
thanks
Luke
particularly one that isn't quite exactly as described when it was sold. I am also trying to document the answers so the next person who needs to do this sort of work will find them Anyway I have a fairly early machine around 1970 or '71 as far as I can guess as there is no number plate(it is a generation before Ole's) and the the direction control lever is super sloppy. I pulled the control rods, ball screw cover etc and removed the bottom of the apron. It was a mess in there so getting that cleaned out was a good thing. I now need to figure out how to fix the control slop. From the look of it someone has already replace the key, it has a very slight amount of play but I am not sure how much will add up with all the other slop to cause the problem. The slot in the rod does not appear to be worn and the key on the end of the shaft is a nice tight fit. This would imply that the problem is with the linkage joints or inside the switch box. Any suggestions of how to proceed? Does anyone else know how much slop they have between the lever key and the slot? the key slop is hard to estimate and I can't get a good measurement on the key width but I think it is around 3 degrees of rotation. There is no indication of wear on the key. Should I try to make a new key and housing that fits with no slop at all? I think that would require a gib rather than a key to actually get a better sliding fit. If I manually move the switch lever from the end of the machine it seems to feel fine as one would expect but there must be slop somewhere in the system. The linkage length is adjustable, perhaps that could be useful, the "shift gate" is also somewhat adjustable maybe I can do something with that?
By the way for anyone else working on a 135 to pull the bottom off the apron you only need to remove the bolts at the four corners and the ones in the inside are a bit of a pain in the rear to access, I ended up with my short 6mm wrench again but there is probably a better tool for such things. (picture of the bottom showing the holes is attached)
I was able to pull the control rod without removing lower part of the apron but I think the design might have changed with the next generation of machine as Ole said he needed to access a setscrew at the back of the apron to get the rod out. My control rod is just the rod, there is no sleeve etc which is what I understood to be the case from talking with Ole but I could have been confused.
thanks
Luke