FTF Engineering
Hot Rolled
- Joined
- Oct 30, 2003
- Location
- Philadelphia, PA
I recently installed a 10K leadscrew reverse lever onto my 9" Model A and thought I would share some pics I took during the process.
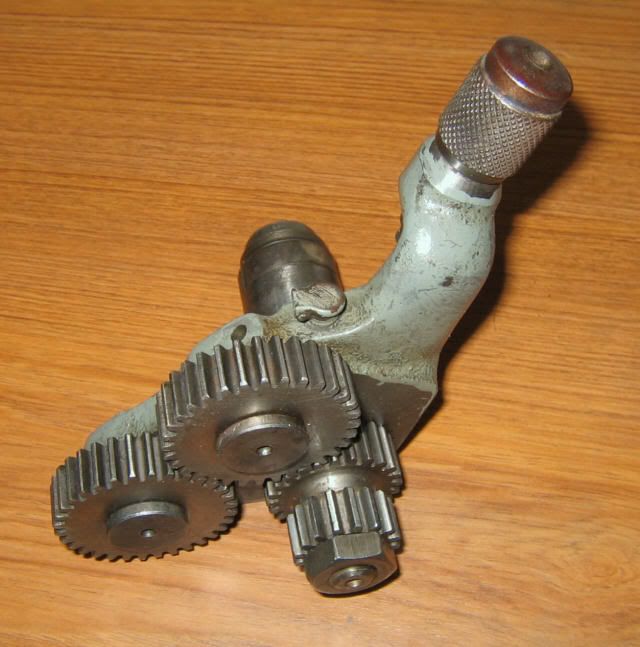
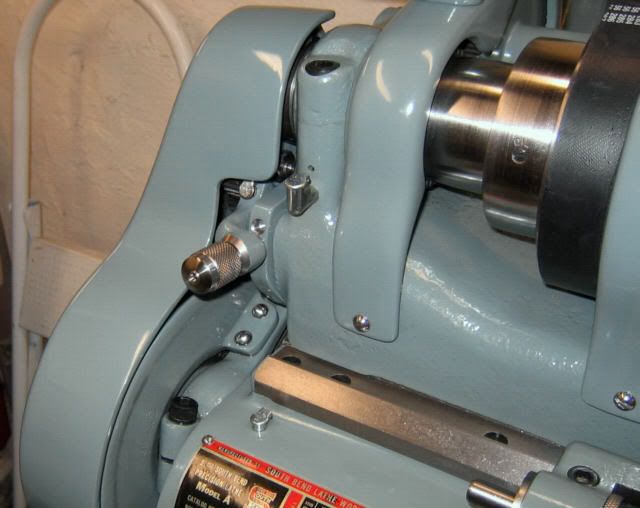
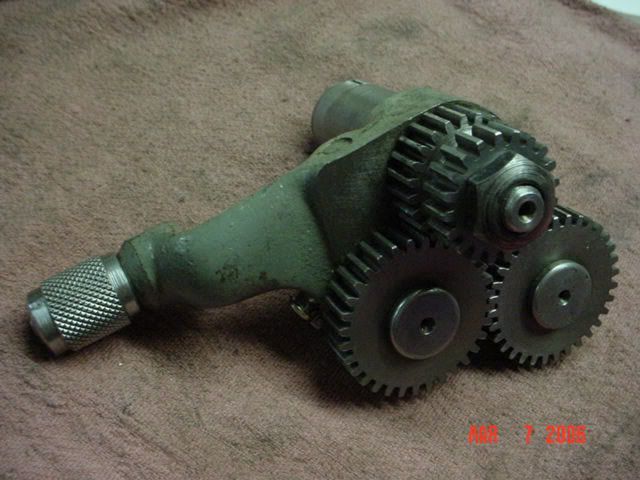
This is the 10K reverse lever that I started with.
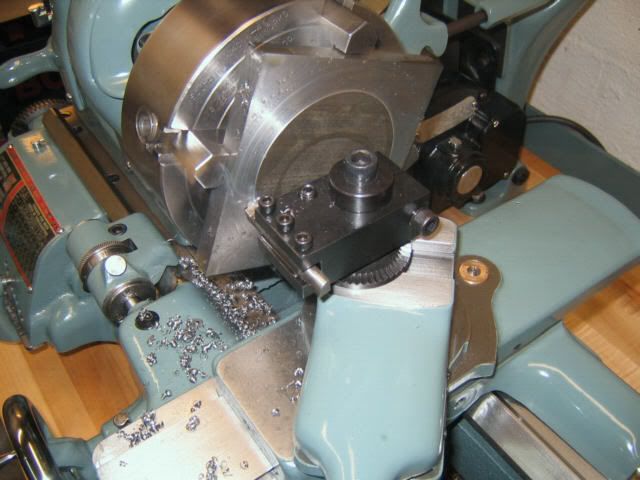
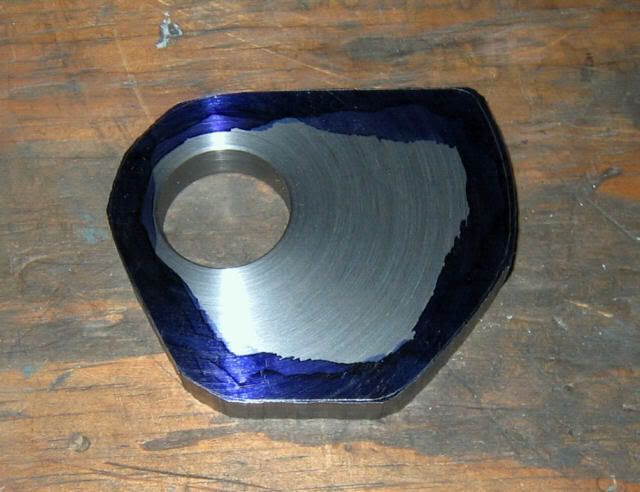
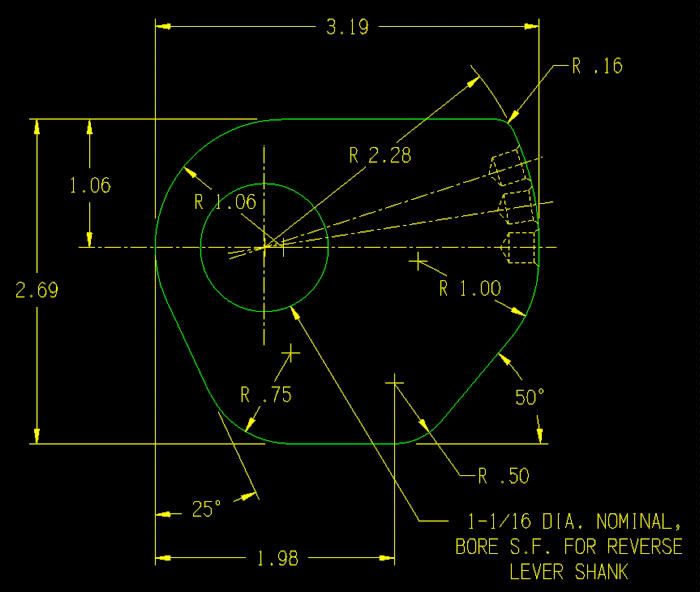
Here's the plate I made that spaces the 10K gears out where they belong. This one is my template made out of aluminum for ease of machining, but I intend to replace it with a steel version.
I calculated the required thickness of the plate by measuring and subtracting the difference between the locating surfaces of the 10K and the original 9" reverse lever. I came up with 0.355 and that's how thick I made the plate. However, after making it to 0.355, I discovered that the geometry is a little more complicated than that and the spring loaded pin for forward/neutral/reverse didn't end up in the center of the edge of the plate. I ended up making a washer to space the gear assembly out a little farther from the headstock to compensate and I'll make my final plate a little thicker to fix this and make the washer unnecessary.
I came up with the following to drill the locator holes for Fwd/Neut/Rev. First, I took the pull knob off the 10K lever:
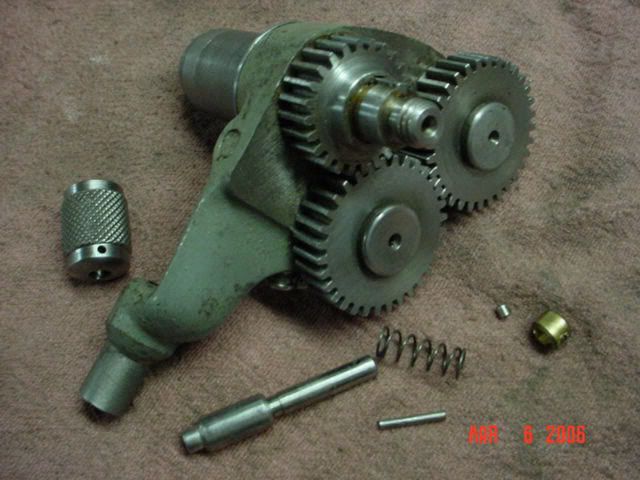
The knob is held on by a pin which was filed flush at the factory. The pin is not tapered but it can be hard to find.
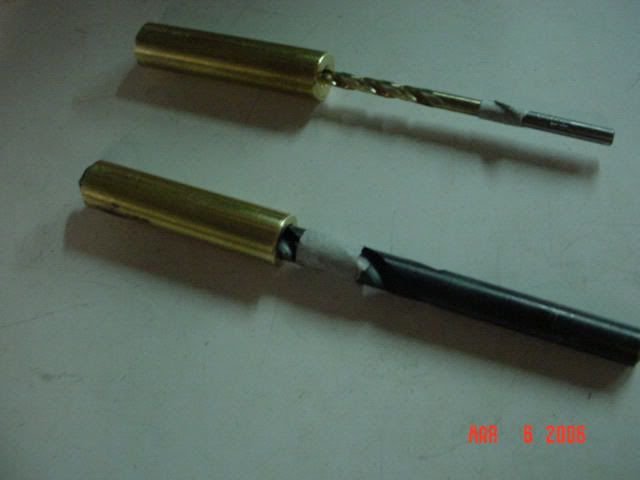
Next, I made two drill guide bushings each one 1.60" long with an OD of 3/8. One of the guides has a 1/8" hole through and the other has a 1/4" hole through and they look like this. The tape on the drill bits is my fancy depth guide.
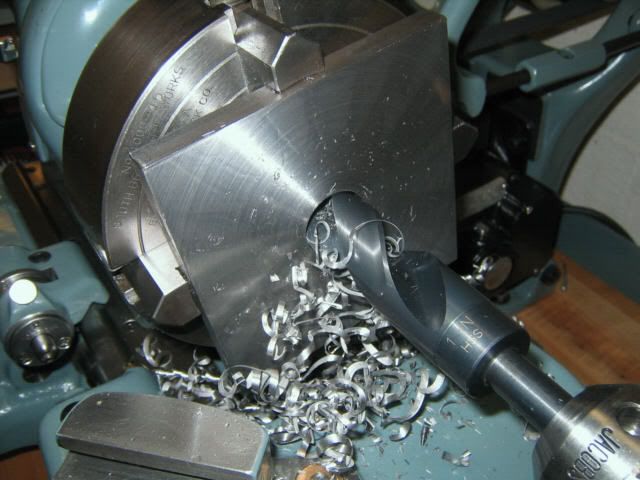
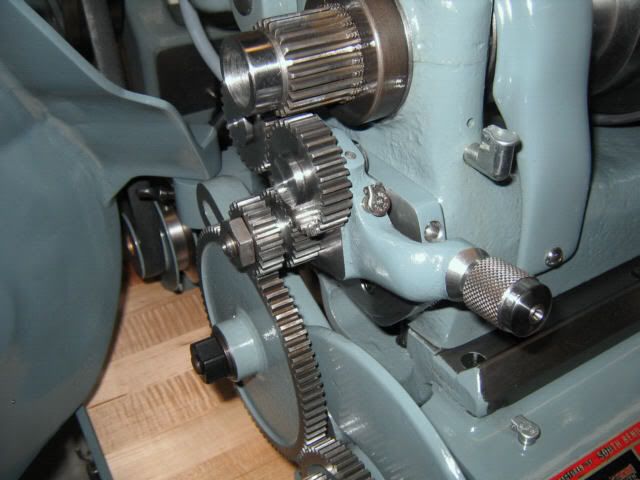
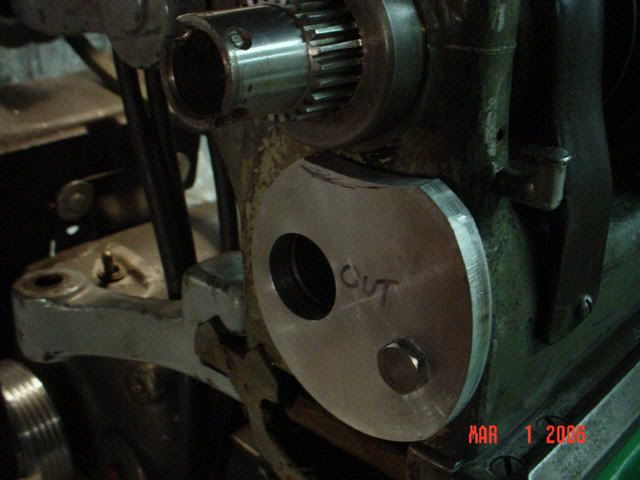
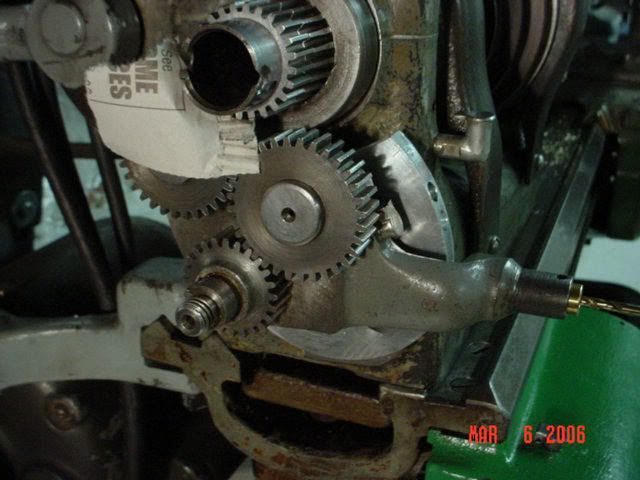
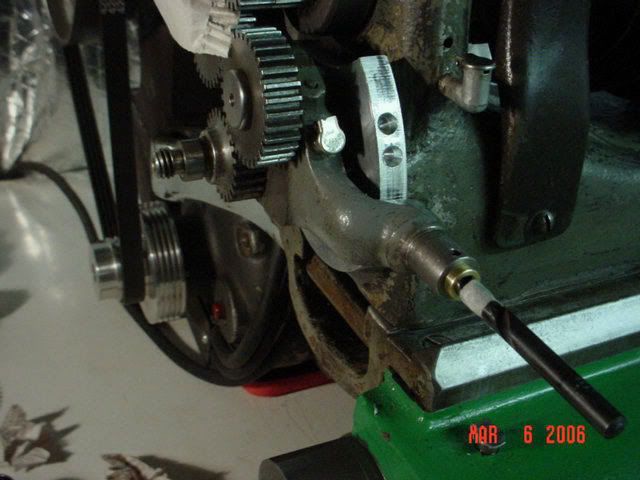
The bushing slips into the hole where the pull knob goes and acts as a guide for the drill bit to locate the holes. In use it looks like this:

In order to establish the correct gear lash, I slipped a piece of universally available precision gear mesh determining shim (AKA newspaper) between the gears and then held the assembly in place with a bar clamp (not shown in the photo) around the headstock while I drilled the holes. First the smaller pilot hole, and then the final 1/4" hole.
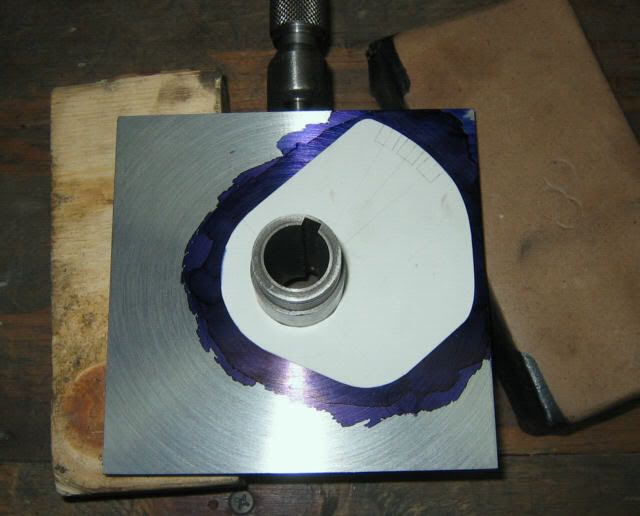
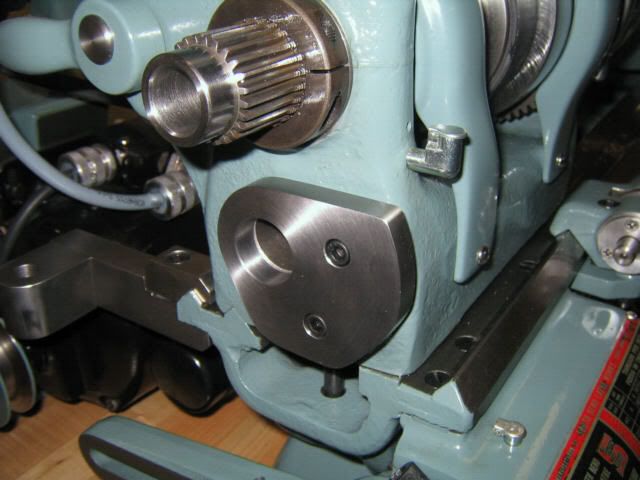
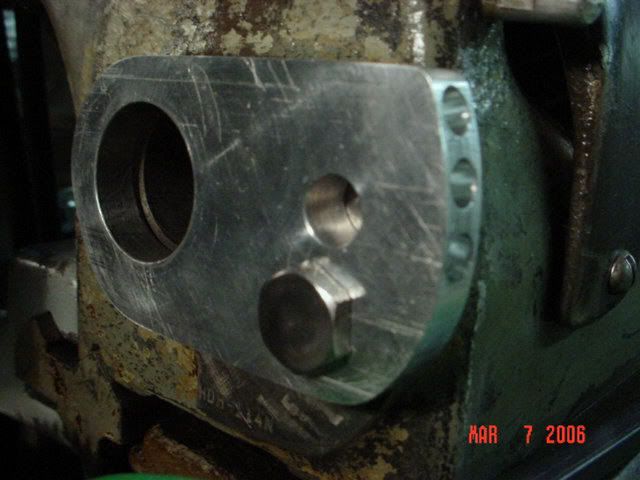
Here's the finished template and it works great. I hope to have the steel one made soon. Don't mind the extra mounting hole. I had to move it once because I screwed up.
Hope that helps! -Bruce
This is the 10K reverse lever that I started with.
Here's the plate I made that spaces the 10K gears out where they belong. This one is my template made out of aluminum for ease of machining, but I intend to replace it with a steel version.
I calculated the required thickness of the plate by measuring and subtracting the difference between the locating surfaces of the 10K and the original 9" reverse lever. I came up with 0.355 and that's how thick I made the plate. However, after making it to 0.355, I discovered that the geometry is a little more complicated than that and the spring loaded pin for forward/neutral/reverse didn't end up in the center of the edge of the plate. I ended up making a washer to space the gear assembly out a little farther from the headstock to compensate and I'll make my final plate a little thicker to fix this and make the washer unnecessary.
I came up with the following to drill the locator holes for Fwd/Neut/Rev. First, I took the pull knob off the 10K lever:
The knob is held on by a pin which was filed flush at the factory. The pin is not tapered but it can be hard to find.
Next, I made two drill guide bushings each one 1.60" long with an OD of 3/8. One of the guides has a 1/8" hole through and the other has a 1/4" hole through and they look like this. The tape on the drill bits is my fancy depth guide.
The bushing slips into the hole where the pull knob goes and acts as a guide for the drill bit to locate the holes. In use it looks like this:
In order to establish the correct gear lash, I slipped a piece of universally available precision gear mesh determining shim (AKA newspaper) between the gears and then held the assembly in place with a bar clamp (not shown in the photo) around the headstock while I drilled the holes. First the smaller pilot hole, and then the final 1/4" hole.
Here's the finished template and it works great. I hope to have the steel one made soon. Don't mind the extra mounting hole. I had to move it once because I screwed up.
Hope that helps! -Bruce
Last edited by a moderator:

") .
.