What's new
What's new

65' Heavy 10 Restore.....

rw1

Aluminum
Joined
Aug 2, 2012
Location
MO
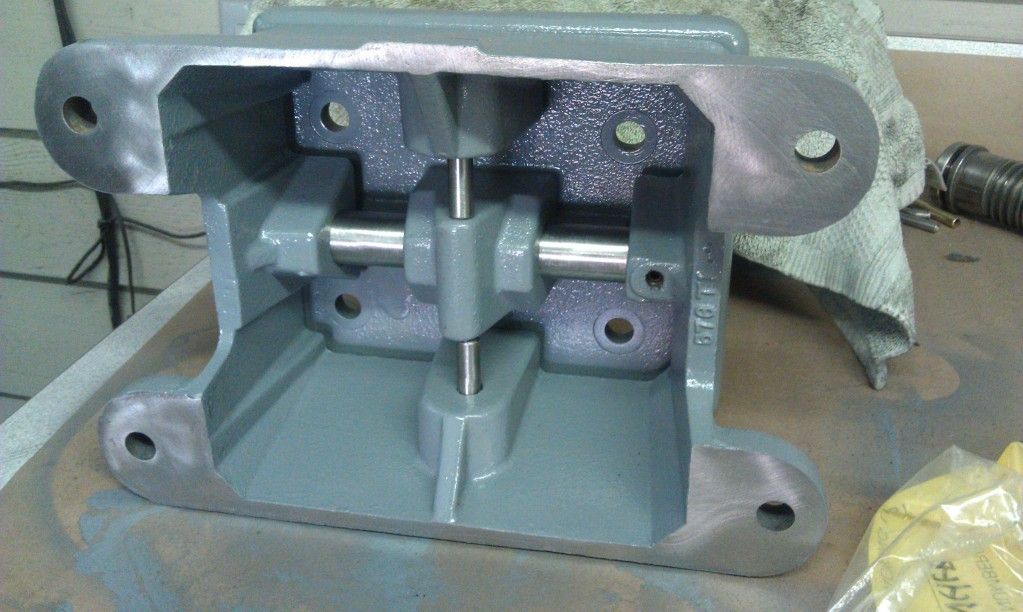
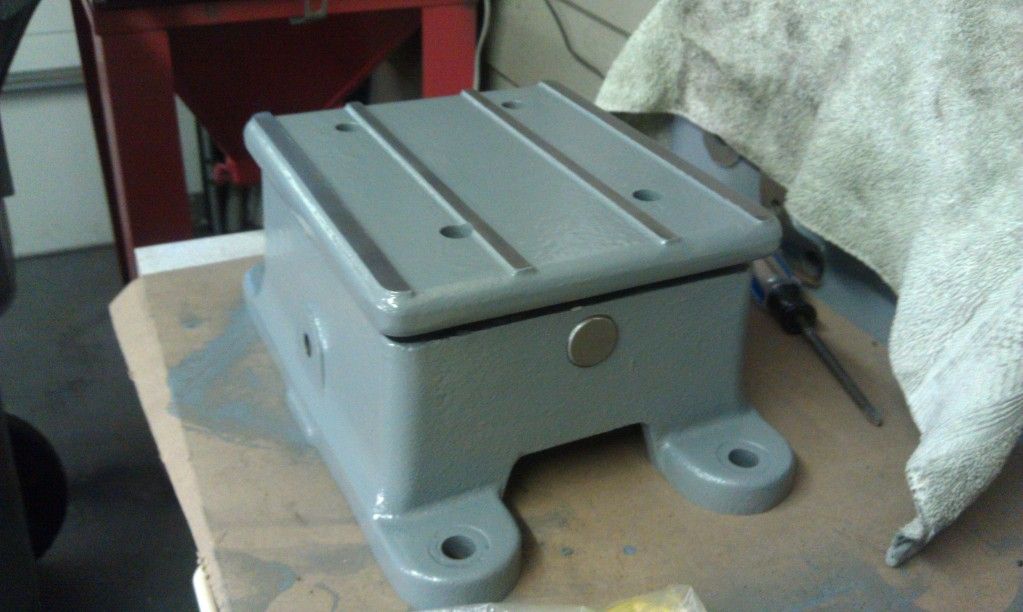
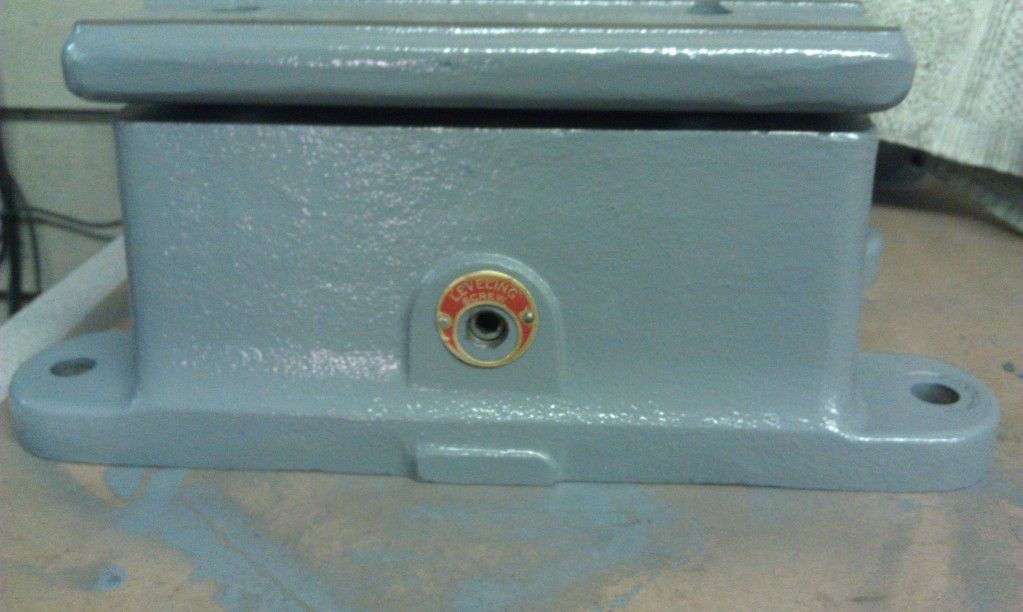
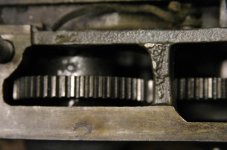
I'm making slow progress on my SB 10L. It really is fun, just more fun when you get all the grease, grime, swarf, oil off the machine and see what the nice parts look like! The painting is therapy for sure. My thanks to all of the posts of restoring these classic lathes as they are inspirational.

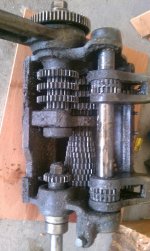
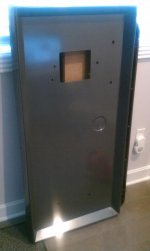
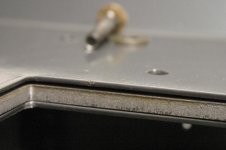
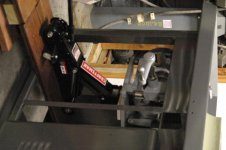
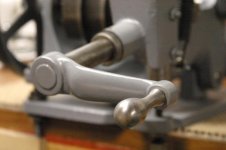
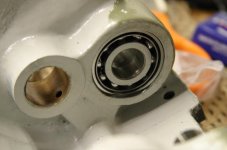
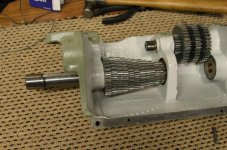
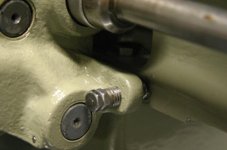
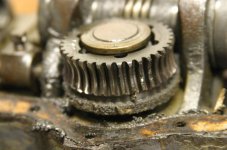
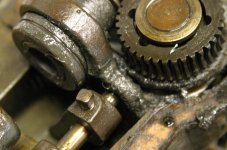
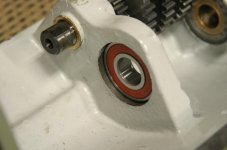
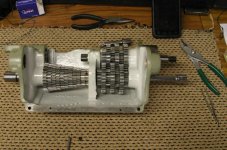
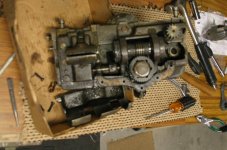
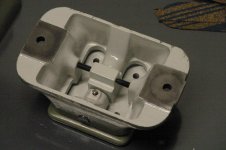
Some of the early photos....
 

Attachments

  • SB_0008.jpg
    SB_0008.jpg
    100.9 KB · Views: 817
  • SB_0019.jpg
    SB_0019.jpg
    95.5 KB · Views: 827
  • SB_0031.jpg
    SB_0031.jpg
    101.9 KB · Views: 808
  • SB_0035.jpg
    SB_0035.jpg
    94.8 KB · Views: 774
  • SB_0045.jpg
    SB_0045.jpg
    91.9 KB · Views: 730
The build looks good, keep the pictures coming. Therapy is an understatment, its almost become more of an obsession. I'm on the last few parts of my 13" South Bend, and I'm wondering what the next project will be.......................Rick
 
QCGB was loaded with Open Lube. New bearings needed. I sent the Cabinet off to Sand Blast & Powder Coat. This was just the best way to remove the rust and get a great layer of paint on it. Color is Platinum Gray. Then used a car jack to load the Countershaft assembly under the cabinet. Manual Hydraulics is certainly my friend!

To beef up the cabinet, I installed 3/8" thick steel sheets that spanned front to back and covered both Headstock and Tailstock ends.
 

Attachments

  • SB_0057.jpg
    SB_0057.jpg
    97.6 KB · Views: 613
  • SB_0058.jpg
    SB_0058.jpg
    88.5 KB · Views: 503
  • IMAG0932.jpg
    IMAG0932.jpg
    32.7 KB · Views: 575
  • SB_0098.jpg
    SB_0098.jpg
    25.2 KB · Views: 547
  • SB_0111.jpg
    SB_0111.jpg
    37.3 KB · Views: 506
Rick,
I hear you on the therapy, painting those parts were done with the small artist brush as noted on this forum. Very easy going, good coverage, and not a lot of time to do. Paint is BM Alkyd Enamel....custom match to the original color of the lathe. THis one was nearly Army Green in color. I went a bit lighter in color.

Pics of the paint drying:
 

Attachments

  • SB_0065.jpg
    SB_0065.jpg
    26.4 KB · Views: 546
  • SB_0071.jpg
    SB_0071.jpg
    55.3 KB · Views: 559
  • SB_0083.jpg
    SB_0083.jpg
    29.5 KB · Views: 513
  • SB_0086.jpg
    SB_0086.jpg
    52 KB · Views: 531
  • SB_0068.jpg
    SB_0068.jpg
    34.7 KB · Views: 510
So for now I've got the Countershaft Assembly, motor, cabinet, Lathe Feet and Bed finished. Need to install gearing in the QCGB and attach it to the lathe. Very happy to the gear box all nice and cleaned out!

Goal is to get the Apron & Saddle done in the next 2-3 weeks. Slow but progressing......

Special thanks to bll230 (John) for answering some questions - and of course all of you currently restoring your SBs -- and the great examples from earlier.
 

Attachments

  • SB_0093.jpg
    SB_0093.jpg
    44.6 KB · Views: 497
  • SB_0094.jpg
    SB_0094.jpg
    28 KB · Views: 434
  • SB_0095.jpg
    SB_0095.jpg
    29.9 KB · Views: 486
  • SB_0120.jpg
    SB_0120.jpg
    38.4 KB · Views: 471
  • SB_0124.jpg
    SB_0124.jpg
    31.8 KB · Views: 478
The build looks good, keep the pictures coming. Therapy is an understatment, its almost become more of an obsession. I'm on the last few parts of my 13" South Bend, and I'm wondering what the next project will be.......................Rick

South Bend Drill Press.
 
I've been waiting for you to post pics of your progress, and I'm glad you did, she's looking really good! Nice color too. Progress is slow on these if you do it right and fix things as you go, it's a labor of love!
 
I've been waiting for you to post pics of your progress, and I'm glad you did, she's looking really good! Nice color too. Progress is slow on these if you do it right and fix things as you go, it's a labor of love!

Greg - it is quite addicting. I cleaned every spec of those oil journals in the QCGB.....getting 50 yrs of grit out of those passages. Just like most everyone does! I'm too logical not to spend and extra couple hours (hey, even a couple extra days is a maximum) on a machine part that will be put back in use for decades. You're right - check it over, fix the details.....happy in the long run! Do it in sections. Enjoy the process....

Thanks for your thread I can compare notes and photos - it's a great deal of help!
 
So for now I've got the Countershaft Assembly, motor, cabinet, Lathe Feet and Bed finished. Need to install gearing in the QCGB and attach it to the lathe. Very happy to the gear box all nice and cleaned out!

Goal is to get the Apron & Saddle done in the next 2-3 weeks. Slow but progressing......

Special thanks to bll230 (John) for answering some questions - and of course all of you currently restoring your SBs -- and the great examples from earlier.


................love the color, and never knew the 10" had a bed leveler as well. Nicely done.....................Rick

............this is the leveler off my 13" South Bend, I'm doing currently. Had to push the shaft out with a 2 ton press. I used a wheel cylinder hone to run through the holes and now everything moves smooth as glass..........................Rick
IMAG0292.jpg


IMAG0293.jpg


IMAG0295.jpg
 
................love the color, and never knew the 10" had a bed leveler as well. Nicely done.....................Rick

...........

Rick -

I was pleasantly surprised to see the leveling feature too. The mechanical techniques used are ingenious. That 13" Leveler looks pristine again - sweet!
 
Eh em... I think we'd love to see some new pictures :toetap:

Rick -

I was pleasantly surprised to see the leveling feature too. The mechanical techniques used are ingenious. That 13" Leveler looks pristine again - sweet!


...............Thanks guys, maybe I will start a new thread showing the work, all though its just mimiking the fine work both of you guys have shown already. RW keep up the nice work and the pictures coming. .....................Rick
 
Last edited:
Got the QCGB assembled yesterday. It is a bit tricky getting the Central Shaft with all those gears installed.

The group of gears on the left are hard to hold and put the shaft thru. I installed a new 6203 bearing and then used a 1 1/8" Socket to tap the OUTER RACE in the casting. Using a little trial and error, I got the bearing to CREATE a snug fit to hold the group of gears steady while aligning the shaft. This way, you have the needed clearance to install the right set of gearings......it's a close fit.

I've included some photos showing the correct bearing position for the Central Shaft Gears.
 

Attachments

  • IMG_5307.jpg
    IMG_5307.jpg
    33.6 KB · Views: 453
  • IMG_5308.jpg
    IMG_5308.jpg
    37.1 KB · Views: 445
  • IMG_5309.jpg
    IMG_5309.jpg
    34 KB · Views: 415
  • IMG_5312.jpg
    IMG_5312.jpg
    33.1 KB · Views: 467
  • IMG_5313.jpg
    IMG_5313.jpg
    35.7 KB · Views: 449
With the gears in, finished installing the levers and the Leadscrew. Also used new bearings - open bearing #7203 for Leadscrew inside the gearbox, and a R5 thrust bearing on the outside


Question..... I randomly installed a Pin and Cap Screw that threads into the bed casting ( Just under the Leadscrew). Is this a "fine adjustment" for paralleling the Leadscrew to the Ways?
 

Attachments

  • IMG_5314.jpg
    IMG_5314.jpg
    73.5 KB · Views: 413
  • IMG_5315.jpg
    IMG_5315.jpg
    84.9 KB · Views: 417
  • IMG_5317.jpg
    IMG_5317.jpg
    80.8 KB · Views: 430
  • IMG_5329.jpg
    IMG_5329.jpg
    34.4 KB · Views: 414
  • IMG_5331.jpg
    IMG_5331.jpg
    33.9 KB · Views: 428
Now I'm on to the Apron. Filthy, greasy......but I believe most all the Wicking is still together. Very good news! Gears & Half Nut Threads look to be in excellent shape.
 

Attachments

  • IMG_5322.jpg
    IMG_5322.jpg
    62.8 KB · Views: 458
  • IMG_5323.jpg
    IMG_5323.jpg
    59.7 KB · Views: 409
  • IMG_5325.jpg
    IMG_5325.jpg
    51.8 KB · Views: 401
  • IMG_5326.jpg
    IMG_5326.jpg
    59.7 KB · Views: 468
  • IMG_8510.jpg
    IMG_8510.jpg
    47.2 KB · Views: 460
I have found trouble with a taper pin on the Upper Rack Pinion Gear. I've been pounding it pretty good with 16 oz hammer and nail punch....not budging.

Any ideas?
 

Attachments

  • IMG_5334.jpg
    IMG_5334.jpg
    44.1 KB · Views: 299
  • IMG_5335.jpg
    IMG_5335.jpg
    48 KB · Views: 363
Forgot to post this earlier.....

Got some cork gasket from auto parts store and needed a little more shim, so Coke cardboard is excellent!
 

Attachments

  • IMG_5281.jpg
    IMG_5281.jpg
    96.1 KB · Views: 447
  • IMG_5284.jpg
    IMG_5284.jpg
    99 KB · Views: 428
  • IMG_5286.jpg
    IMG_5286.jpg
    98.3 KB · Views: 406
  • IMG_5288.jpg
    IMG_5288.jpg
    98.3 KB · Views: 420
  • IMG_5290.jpg
    IMG_5290.jpg
    103.1 KB · Views: 391
Forgot to post this earlier.....

Got some cork gasket from auto parts store and needed a little more shim, so Coke cardboard is excellent!

Why are you putting a gasket on your short leg? I think that might compromise some of the machine's rigidity :eek:
 
Why are you putting a gasket on your short leg? I think that might compromise some of the machine's rigidity :eek:

Both legs had a "blue gel gasket" adhered prior, so I saw no reason not to. Didn't think it would be wrong......


Back
Top