What's new
What's new

Heavy 10 Refurb...

LoveAluminum

Aluminum
Joined
May 20, 2011
Location
Fort Worth, Texas
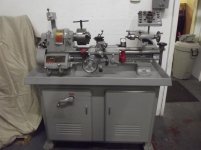
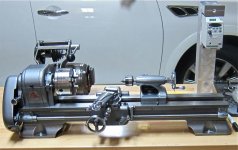
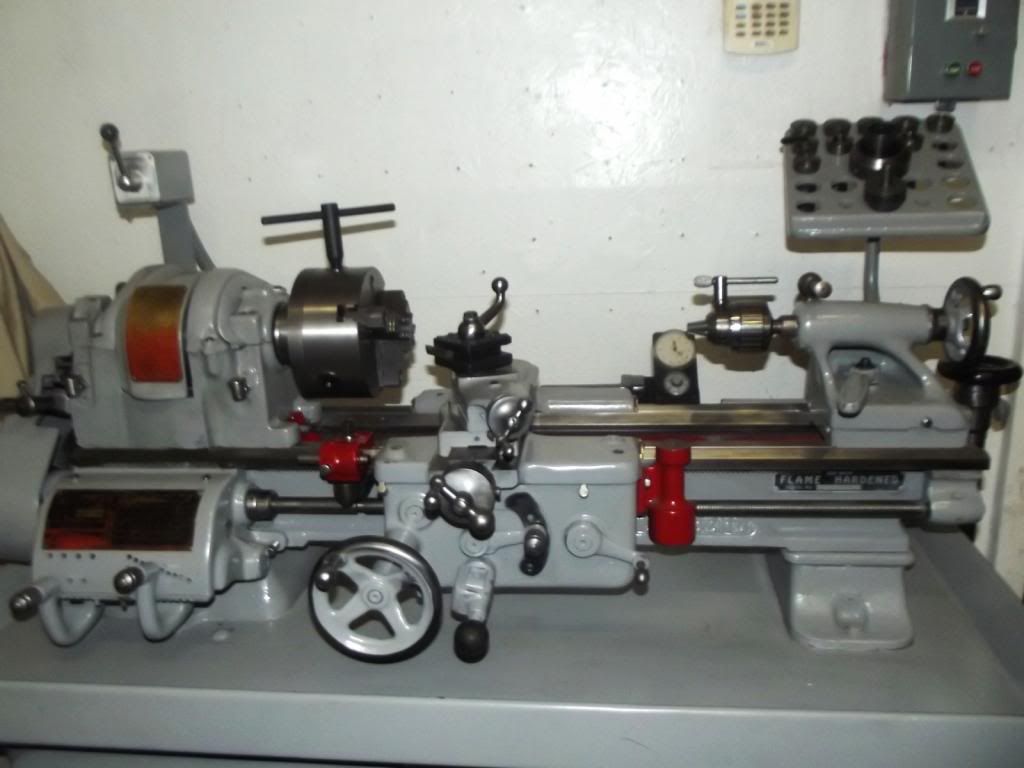
Hello all, I recently acquired a SB Heavy 10, and as usual, it was better in the pictures than in person. Not a big deal, just a little more work for me and my tools. I strongly believe if you can't see it, don't buy it, unless you're buying it from Wells.

Pictures and questions to follow. I hope you enjoy it as much as I do doing it. I recently refurbished an Atlas 618 with VFD, strip and paint ending up with a fantastic machine. I think I enjoy working on them more than I do working with them. Am I crazy? Probably, because it cost me a lot of money. I call it therapy.

Anyway, pictures to follow, and your advice and suggestions are always appreciated.

Cheers,

Bill~
 

Attachments

  • $T2eC16d,!y8E9s2fk3T9BQYEPbfBUQ~~60_57.jpg
    $T2eC16d,!y8E9s2fk3T9BQYEPbfBUQ~~60_57.jpg
    86.6 KB · Views: 252
The machine is wired for 460 or something. Doesn't matter, I'll be re-wiring for either three phase VFD, or 120. I'm sort of still thinking about it, and I have plenty of time to consider it. My VFD'd Atlas works incredible, so I'm leaning towards this route. I do like the collet system I got with it, but also got a massive 7 inch chuck that could sink the Louisitania, again. Here is my Atlas for grins, so you can see what I've done with it.
 

Attachments

  • IMG_1252.jpg
    IMG_1252.jpg
    52.6 KB · Views: 226
I chose to take off the first thing that I could get my hands on, and that was the tailstock. I removed it and all of its pieces and am replacing the felts, but you get the idea. I would like to point out that I went a little too far on this piece; I used filler to hide many of the pits and holes as I wanted a smooth finish. Let me tell you, don't do it, it was a nightmare sanding it, but it does look fantastic. Of course I sanded and polished the metal pieces as well as finely sand out the inside and relubricate it. It is so nice it sat on my desk in the office for nearly a week. Man, I love it.
 

Attachments

  • IMG_1435.jpg
    IMG_1435.jpg
    48.8 KB · Views: 185
  • IMG_1439.jpg
    IMG_1439.jpg
    63 KB · Views: 212
  • IMG_1468.jpg
    IMG_1468.jpg
    40.9 KB · Views: 239
  • IMG_1482.jpg
    IMG_1482.jpg
    59.5 KB · Views: 201
  • IMG_1494.jpg
    IMG_1494.jpg
    48.3 KB · Views: 248
Here some pics of the completed tailstock, on the unit, but it's still needs some assembly.
 

Attachments

  • IMG_1534.jpg
    IMG_1534.jpg
    32.4 KB · Views: 188
  • IMG_1535.jpg
    IMG_1535.jpg
    43.6 KB · Views: 201
I have started breaking down the apron, darn clutch gear is warbling on me. I thought it might be the shaft, or even the gear, but as it turns out it is actually the gearhub. The smaller gear is actually the hub, and the gear sits on it. So there are two pins on the opposite side that determine its ride.

I took a deadblow synthetic hammer and gently pounded the gear on a wood table and straigtened the fitting out. Now it's straight as an arrow.

IMG_1540_zps84855e86.jpg

IMG_1539_zps7274ba61.jpg
 
Last edited:
Dave, that machine looks really, really nice. It'll turn out spectacular, no doubt. But DO use them - that's where it's at.
 
Hi Brad,

Thanks for your help and advice. Dave lives in Chicago and has helped me tremendously with the work on the lathe.

I enjoy working on them a little more than working with them. This will be my last project lahte, though, as I am wanting to play more.

I remain impressed with the quality and durability of hte parts and engineering behind the machine. They were built to last forever. Fun times....

Bill~

Dave, that machine looks really, really nice. It'll turn out spectacular, no doubt. But DO use them - that's where it's at.


Back
Top