I picked up a new Infrared lamp to force dry my paint, it being a little cool in the shop.
I thought you all might want to see, it is an American made product by Infratech.
http://www.wswells.com/photos/1968-10L-swells/1.JPG
http://www.wswells.com/photos/1968-10L-swells/2.JPG
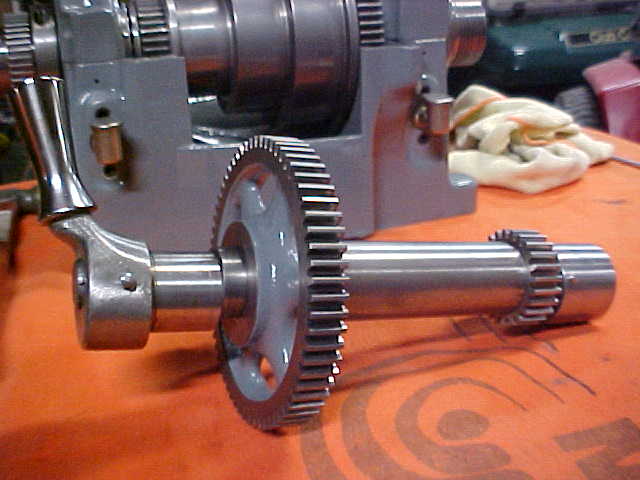
Long story shortened, I picked up a 1968 10L(in the back ground) that had been turning wood for 10 years and to my horror after paying for it, was told it had always just been oiled with automotive gear lube in the headstock. I could not bring myself to run it like that,
and besides it really had a bad smell to it with that gear oil in it. Well I just had to see for
myself just how bad it was....and if all those stories are true you hear about saw dust and wood chips.
http://www.wswells.com/photos/1968-10L-swells/3.JPG
http://www.wswells.com/photos/1968-10L-swells/4.JPG
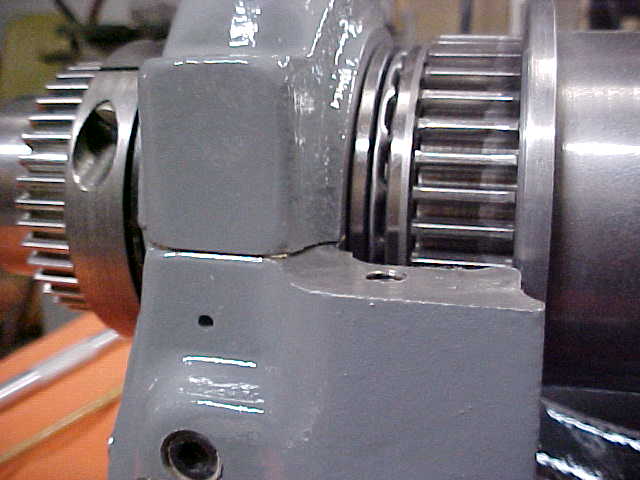
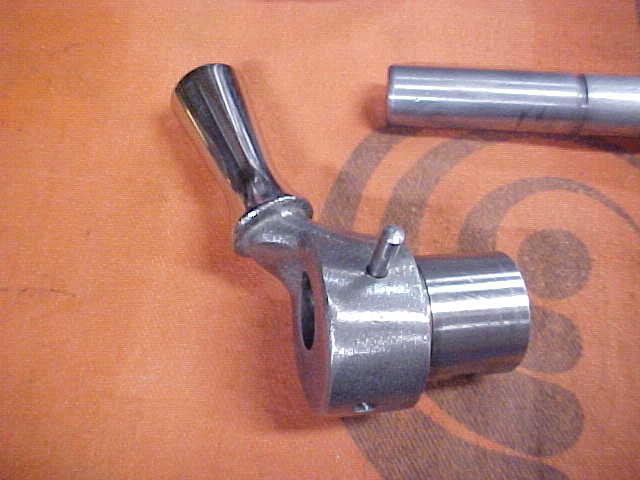
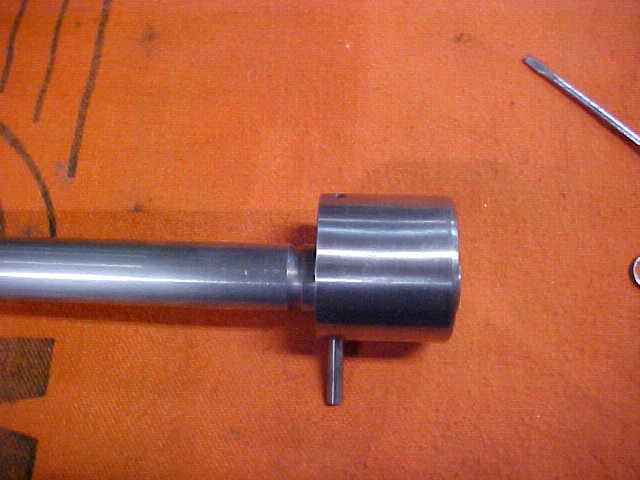
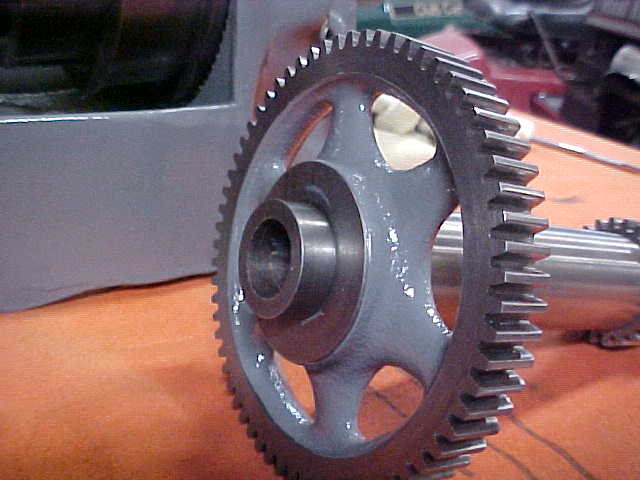
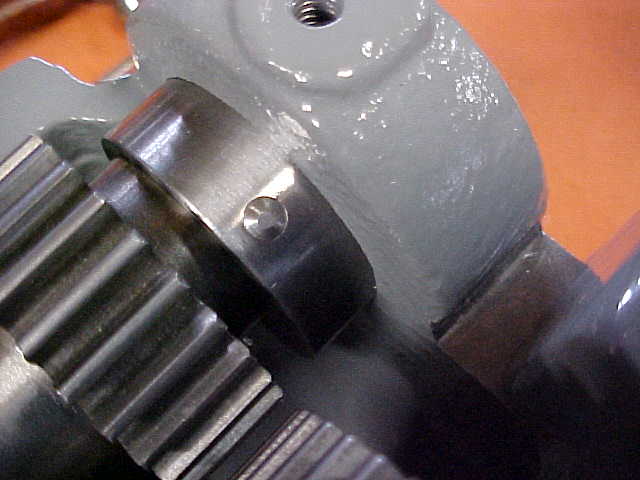
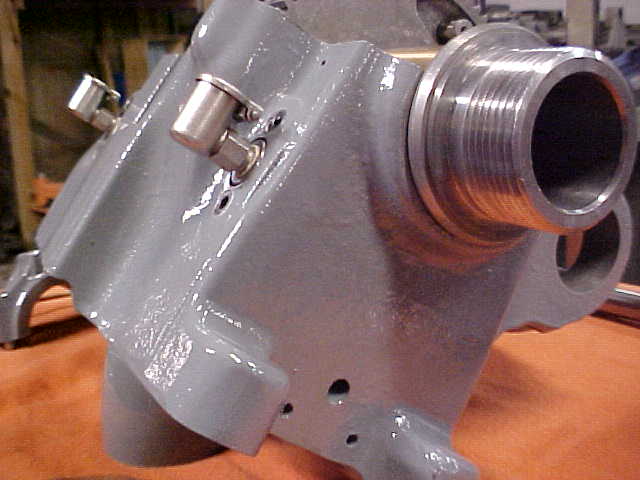
After pulling the spindle, hard to believe everything was perfect, not a score one.
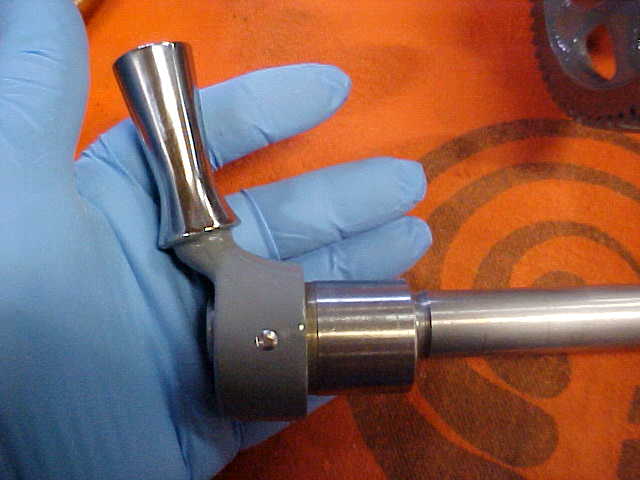
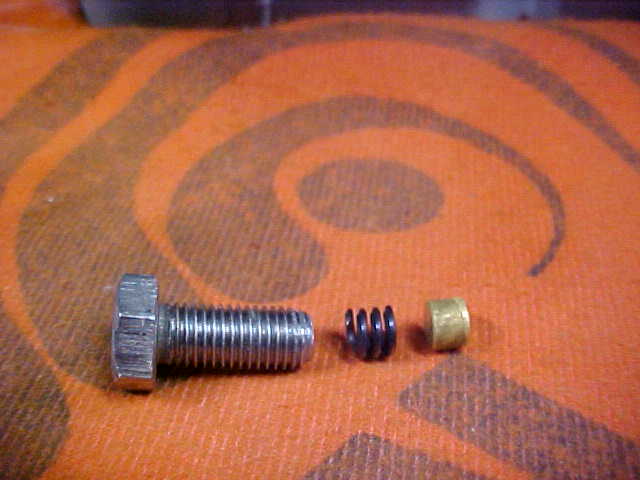
The spindle capillary oilers were a bit dirty:
http://www.wswells.com/photos/1968-10L-swells/13a.JPG
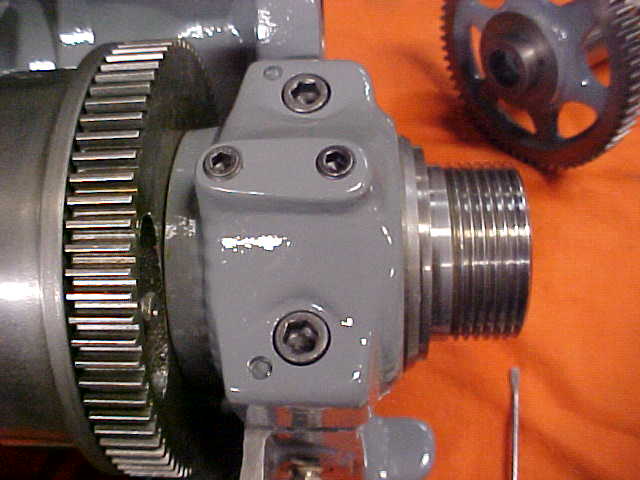
I ordered a new set from Ted along with the gits oilers and could not stop myself from
cleaning and painting the headstock.
Cleaned and taped, Infrared on, Major Tom:
http://www.wswells.com/photos/1968-10L-swells/5.JPG
http://www.wswells.com/photos/1968-10L-swells/6.JPG
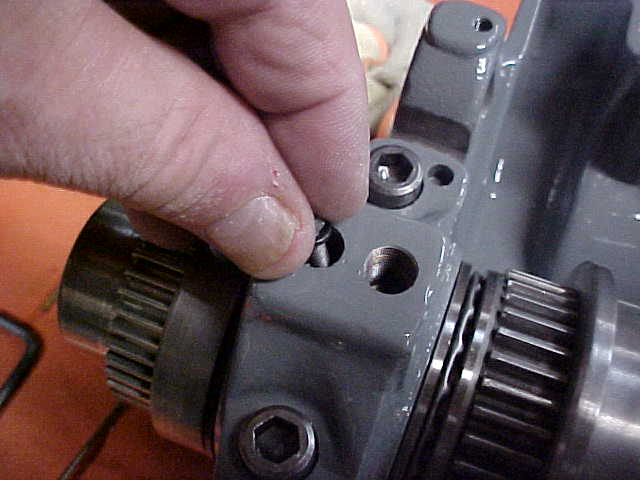
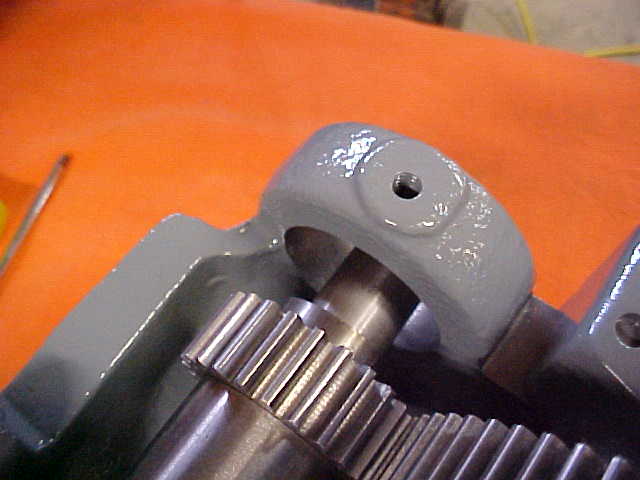
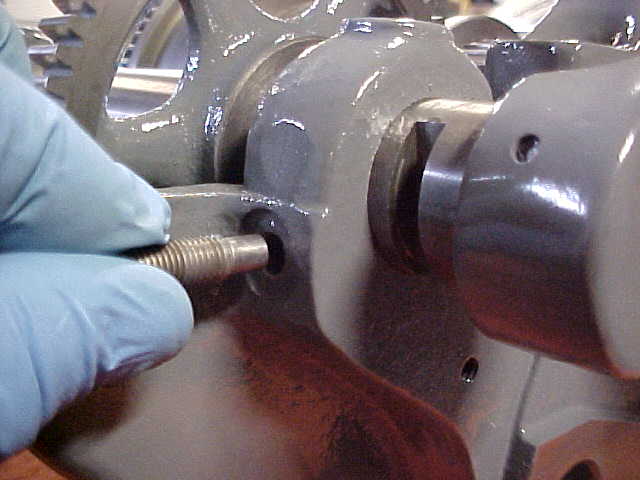
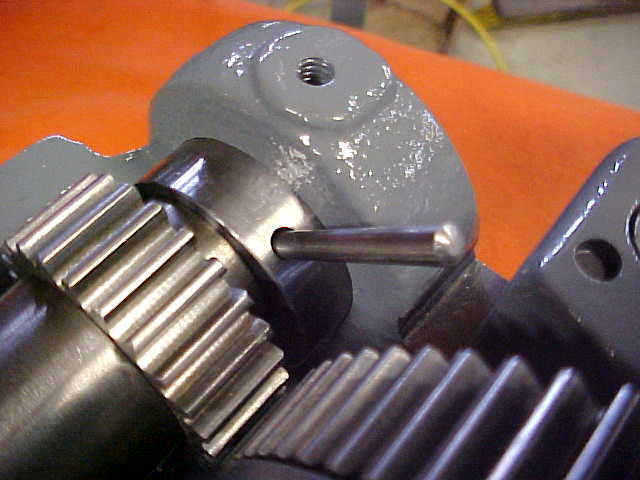
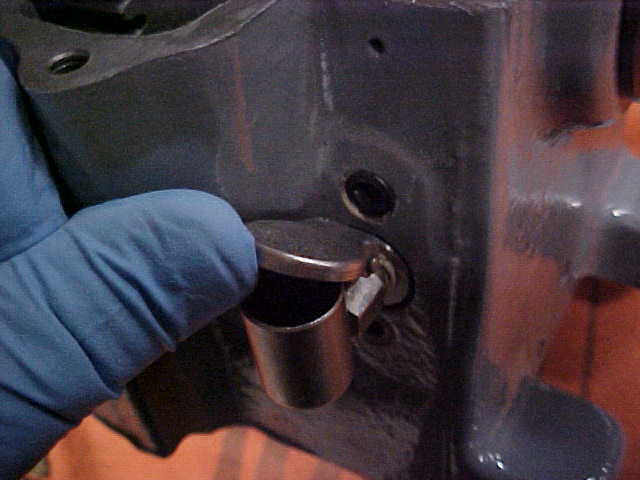
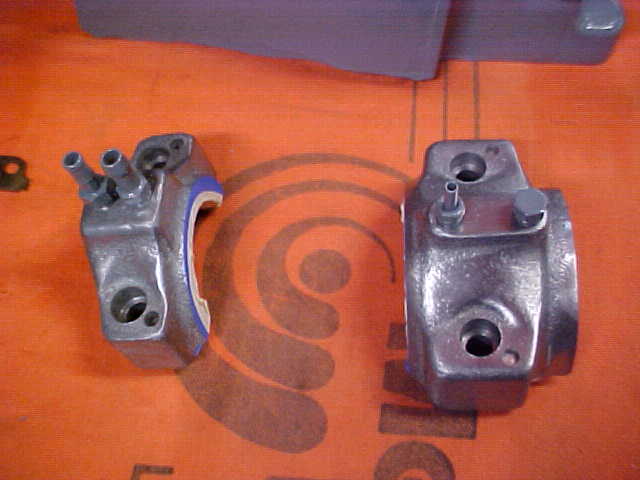
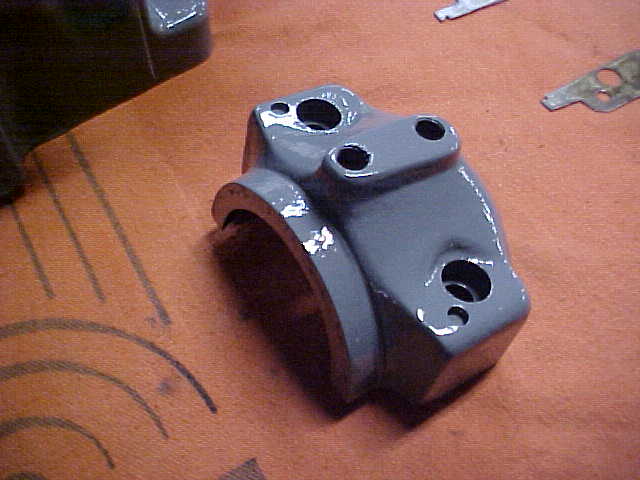
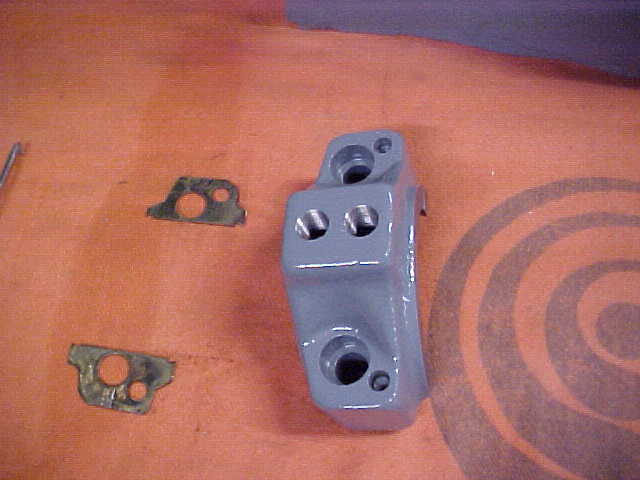
Her's a few shots of proper installation of the oilers, after spindle is removed.
Enjoy:
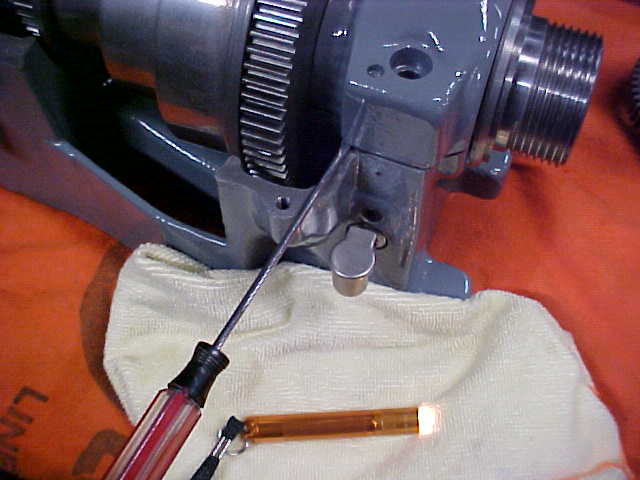
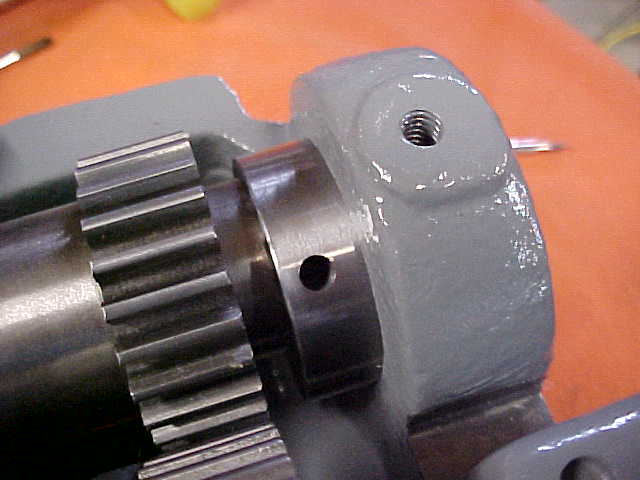
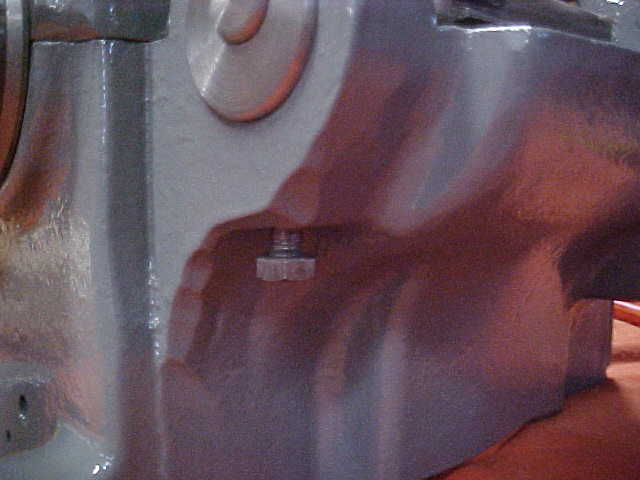
Install the lower pipe plugs to contain the small amount of oil you are about to add:
http://www.wswells.com/photos/1968-10L-swells/7.JPG
http://www.wswells.com/photos/1968-10L-swells/8.JPG
http://www.wswells.com/photos/1968-10L-swells/9.JPG
http://www.wswells.com/photos/1968-10L-swells/10.JPG
http://www.wswells.com/photos/1968-10L-swells/11.JPG
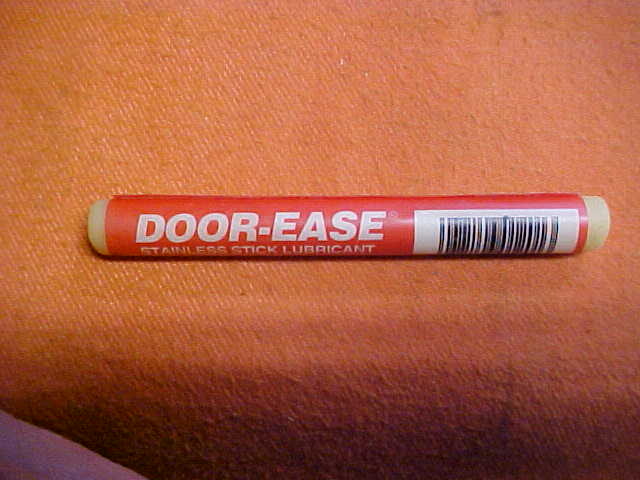
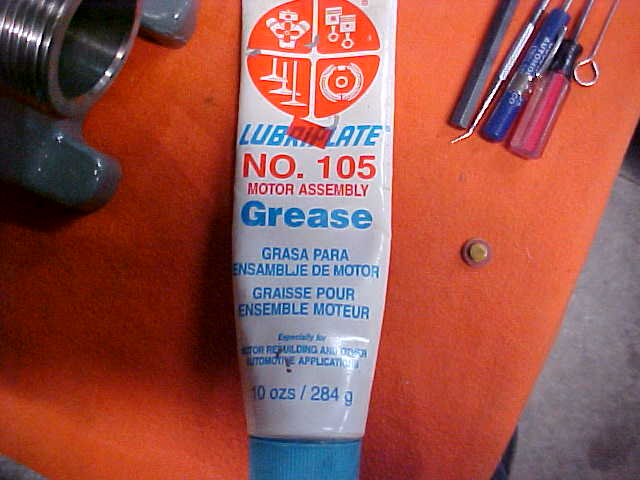
Soak your wicks in...number 10, get your wires ready...
http://www.wswells.com/photos/1968-10L-swells/12.JPG
http://www.wswells.com/photos/1968-10L-swells/13.JPG
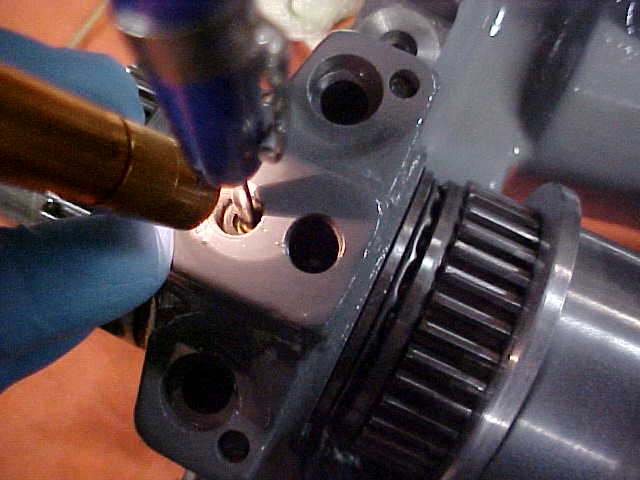
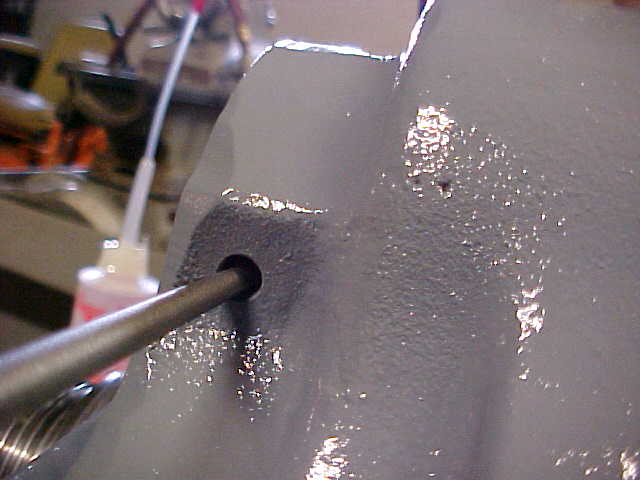
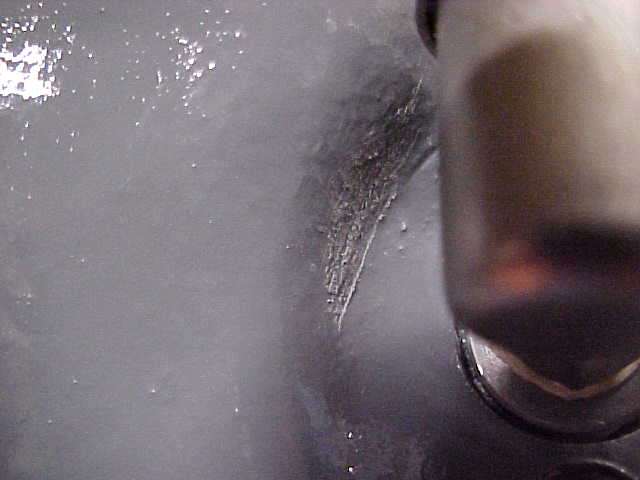
A few shots down the hole, can you hear me ground control...
http://www.wswells.com/photos/1968-10L-swells/14.JPG
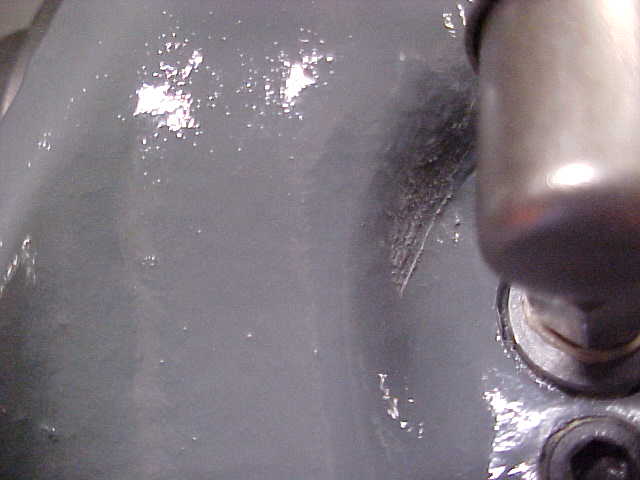
Brush it around, up and down, Major Tom.
http://www.wswells.com/photos/1968-10L-swells/15.JPG
http://www.wswells.com/photos/1968-10L-swells/15a.JPG
These are paint gun cleaning wires, perfect:
http://www.wswells.com/photos/1968-10L-swells/16.JPG
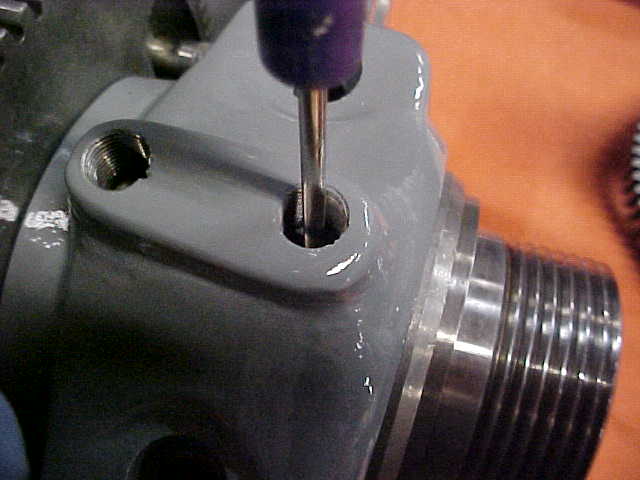
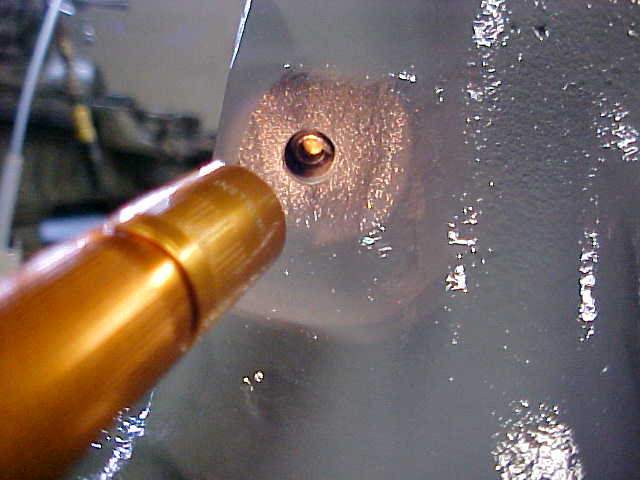
Wires ready, engines on...
http://www.wswells.com/photos/1968-10L-swells/17.JPG
contacts down , wires in...ignition on at 10...
http://www.wswells.com/photos/1968-10L-swells/18.JPG
http://www.wswells.com/photos/1968-10L-swells/19.JPG
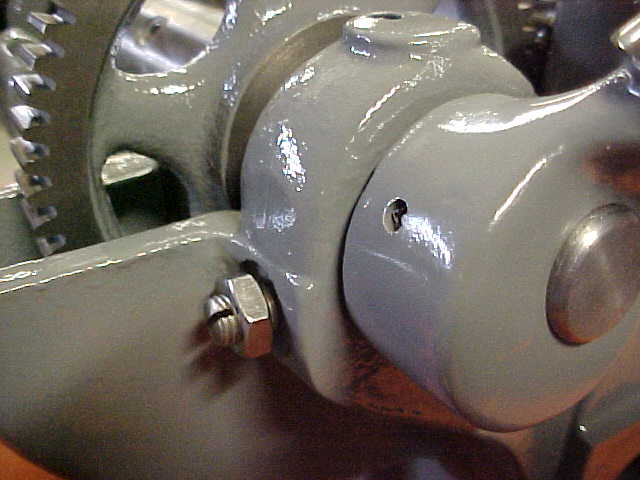
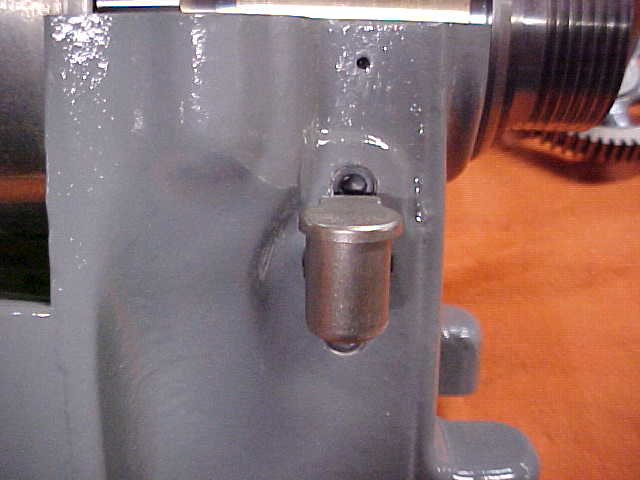
The spindle is clean and set in, and we pull the wires and have lift off.
http://www.wswells.com/photos/1968-10L-swells/20.JPG
I'll take a few more photos as I clean and get it ready to run.
Steve
I thought you all might want to see, it is an American made product by Infratech.
http://www.wswells.com/photos/1968-10L-swells/1.JPG
http://www.wswells.com/photos/1968-10L-swells/2.JPG
Long story shortened, I picked up a 1968 10L(in the back ground) that had been turning wood for 10 years and to my horror after paying for it, was told it had always just been oiled with automotive gear lube in the headstock. I could not bring myself to run it like that,
and besides it really had a bad smell to it with that gear oil in it. Well I just had to see for
myself just how bad it was....and if all those stories are true you hear about saw dust and wood chips.
http://www.wswells.com/photos/1968-10L-swells/3.JPG
http://www.wswells.com/photos/1968-10L-swells/4.JPG
After pulling the spindle, hard to believe everything was perfect, not a score one.
The spindle capillary oilers were a bit dirty:
http://www.wswells.com/photos/1968-10L-swells/13a.JPG
I ordered a new set from Ted along with the gits oilers and could not stop myself from
cleaning and painting the headstock.
Cleaned and taped, Infrared on, Major Tom:
http://www.wswells.com/photos/1968-10L-swells/5.JPG
http://www.wswells.com/photos/1968-10L-swells/6.JPG
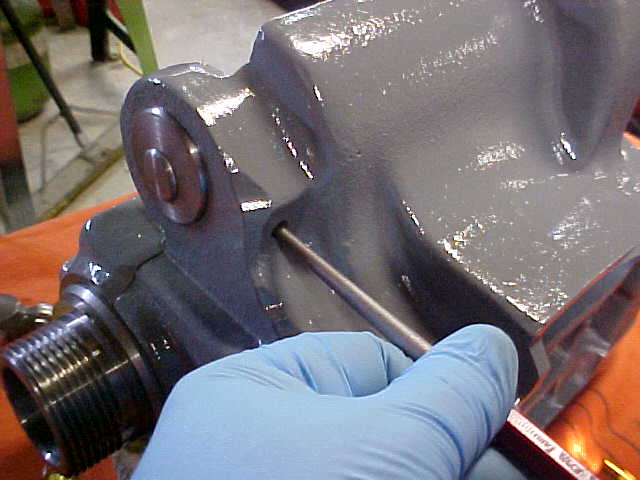
Her's a few shots of proper installation of the oilers, after spindle is removed.
Enjoy:
Install the lower pipe plugs to contain the small amount of oil you are about to add:
http://www.wswells.com/photos/1968-10L-swells/7.JPG
http://www.wswells.com/photos/1968-10L-swells/8.JPG
http://www.wswells.com/photos/1968-10L-swells/9.JPG
http://www.wswells.com/photos/1968-10L-swells/10.JPG
http://www.wswells.com/photos/1968-10L-swells/11.JPG
Soak your wicks in...number 10, get your wires ready...
http://www.wswells.com/photos/1968-10L-swells/12.JPG
http://www.wswells.com/photos/1968-10L-swells/13.JPG
A few shots down the hole, can you hear me ground control...
http://www.wswells.com/photos/1968-10L-swells/14.JPG
Brush it around, up and down, Major Tom.
http://www.wswells.com/photos/1968-10L-swells/15.JPG
http://www.wswells.com/photos/1968-10L-swells/15a.JPG
These are paint gun cleaning wires, perfect:
http://www.wswells.com/photos/1968-10L-swells/16.JPG
Wires ready, engines on...
http://www.wswells.com/photos/1968-10L-swells/17.JPG
contacts down , wires in...ignition on at 10...
http://www.wswells.com/photos/1968-10L-swells/18.JPG
http://www.wswells.com/photos/1968-10L-swells/19.JPG
The spindle is clean and set in, and we pull the wires and have lift off.
http://www.wswells.com/photos/1968-10L-swells/20.JPG
I'll take a few more photos as I clean and get it ready to run.
Steve
") . I'll show you on the covers...I really like the infrared heater, the
. I'll show you on the covers...I really like the infrared heater, the