What's new
What's new

South Bend 13 Restoration

bradjacob

Titanium
Joined
Nov 18, 2008
Location
Easton, PA
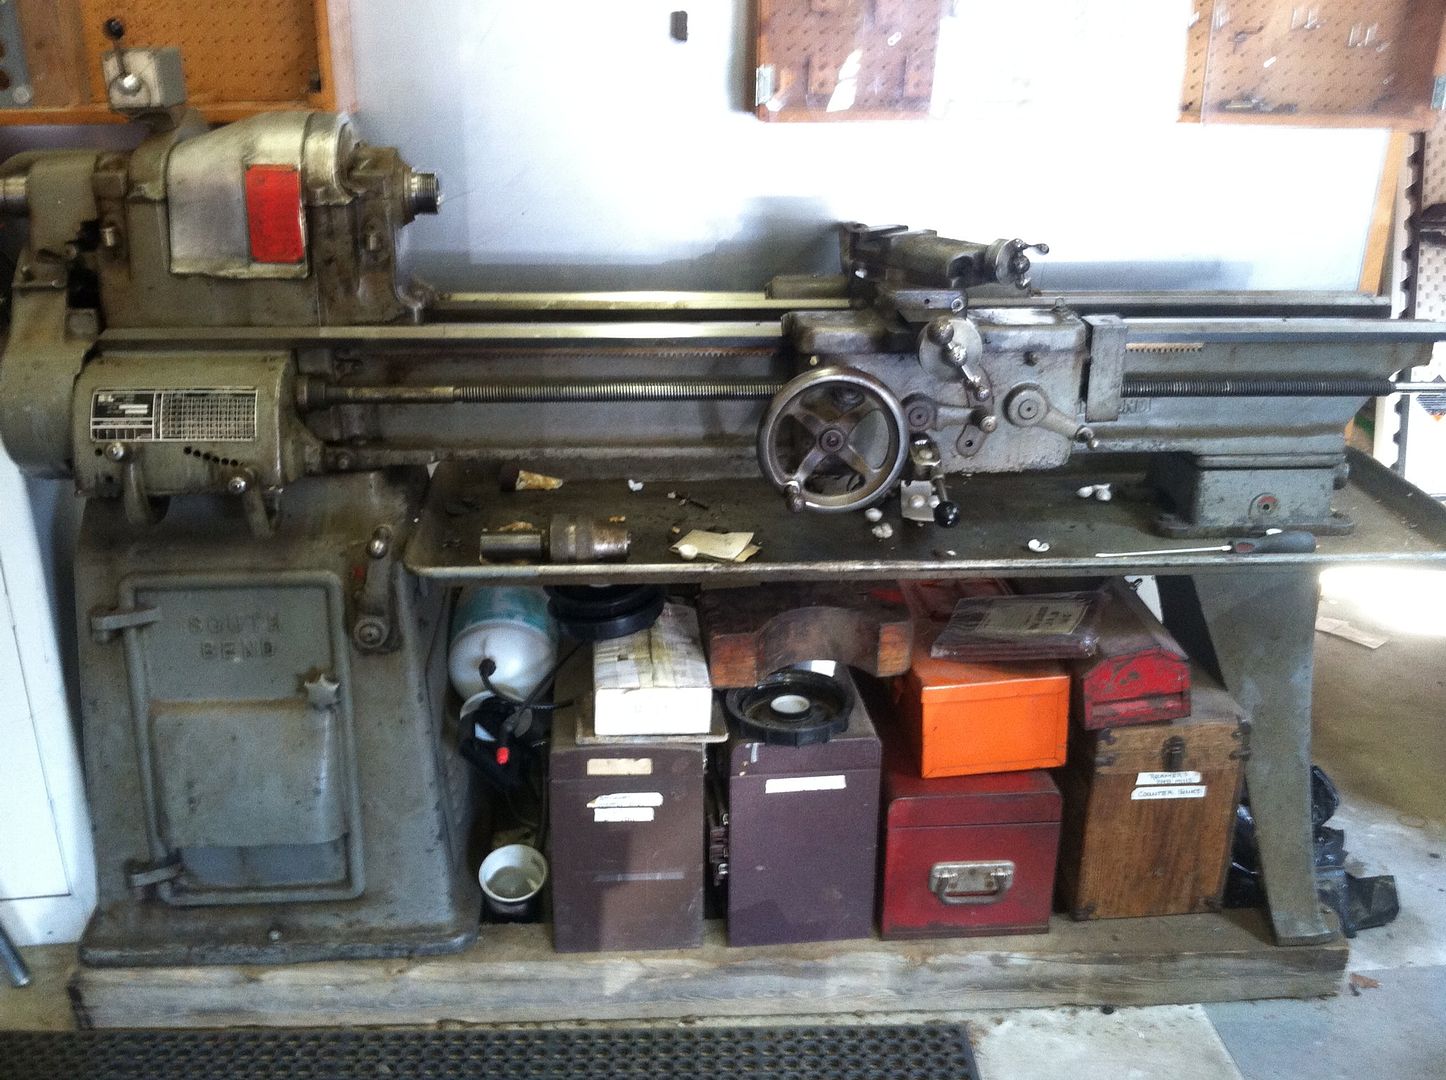
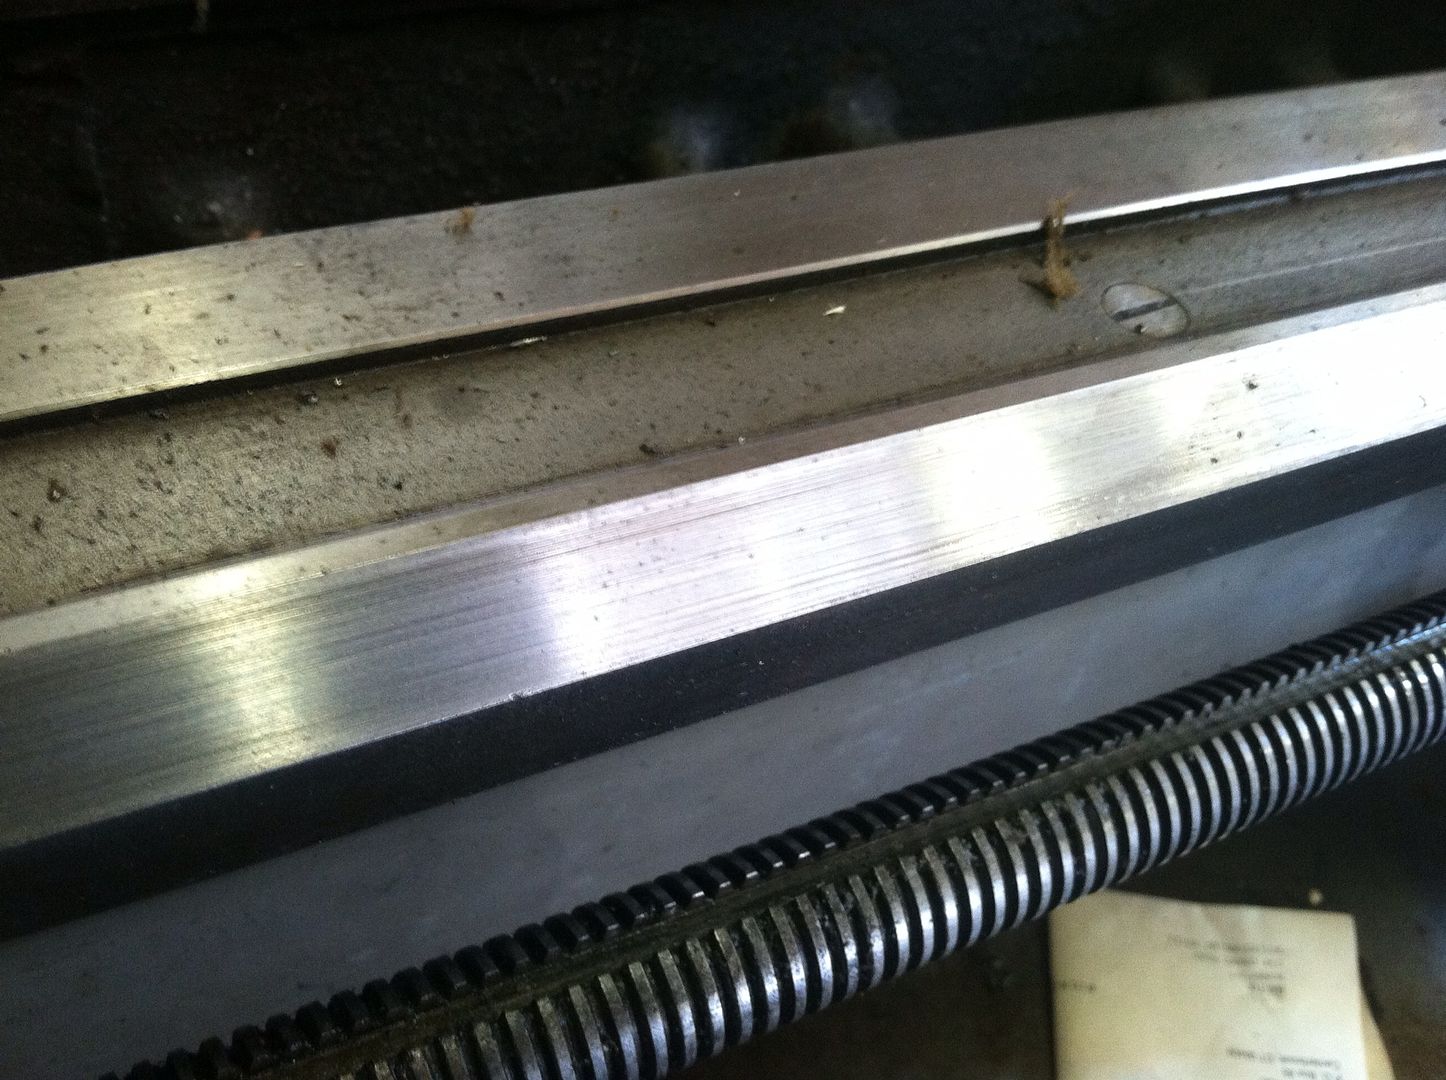
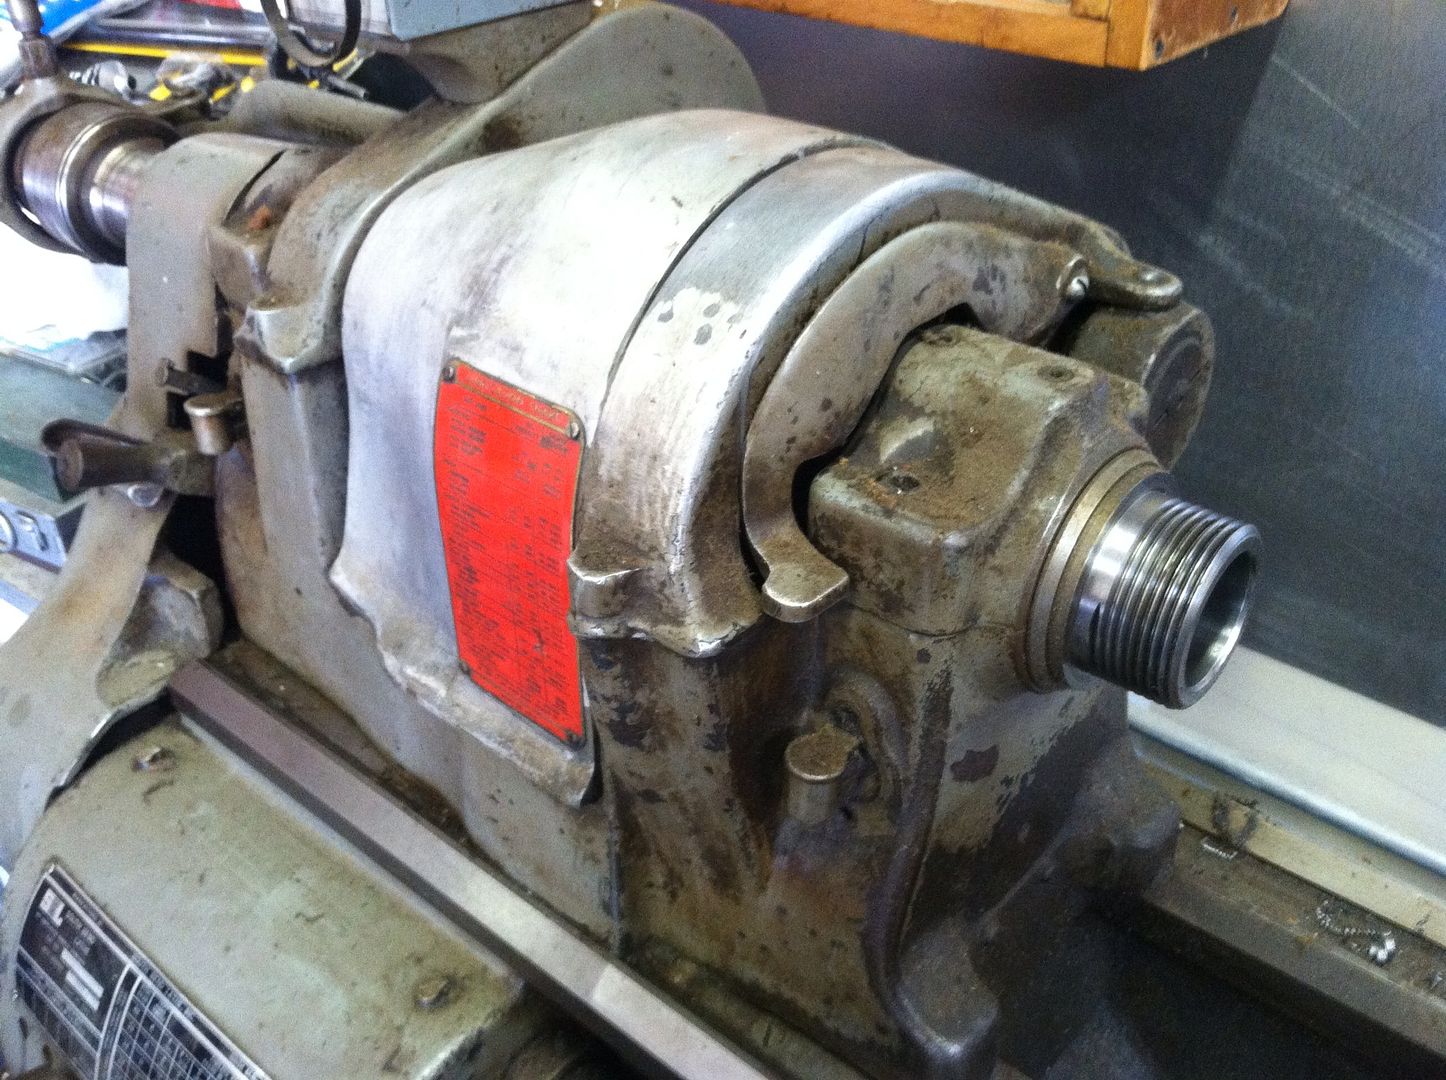
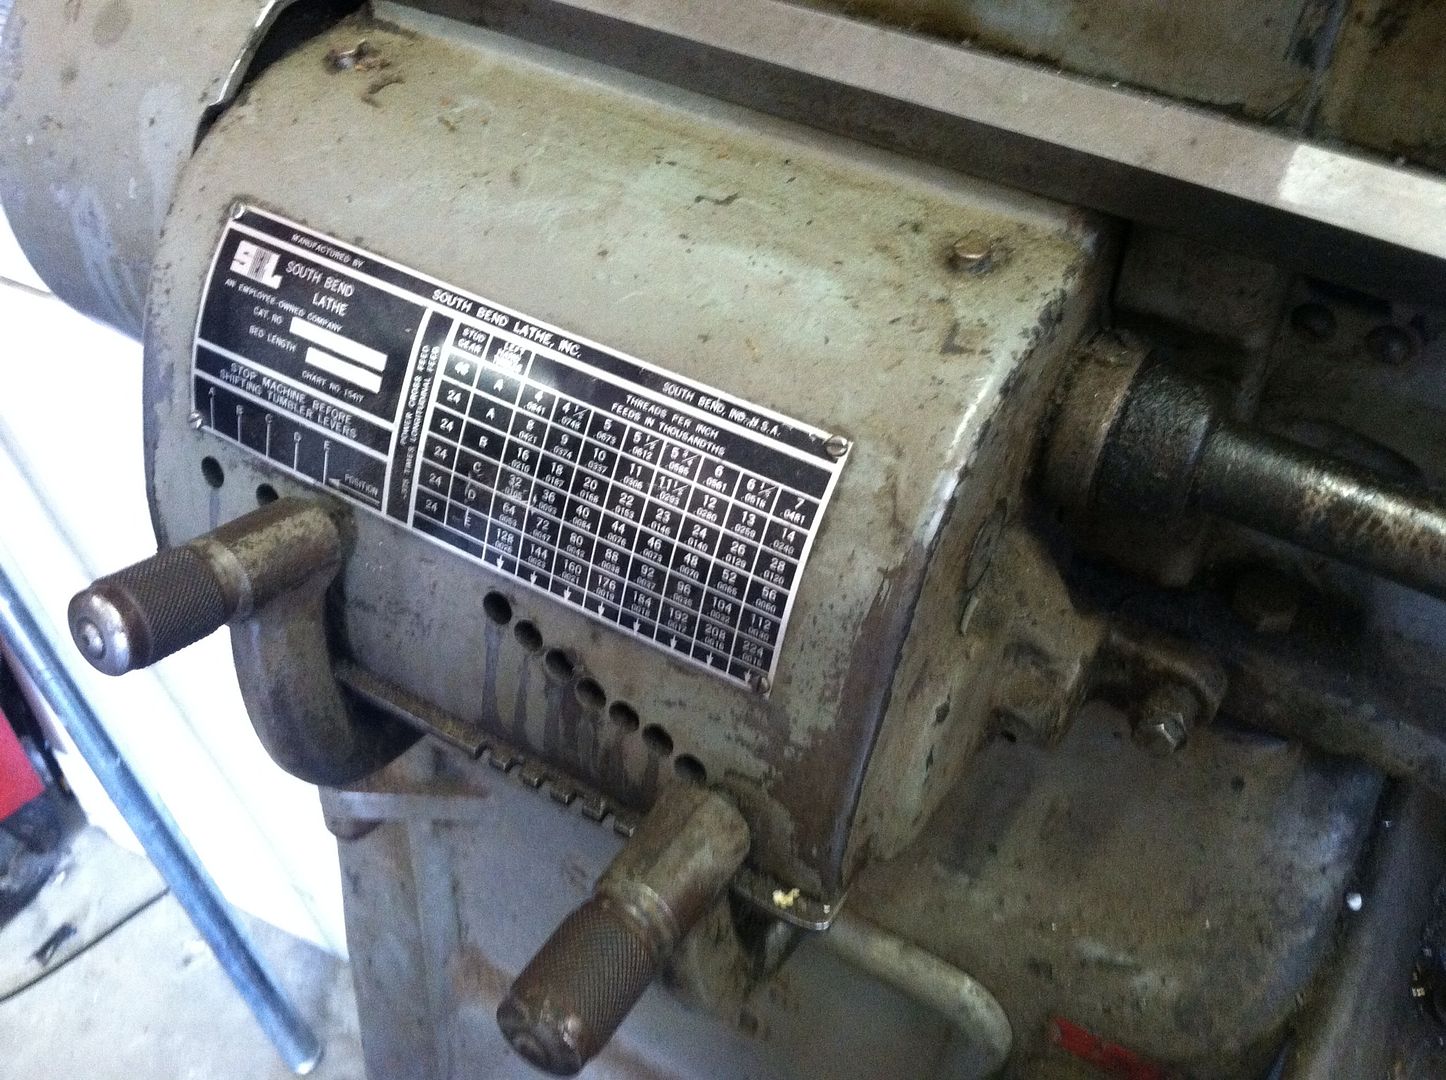
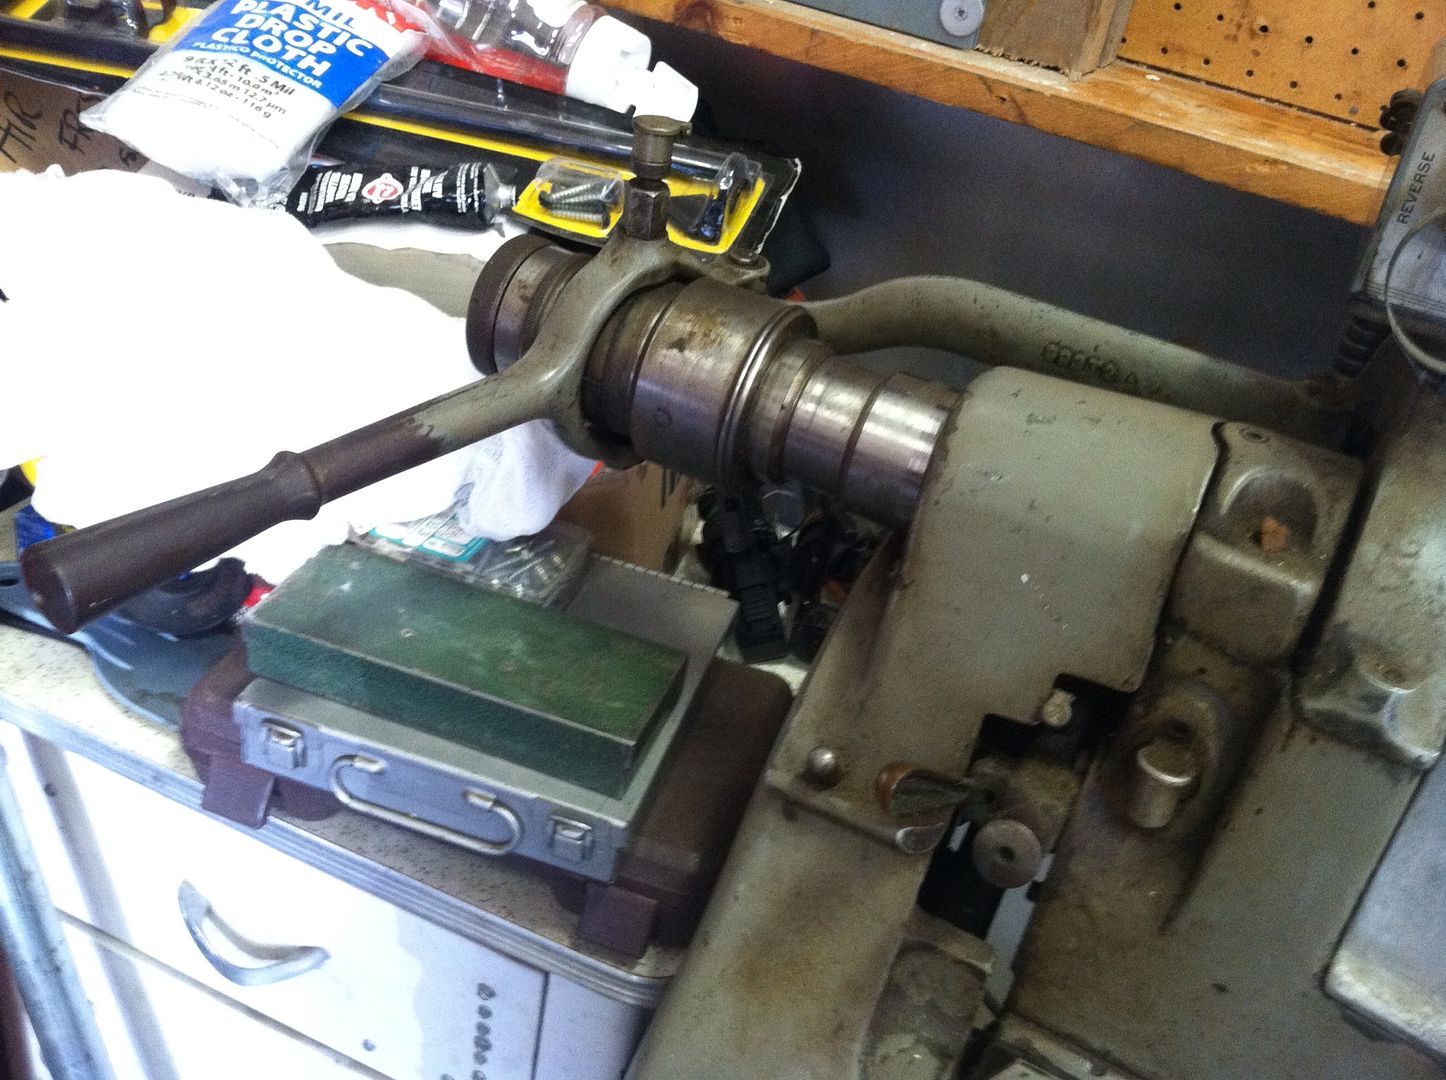
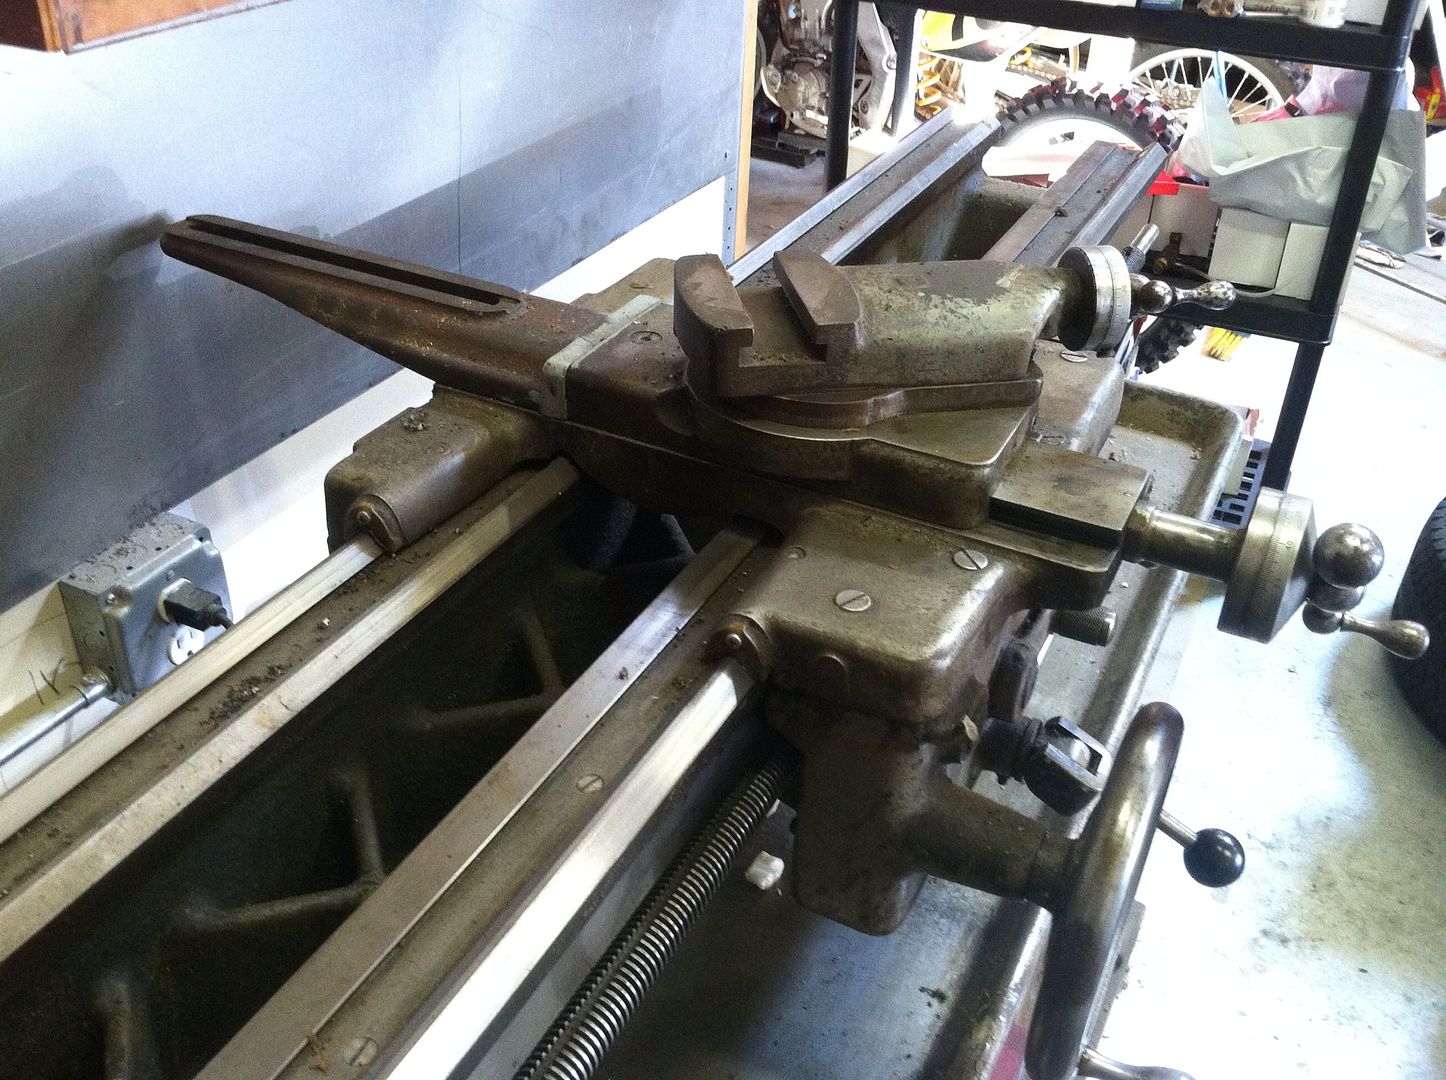
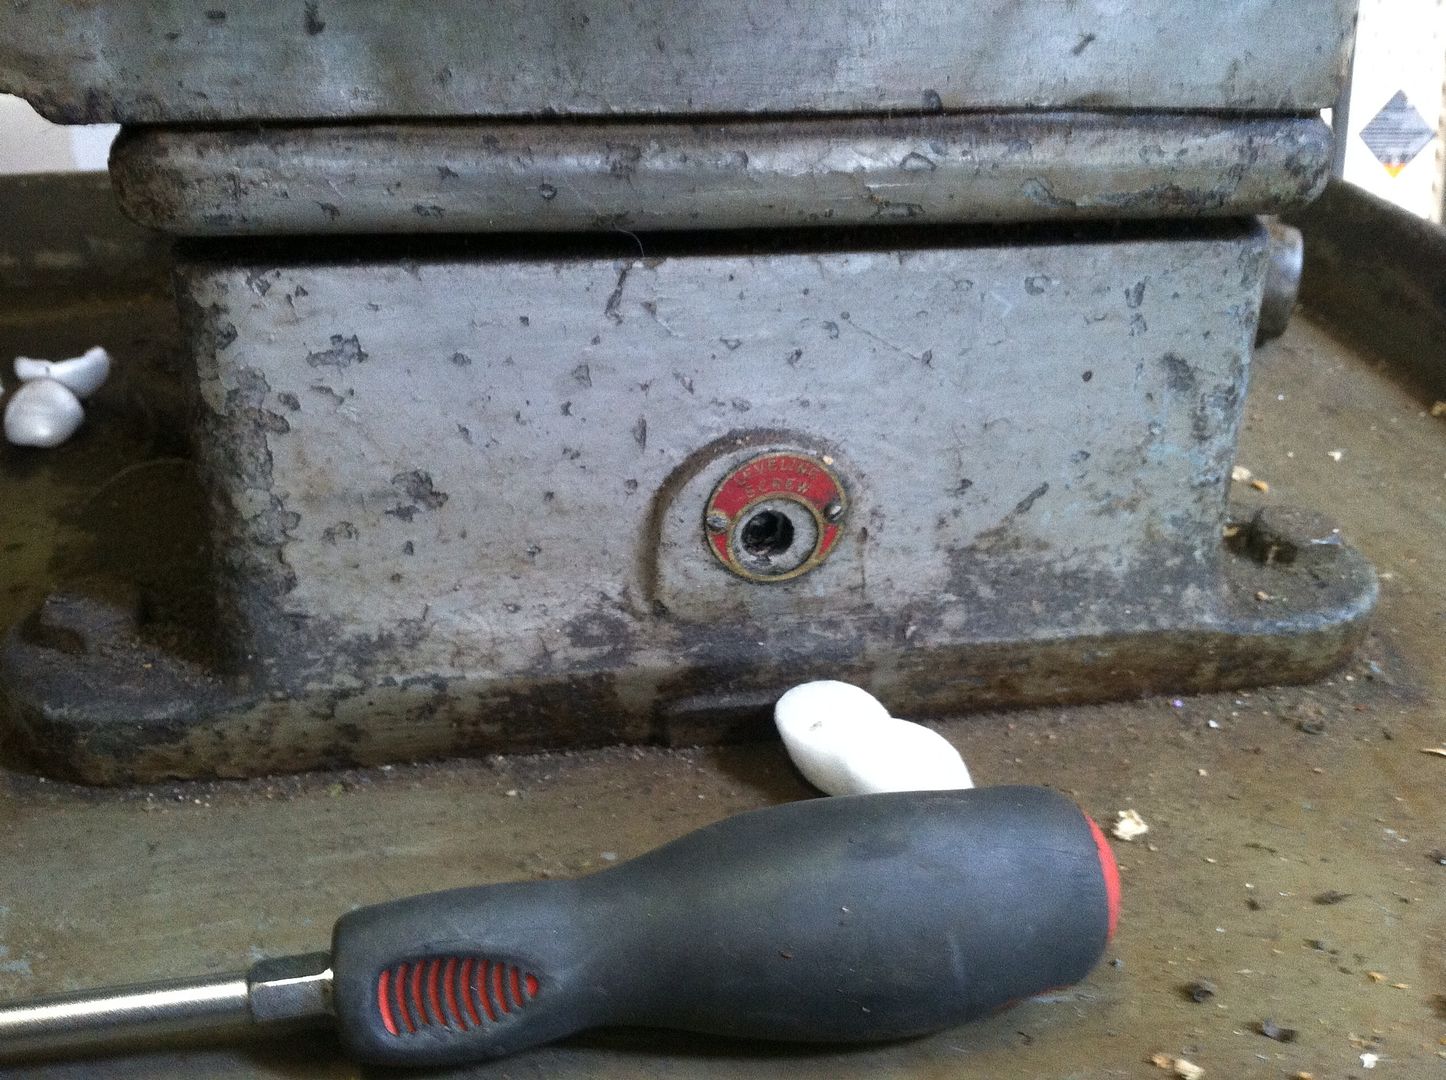
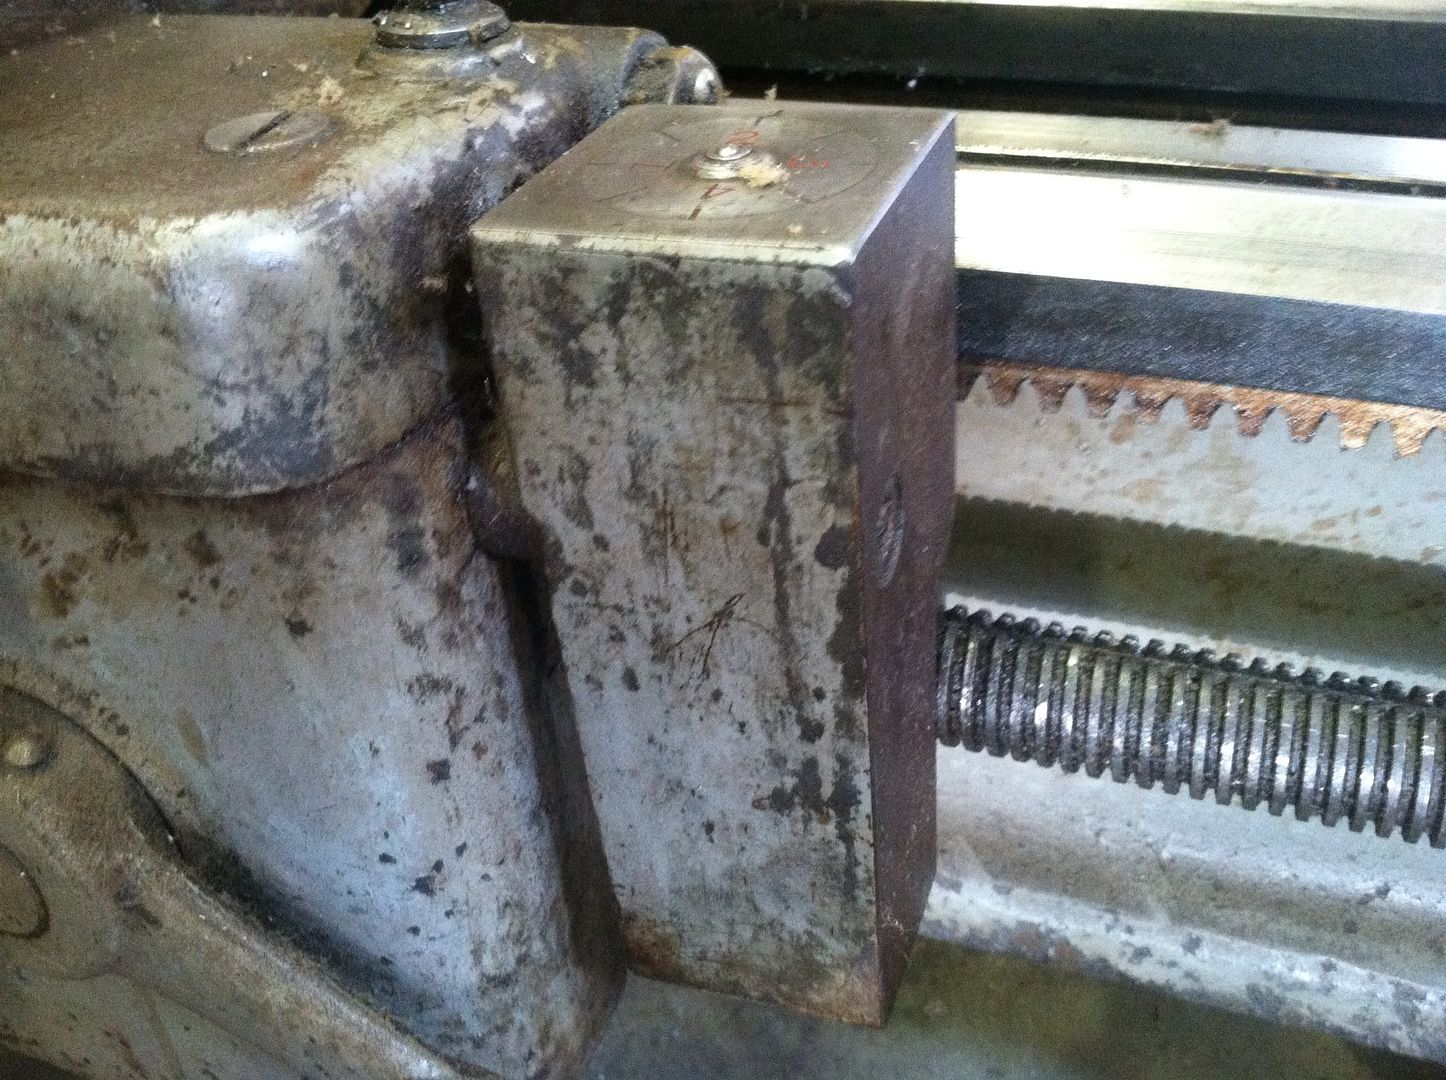
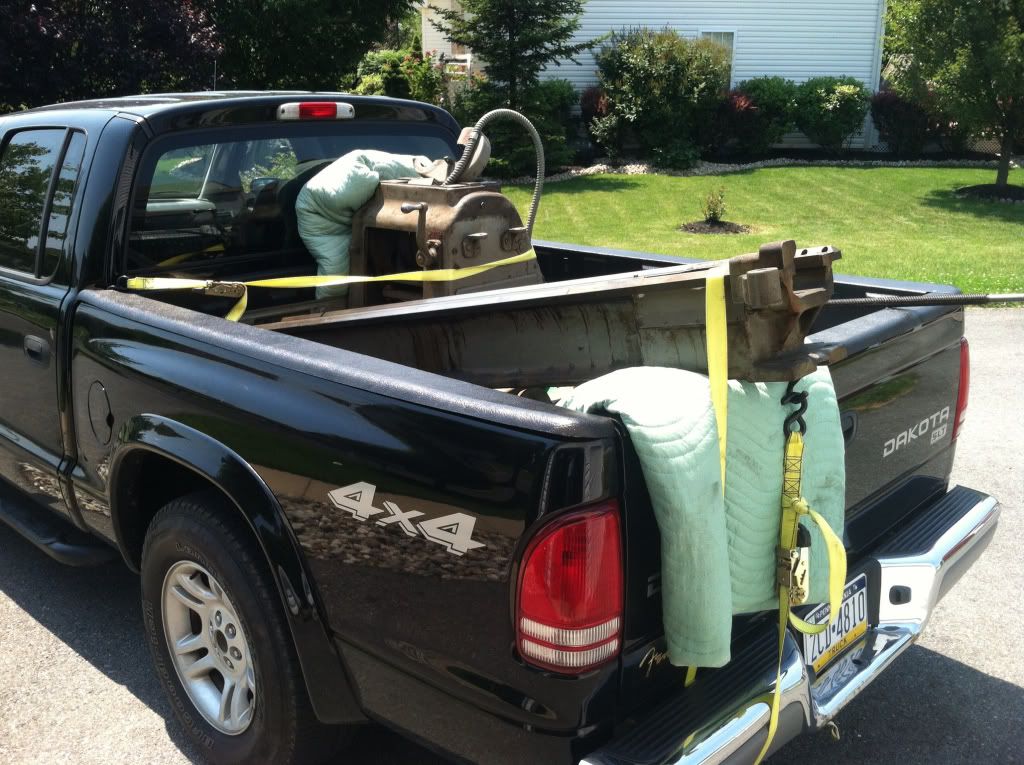
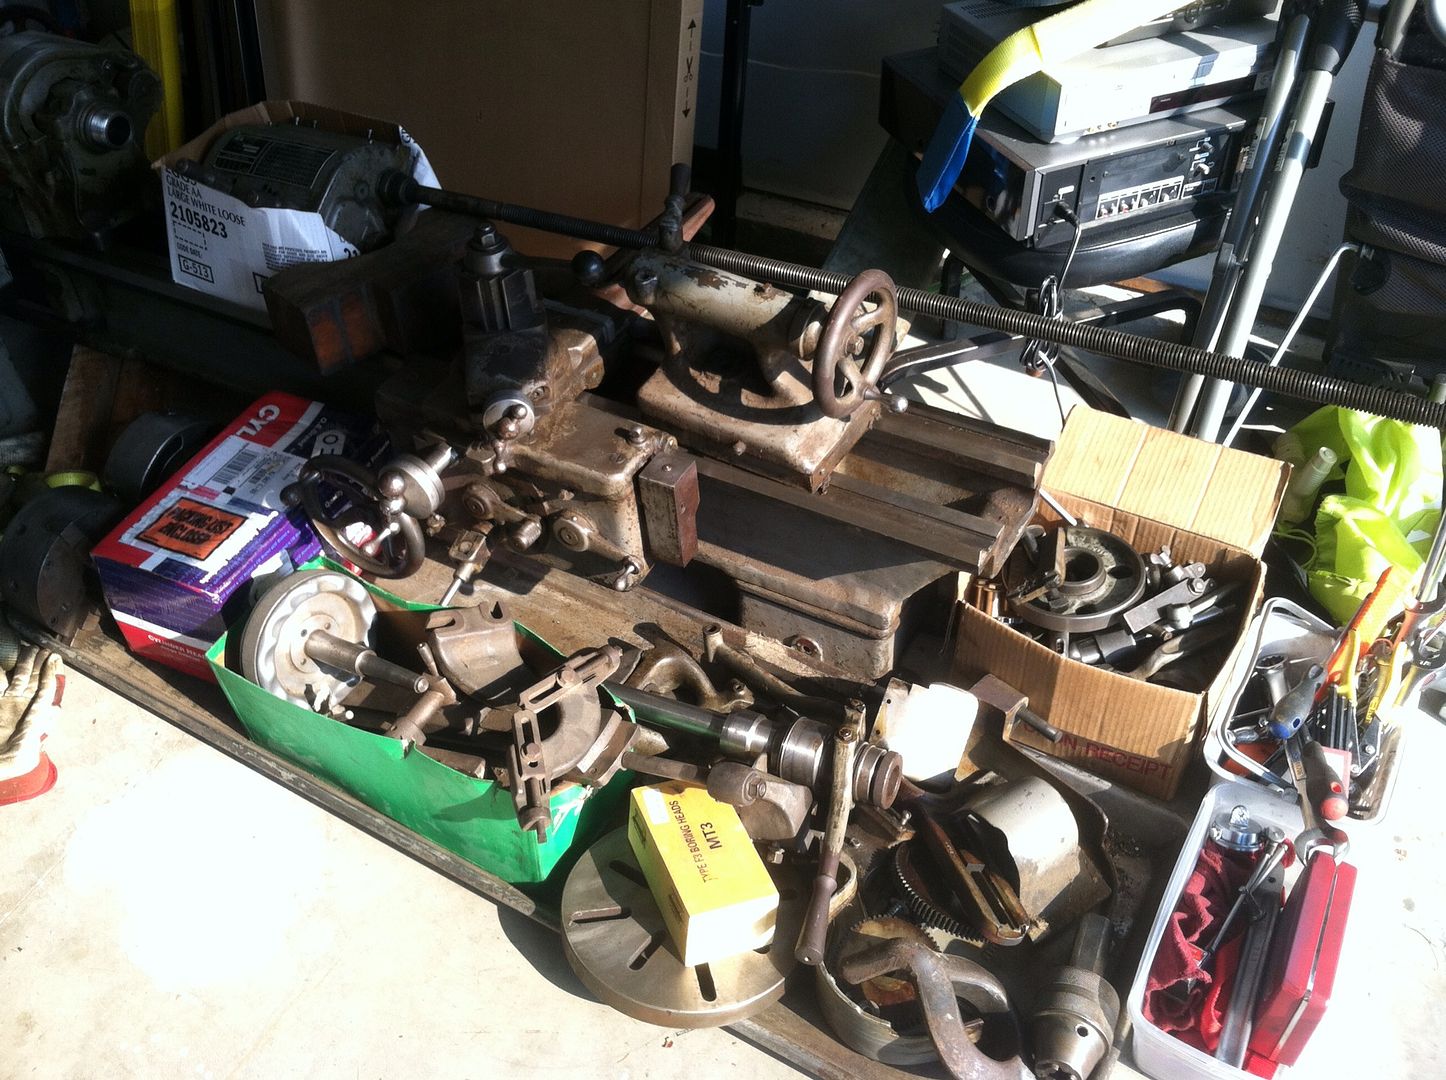
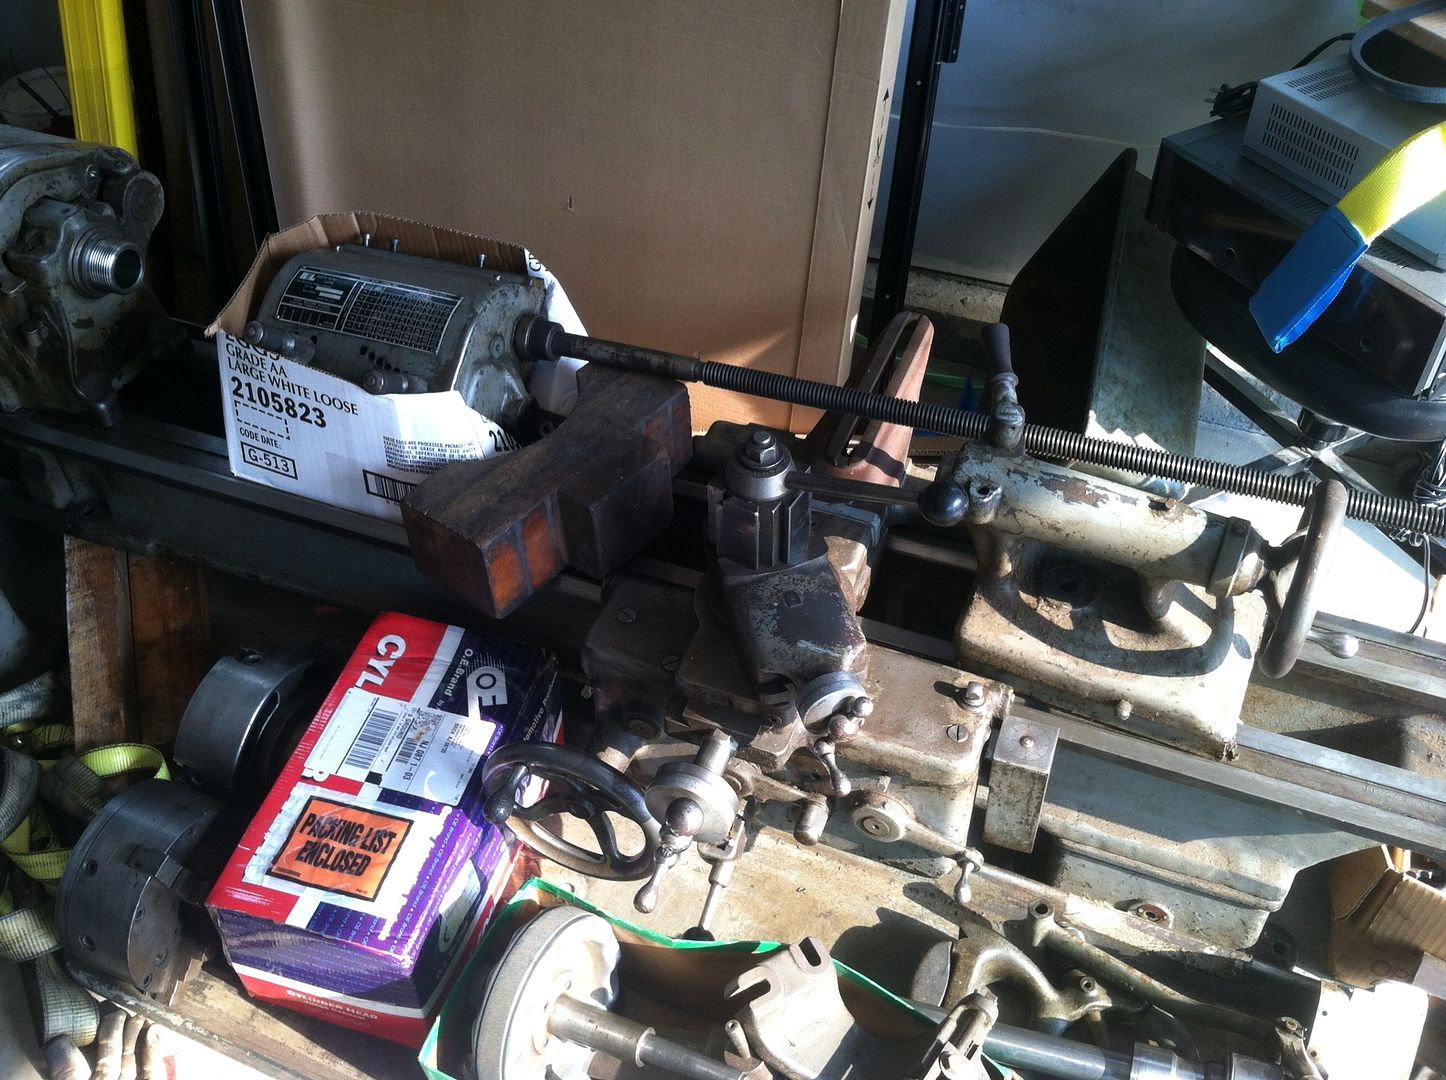
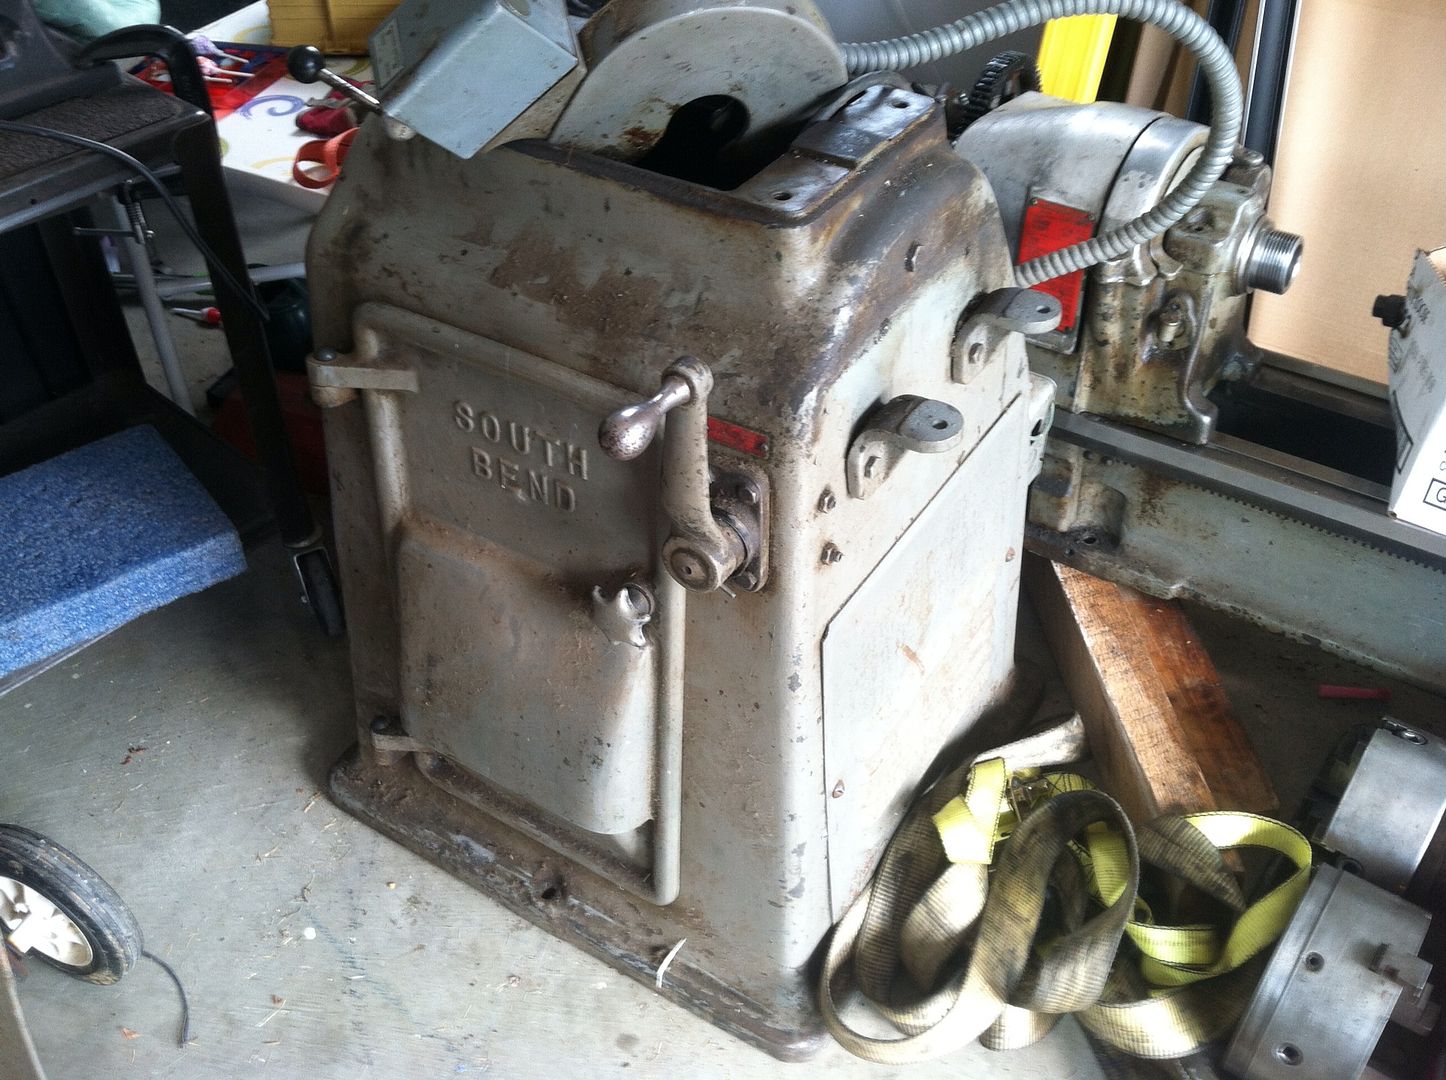
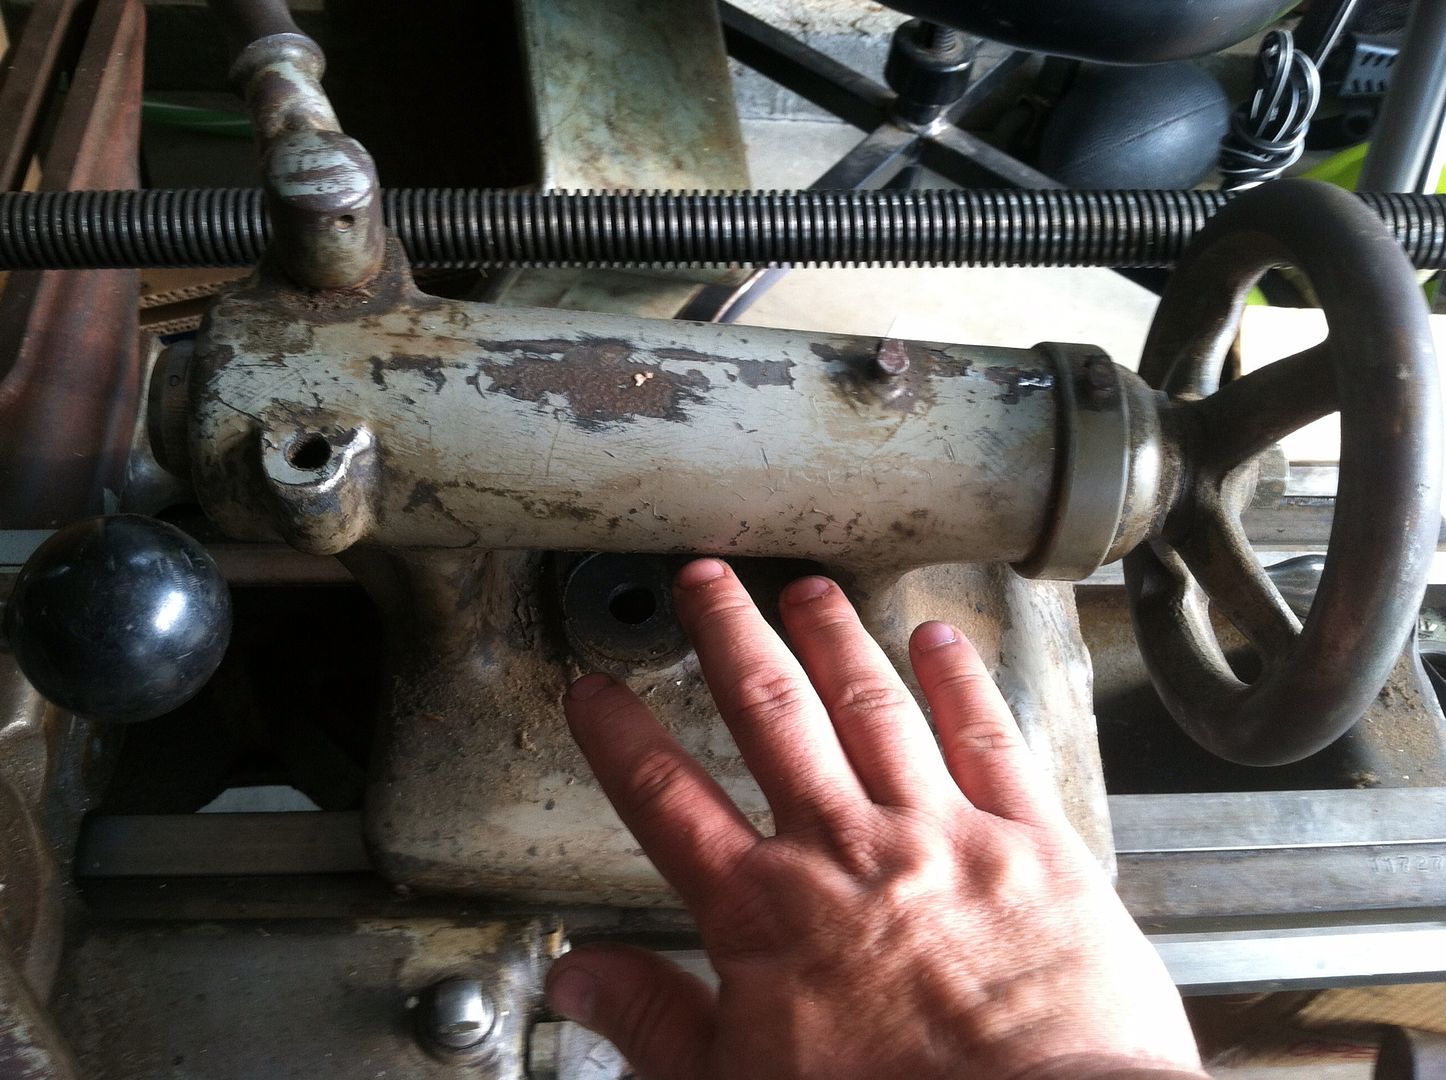
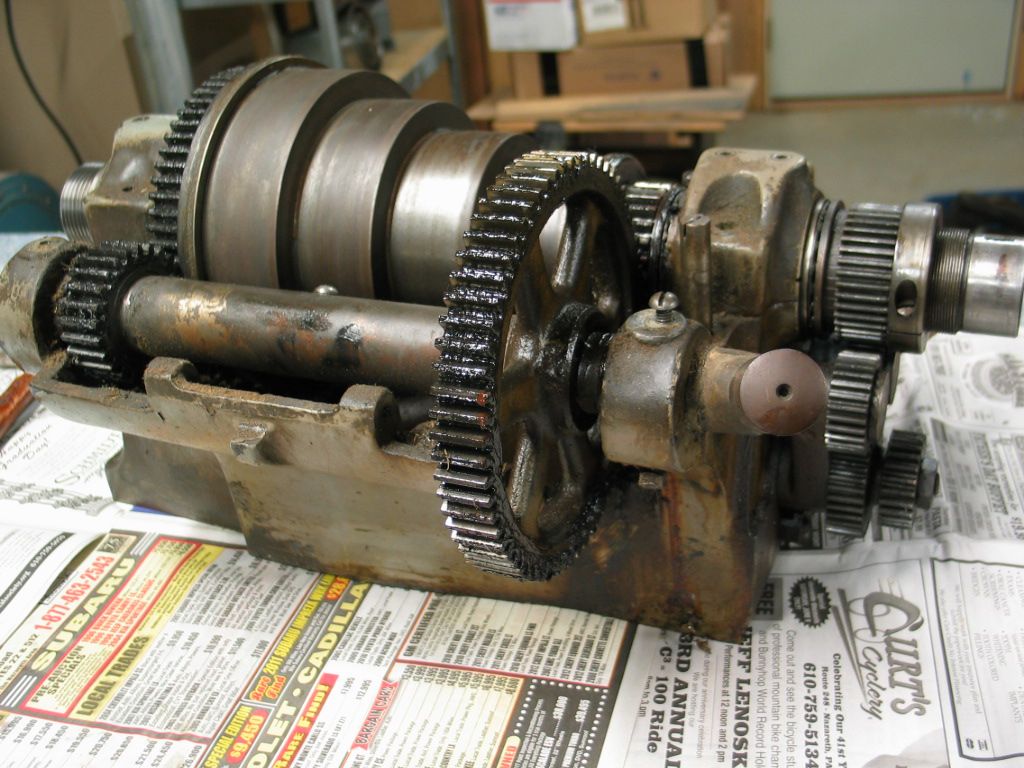
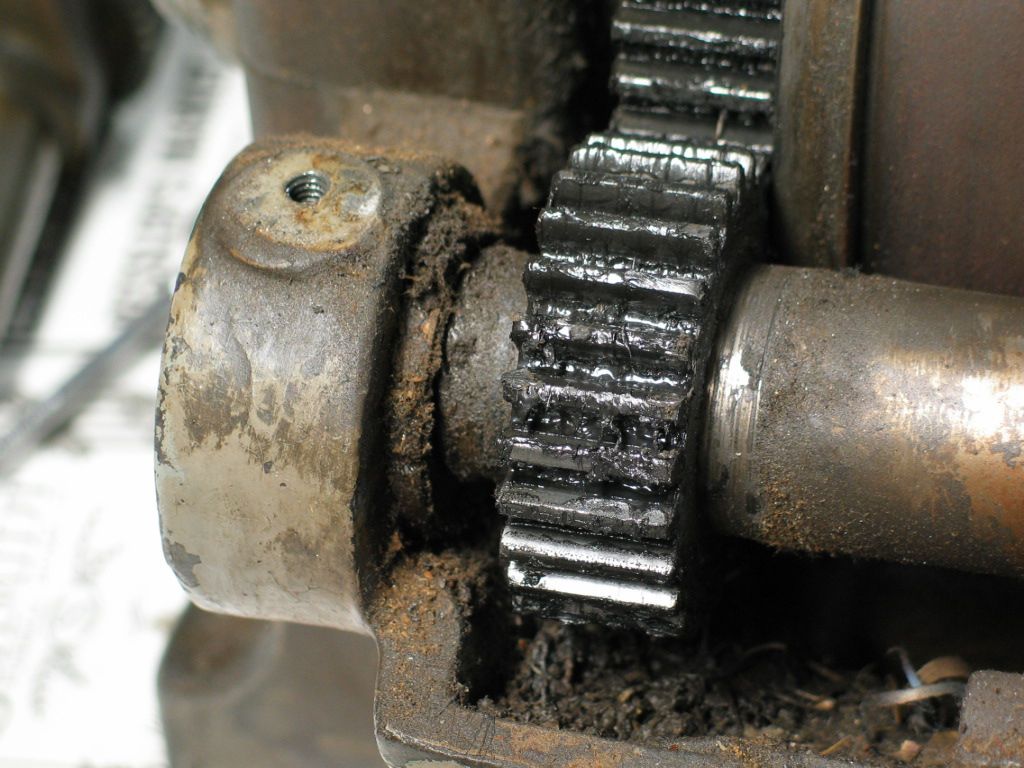
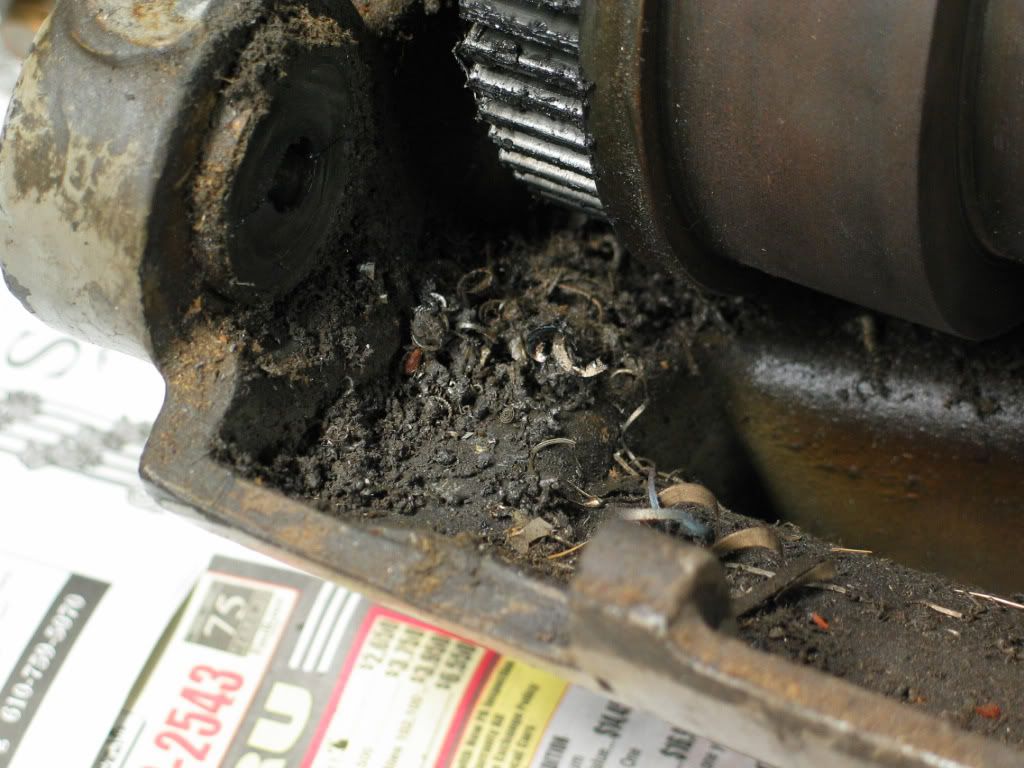
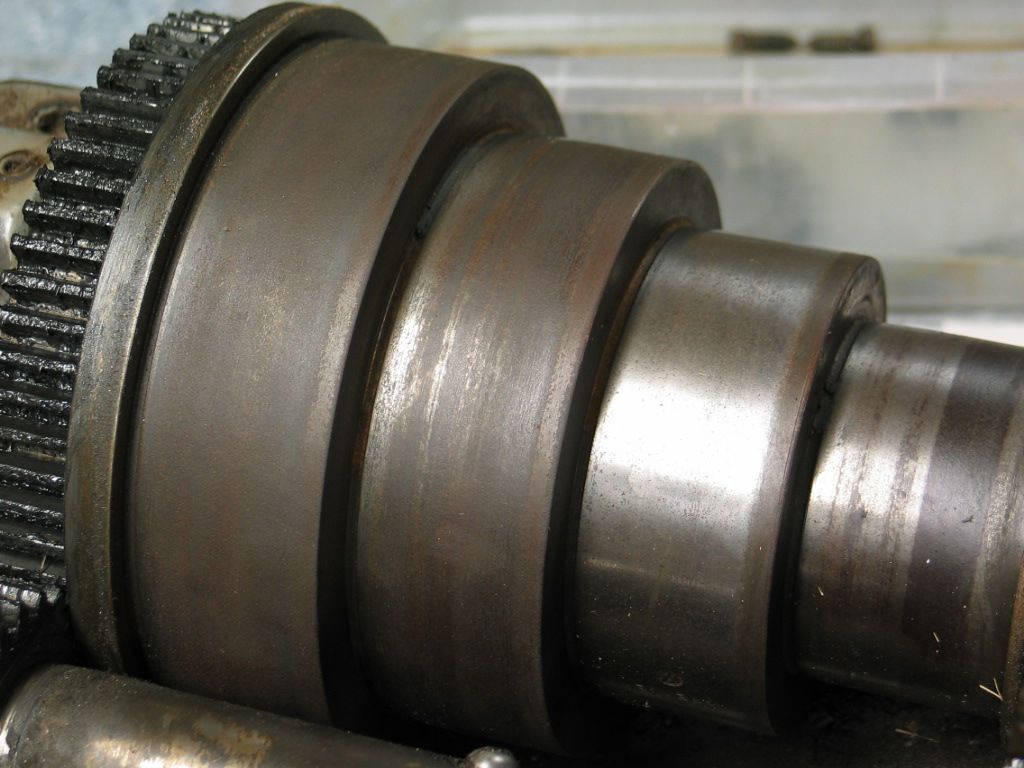
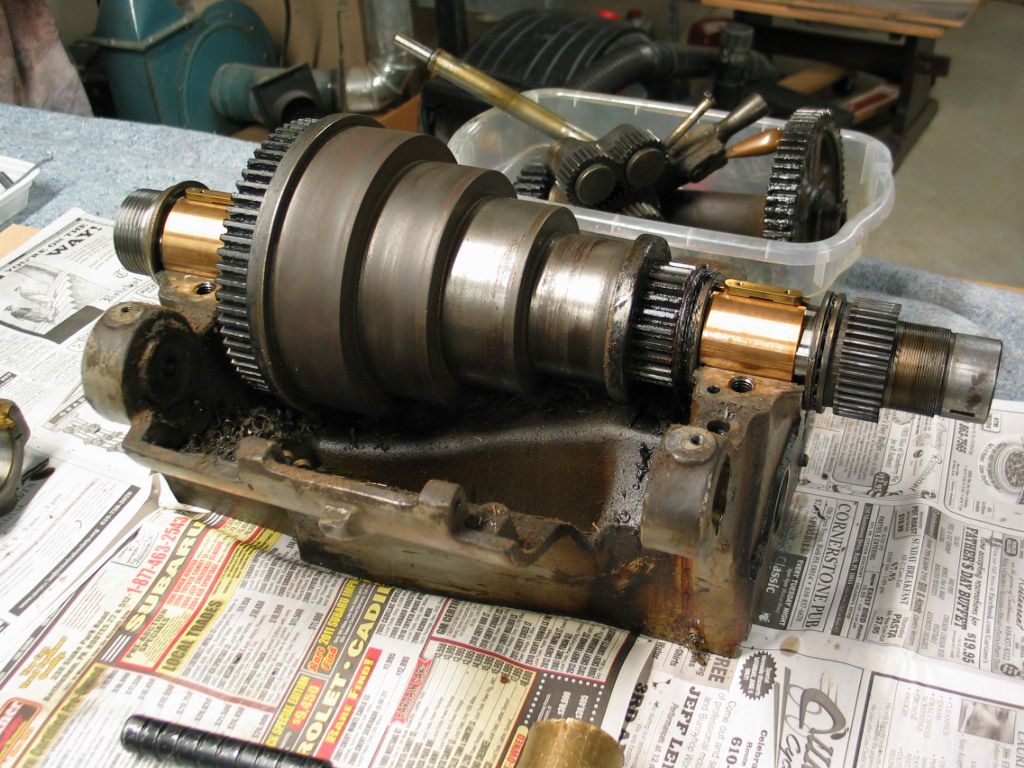
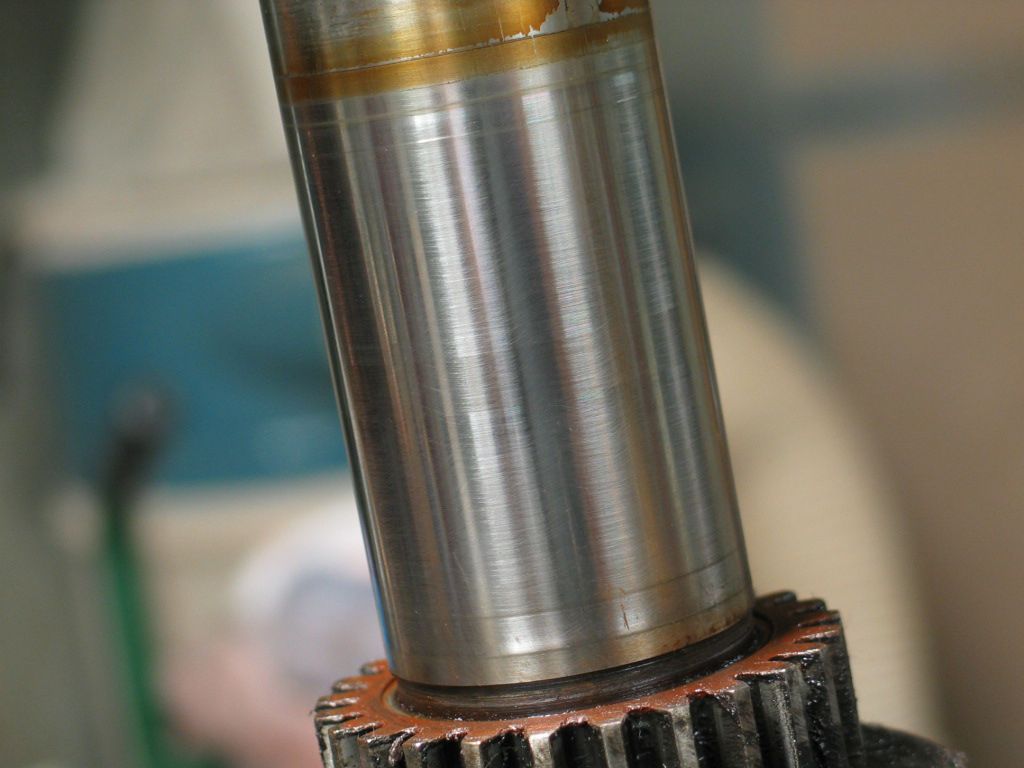
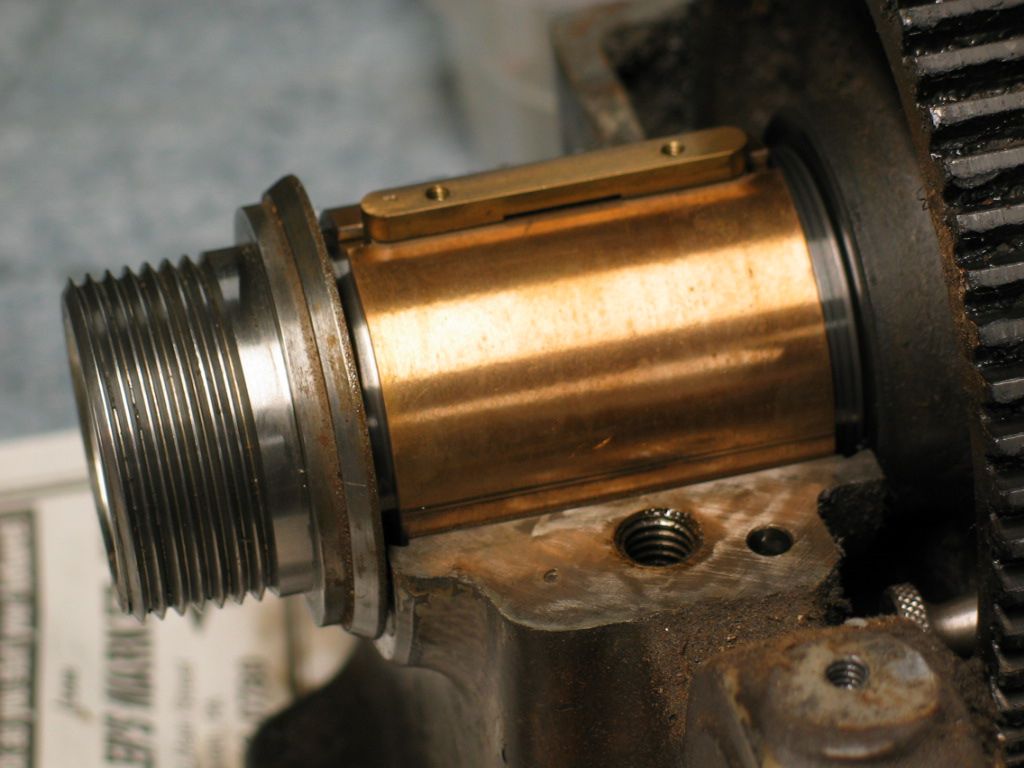
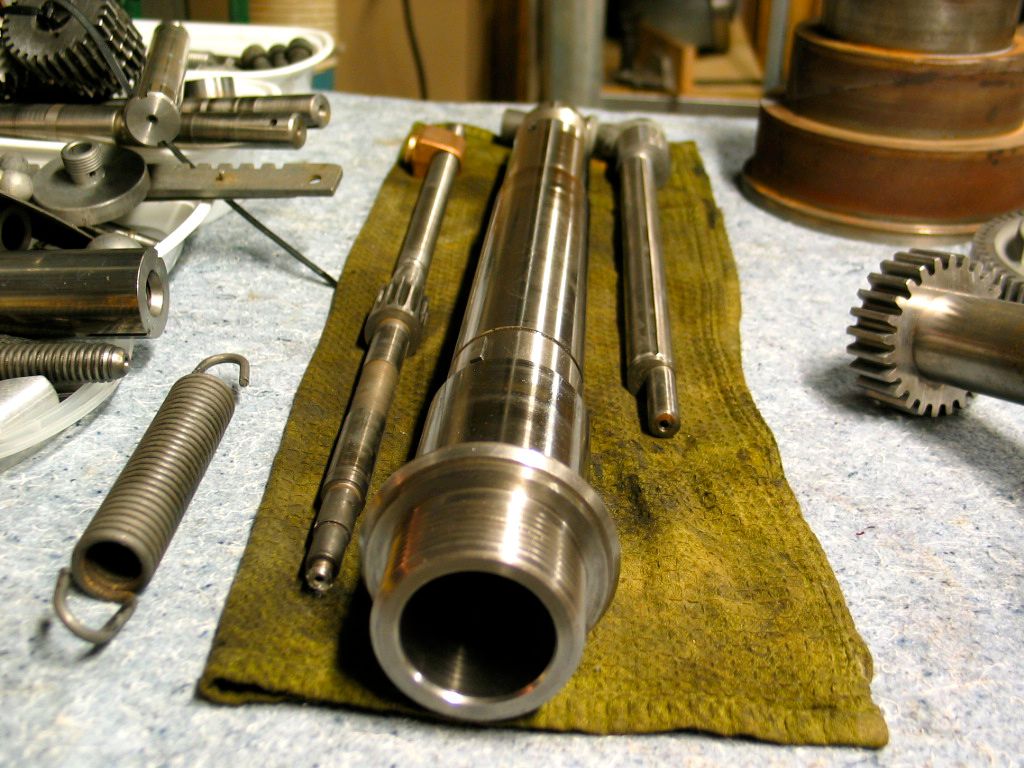
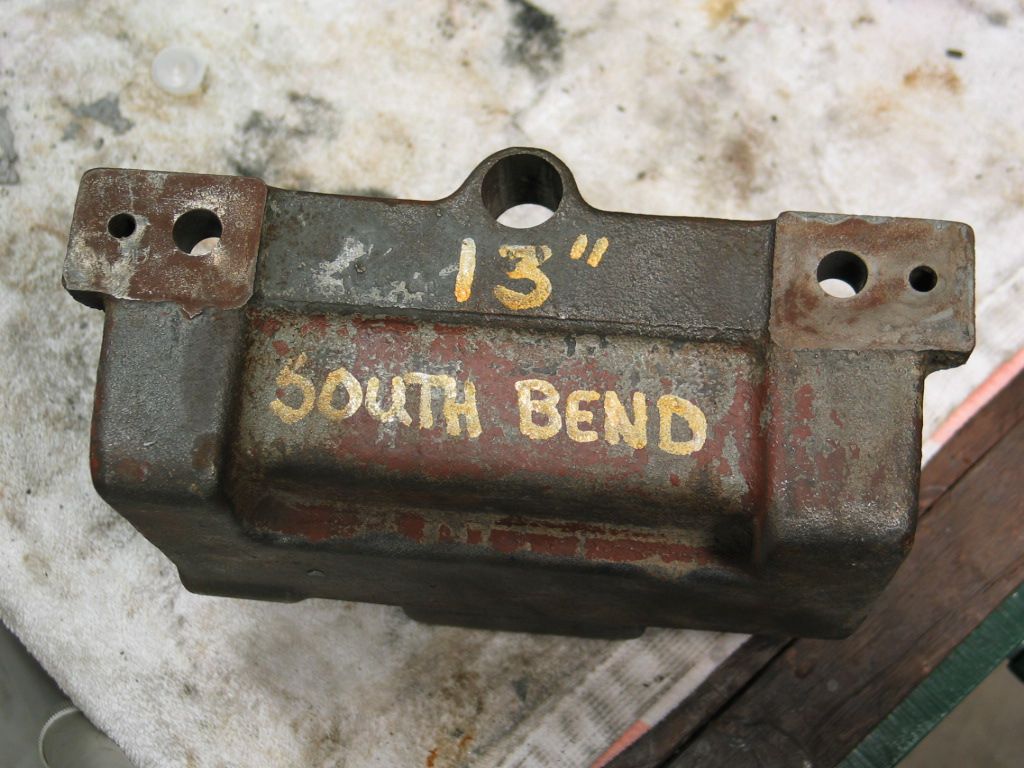
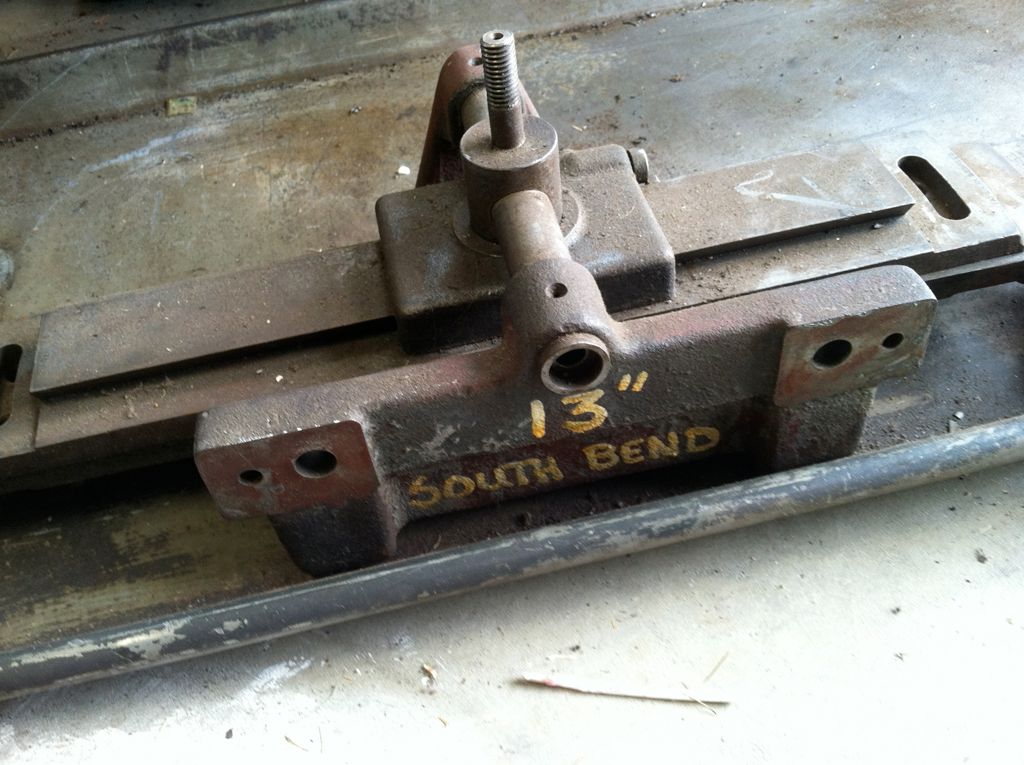
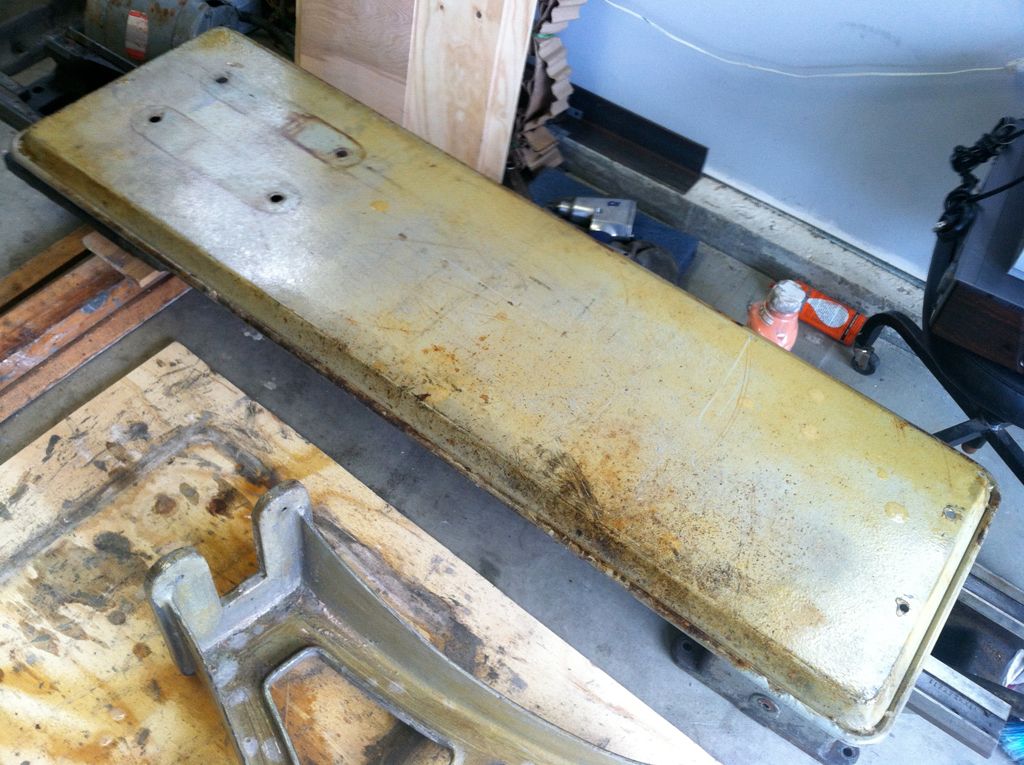
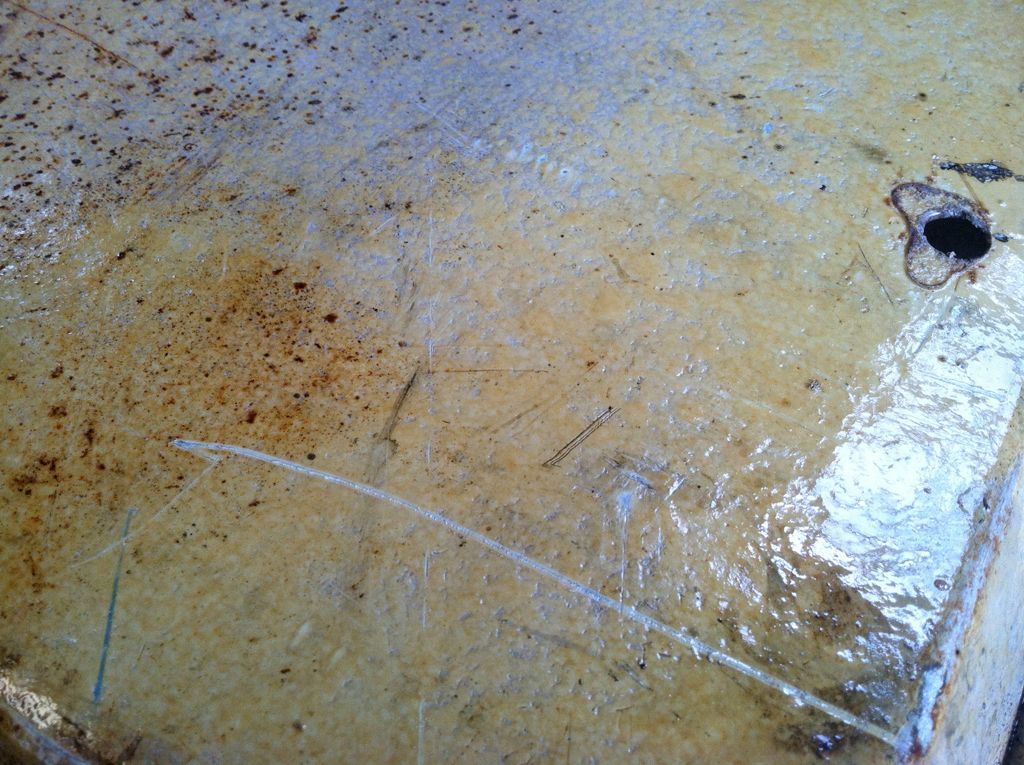
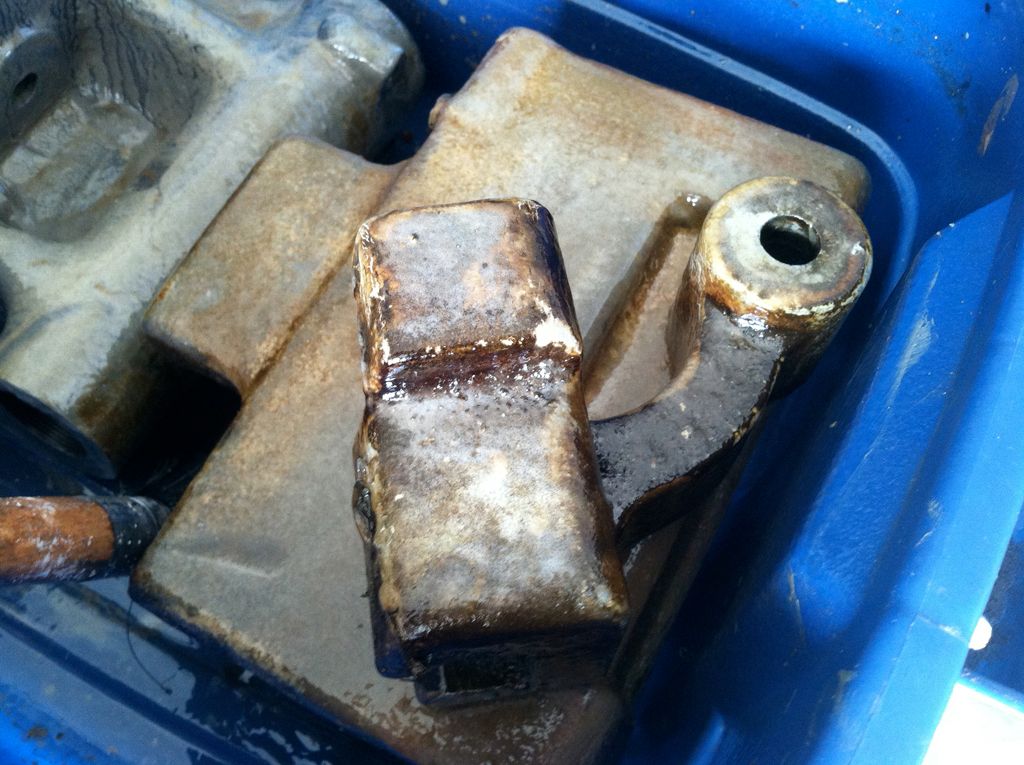
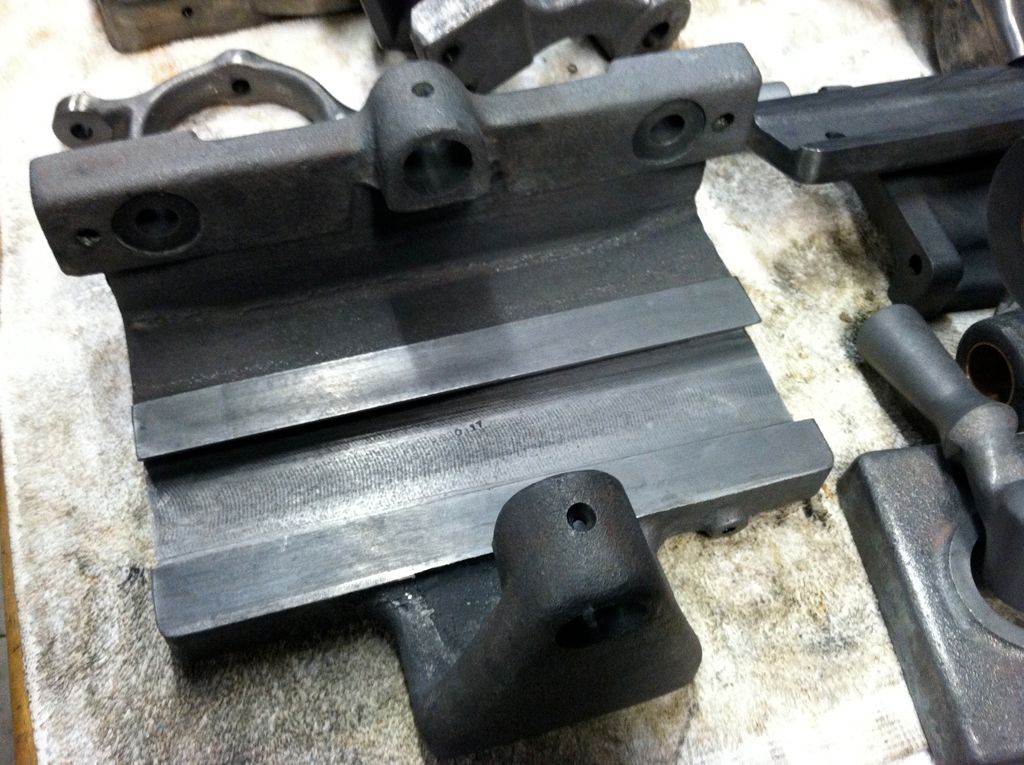
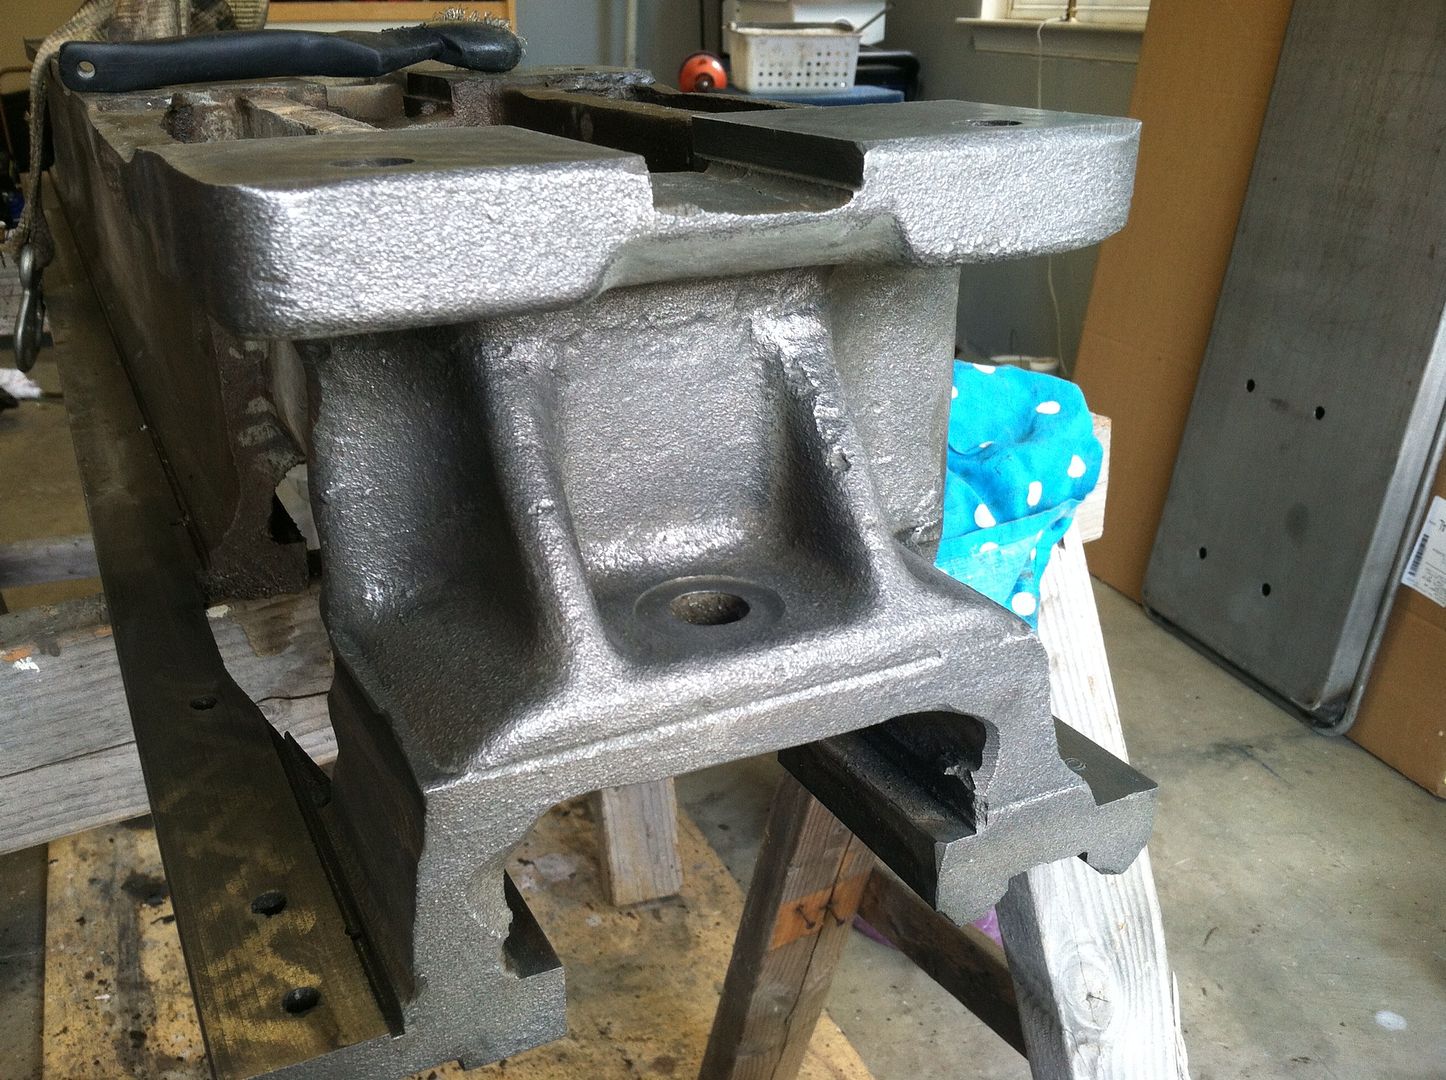
I picked up this 13" today in Bricktown NJ. Upon inspection, I found it to be in mechanically great condition. No visible wear or ridge on the bed. Picking up on the spindle, showed a reading of .001 the test bar showed a reading of about .001 -.002 from half way on the bed, to the headstock.

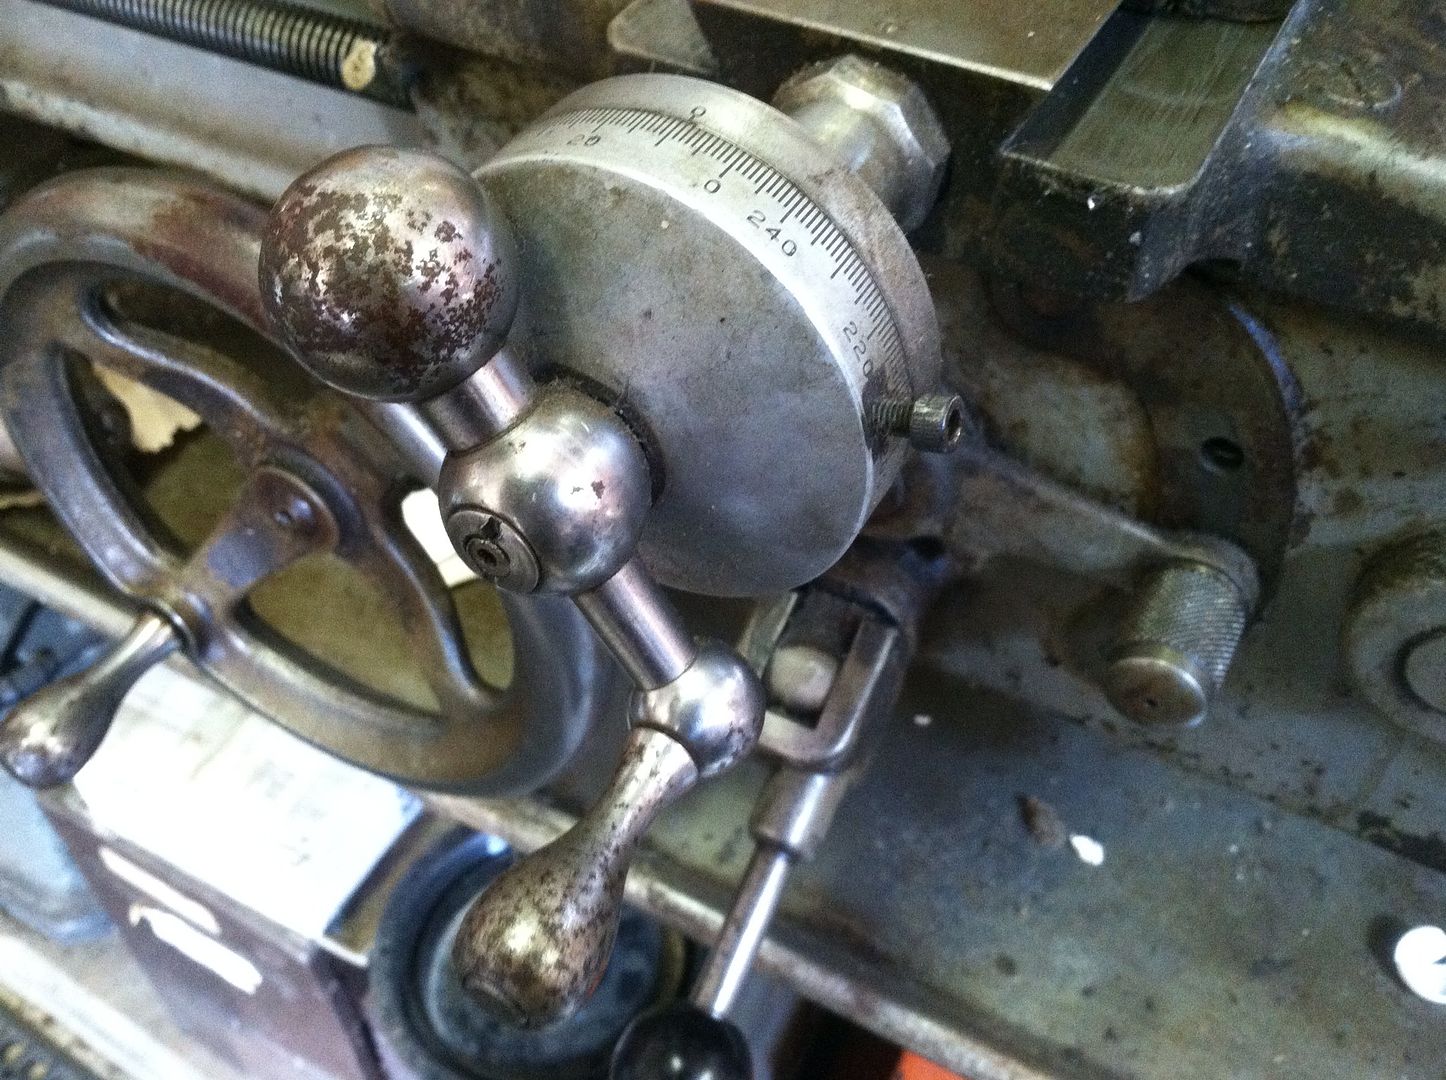
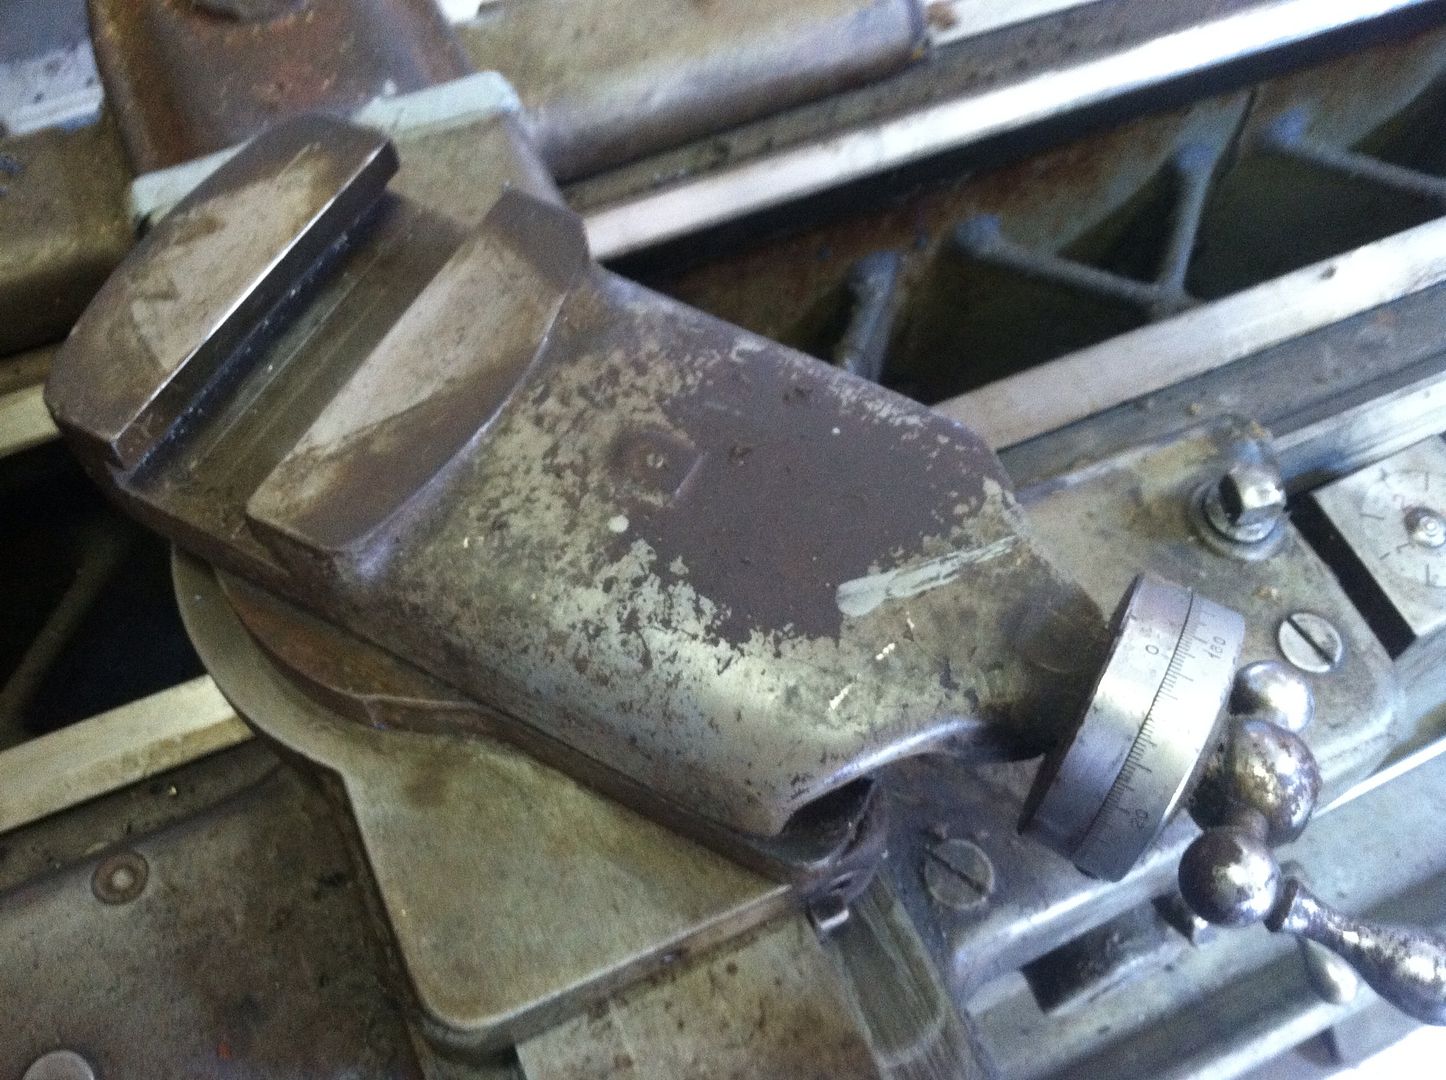
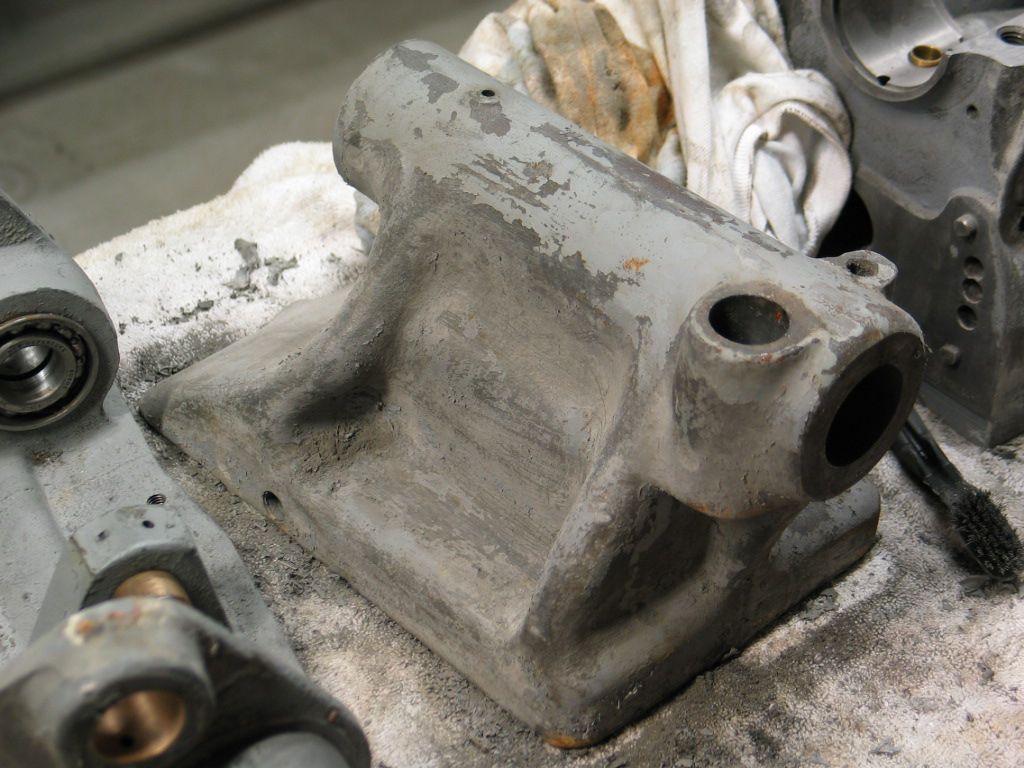
The inside taper of the spindle was smooth as glass and the tailstock, cross feed and compound dial turned smooth and tight. All gears have good teeth, none broken. When I turned it on, the motor and gear train was surprisingly quiet and smooth. So I think I got me a good one. I'll be taking my time with this one as I'm still finishing up the Bridgeport.

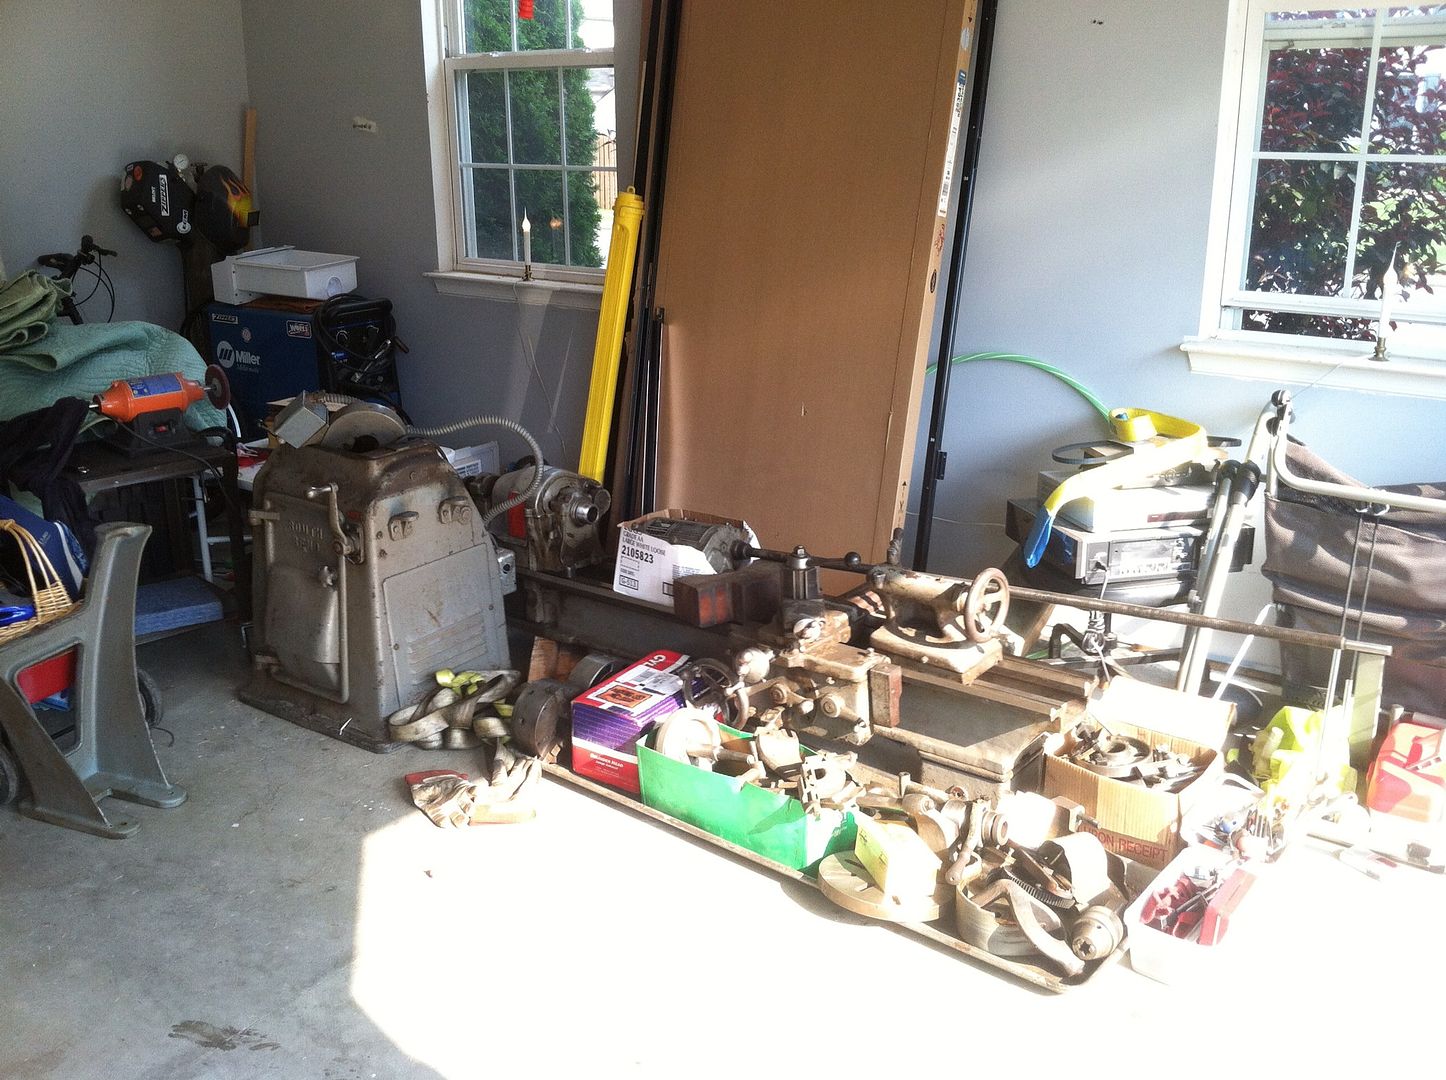
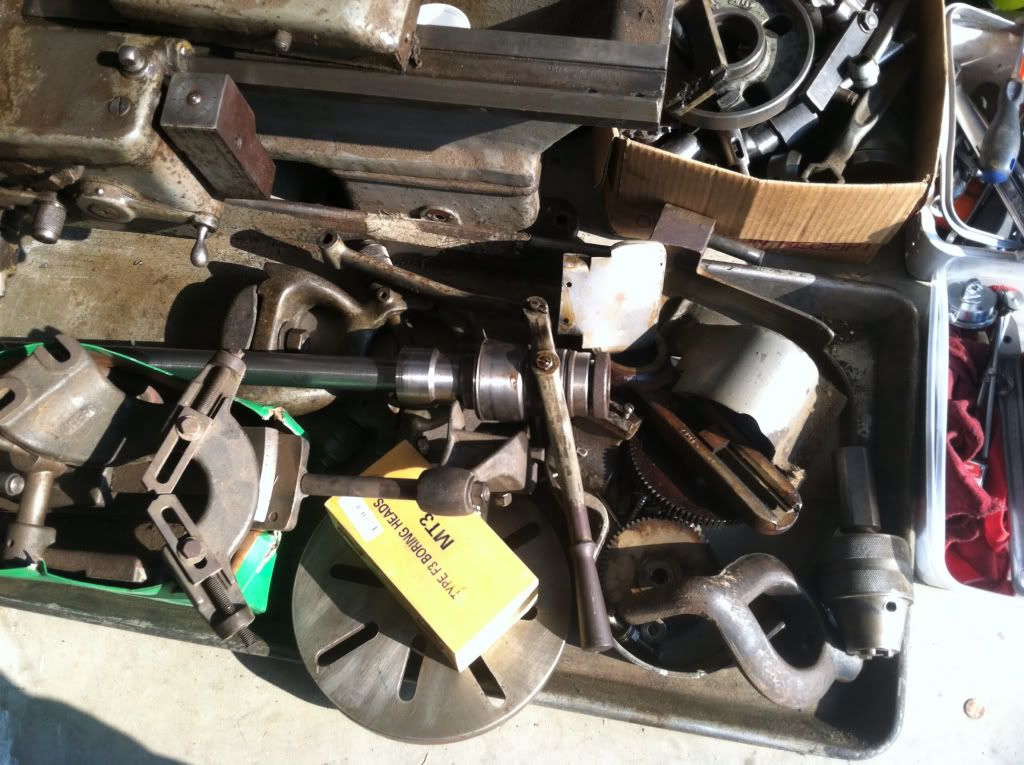
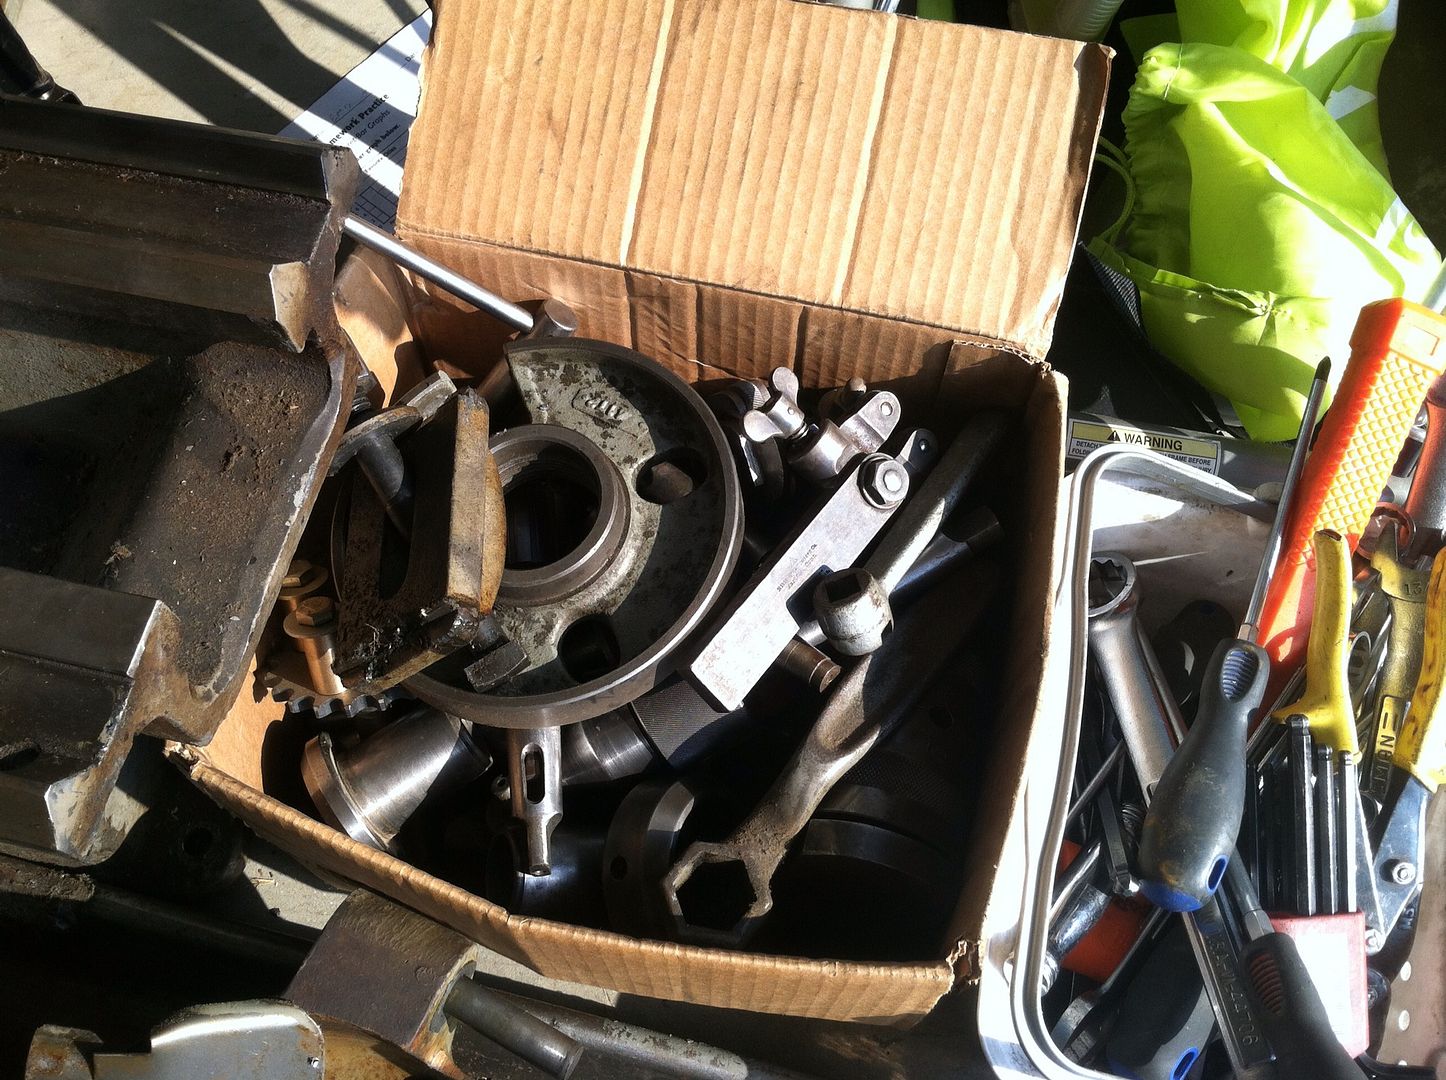
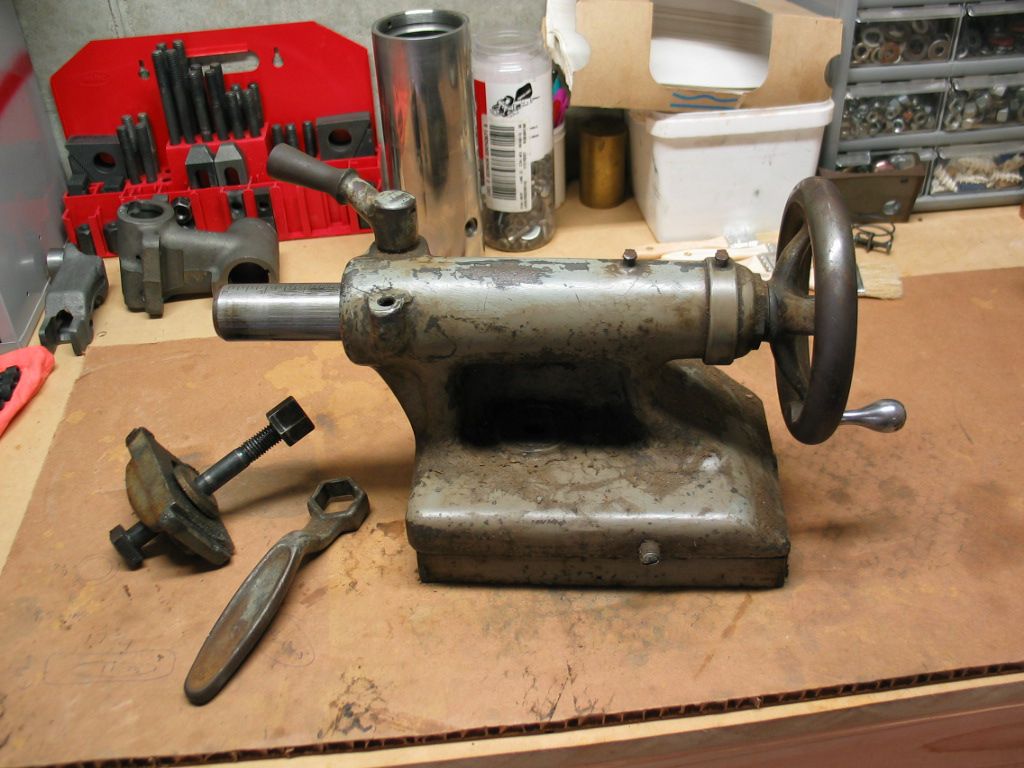
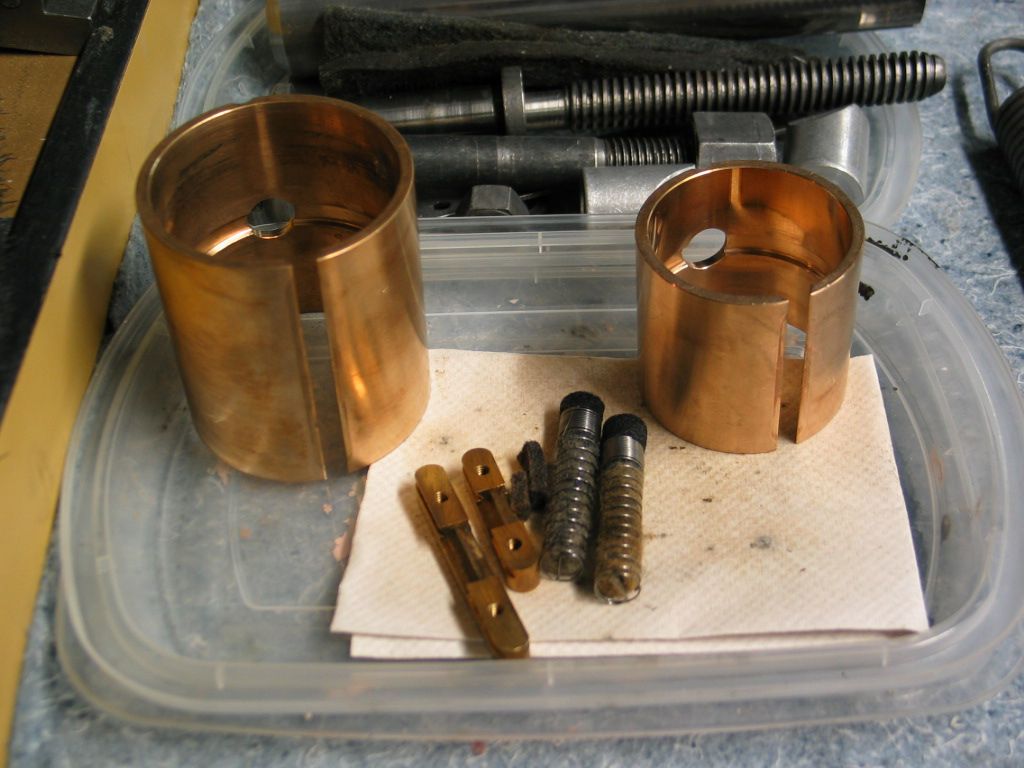
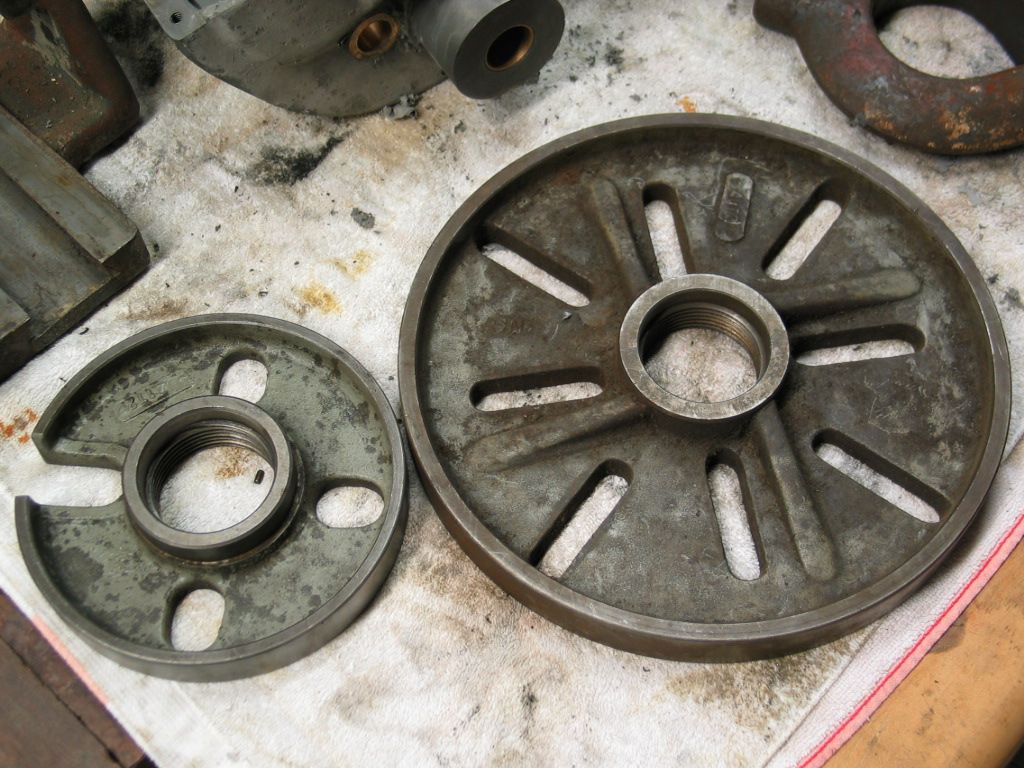
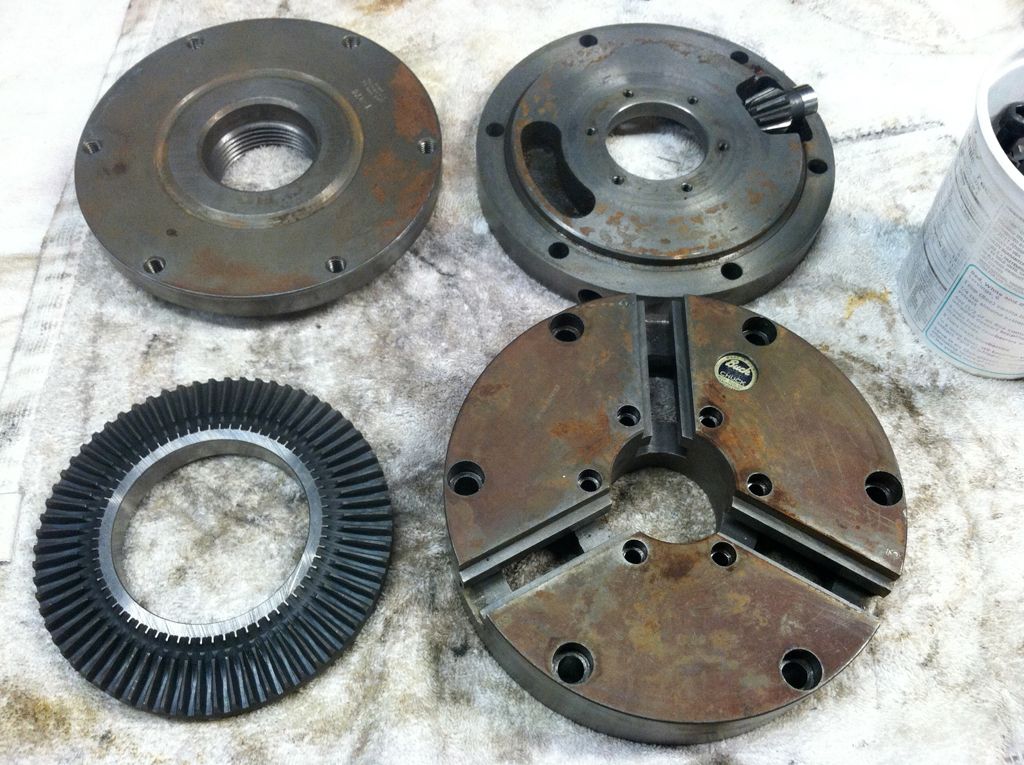
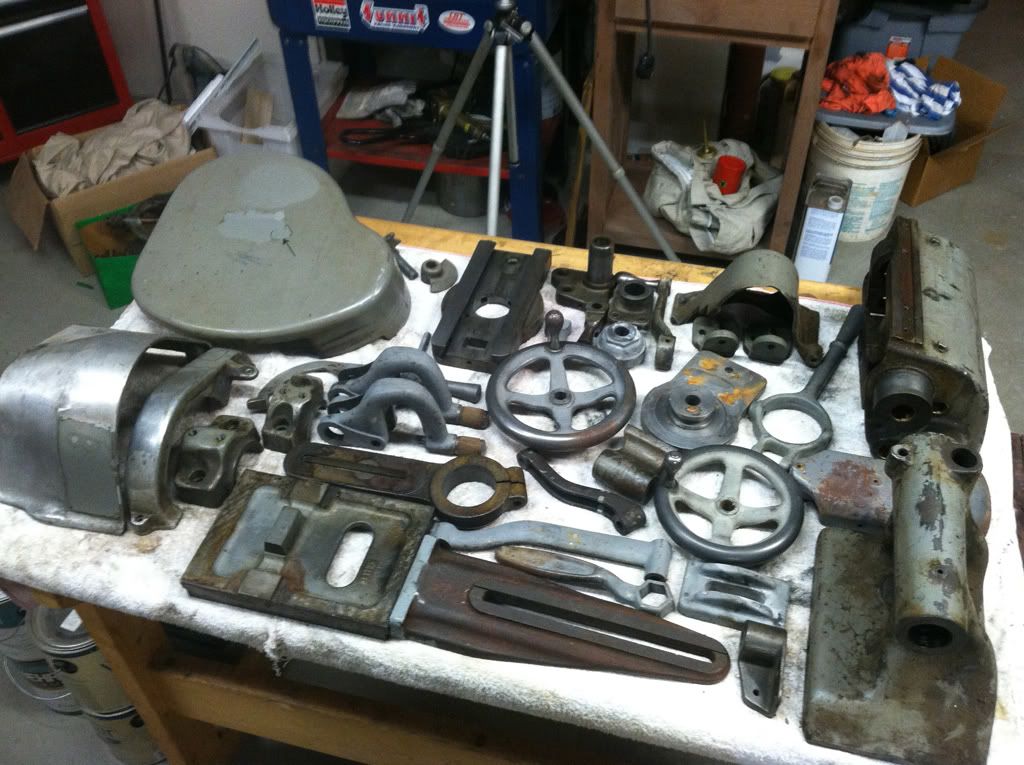
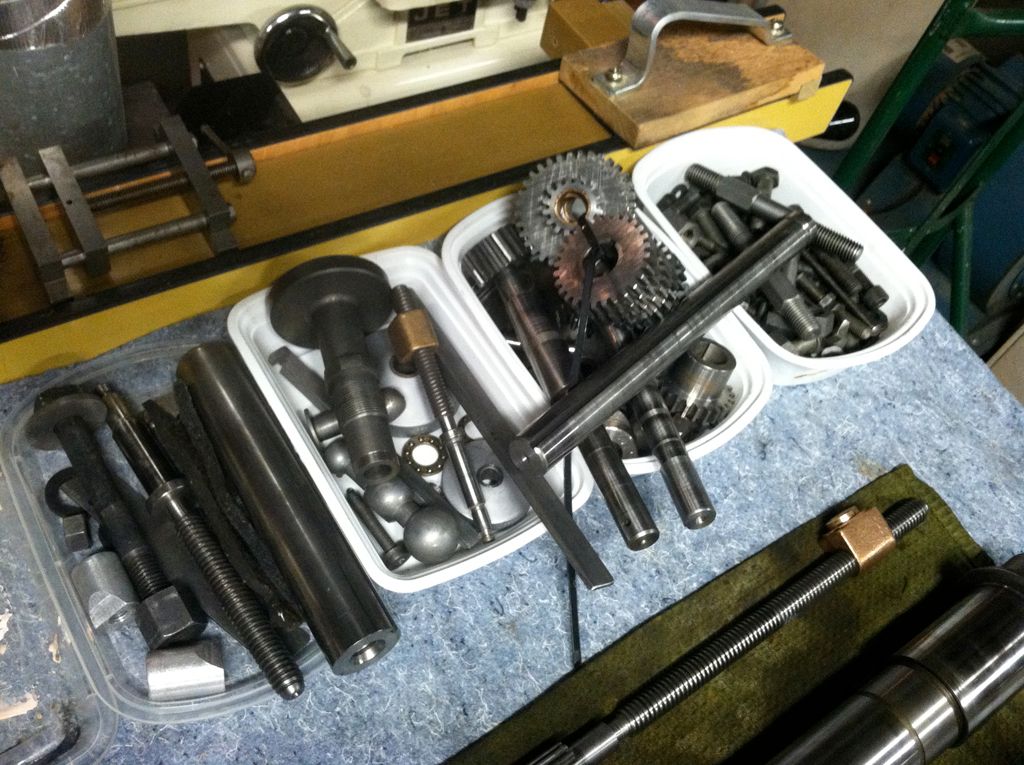
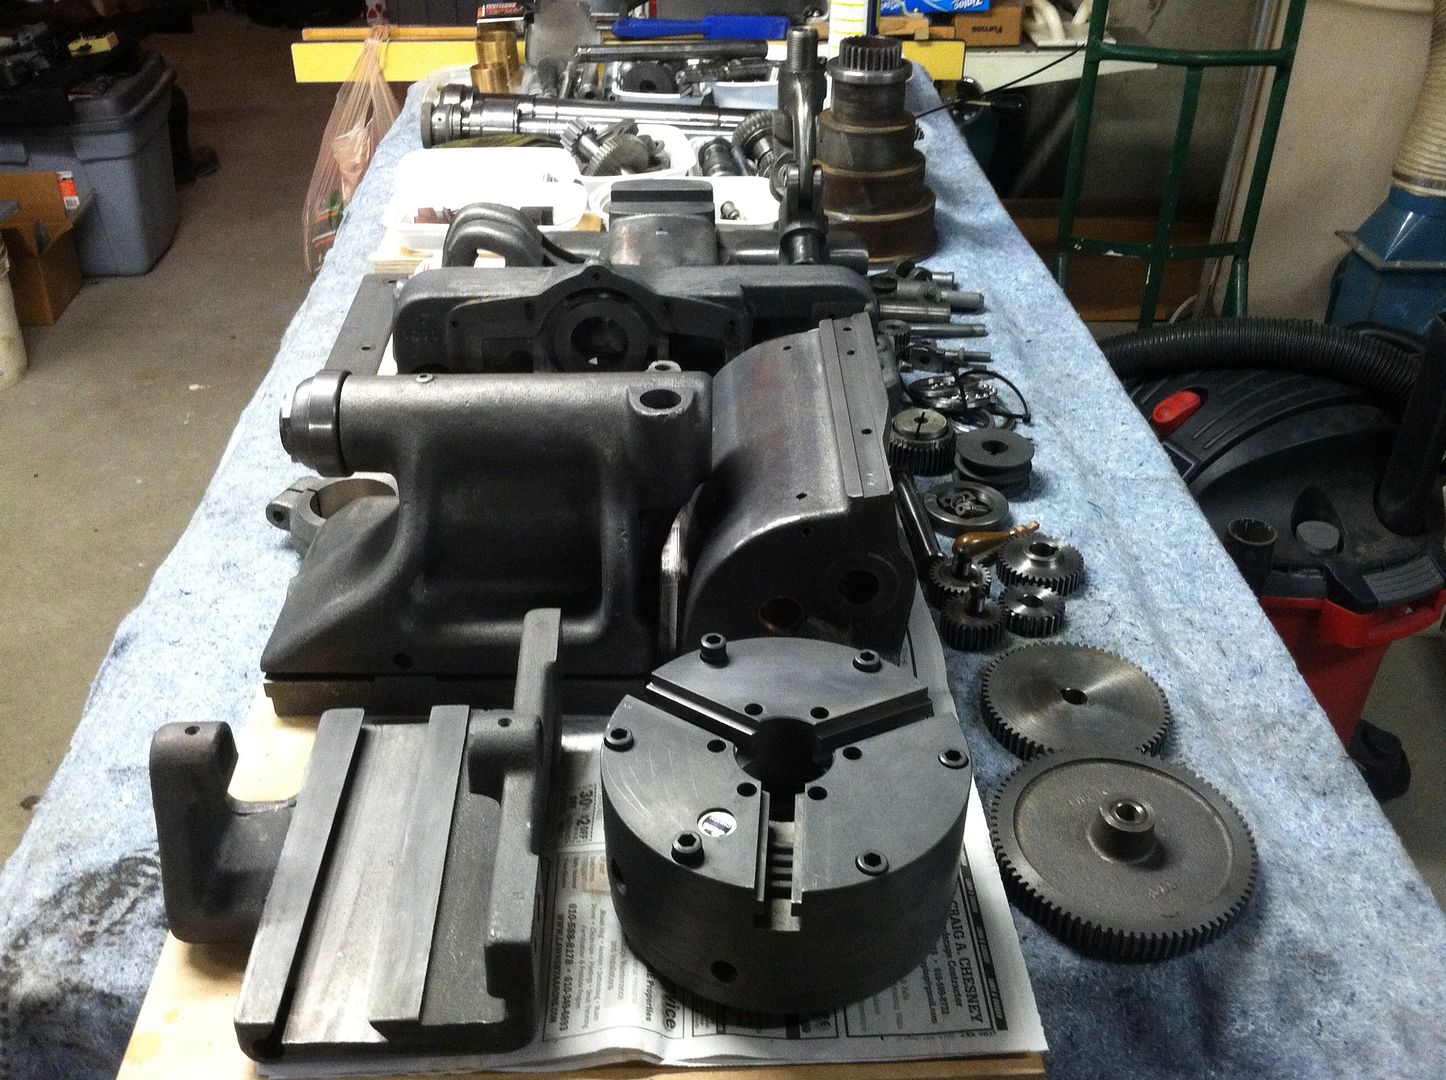
Price was $1,600 for the lathe. Tooling was $1,200 (collet lever, 67 collets, steady, follower, taper, 4-jaw, 3-jaw, Aloris BXA and 6 holders, micrometer stop, threading dial, face plates, dog driver & dogs, turret adapter, taping head, live centers, dead centers, drill chucks, tool bits, collet sleeve and KO nut)

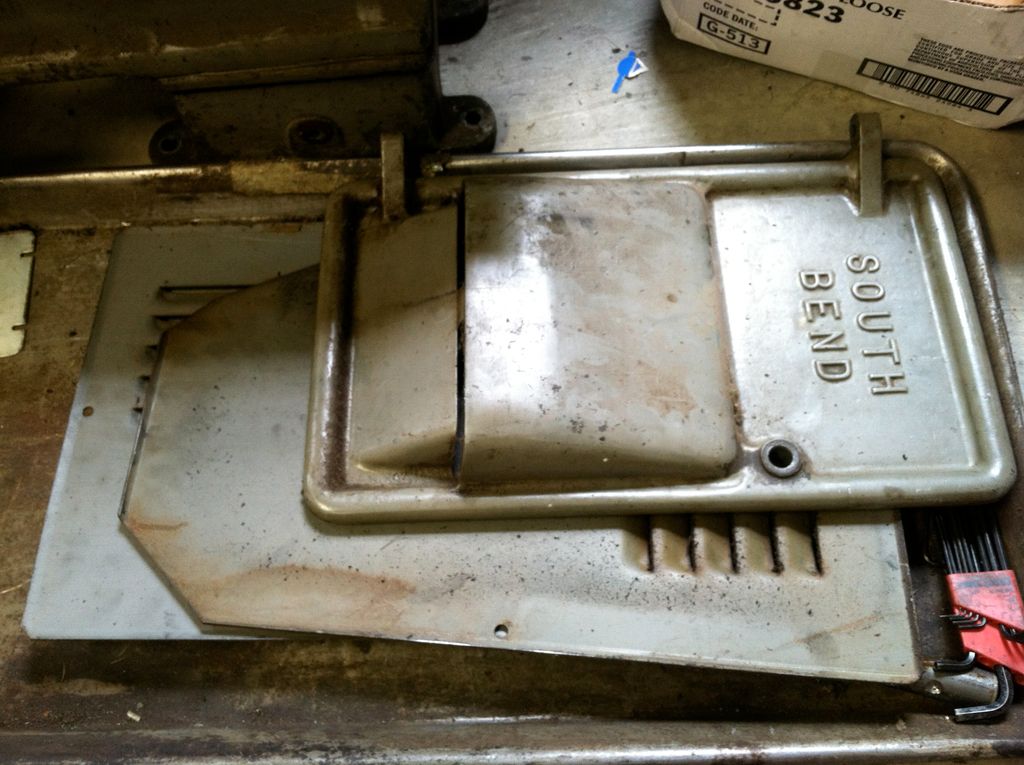
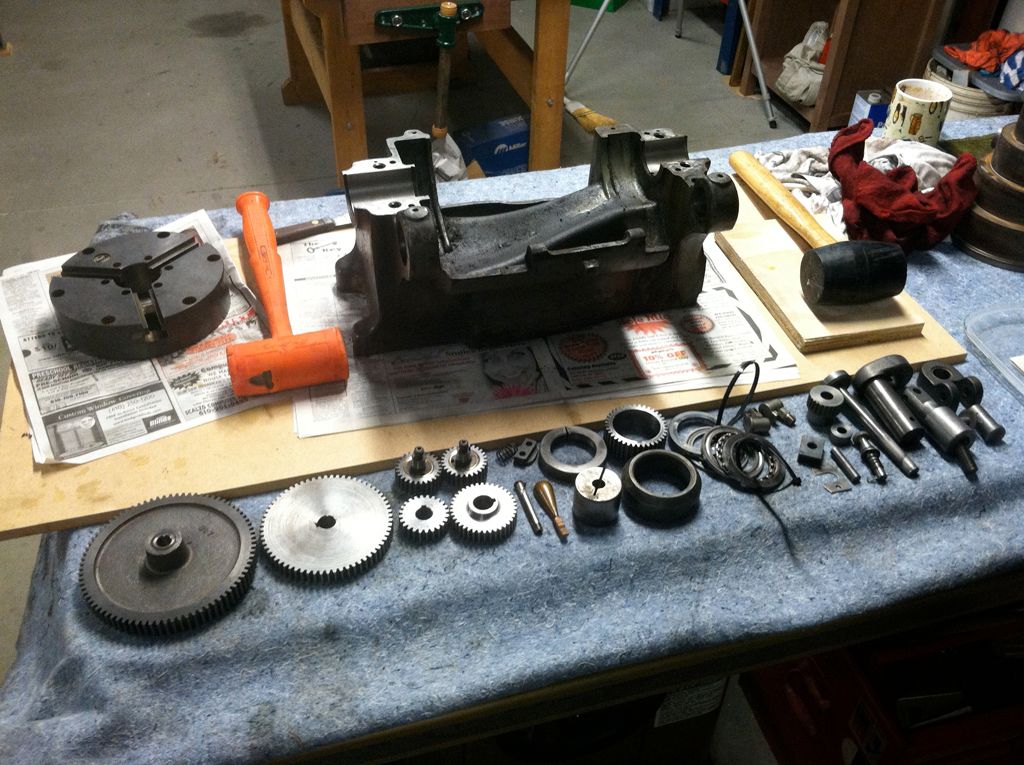
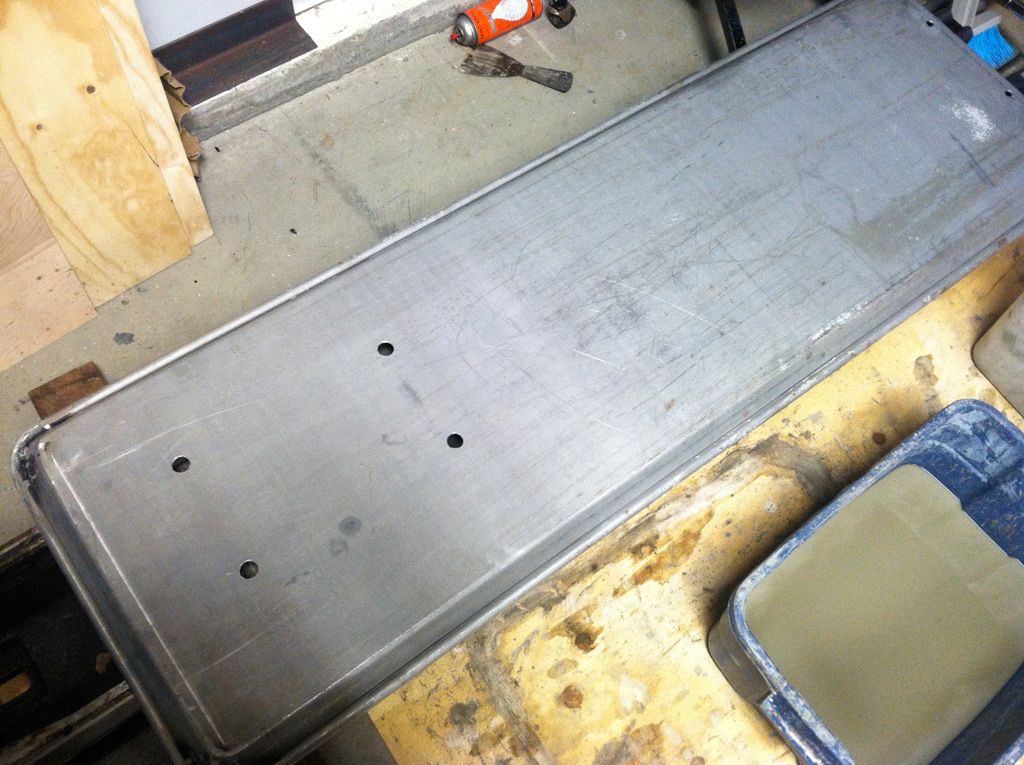
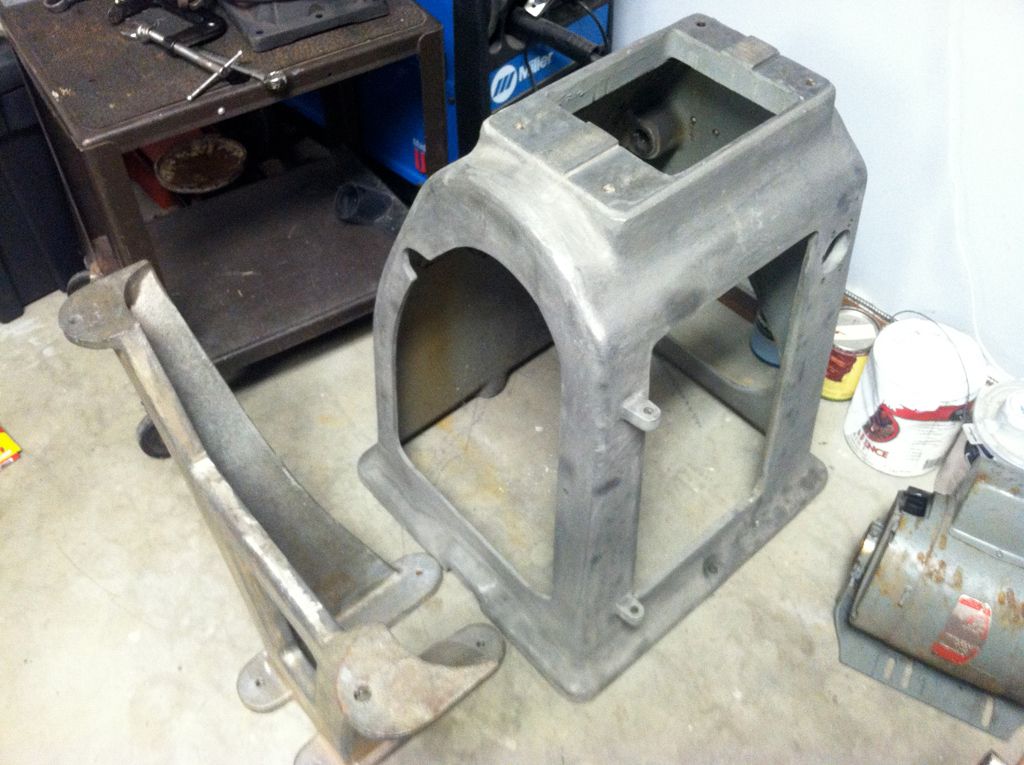
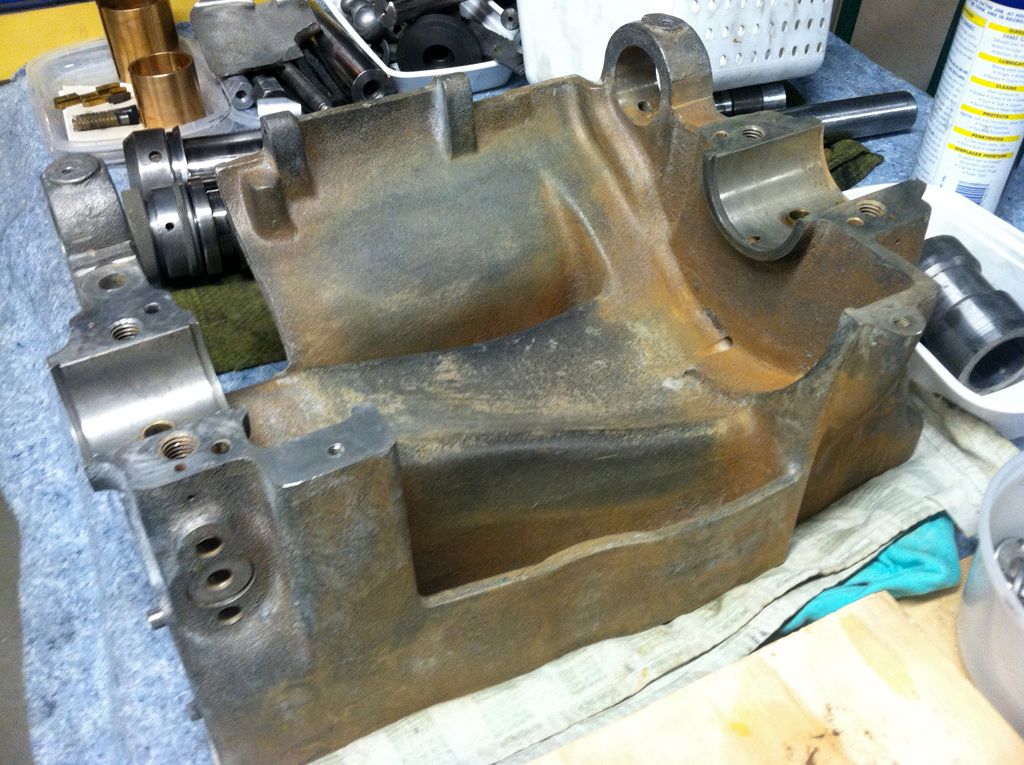
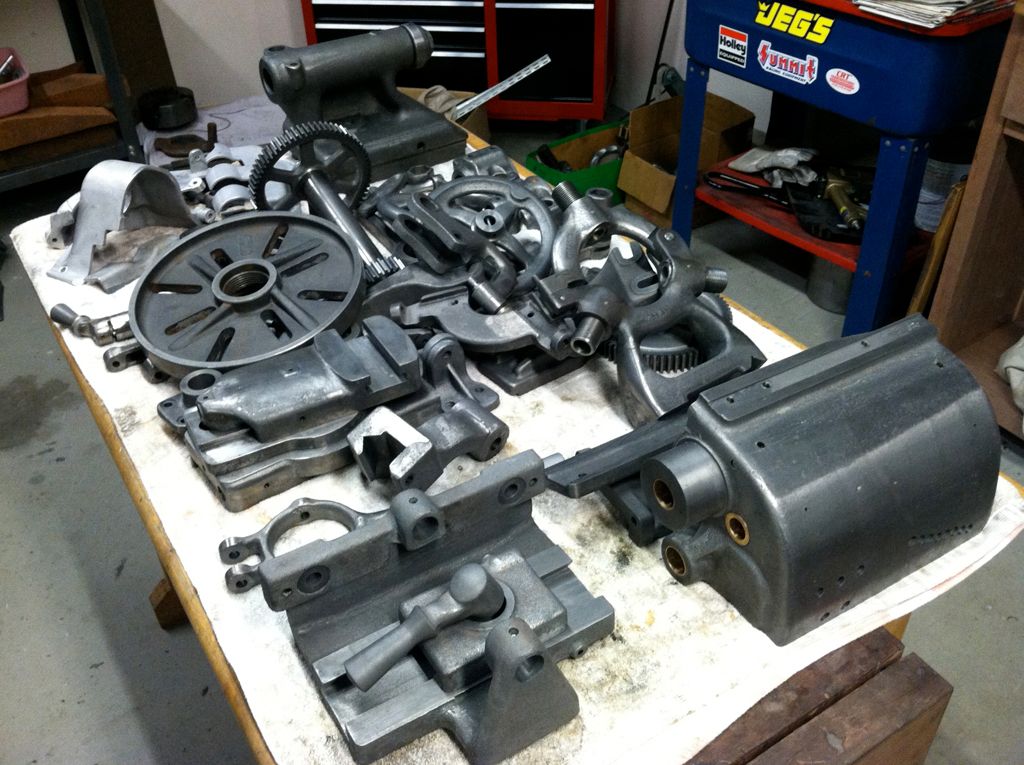
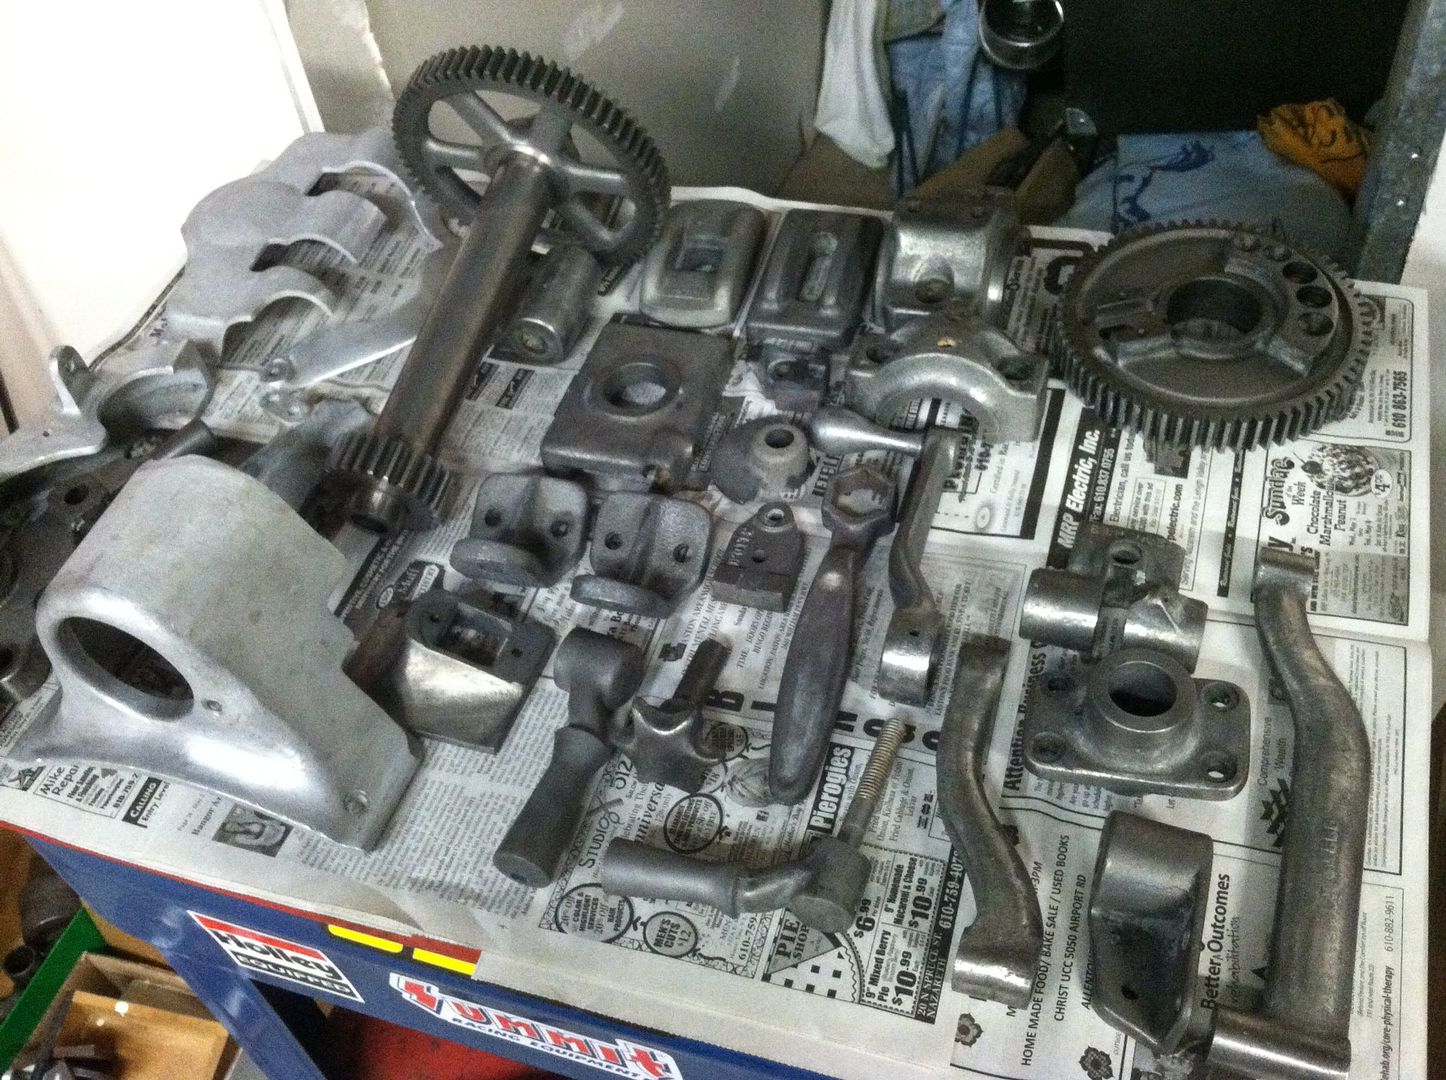
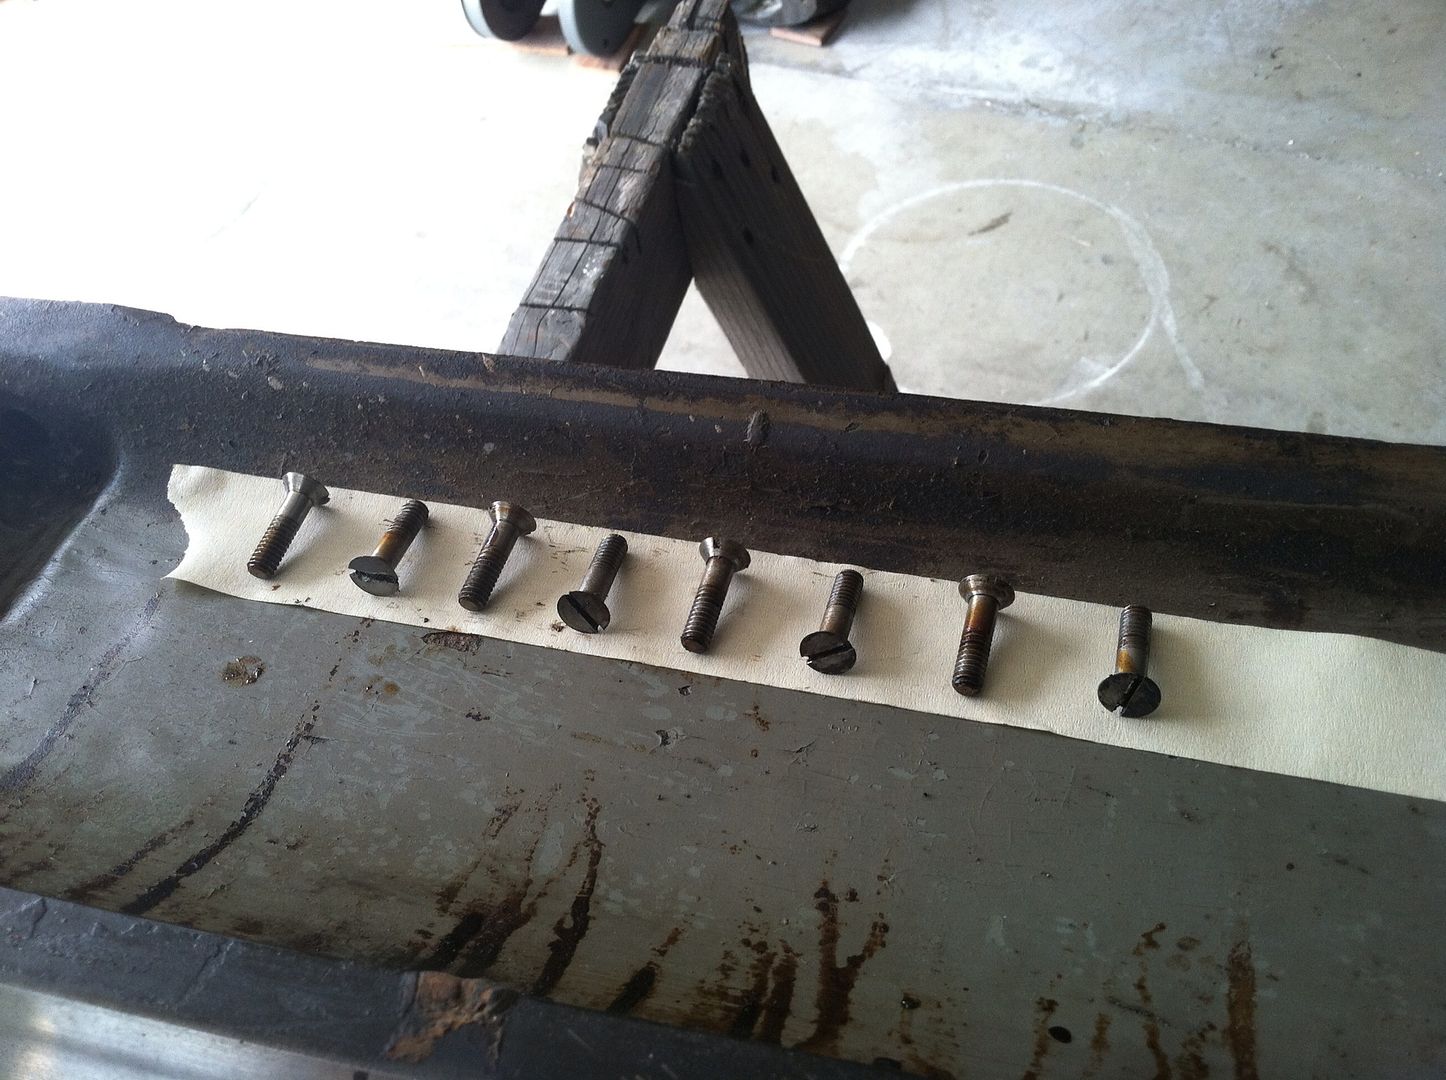
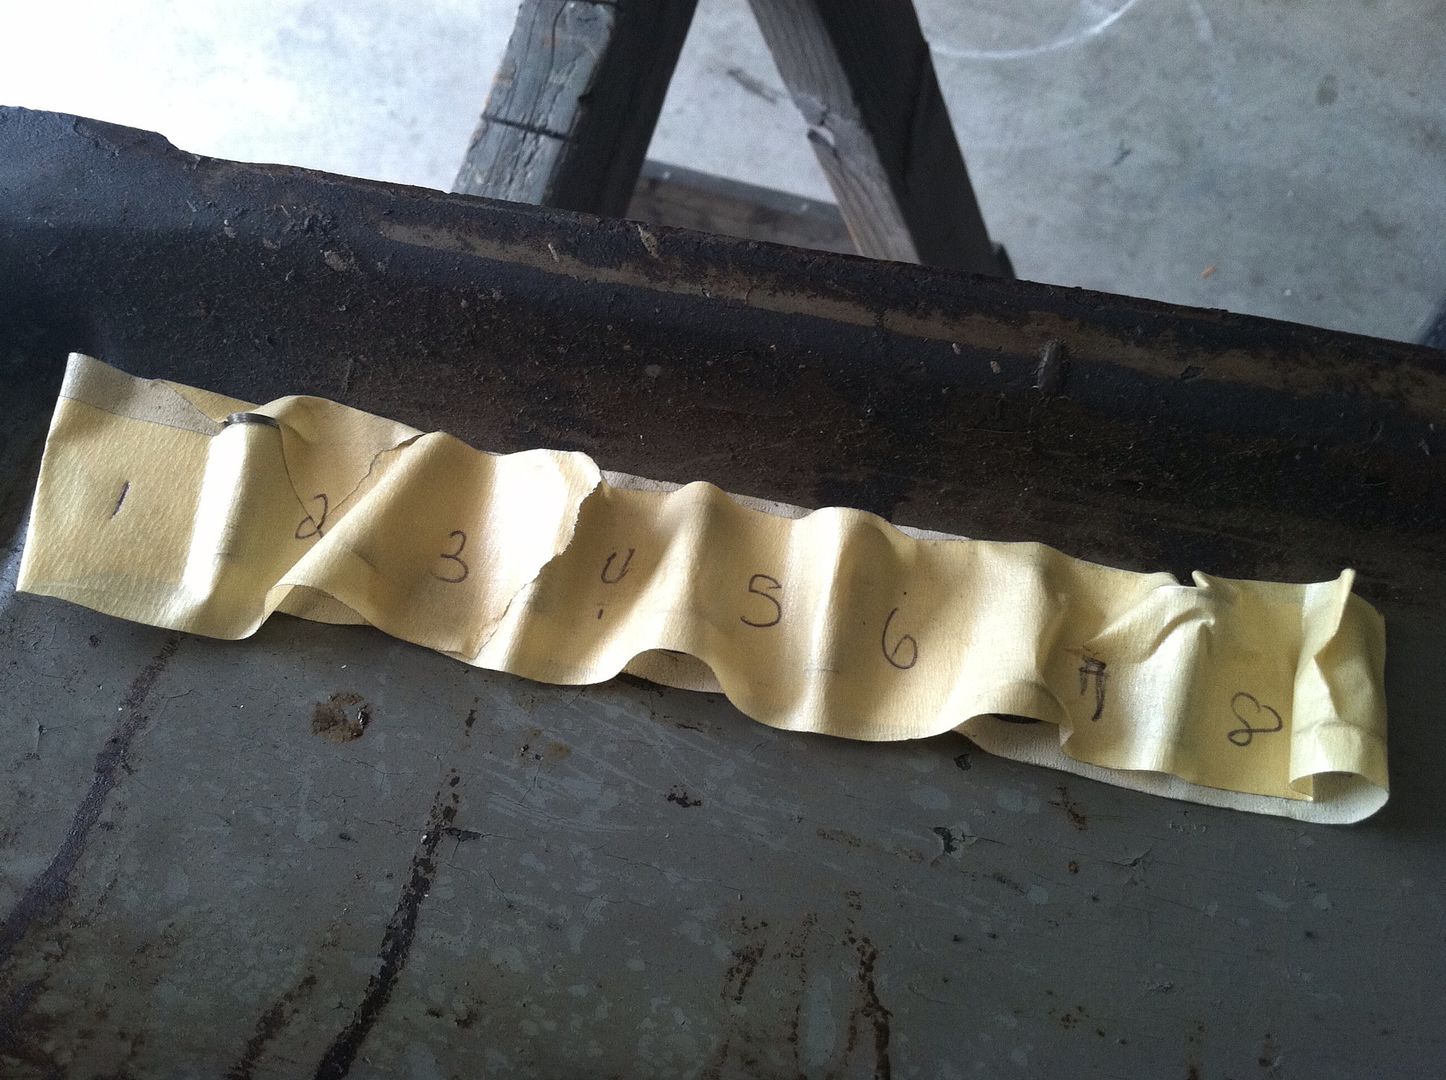
As with my Heavy-10 and 9a, this too will get the full treatment (repaint, rewick and polishing).

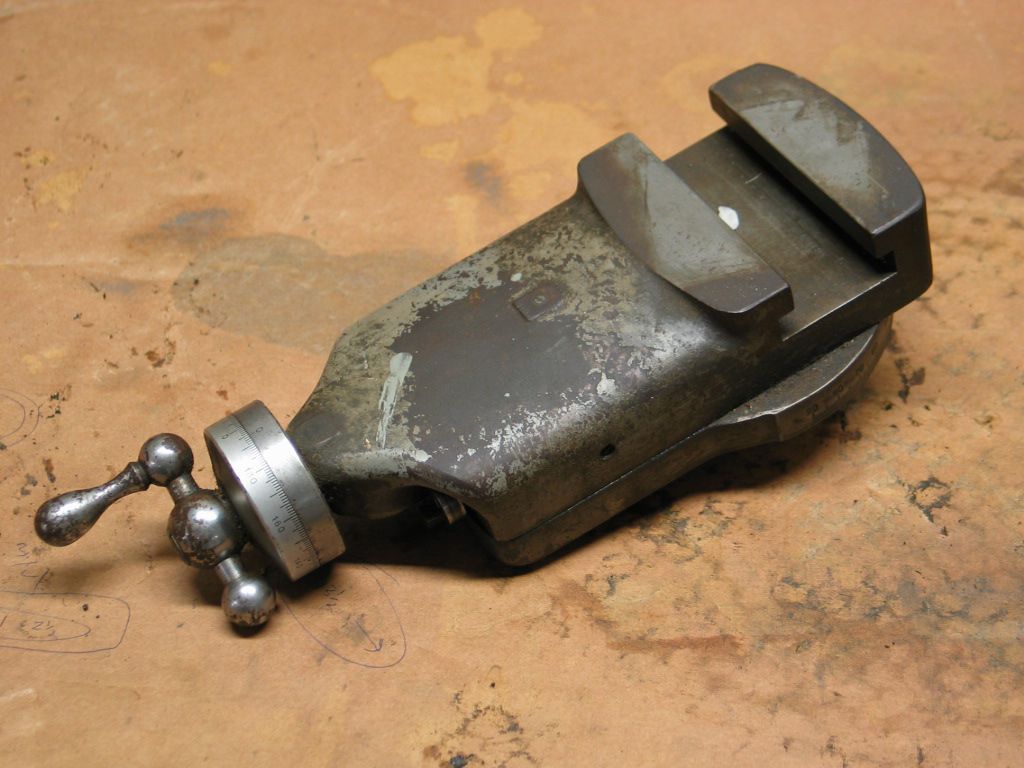
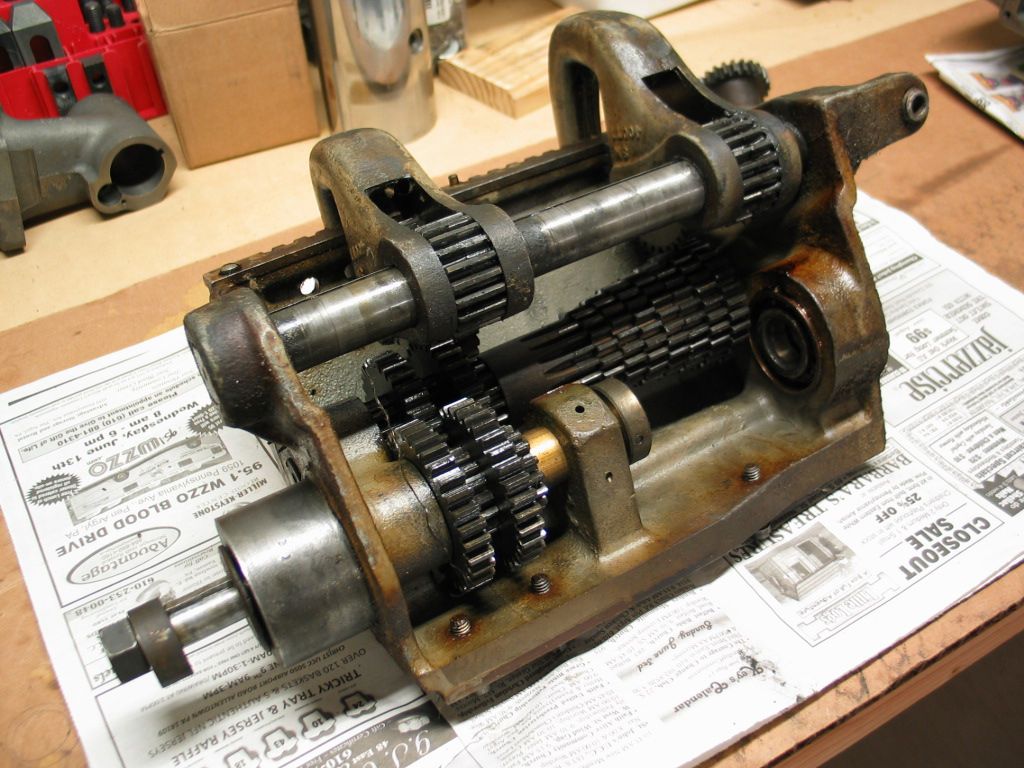
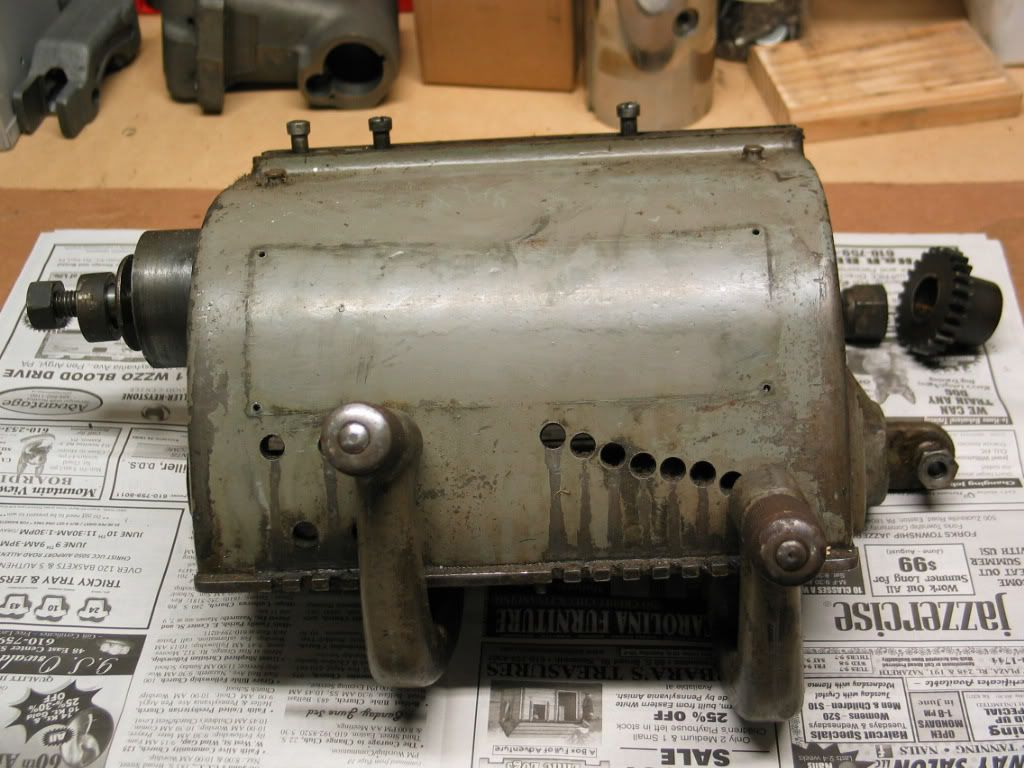
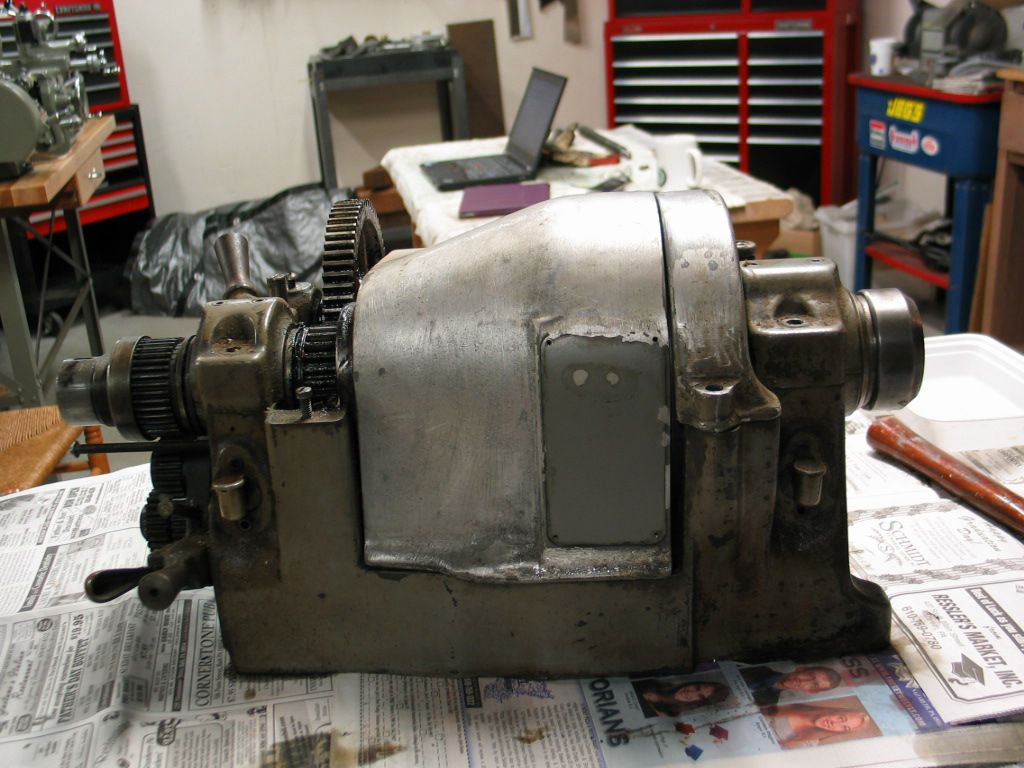
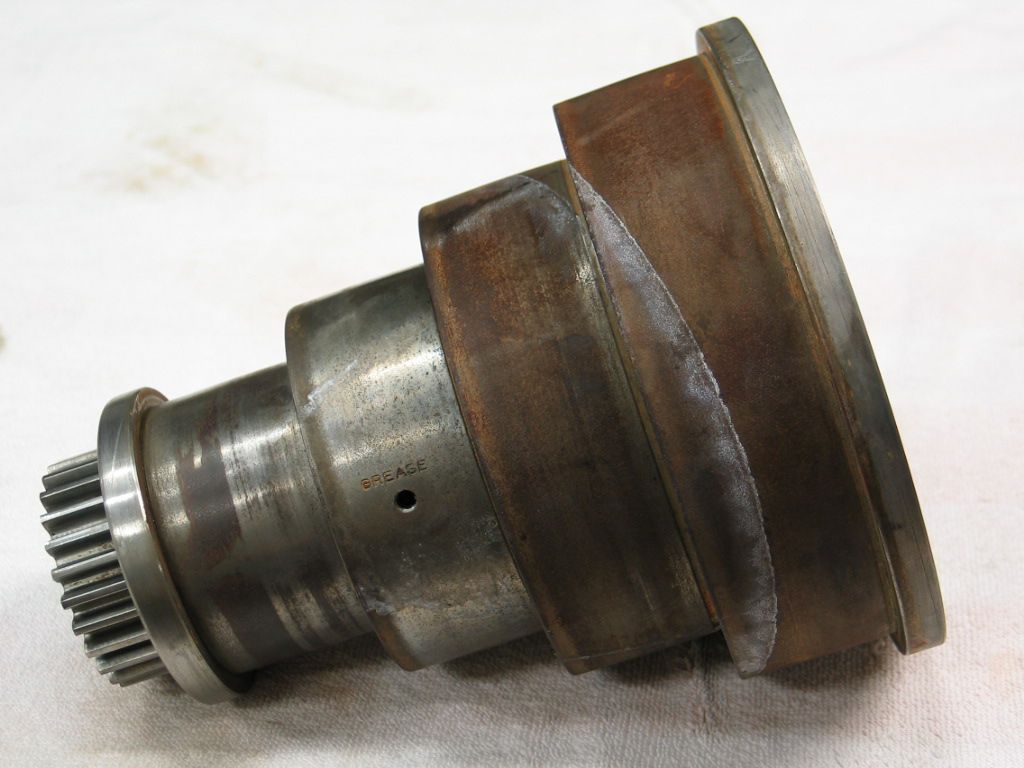
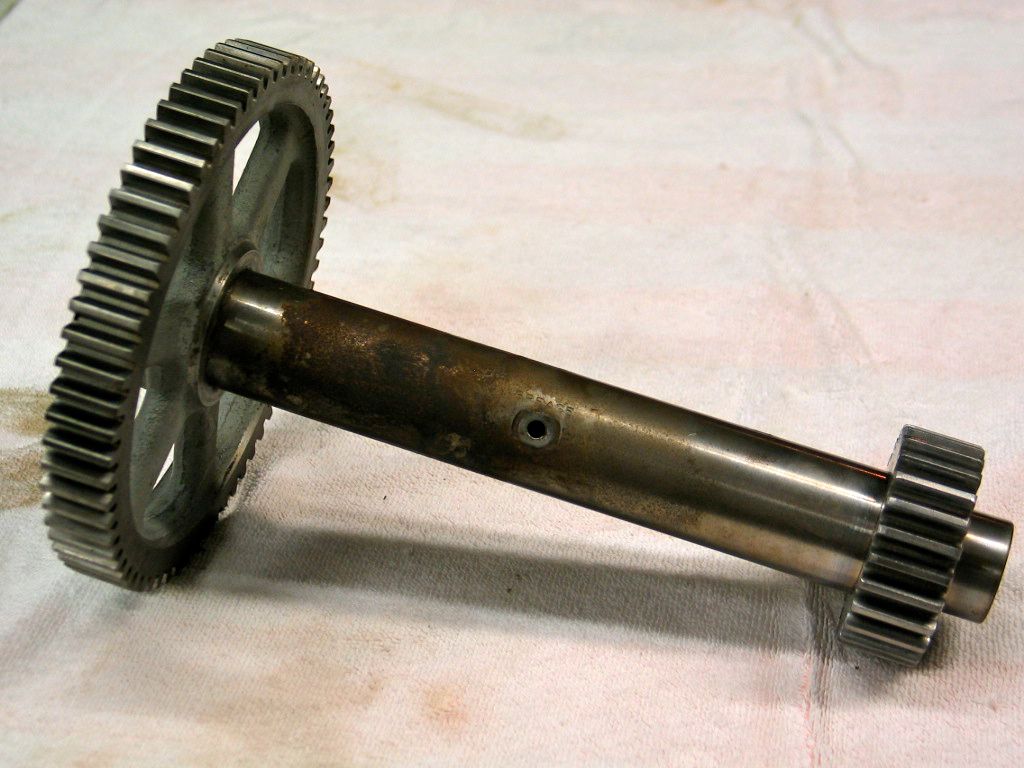
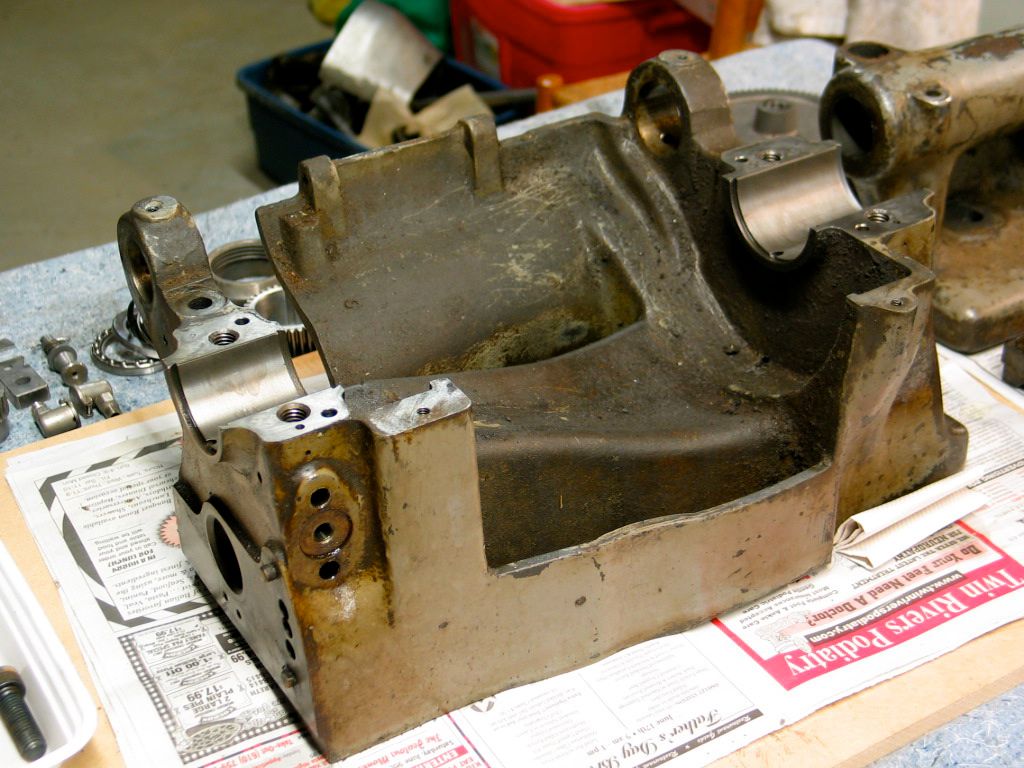
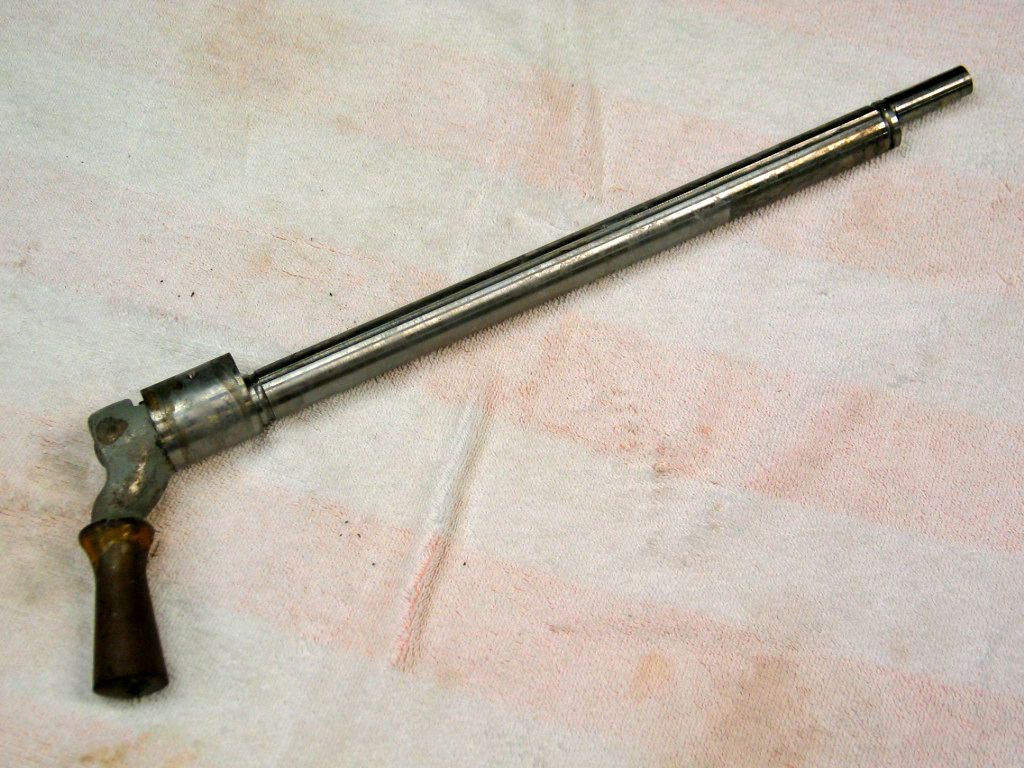
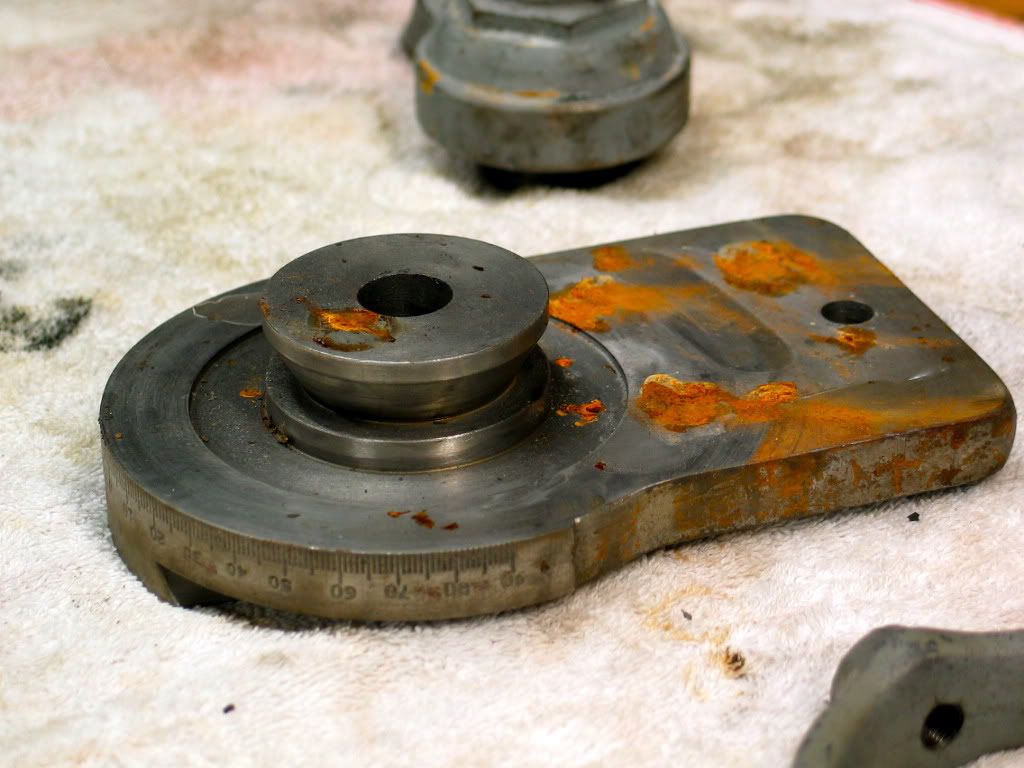
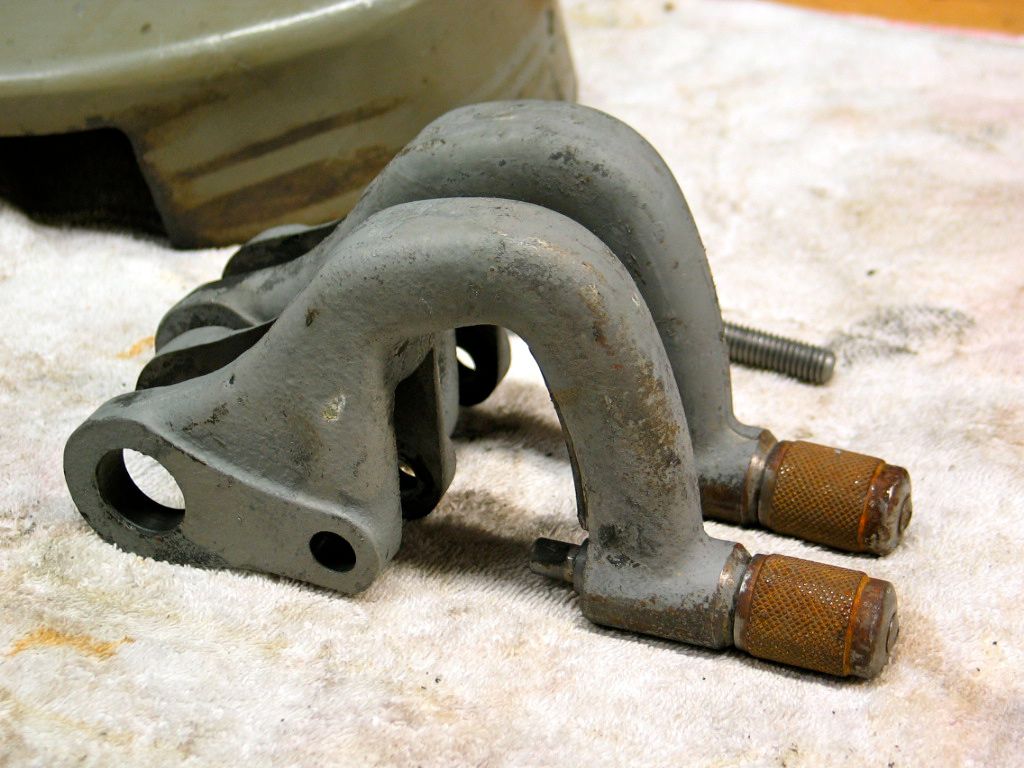
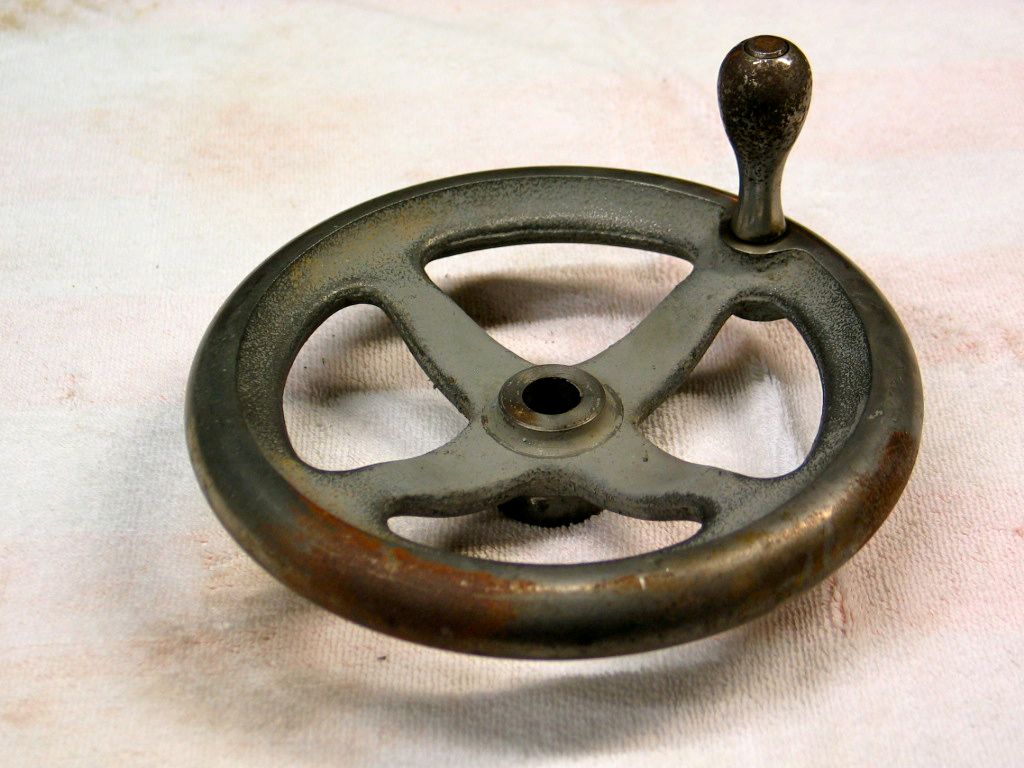
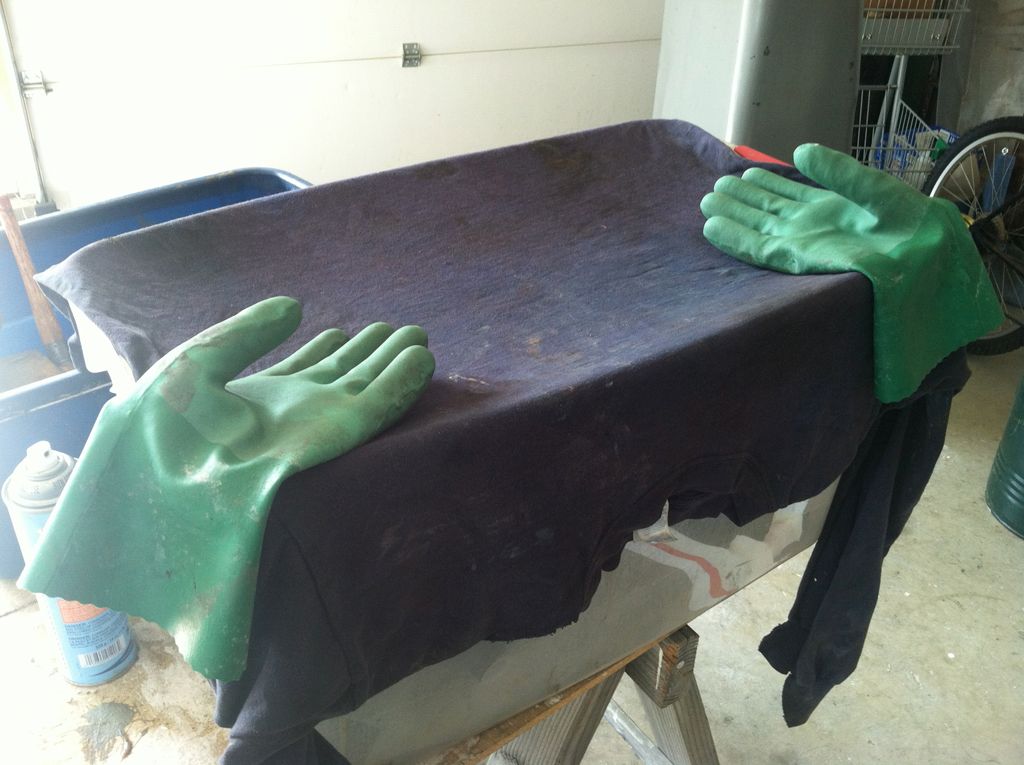
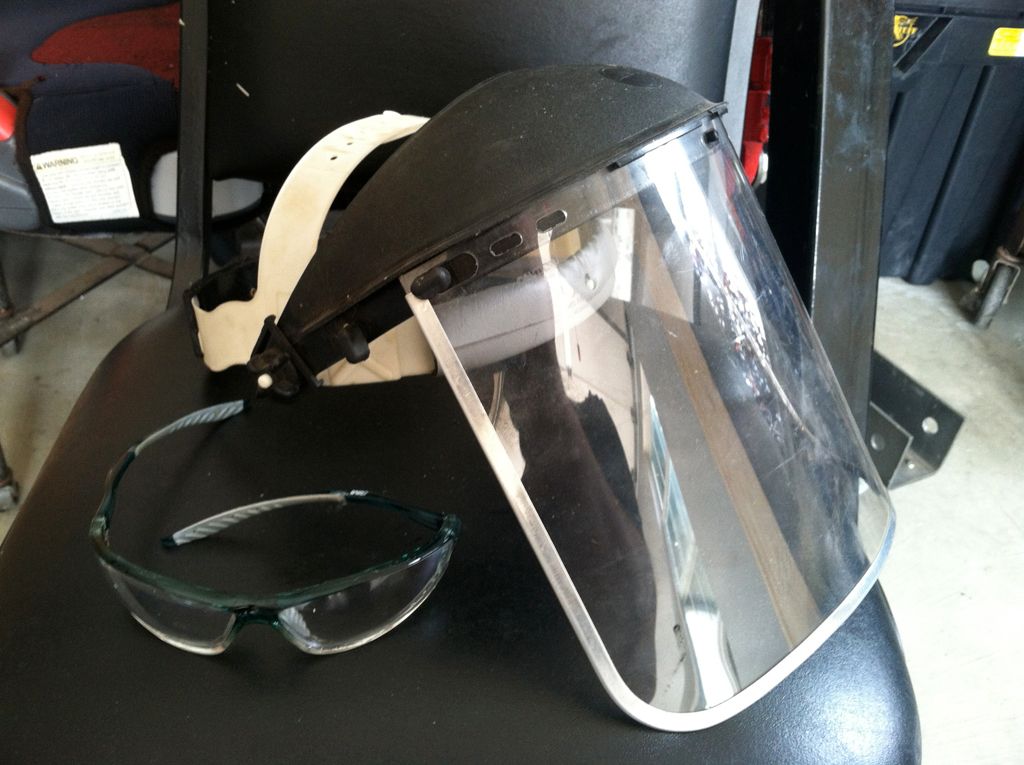
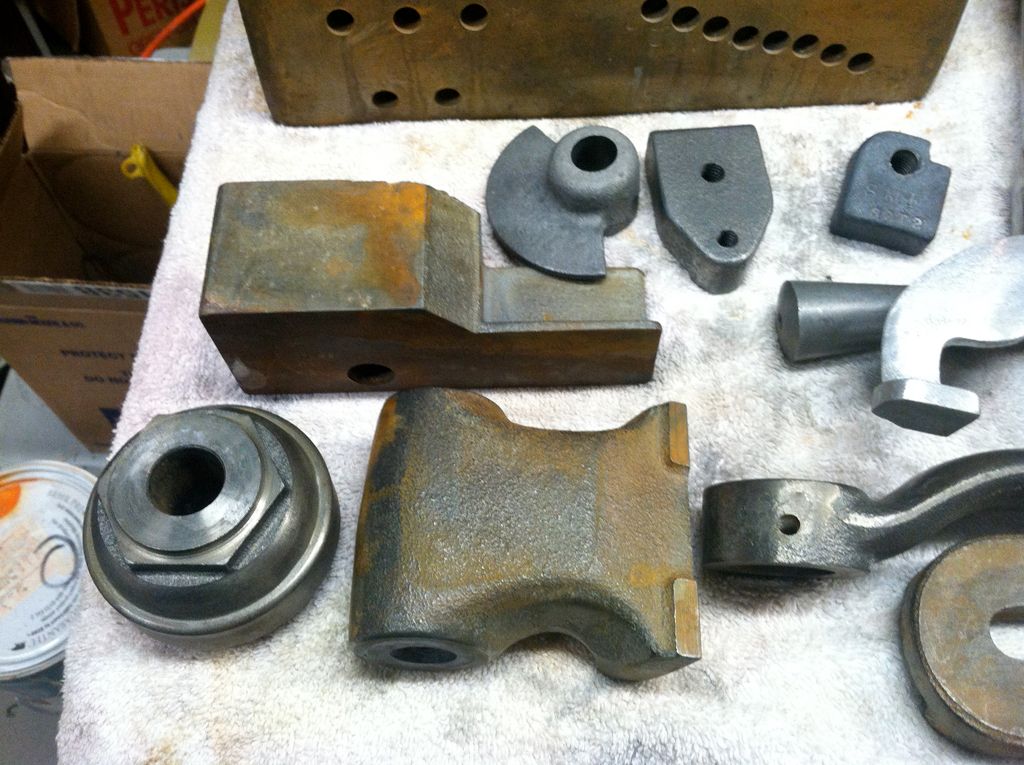
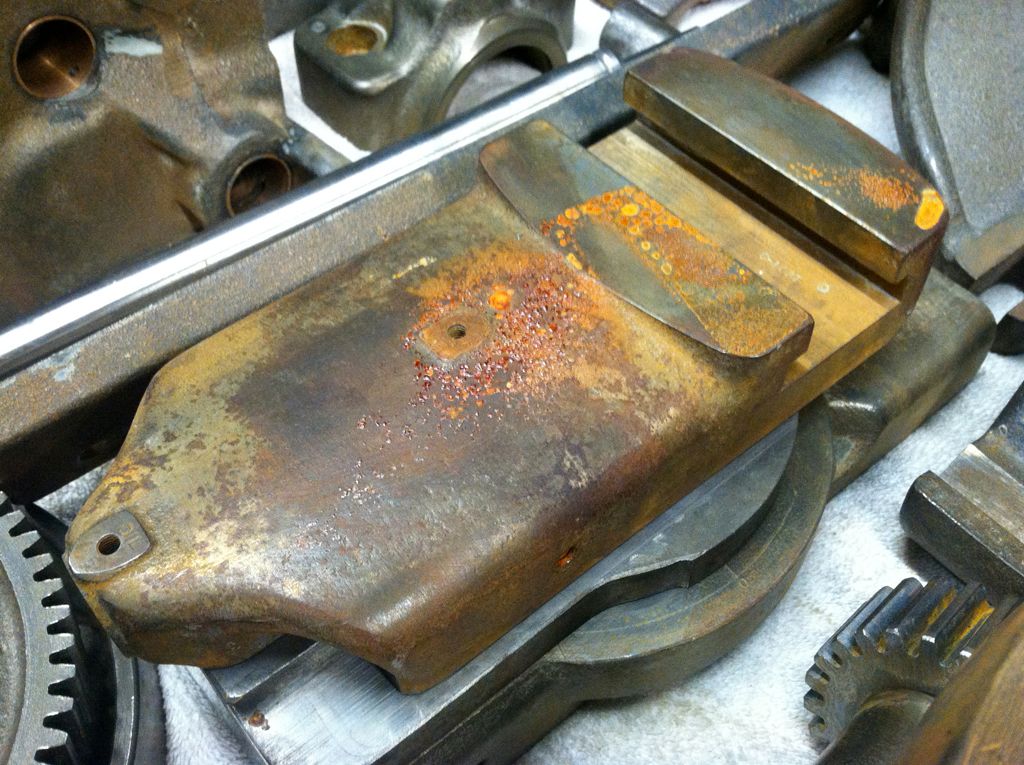
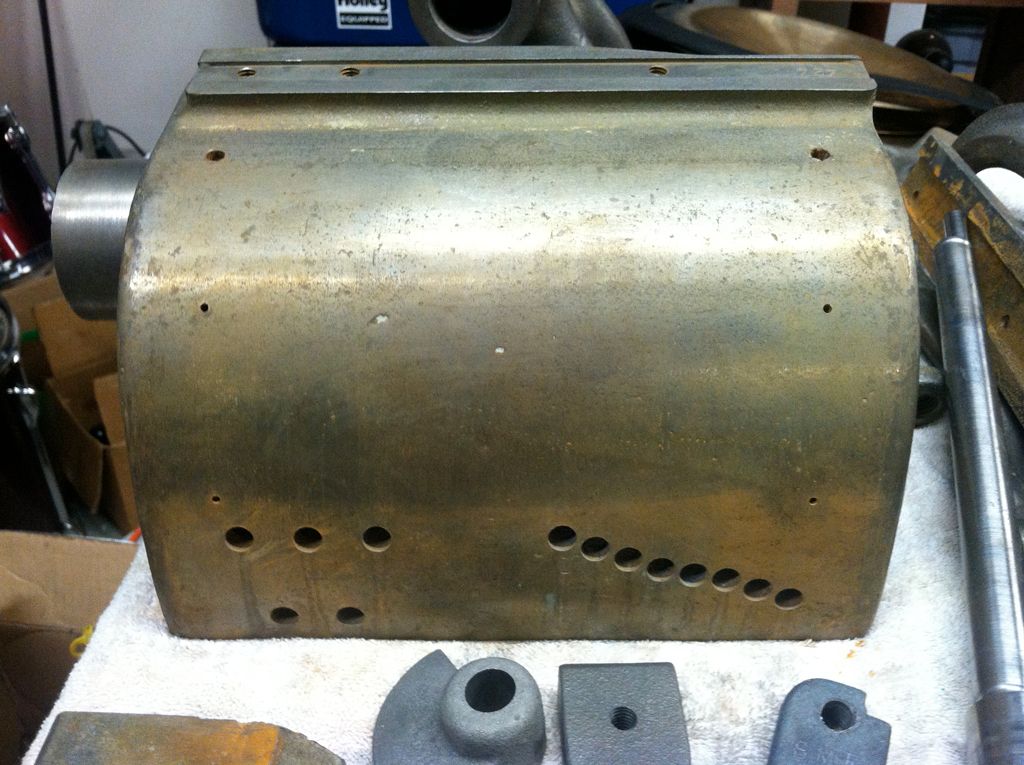
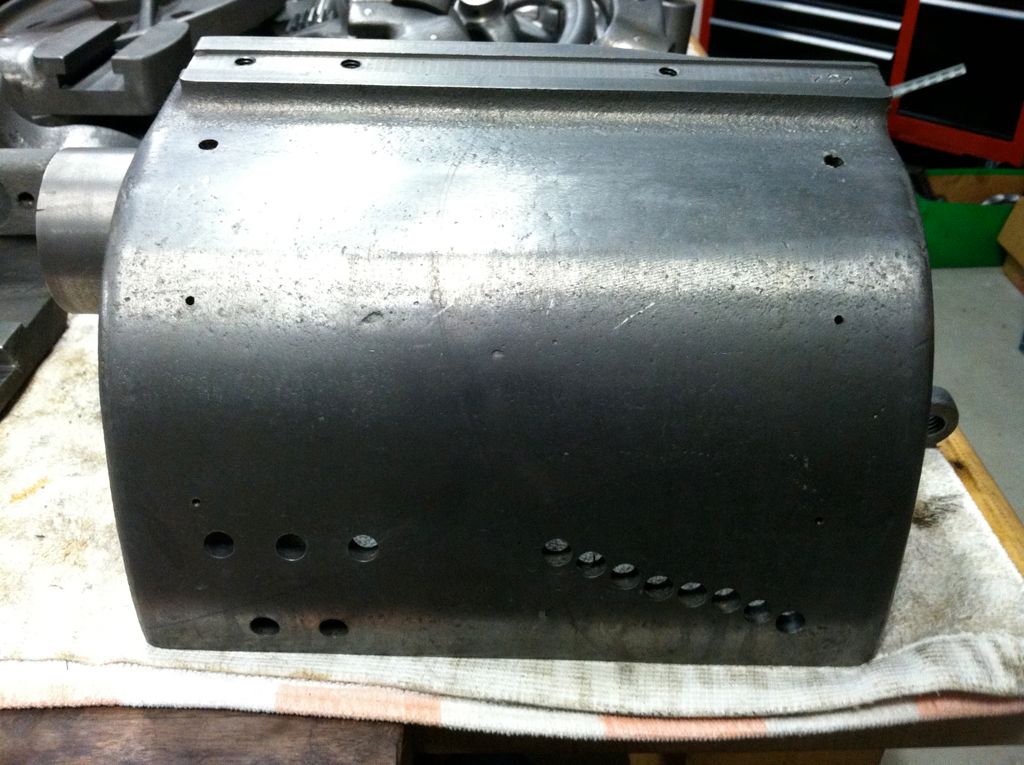
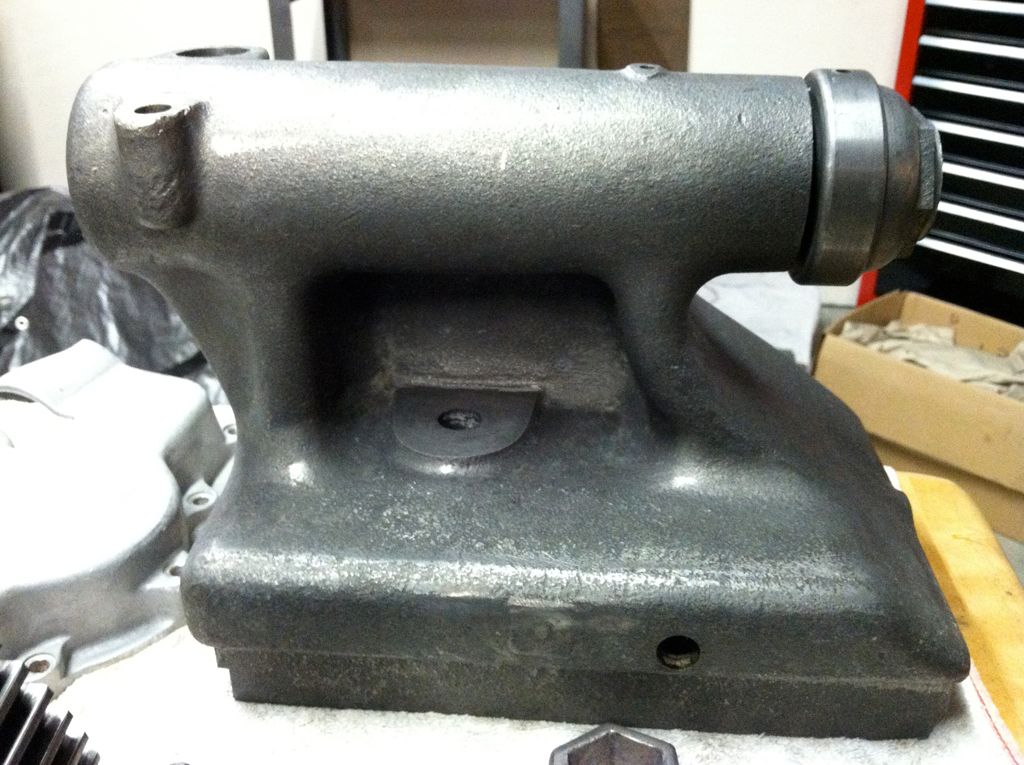
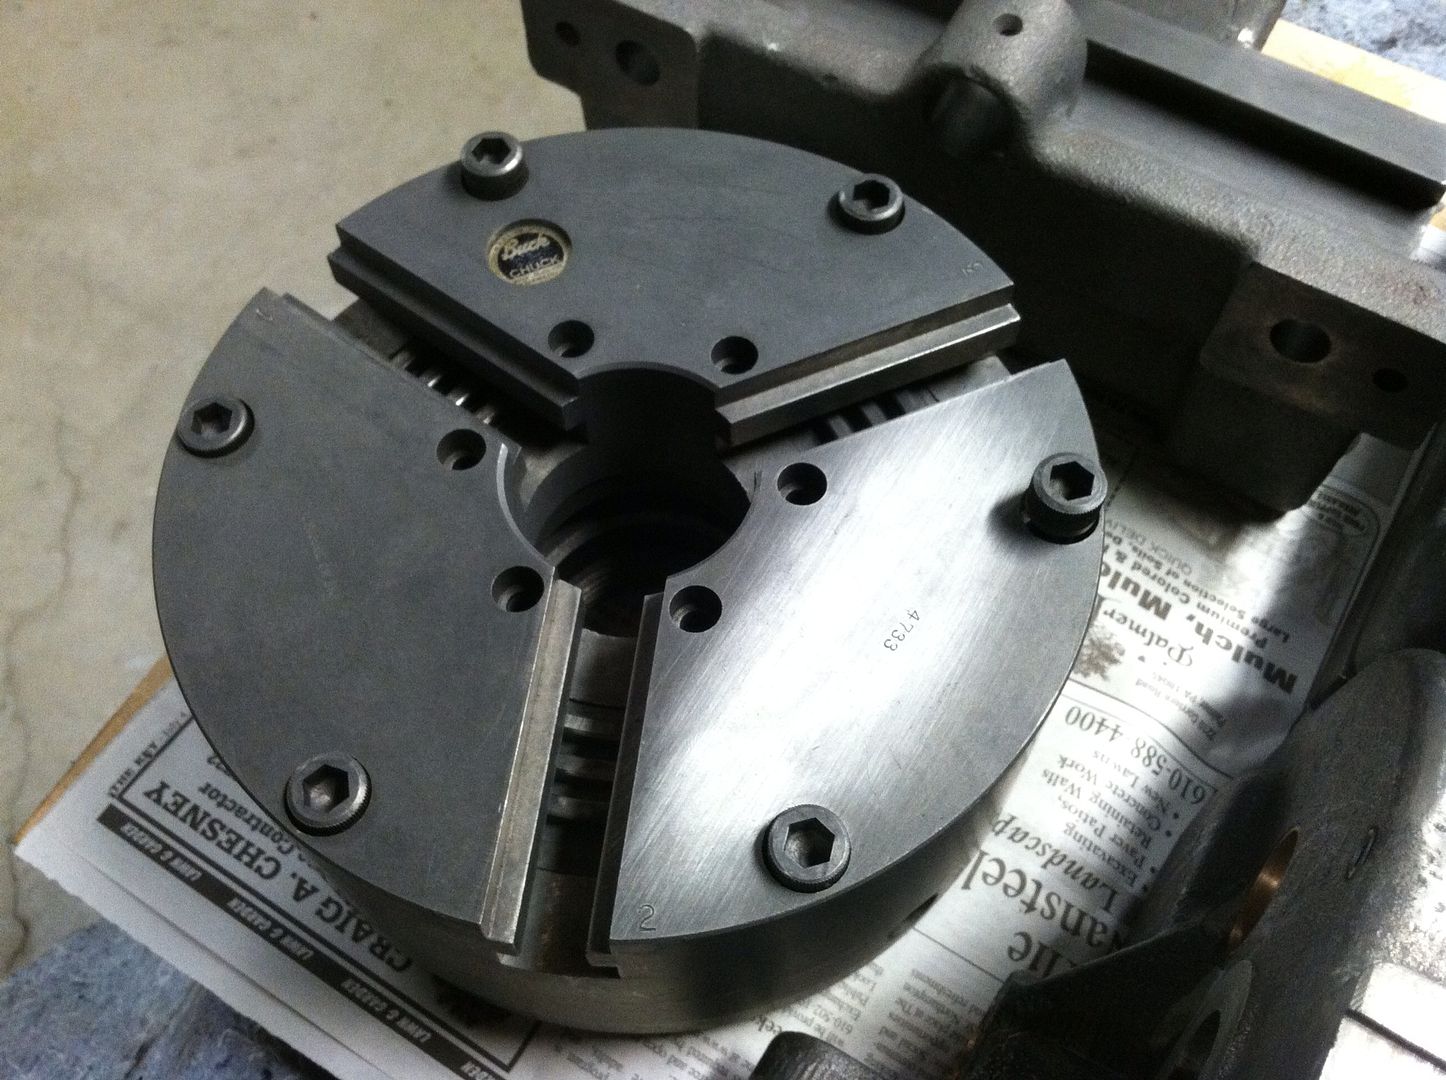
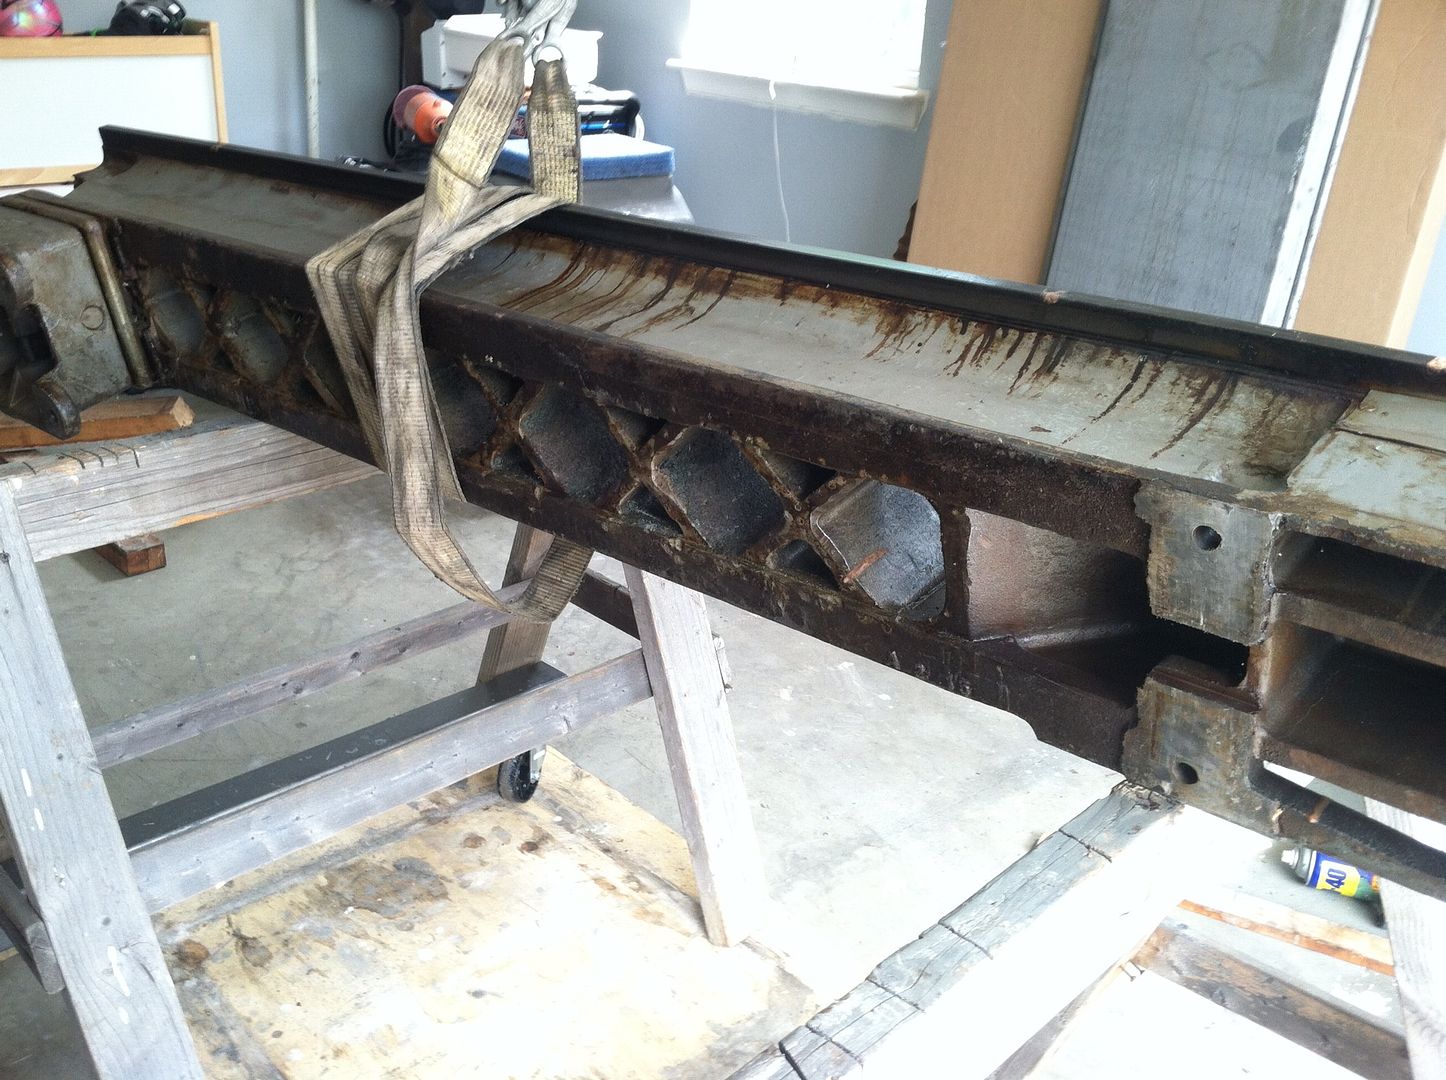
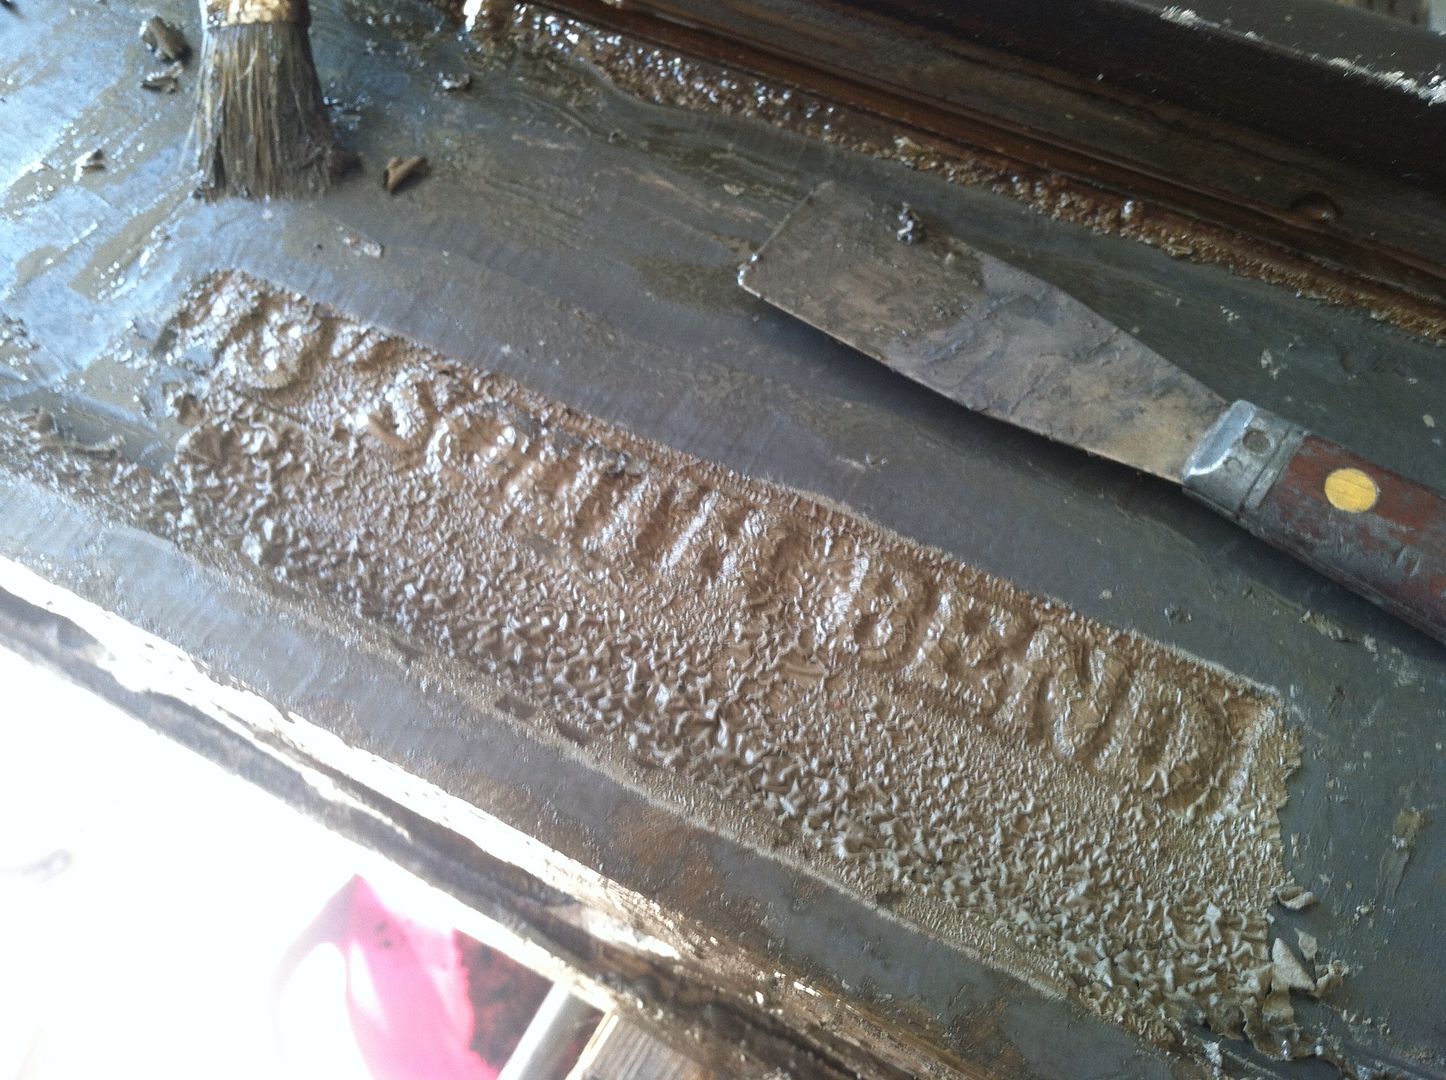
Now for some pictures!

390d677f.jpg


6cc3f0a5.jpg


0cda3471.jpg


e537915f.jpg


d1709427.jpg


16ac4e8a.jpg


54f3c170.jpg


bda0cce8.jpg


f8c12ddc.jpg


9a8fbaeb.jpg


33680b7b.jpg


1692279d.jpg


fd26f649.jpg


9fd079be.jpg


beac640a.jpg


692472e7.jpg


b1efbc09.jpg


dfd22b9a.jpg


24026deb.jpg


93f536f1.jpg
 
Congratulations on your acquiring the 13 inch South Bend. It appears to have a hardened bed. You are fortunate to have all the tooling, including the taper attachment. My first experience with South Bend lathes is the three 13 inch lathes I purchased for the tech school where I taught. They were bought in 1969. They were fully equipped with LOO spindle noses. I should have bought cam lock spindle noses. But for the 28 years that those lathes were used in my classes, they stood up beautifully. And with normal use, hardened lathe beds do not wear out. I sure would like to have a lathe like yours, but having recently restored a 10L, I would not want to go through the process again.

Lord Byron
 
Nice find! I just started on restoring a 13 also that is much like yours. I didn't get the tooling you did :cryin: I did get the taper attachment . But that's why mine was only 700 bucks, and the guy I got it from obtained a brand new lathe for free and wanted the old south bend gone.

Good luck with it. Ill get some recent pictures posted of my progress this Thursday on my day off. We may be able to help each other out here and there.
 
nice catch! I'm sure we'll get photos too as you go along.

(I picked up my 9A from a guy in N. NJ. I think it came from a school. My guess is that schools might be selling off their excess inventory?)

Dave
 
looks like the Dodge Dakota had a heavy load on....you got a lot of tooling for the money.
better to get it [tooling} with the lathe than try and buy it later..regards packrat2
 
Wow, lots of nice pieces. Hard bed, direct reading dials, I'm jealous. Are you missing the leadscrew tail bearing?

-Ryan

Nope, it was just removed to take the gearbox off during transport.

Ryan - I (like many others) have studied your resto to great length. It really helped me 2 years ago when I was embarking on my first 10L restoration. I've since done a South Bend drill press, 9a, Bridgeport and now this one.

So, as a fellow "detail-oriented crazy-person", I appreciate the time you took to document yours and just wanted to thank you for that ;-)

How about some updated pictures of yours? I don't recall there being any "after" pictures...
 
That's very kind of you to say, thank you. I've never posted any "finished" pictures only because I never painted mine. She looks shameful compared to the beauties you see around here. My excuse has always been that it's just too worn out to devote the time required to pretty her up.

Fine looking welder you got in the background there, too!

-Ryan
 
Just to give ya'll a heads up, I'm going to be selling the Collet-Closer (the Lever version) from the 13", an gorgeous Aloris AXA (with 2 holders), a large (MT3) tapping wheel and some other drill chucks. Most of this stuff can be seen in the pictures. All tooling will be restored to brand-new condition, of course ;)

If anyone has an immediate interest, please PM and I'll take care of those items right away.
 
Last edited:
Just wanted to take a moment and update the build thread. I've jumped in and have disassembled the entire machine and began the de-grease/de-rust/paint-stripping stage of the build.

I didn't encounter any real problems, just a couple pesky, little issues that are normal to any restoration. Those being 100% related to stuck pins. Had one on the apron worm and another on the pulley shaft of the under-drive. I need to order an 8" long bit, to properly drill out the stuck pin. Yay!! (*sarcasm meant*)

All in all though, everything is in excellent mechanical shape. The spindle is flawless (both the super-finished surface and the bronze bearings themselves) and even the capillary-oilers are still in excellent shape. Gears are all good, springs are all tight. So it's definitely been well cared for and not abused. There WAS a decent amount of rust on the castings and other parts - while other parts were quite well preserved under the oil and grease.

I quickly got to degreasing and derusting. I used a lot of Evaporust on this machine because I had three gallons of it laying around from previous projects. I mostly used it on the castings that flashed-up on me once the paint was removed. To remove the flash-rust from the headstock casting, I placed it into a large bin and poured in the (almost-spent) Evaporust. It only came up 1/3 the way. So I added water (*like many suggest to do - and it really DOES re-activate it). I also added some Molasses and apple cider vinegar - the "trifecta" of rust-removal. Needless to say, the casting was pleasantly "silver" when it came out, 2 days later.

To remove the paint I (mostly) used Mr. Muscle and some Citrustrip. Mr. Muscle is EXCELLENT and very easy to use. I placed all the castings I could fit into a large plastic bin (the kind you get at any home-store). I then slipped on my chemical gloves, safety glasses AND a face shield. I was NOT about to chance getting this stuff in my eyes... I sprayed it onto the castings and came back in 10-minute intervals to "baste" with a brush. Within a hour or so, all the paint was reduced to pudding. I was impressed and it made short work of paint removal. I used Citrustrip on the pedestal-base, legs and bed. Man, doing the bed NEVER gets easy... and am (currently) finishing it up in the next day or so.

Ok, enough babble... Onto the next batch of machine-porno-picture!

IMG_4520.jpg


IMG_4524.jpg


IMG_4533.jpg


IMG_4530.jpg


IMG_4554.jpg


IMG_4558.jpg


IMG_4571.jpg


IMG_4583.jpg


IMG_4580.jpg


IMG_4589.jpg


IMG_4600.jpg


IMG_4587.jpg


IMG_4588.jpg


IMG_4616.jpg


IMG_4606.jpg


IMG_4607.jpg


IMG_4612.jpg


IMG_4613.jpg


IMG_4620.jpg


IMG_4619.jpg
 
And even more pictures...

You'll notice a lot of flash-rust on the castings once the Mr. Muscle removed the paint. I simply soaked the castings in Evaporust for about an hour. It completely removes the flash rust - and fast. Check out the paint as it's turning to goop from the Mr. Muscle.

Once the bed is finished, I'll them move onto then next step - and that's castings-prep. I'll bring out the dental-pick, round wire brushes, etc... I clean any residue, trapped dirt, grime or rust that's left over. I'll then use a drill and (soft) wire-wheel to further clean the castings. This step will brighten them up like aluminum foil! Finally, I'll wipe the castings down with Mineral Spirits and tape them off for painting.

IMG_2778.jpg


IMG_2795.jpg


IMG_2796.jpg


IMG_2801.jpg


IMG_2806.jpg


IMG_2808.jpg


IMG_2805.jpg


IMG_2870.jpg


IMG_2869.jpg


IMG_2867.jpg


ec17298b.jpg


54eb0180.jpg


IMG_2871.jpg


56861e8e.jpg


78ea082e.jpg


aaf49413.jpg


ba958013.jpg


660badbf.jpg


These are the rack-gear screws. I try to keep them in order to return them to their original locations
4c872abc.jpg


e15b8c18.jpg
 
I know very well what you are doing right now, so I can appreciate it. :bowdown:
With that restoration you are playing now in another league than of my "9-class baby-sized" one.
Subscribed.

One question, how do you prevent the cleaned and degreased surface from immediate rusting? I found some acid based passivating material that makes a light phosphated layer ready for accept the paint.

PS: congrats on your acquisition, I'm of course jealous.:drool5:

Haha, I do nothing to prevent rust, it always happens after I strip paint. So that's the reason for the Evaporust stage. That removes flash rust and keeps it from returning (for a little while). I do need to get those castings prepped for paint, ASAP.
 
Be careful if you decide to use an epoxy primer - every epoxy primer I've seen needs to have the color coat applied within about 48 hours, or the epoxy will cure to the point that the color coat won't bond to the primer - that happened to a friend of mine, who rebuilt a Jeep. The final paint job could be flaked off with a thumbnail. Generally, if it will be a while before you can give the primer a color coat, you need to apply a light coat of primer over the original primer to bond the primer and the color coat. When you're picking a final color, look for something that can be bought in a spray can - touchup is a lot cheaper than if you have to have a special color packaged in a few spray cans.


Back
Top