What's new
What's new

South Bend Drill Press - Bearings Upgrade

bradjacob

Titanium
Joined
Nov 18, 2008
Location
Easton, PA
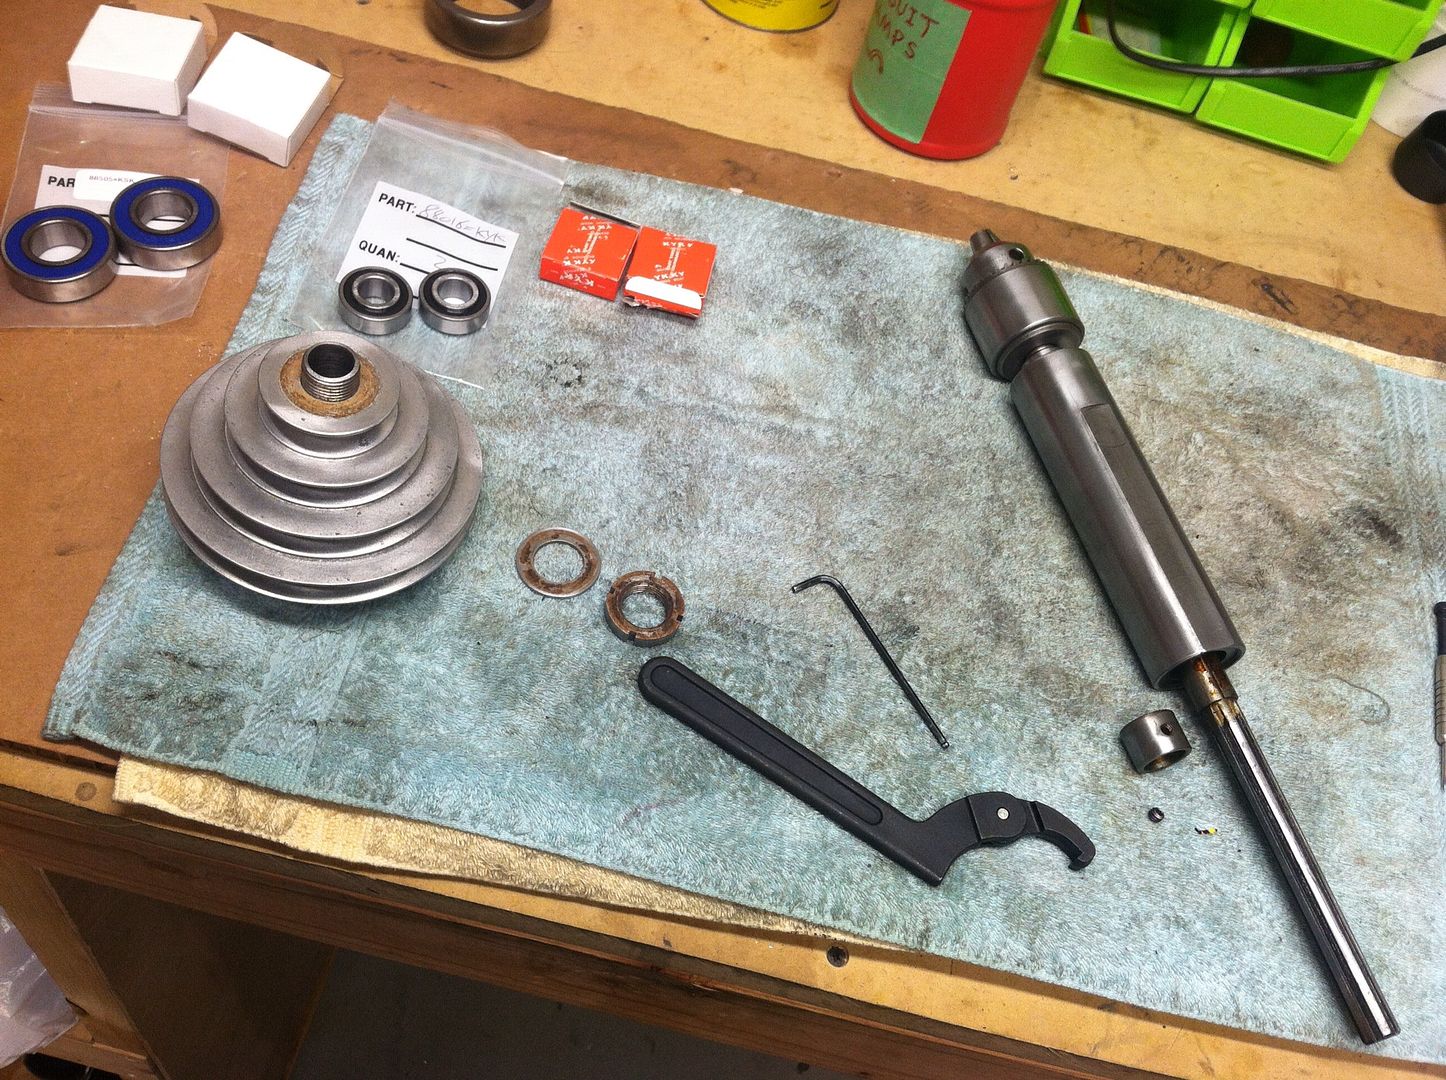
I ordered new bearings for my South Bend drill press. I ordered them from Maryann at Emerson Bearings. The whole set of 4 brand-new bearings (shipped) was $29 bucks. It took about 30 minutes total to do the job - and was worth every penny.


The original spindle bearings are New Departure: 88016
0cde3e9cd34bb3d936b2609ccc521c5b_zps80931f8a.jpg


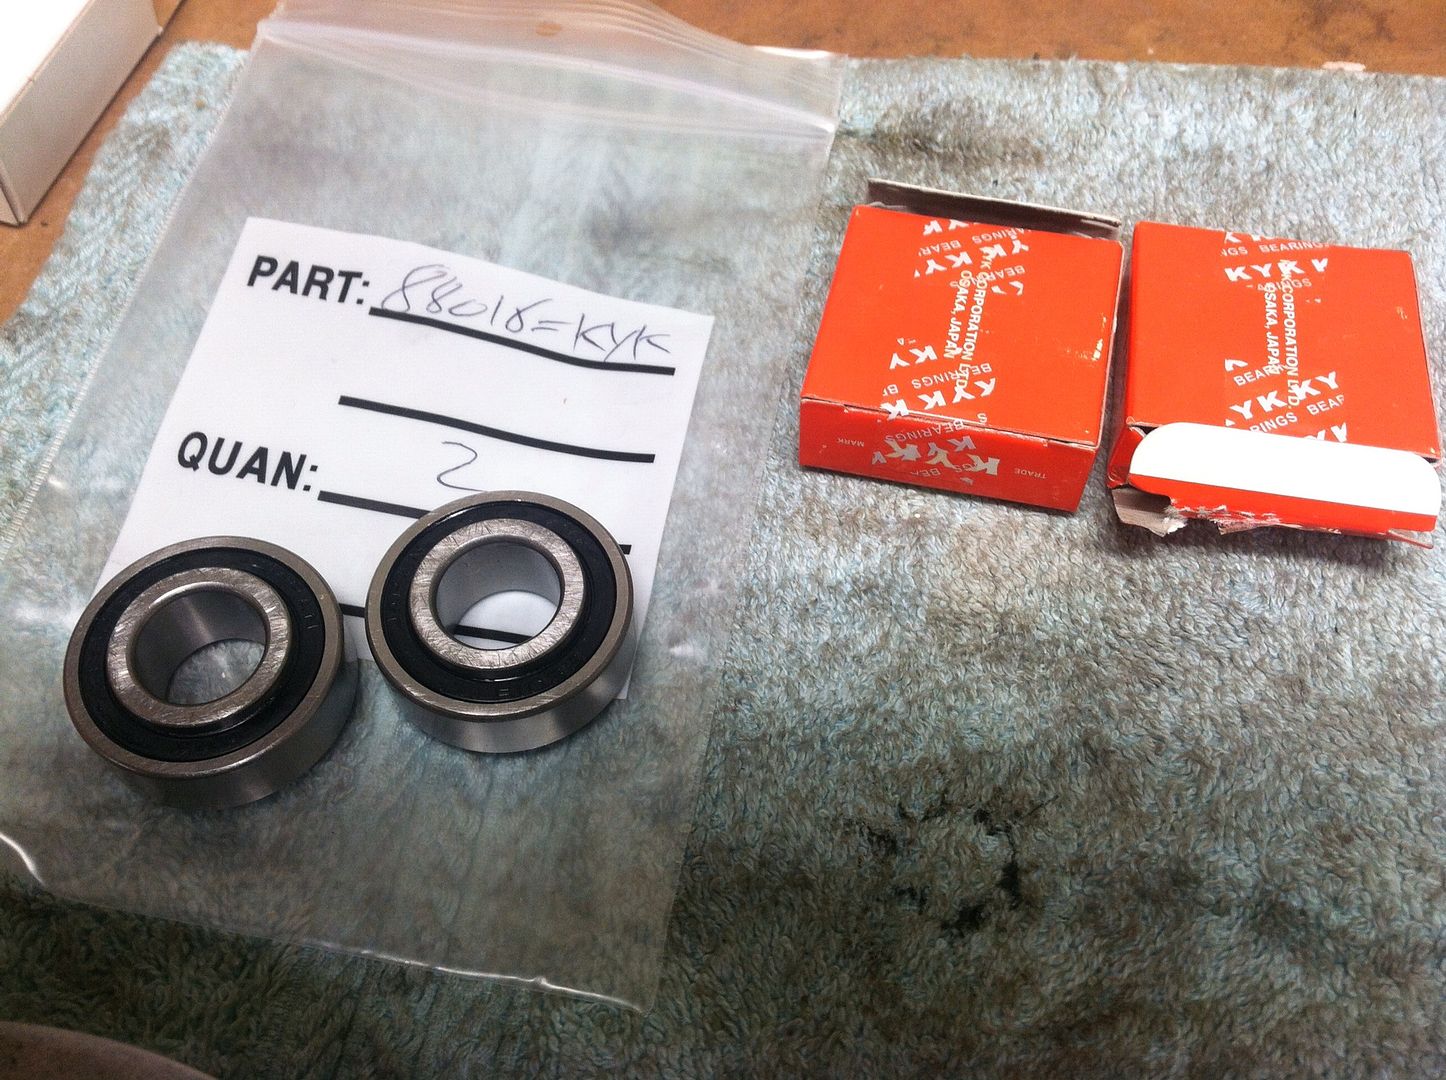
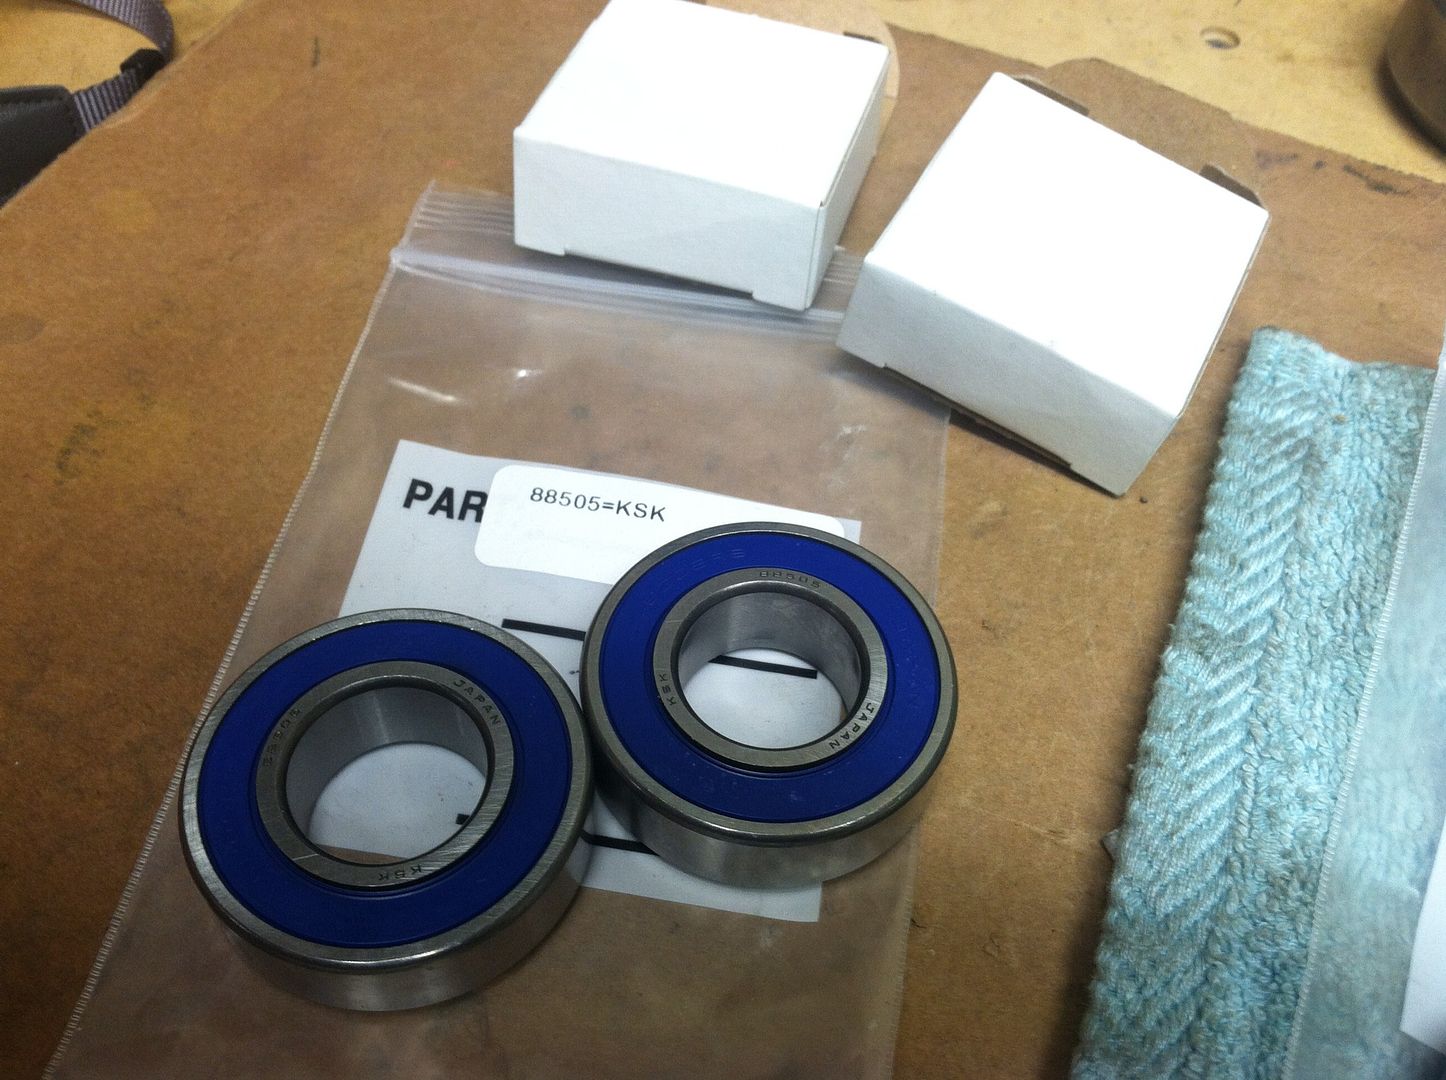
The original pulley bearings are New Departure: 88505
3a46aa50703ecfaa2651191bfa6bc4f0_zps460709e0.jpg


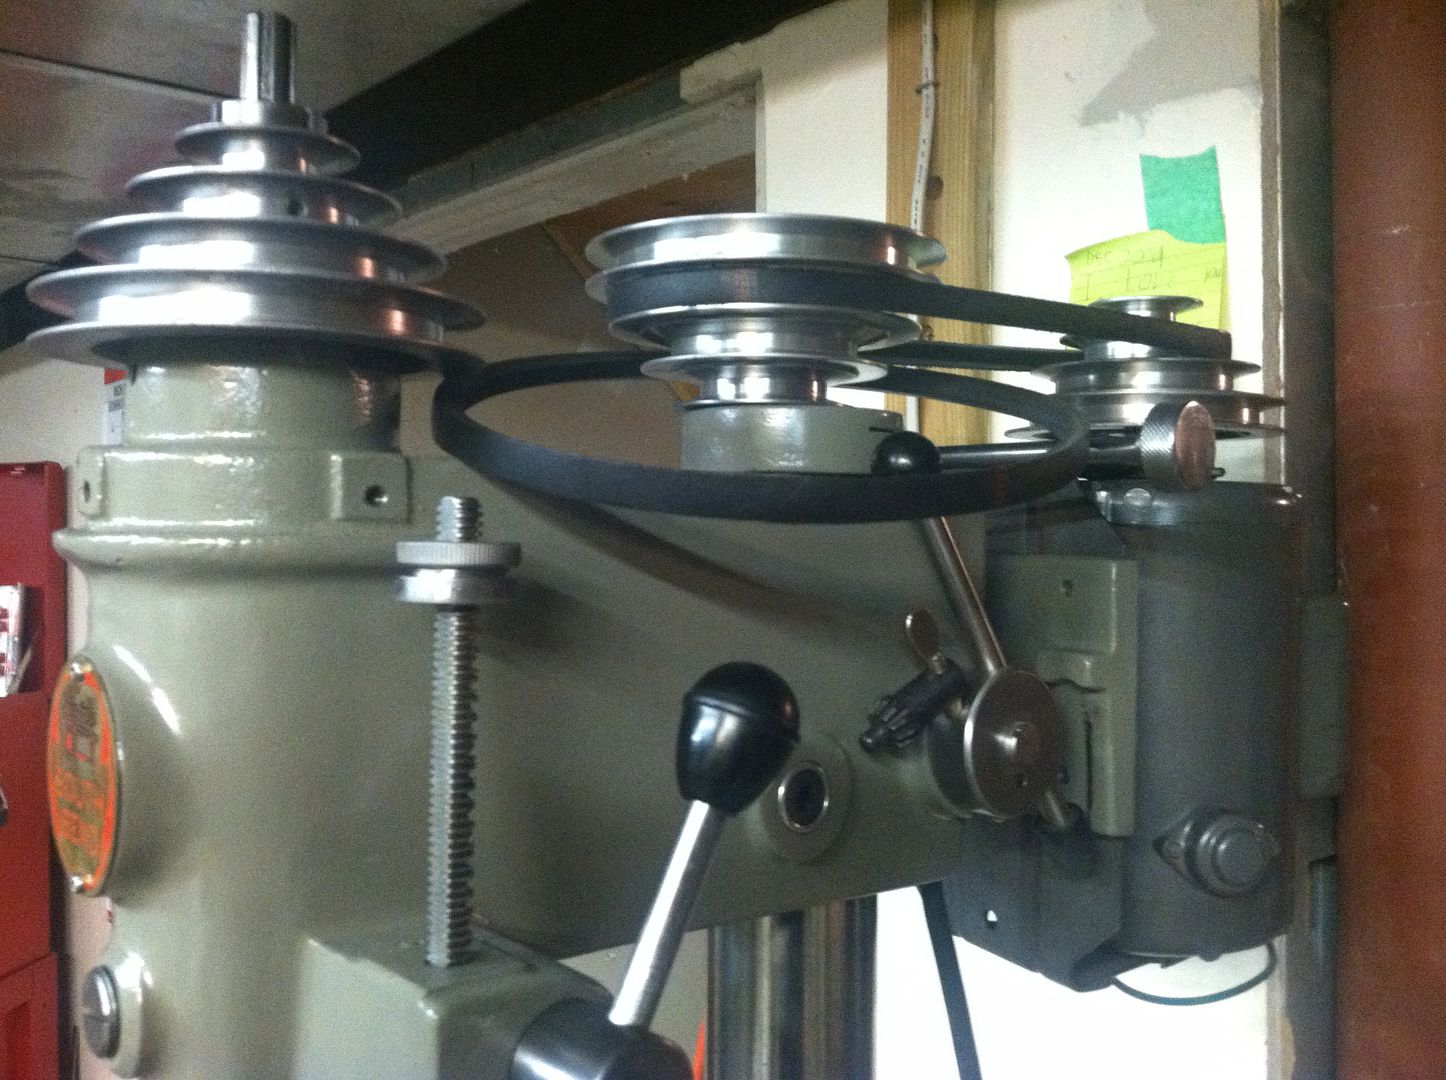
First, I removed the belt-guard and front belt.
IMG_4873_zps67b6d426.jpg


IMG_4877_zps7bd90111.jpg


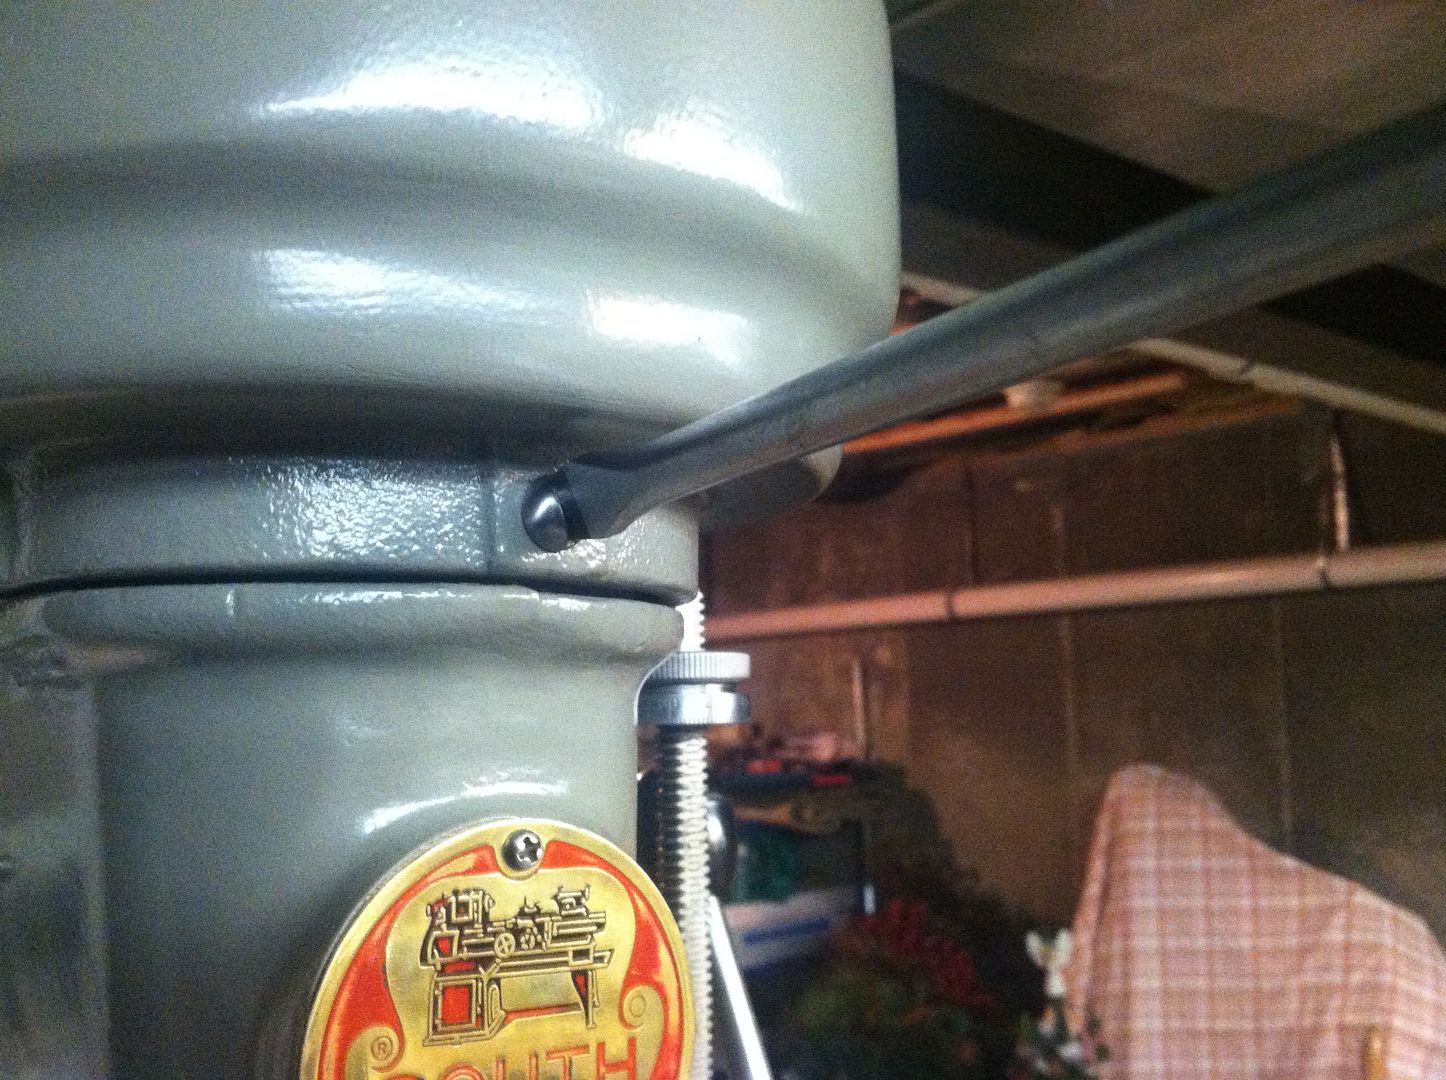
Then remove the small setscrew in the front of the head.
IMG_4879_zps18cef947.jpg


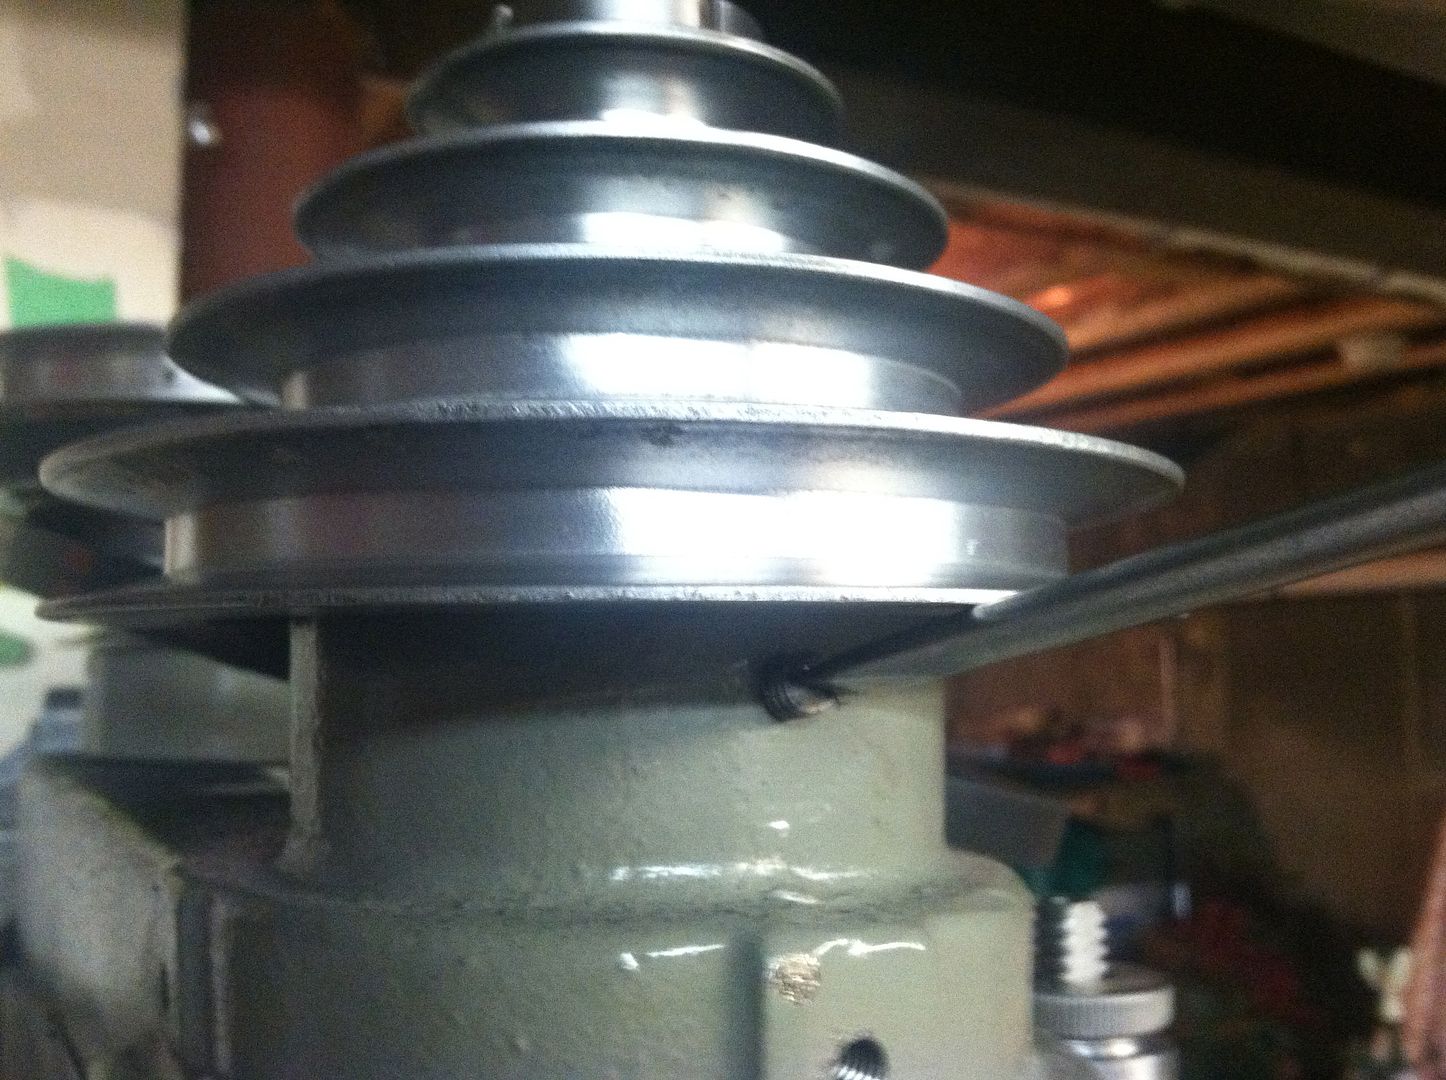
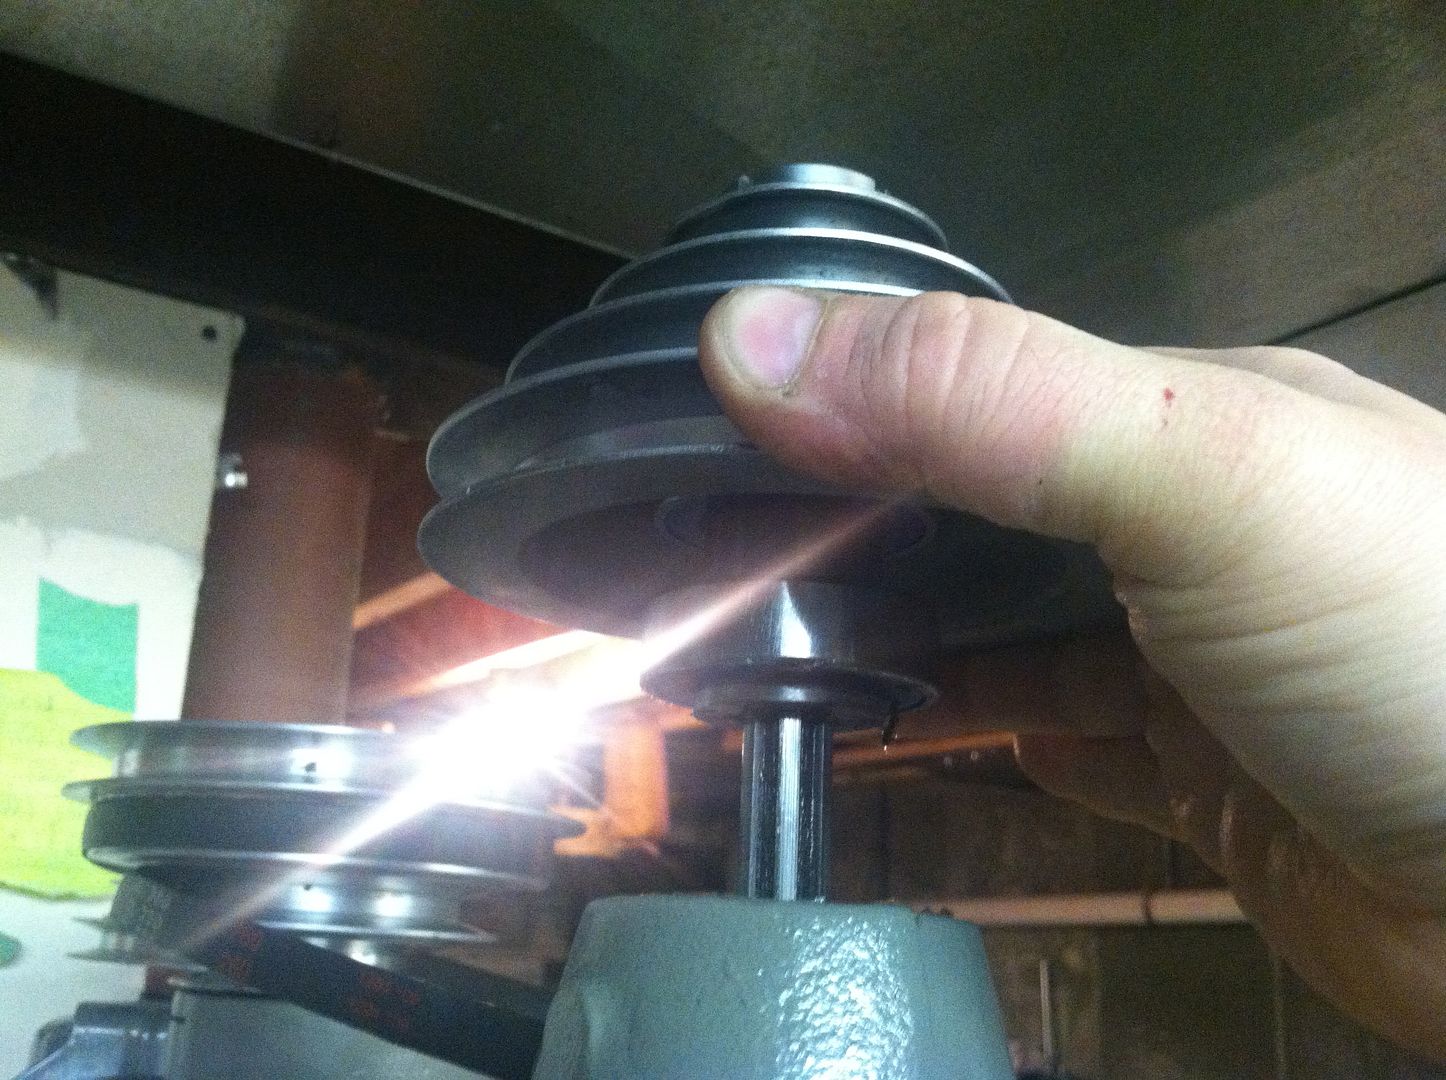
The front pulley - it should lift right out.
IMG_4880_zpsb1a9065f.jpg


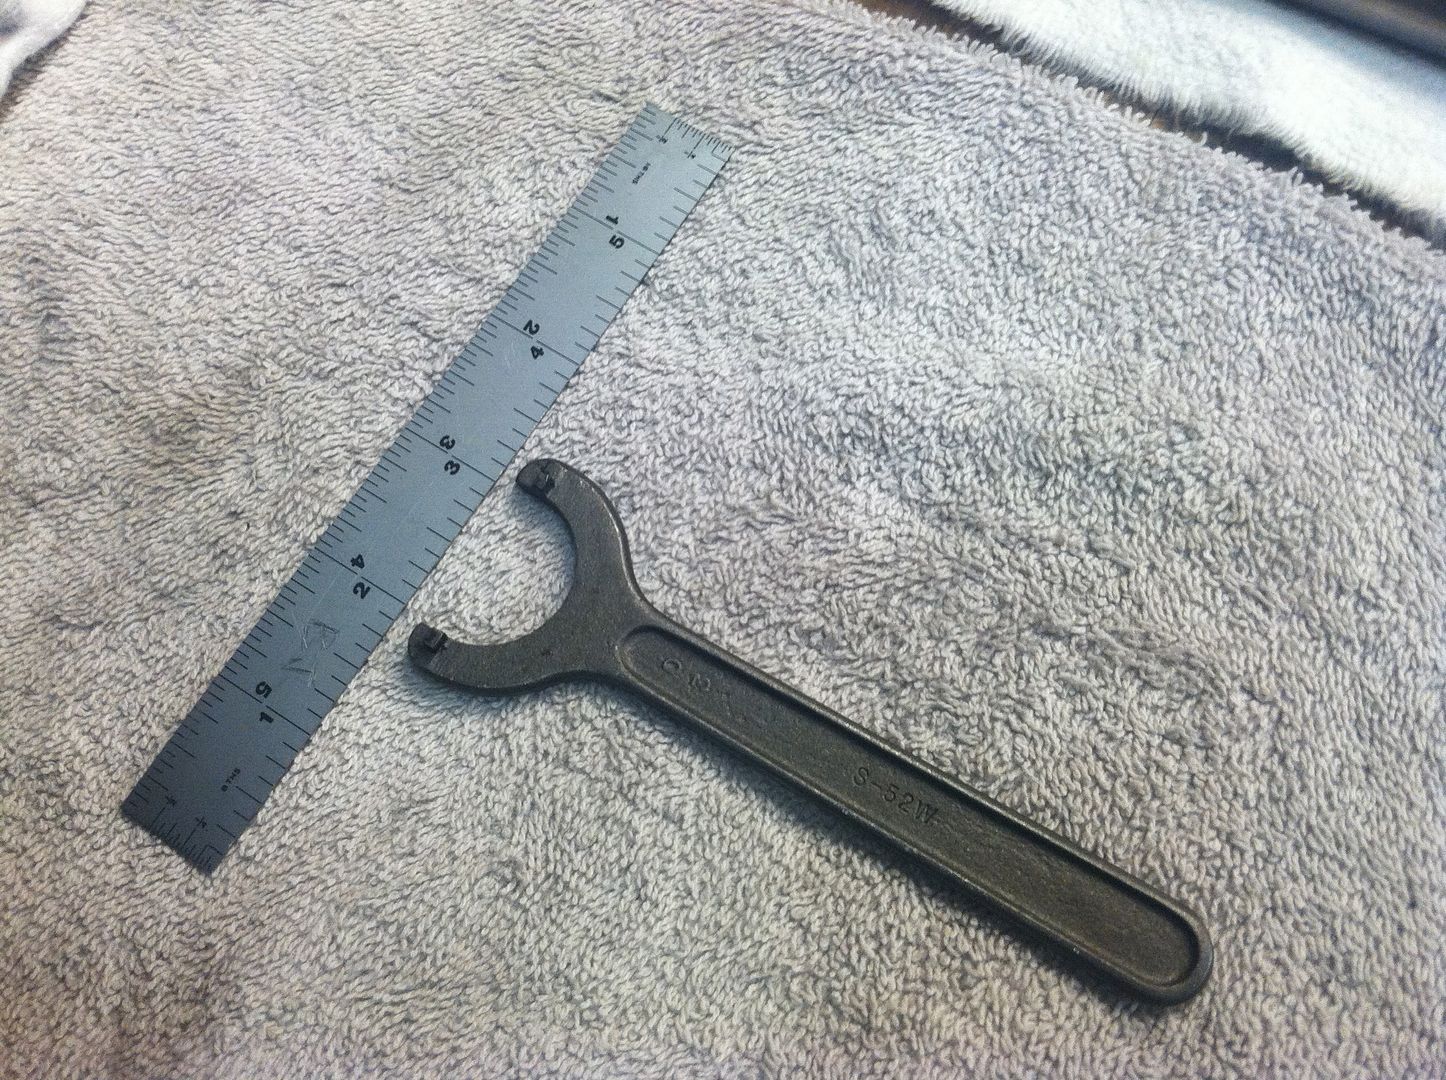
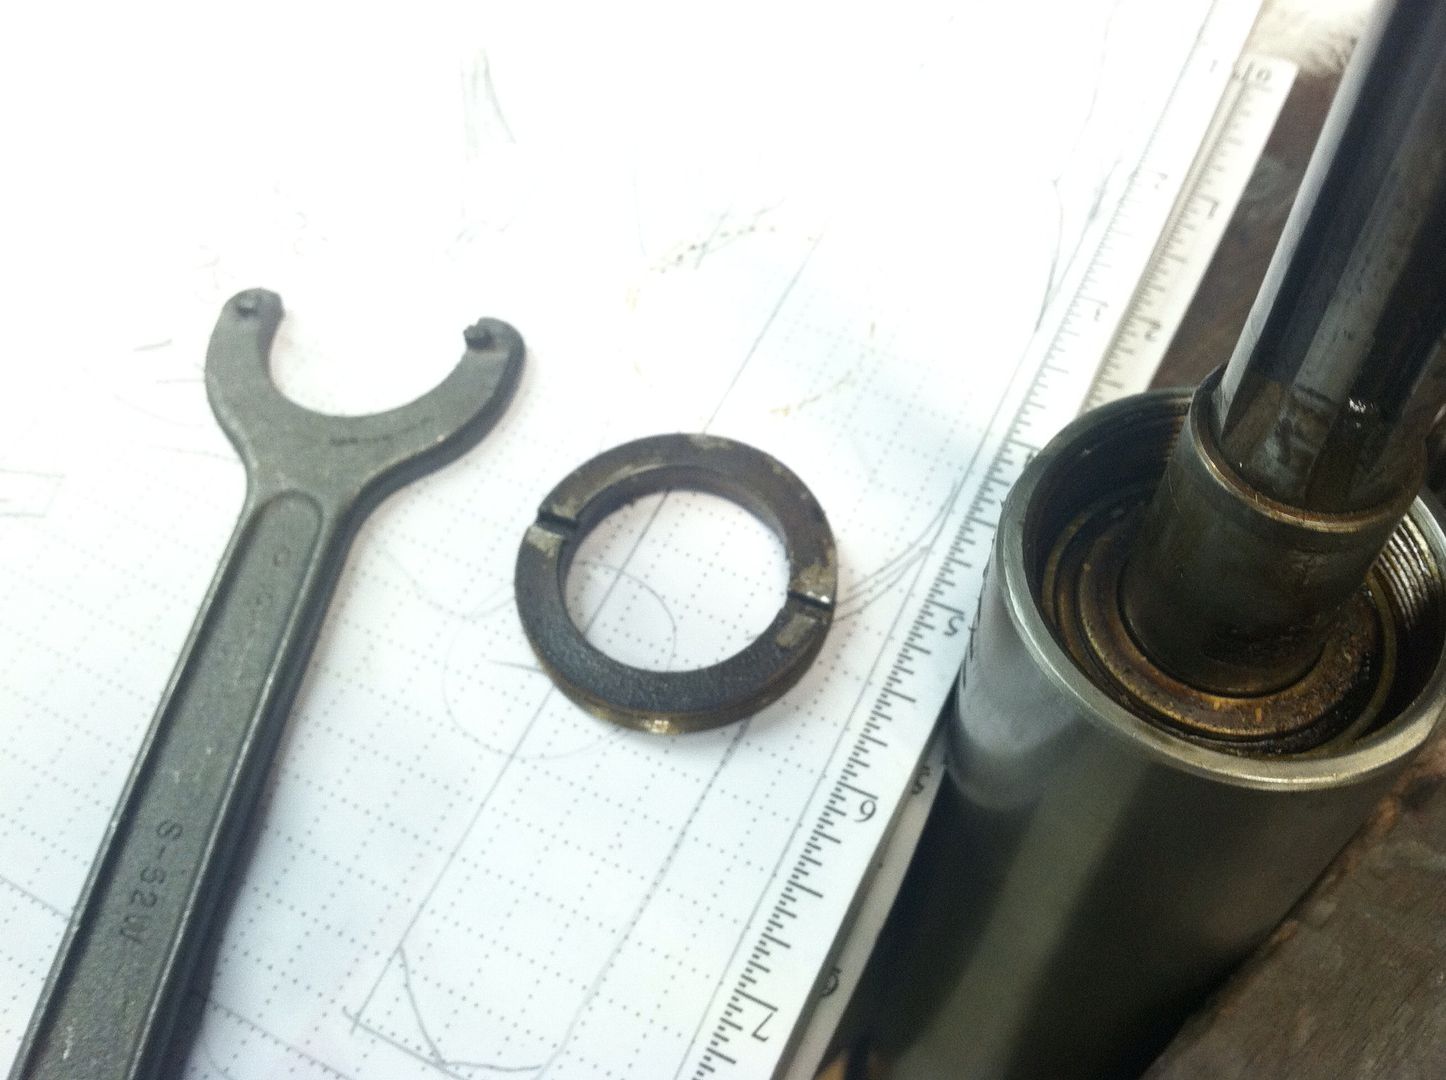
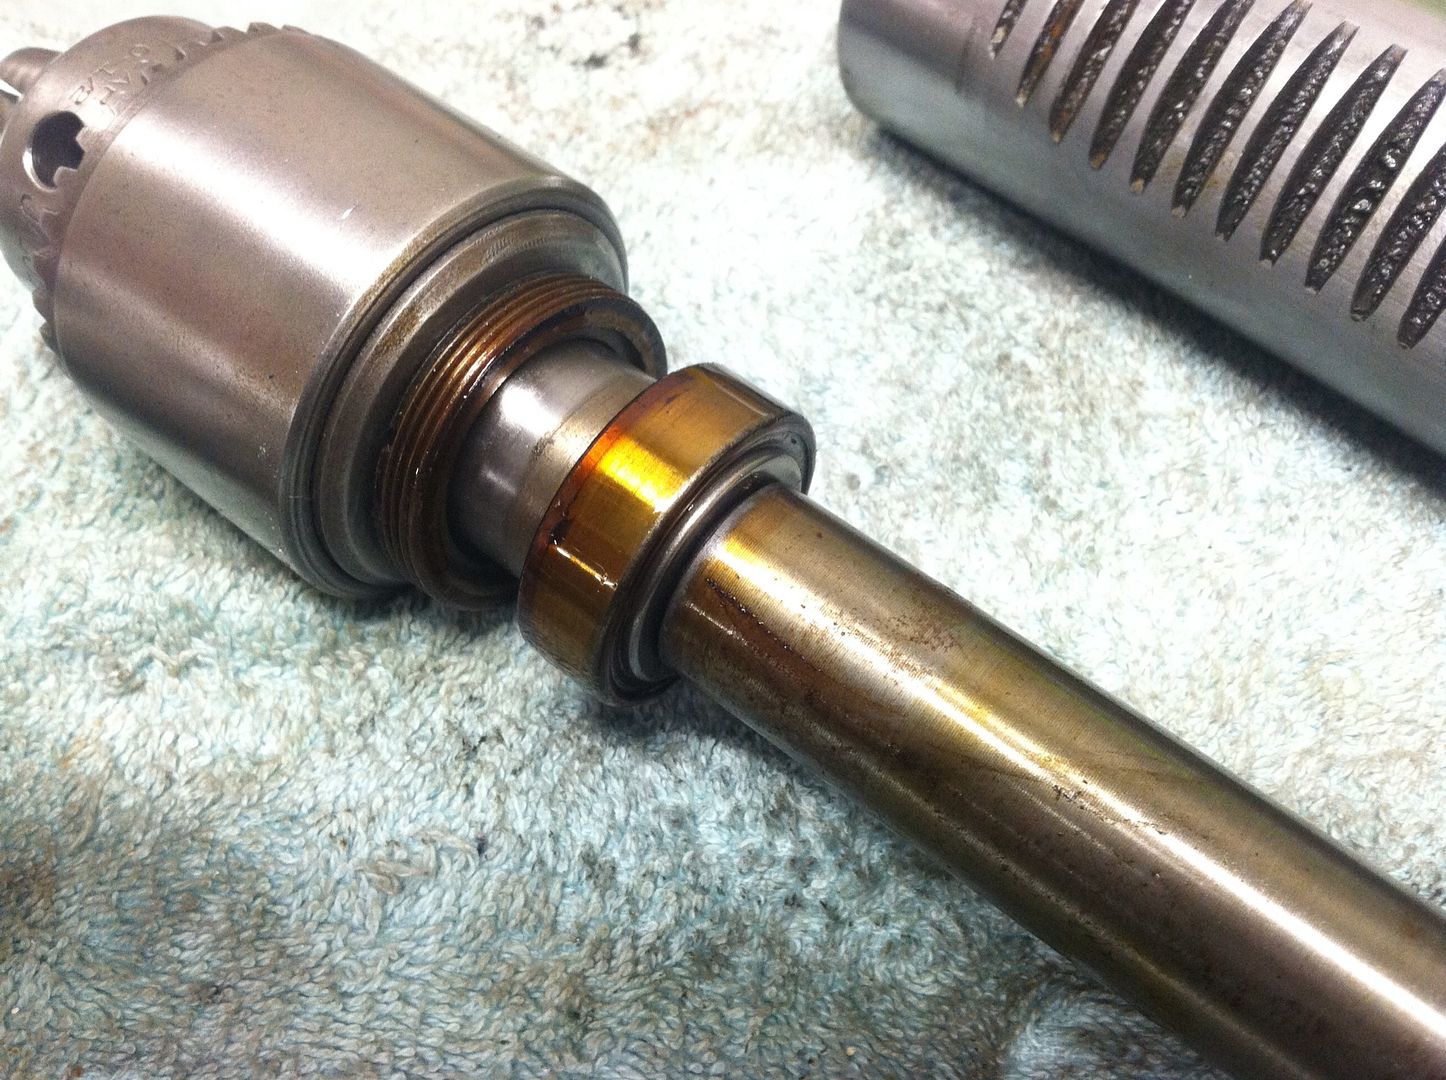
Then, using a "hook spanner" wrench, I unscrewed the locking nut.
IMG_4875_zpsb91aae69.jpg


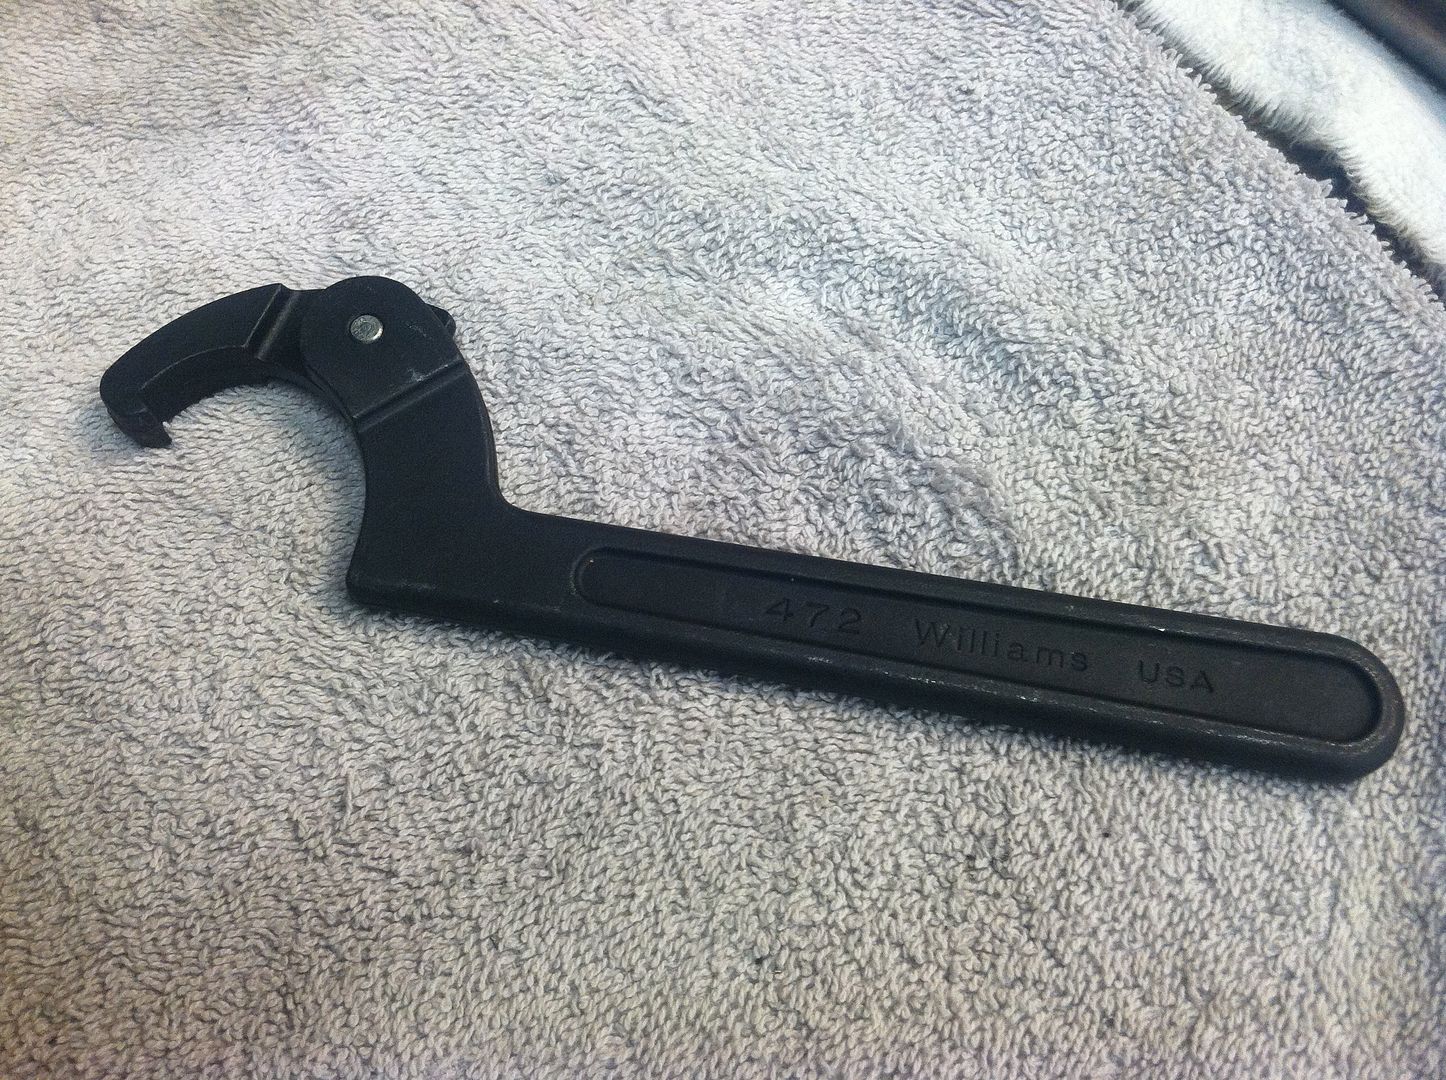
** WARNING - these are left hand threads!
IMG_4882_zpseee661cb.jpg


e57542fdb533ab9afb23107765d181e5_zpsa7f93765.jpg


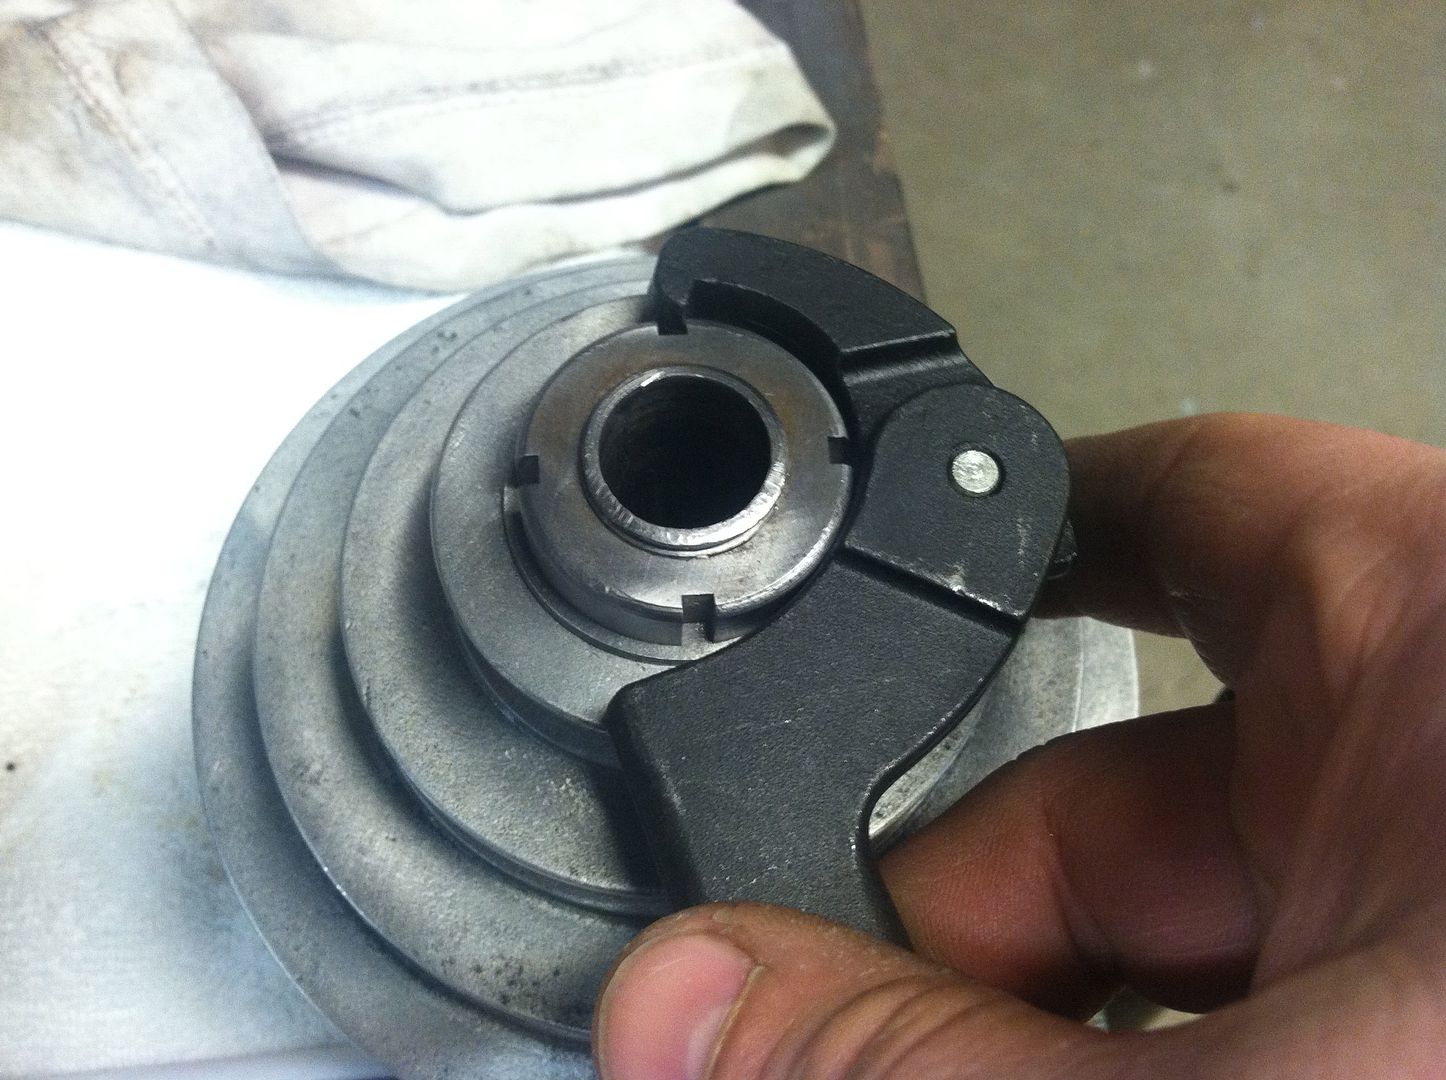
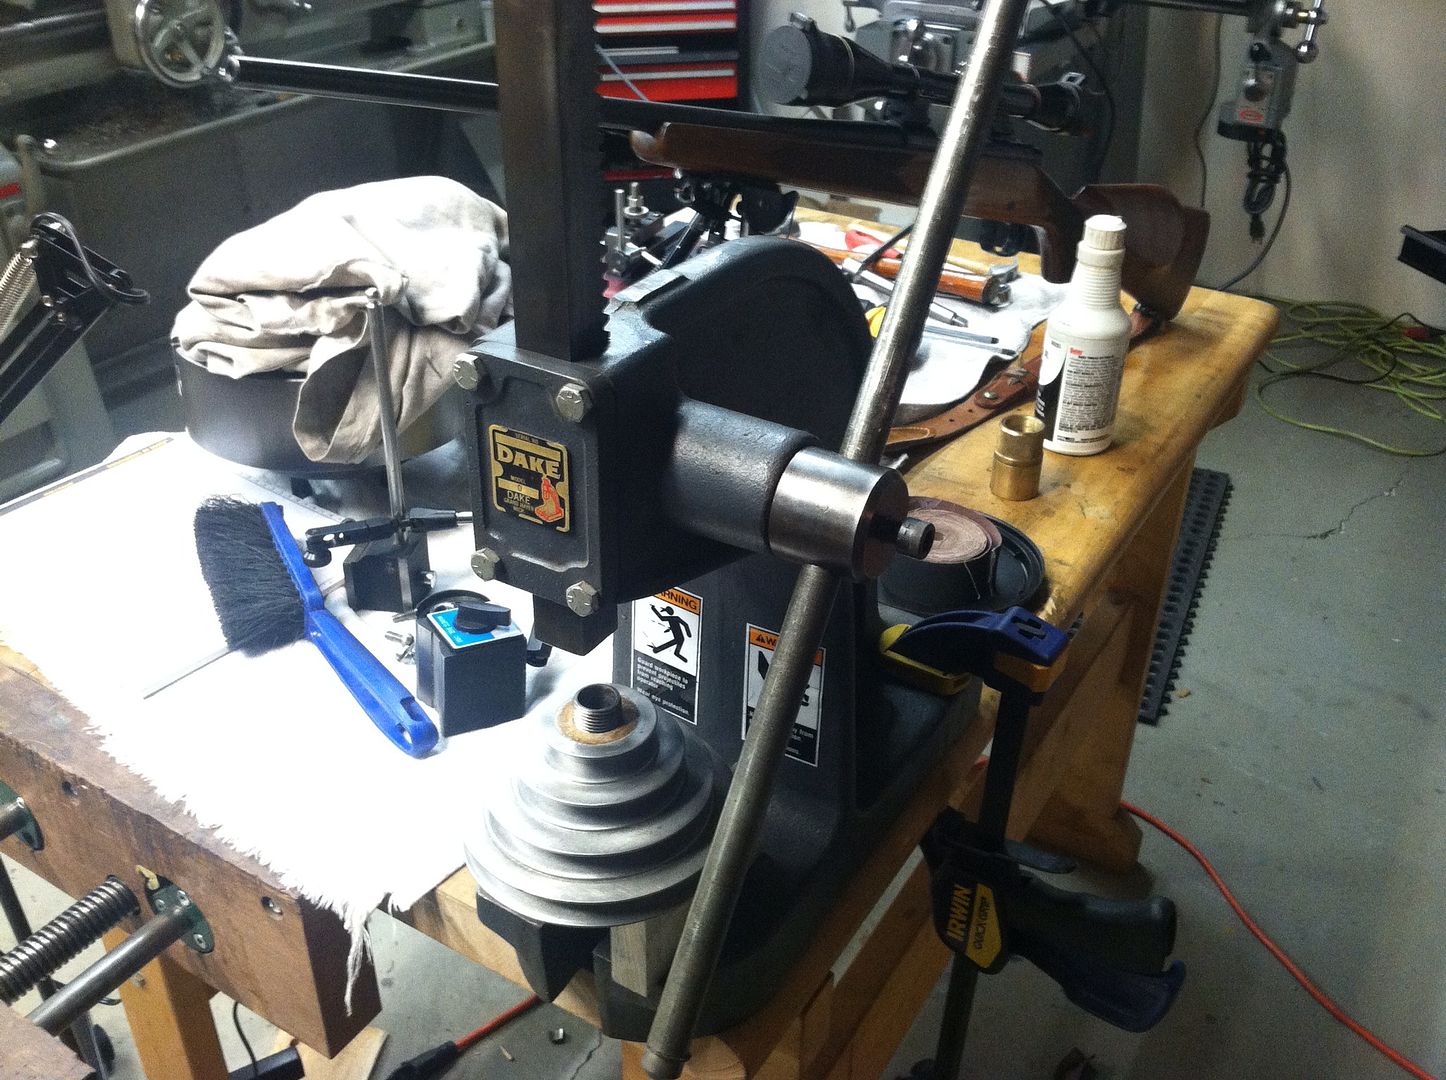
You'll need to unscrew the two(2) setscrews inside the pulley grooves, in order to press out the main shaft from the pulley.
ac8d04f548db04e60f1cfdfe7d267f3e_zpsf3ba6581.jpg


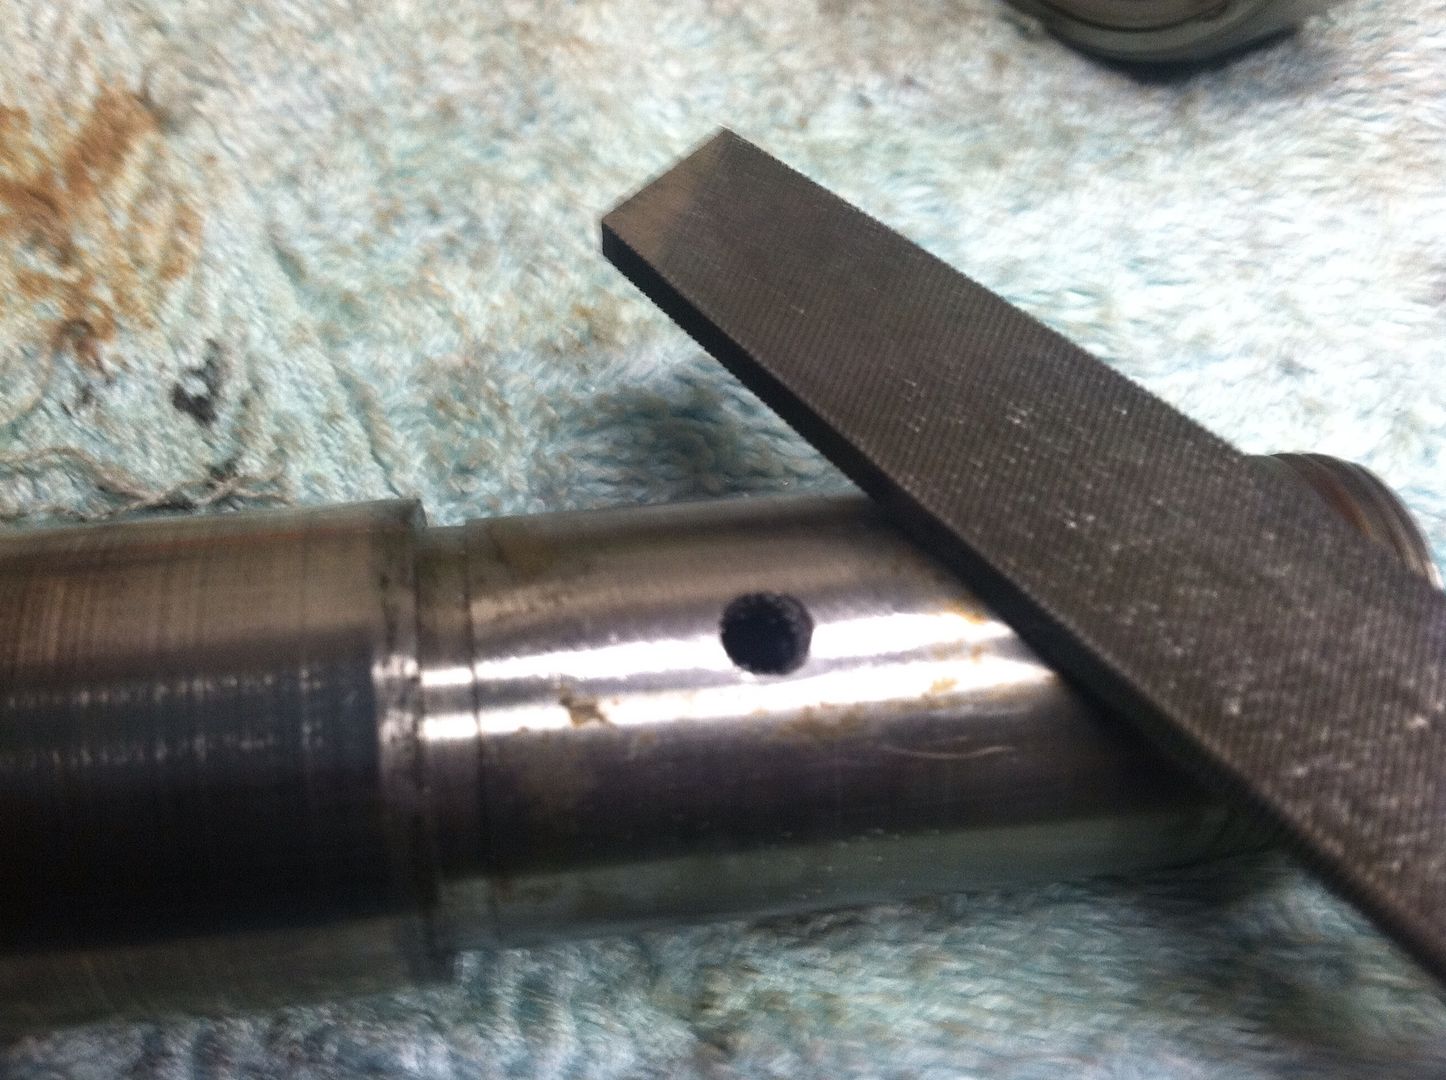
Once pressed, I notices that the setscrew created a burr that dragged along and gouged the inside of the pulley.
ba52a1e73c691e7055afcd92530df18e_zpsd7d463fc.jpg


Here's the raised bur.
1025f8f5b34f0209f435c576b9786aa9_zpsf4fb76de.jpg


To prevent this from happening again, I filed down the bur and then stoned it smooth.
68912fd7fff4561ab4a89d66859b9aa7_zps0d08a93e.jpg


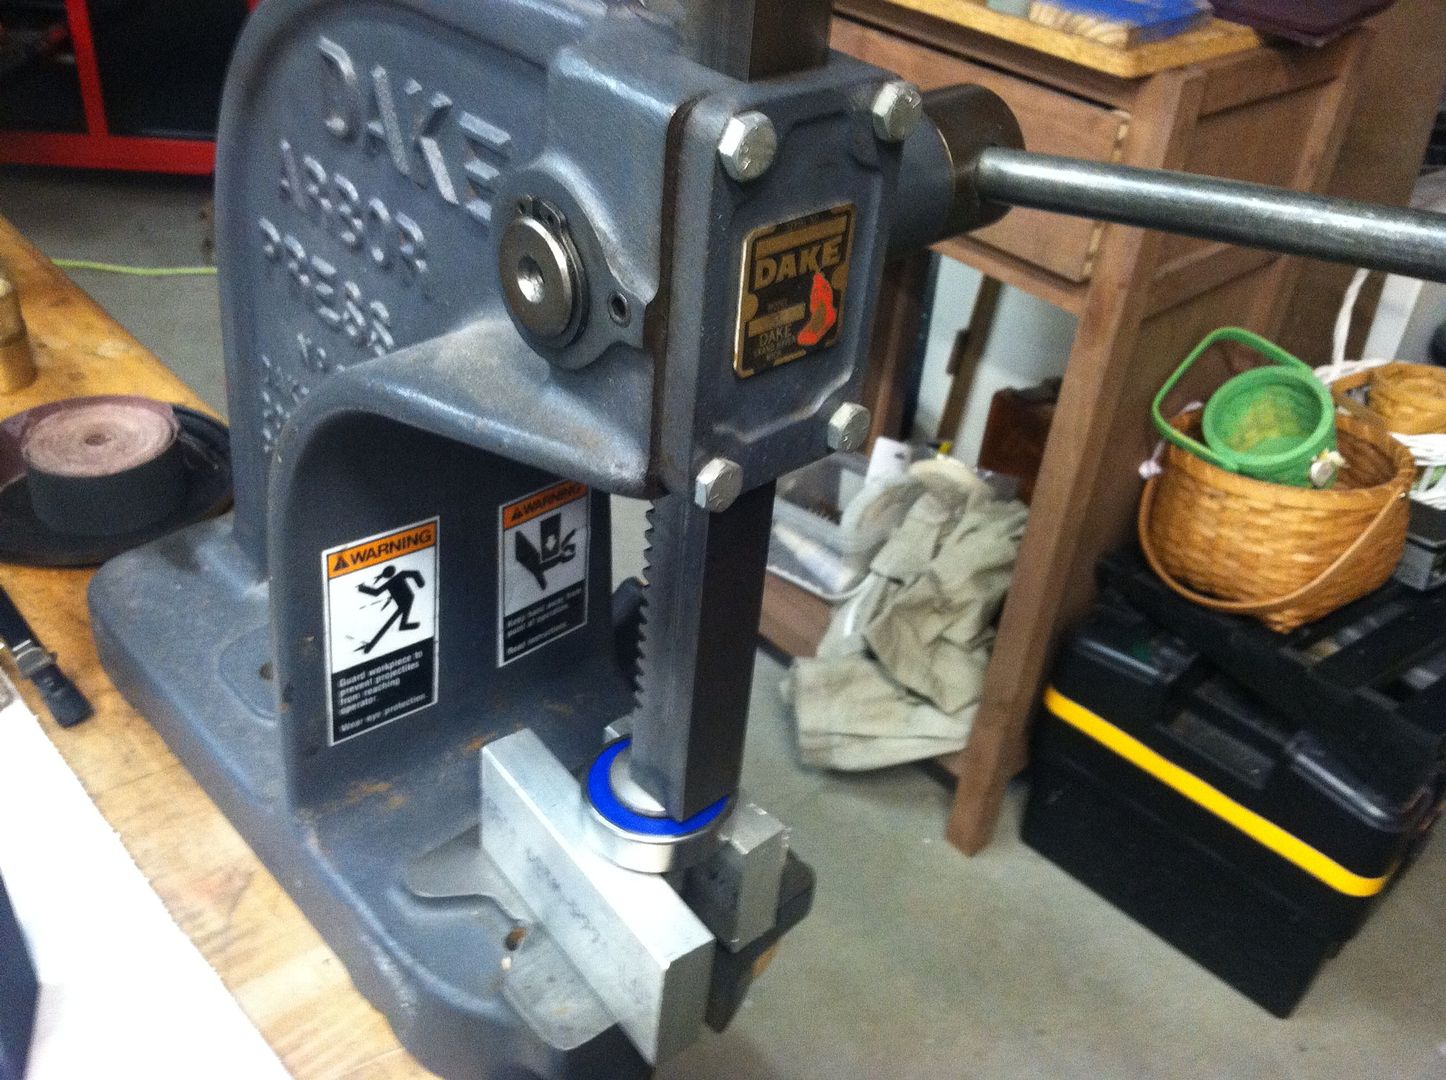
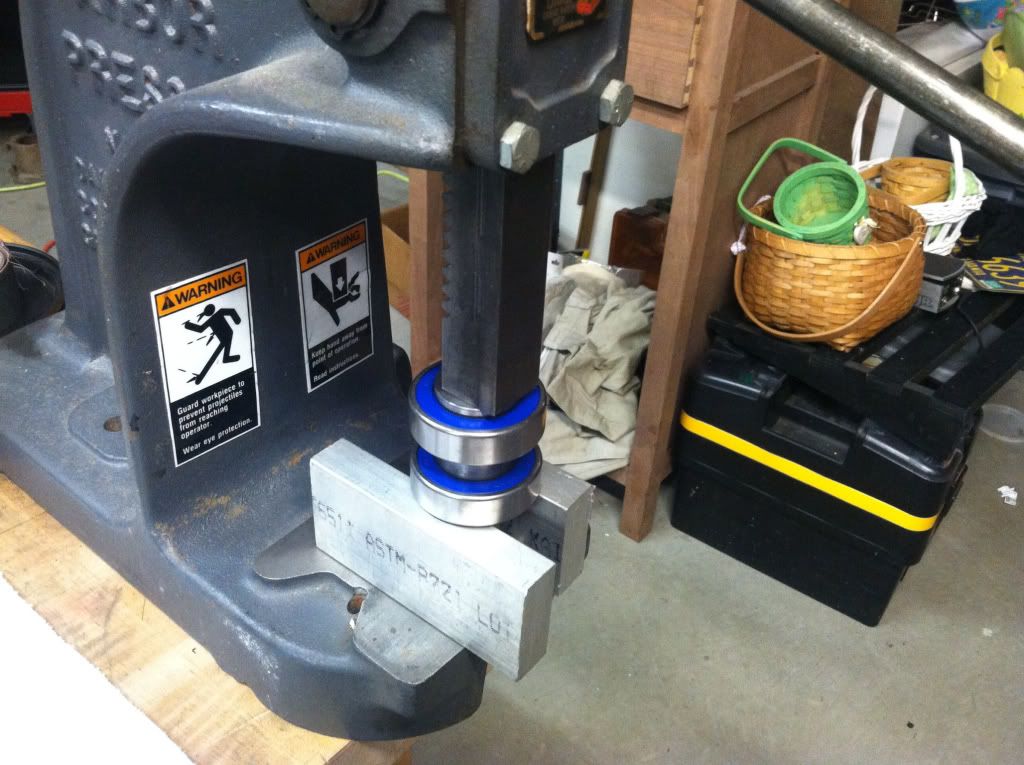
I then pressed out the old bearings (sorry, I don't a photo of doing that, but it's pretty straight forward).

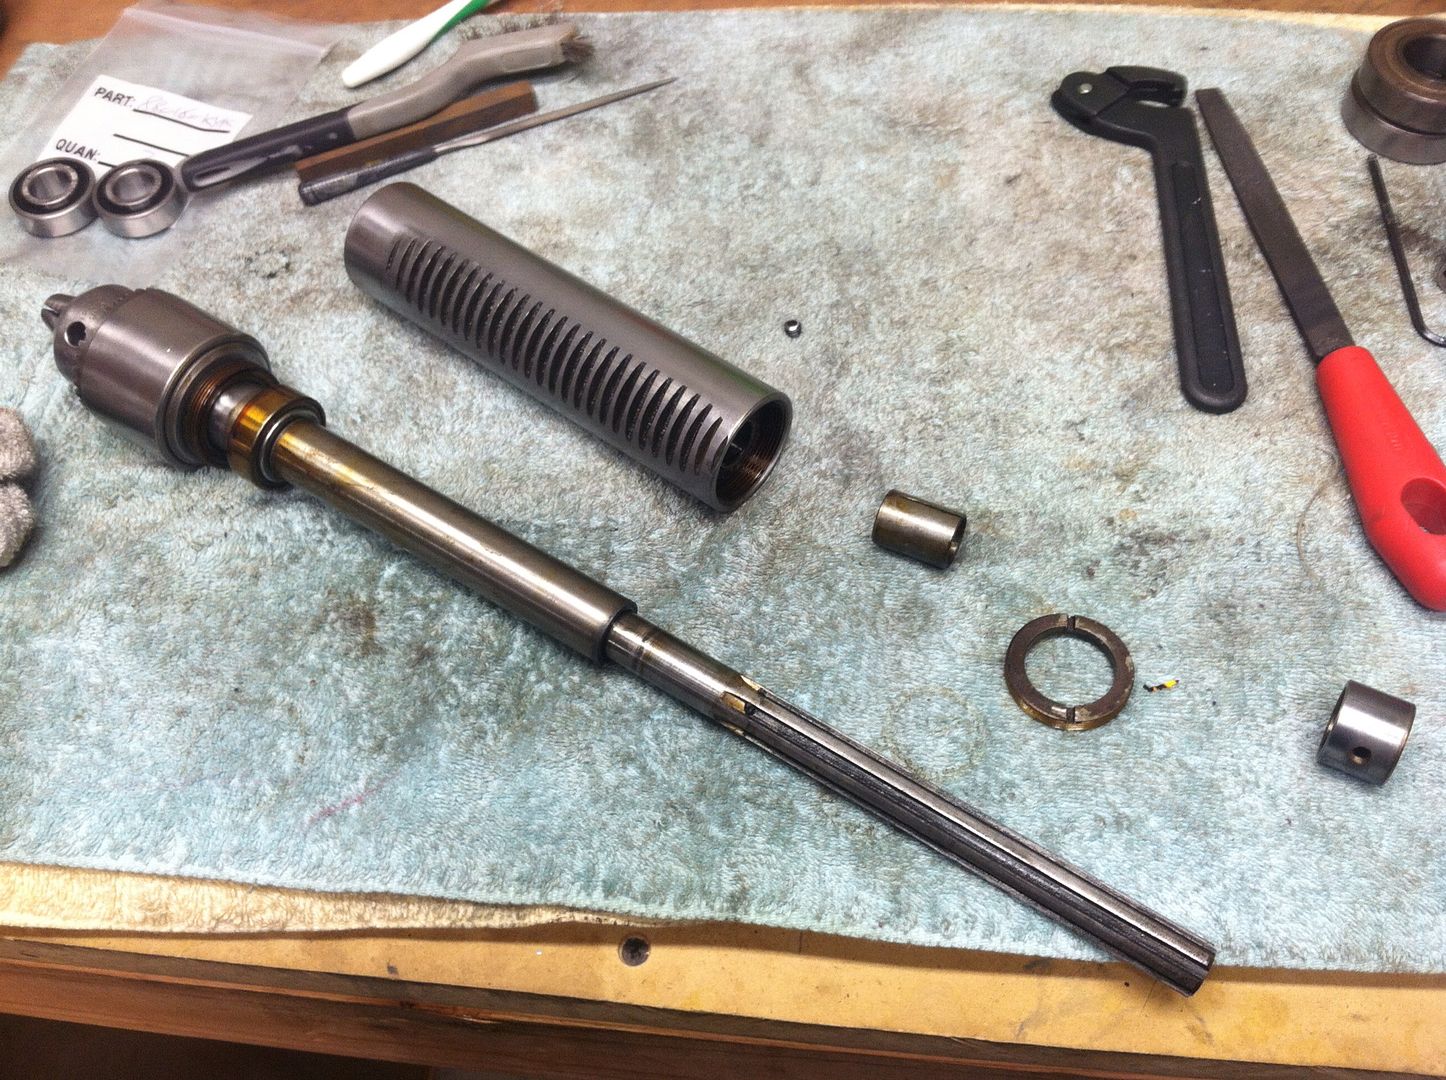
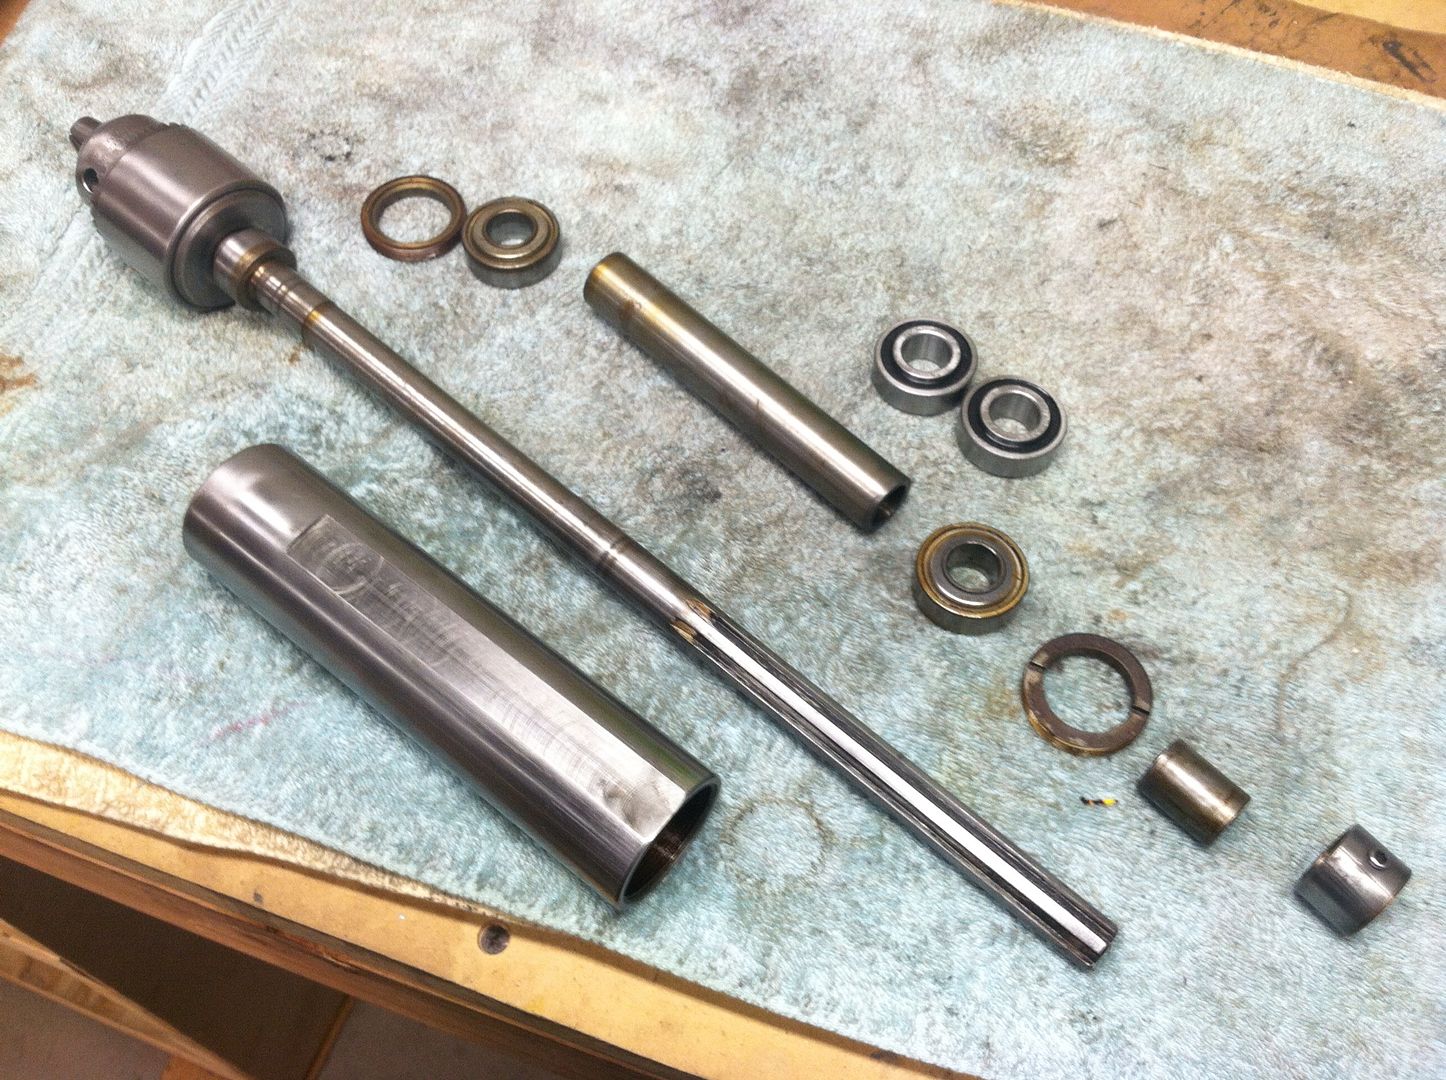
Here's the front pulley fully disassembled
4652575af842bca3281720c6d1662119_zps2ff65c4b.jpg
 
Now it's time to press in the new bearings
0e00acc0bd7911bbb5ffb1f2fbac3fea_zps8dc42d86.jpg


d76f365600e0af908350a28639a0a179_zps162c36e1.jpg


To disassemble the spindle, you'll need a special spanner. LUCKILY (and I mean luckily) I found this in my rollaway - and it fit perfect.
IMG_4876_zps1496b7a9.jpg


The top retaining nut removed (these are regular, right hand threads)
9a96296c6259a7b837b1a20227c92bcc_zps5c2772f8.jpg


Now you can further disassemble the spindle.
fa23697f1d2537b09f0347a95311bccc_zpsfb8263a8.jpg


This one was a little tricky. Luckily, the press fit isn't very tight and this came off with light tapping with a brass rod.
be63f9ee2b13e0c78958c23d0bc375f0_zpsf4db5f40.jpg


Now, the spindle is fully disassembled. You can degrease all the parts now if need be.
6668cc67ac4a6c5d691bfe2791e4630f_zpsed210e71.jpg


I used the same method to install the new bearings on the spindle. Because my arbor press isn't deep enough, I had to (very carefully) tap the bearings into place. I do NOT recommend doing it this way, as you CAN damage the bearings.

Make sure to grease the splines because when dry - you'll think your new bearings are garbage (as I thought).
IMG_4885_zpsce938c0a.jpg


The machine runs smooth and quiet, even at high speeds. Check it out and leave me some comments!
South Bend Drill Press Bearing Replacement - Part 4 - YouTube
 
Brad, beautiful job, and a great video as well. Thanks for posting..........................Rick

Thanks Rick. I hope it serves as a helpful guide to someone wishing to tackle the job. And I also hopes that it demystifies the job and encourages guys to replace their old bearings.
 
In the absence of a suitably sized arbor press (or shop press), you can use a piece of pipe to tap the bearing into place, a bit longer than the spindle, which has an ID that allows it to rest on the inner race of the bearing. If the pipe's ID is too large, you can turn a bushing with ID to slip fit over the spindle and OD large enough to contact the circumference of the pipe. Sometimes, you can just heat the bearing and it'll drop right into place, about 200 deg. F will do it. You'd want to either remove the chuck or retract the jaws first. Good job Brad.
 
In the absence of a suitably sized arbor press (or shop press), you can use a piece of pipe to tap the bearing into place, a bit longer than the spindle, which has an ID that allows it to rest on the inner race of the bearing. If the pipe's ID is too large, you can turn a bushing with ID to slip fit over the spindle and OD large enough to contact the circumference of the pipe. Sometimes, you can just heat the bearing and it'll drop right into place, about 200 deg. F will do it. You'd want to either remove the chuck or retract the jaws first. Good job Brad.

Thanks Paul ;)
 
Thanks!

I picked up a JT spindle for mine, to replace the MT2 spindle (which hangs down too far). This will help me with the disassembly, and with a price of $29 for the bearings, no reason not to replace them. That would be like replacing a clutch and pressure plate and not doing the release bearing at the same time!

Do you have a web site or other contact info for the bearing dealer?

Steve

Hey Steve - send an email to Maryann. [email protected]
 
Brad, thanks for taking the time to post this. I'm in the middle of my drill press rebuild and this is very helpful. I hope mine comes out as nice as yours. Beautiful job!

John
 
Nice guide Brad,

However, when pressing bearings in, you typically use a piece of pipe that matches the diameter of the race you are pressing against.

If you are pressing a ball bearing on to a shaft, then you only want to apply pressure to the inner race.

If you are pressing a ball bearing into a tube or some larger casting, then you only want to apply pressure to the outer race.

This way, there is no pressure applied across the balls inside the bearing or the inside race surface, so nothing can get deformed or damaged inside the bearing.

Cheers

p.s. And if something gets deformed inside the bearing, then you might end up with some unusual noise. ;)

That's how I pressed them (in) on the pulley... Only instead of pipe, I used two blocks of aluminum that the inner race rested on. I did use a socket to get the bearings started though. And then I flipped the whole thing around, placed it on the aluminum blocks and pressed (the shaft) into the bearings.

It was only with the lower spindle bearing that I had to use the brass rod and tap it in - because my press wasn't big enough. And because the fit on these spindle bearings isn't all that tight, I used a socket for the top spindle-bearing. Just clamped the spindle in a wooden vise and carefully tapped the top bearing in, using a socket.
 
This is a terrific tutorial for the replacement! Thank you for taking time to
shoot the pictures and post them up. I suspect the process is in my future
at work...
 
Great Job.
Odd I was just doing a job with my SB Drill Press and the bearing in the multi speed pulley froze up solid.

Bearing Number 77503. Guess I will go for the Trifecta and do them all.
 
I only replaced the pulley bearings when I redid my drill press. Slapped some grease on the splines today and the noise is gone. Thanks for the info Brad.

RF


Back
Top