What's new
What's new

Southbend 10k detent plate for 9A

WJ Birmingham

Cast Iron
Joined
Jan 21, 2016
Location
Swansea, IL USA
Ok, so I've tried to get in touch with Paula, with no success. I would prefer to have permission to do this, but, silence is acceptance.

I am going to make, for myself and anyone else who wants one, the detent plate for the older 9As, to allow use of the 10K Forward/Reverse Tumbler Assembly.

Plates will be waterjet from A36, at 0.500" thick. Hole will be slightly undersized to allow for final boring/fitting. Detent holes, nor mounting holes, will be drilled to allow for the end user to fit to their 9A.

Initial run will be from 1 sq ft of material. Price, $25.00/ea + ship.

Print to be used attached.


DETENT2-1.jpg
 
Ok, so I've tried to get in touch with Paula, with no success. I would prefer to have permission to do this, but, silence is acceptance.

I am going to make, for myself and anyone else who wants one, the detent plate for the older 9As, to allow use of the 10K Forward/Reverse Tumbler Assembly.

Plates will be waterjet from A36, at 0.500" thick. Hole will be slightly undersized to allow for final boring/fitting. Detent holes, nor mounting holes, will be drilled to allow for the end user to fit to their 9A.

Initial run will be from 1 sq ft of material. Price, $25.00/ea + ship.

Print to be used attached.


View attachment 195597

I'm interested! I'll PM you...
Scott
 
20170407_133258.jpg

Parts here are. $30 shipped via PayPal friends/family. Add 3% if you want to do PayPal merchandise.

Personal/Business checks accepted, and when cleared the part will ship.

Bores are rough finished to 1.036" to allow final fitting to your lathe. This removes all of the time consuming labor of setting up a rotary table.

Don't expect to be doing more of these.
 
Thanks WJ- The plate arrived Thursday, and I started playing with fitting it Friday: I first set up the four jaw chuck to hold it with the hole centered. I used the nose of the tailstock to center it up, and then bored it a little. Took two or three passes, and she slips right over the reverse assembly shaft- all nice and happy. I then started facing the plate to thin it to .430 as recommended- after I first checked the gear mesh. Well, it needed it, but, somehow I got a cocked facing! I had meant to face the part which goes against the headstock, but inadvertently flipped it. This worked to my advantage, because it made the piece narrower at the hole, as desired, while leaving a little more meat at the outer end! The sides of the hole were pretty well even thickness, so I screwed up in a good way! I also took a little more off the face right below where the shoulder of the reverse lever sits, so it is pretty nicely fit in there.

I used the trick someone mentioned on the conversion thread of using a wood dowel centering plug to mark for the hole- I was just going to use a bolt into the original hole, and it worked nicely. Drilled the hole, and fit everything into place, to see how it was coming along. Everything so far was good- except the bolt head interfered with the lever. Of course. But this was anticipated based on another posting in the original thread, so I followed that poster's lead, and shaved the head of the bolt to about 1/8" thickness.

Got it mounted up, and used the bushing trick to drill my holes. They are pretty well set, I used the empirical method- judging engagement by ear: When I had heavy noise, I took them back a hair, and the noise went away. May not seem scientific, but works well... I got the holes positioned & drilled, but still had some minor issues, so I reamed the holes one drill size, and they are fine. She shifts nicely- forward-neutral-reverse. Should make it a lot easier to change things now.

I used a couple of the original gears, and a couple of the ones from the new piece, and all sound good together. I tried to use the best gear of each...

All in all, not a bad day's project(I finished up today). It is NOT as pretty as some of the beautifully done ones created by people with experience, but, for a guy learning to run his lathe, it came out ok. I'm more function than form, anyway, so it is pretty to me! (And when I get around to painting the parts, even better yet.)

One thing I had to do was cut a facing bit: I have been using the Harbor Freight carbide triangle bits all this time, as I have been learning to grind my own... Today I needed a facing bit, as the carbide ones were just not handling the task... So I took a piece of the 1/4"HSS bit stock I had bought, and got to work on the grinder, using the fancy copy of the South Bend Bit Grinding Tool(which I haven't figured out 100% either) and made me one... Is it just me, or is there something downright satisfying about grinding a bit, dousing it in water, and then watching it make chips- knowing that you made that sucker yourself!

Scott
 
Scott;

Glad you got it working... I've been inundated with projects, and have only gotten to the point of boring out the hole and drilling the mounting hole. I have yet to mill it to thickness, much less get the detent holes drilled. As you saw on the other thread, I'm at a stopping point until I get that pin out. I'll try the carbon pencil trick you suggested.

If it makes you feel any better, I counter bored the hole to fit the head of a cap screw... Put the counter on the wrong side... /duh... I think a button head screw will work though. Appears to be enough clearance. We all make mistakes when in a hurry...

My original plan was to get a cap head screw and recess it, or a flat head screw, and countersink the hole... I did not have one of either on hand, and didn't feel like waiting till Monday, so I went with what I had... At first, I thought I had recessed the hole for the lever pin too far, and had a shim all worked out: Last step before drilling the detent holes I rechecked it, and found I was on the money, so I didn't need the shim...

Anyway, Thanks again- It saved me a LOT of trouble having that part to work with!

Scott
 
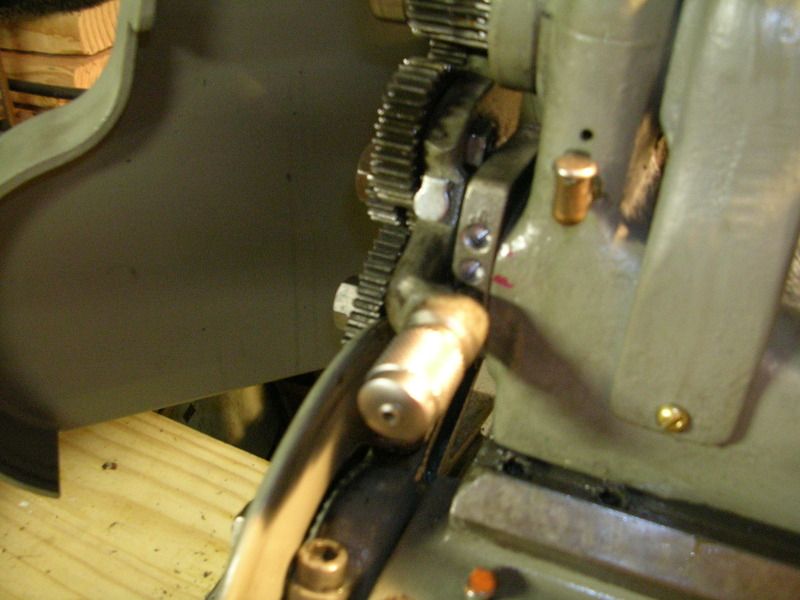
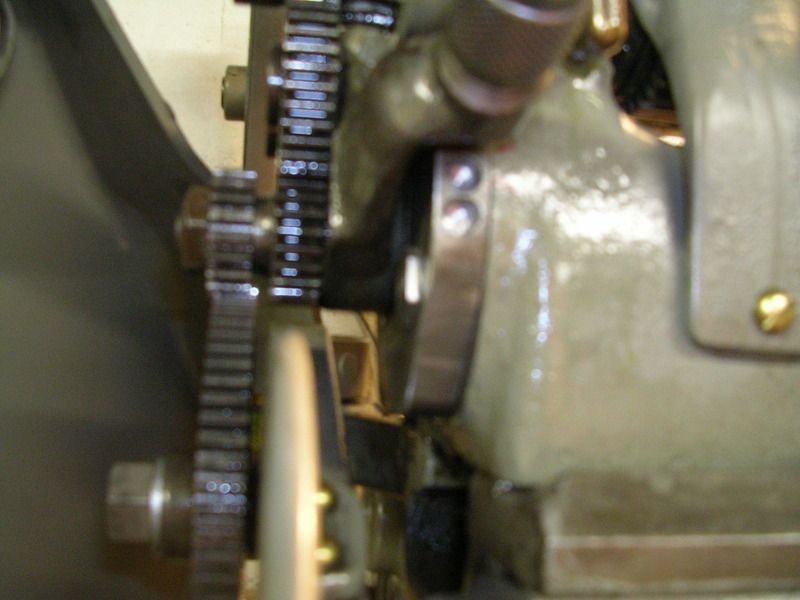
Here are a couple lousy pics(I hate my camera...) of the plate as finished... It works nicely... I'll try to take better pics later & post them.


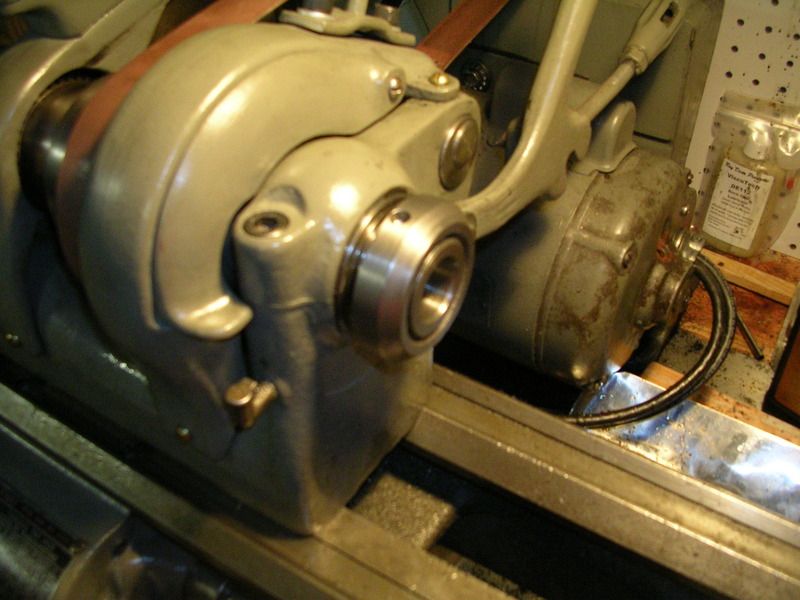
I'm including a pic of my happy spindle nose protector I made from a 1 1/2-8 nut tonight... More on that in the "What did you make for your lathe?" thread...
Scott

 
Got my plate also about 2 weeks ago. Nice layout and cut job. I hope I can find the time to get this project all finished and use it. Thanks again.
 
Is anyone still making this part for sale?

Trying to find out if these parts are still being sold. I would like to purchase one!

Ok, so I've tried to get in touch with Paula, with no success. I would prefer to have permission to do this, but, silence is acceptance.

I am going to make, for myself and anyone else who wants one, the detent plate for the older 9As, to allow use of the 10K Forward/Reverse Tumbler Assembly.

Plates will be waterjet from A36, at 0.500" thick. Hole will be slightly undersized to allow for final boring/fitting. Detent holes, nor mounting holes, will be drilled to allow for the end user to fit to their 9A.

Initial run will be from 1 sq ft of material. Price, $25.00/ea + ship.

Print to be used attached.


View attachment 195597


Back
Top