What's new
What's new

New Teco VFD Install - Enclosure - 3 PH Motor

Lost Pup

Aluminum
Joined
Feb 19, 2010
Location
Bensalem PA
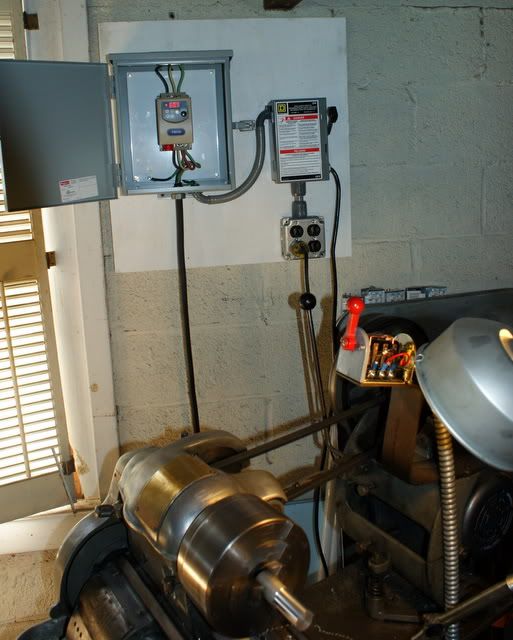
I started out doing a rebuild of an old Logan shaper and I needed a motor to finalize the project. My SB 10K lathe had/has a 1/2 HP 1750 rpm single phase motor so I thought what a perfect motor for the shaper project. I was looking for a chance to upgrade the SB Lathe to a VFD 3 phase setup.

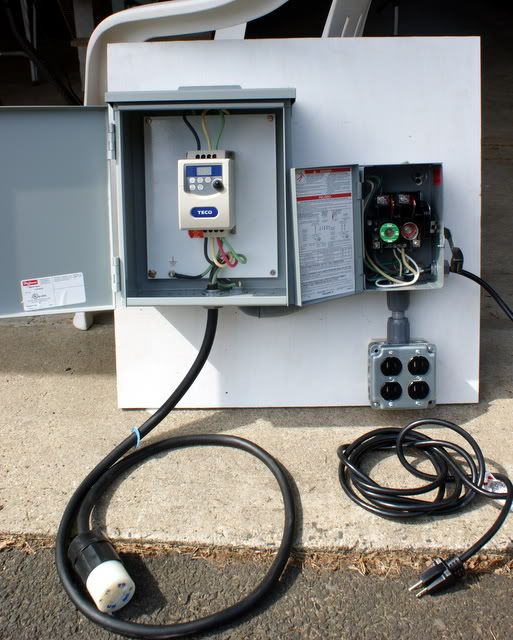
Here is the cost so far and a few pics to get started:

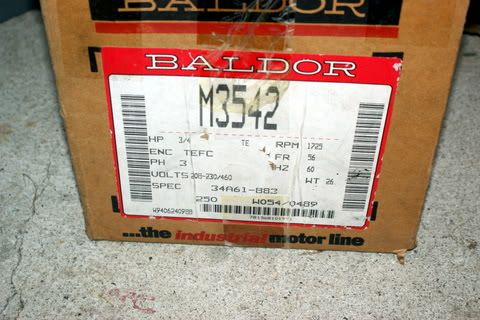
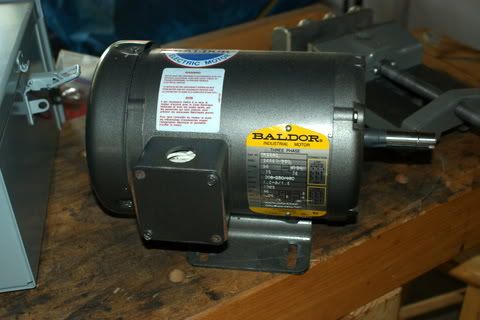
$69.89 Delivered : New Baldor 3 Phase 3/4 HP M3542 Motor w/ 56 Frame (Auction)

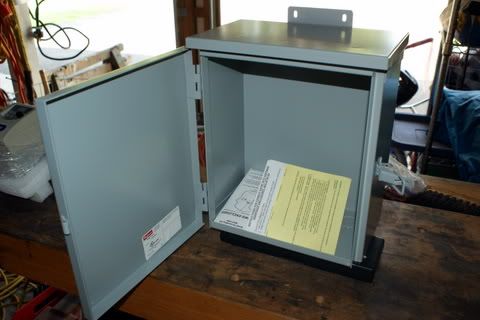
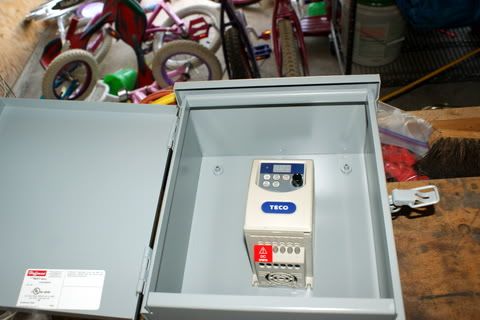
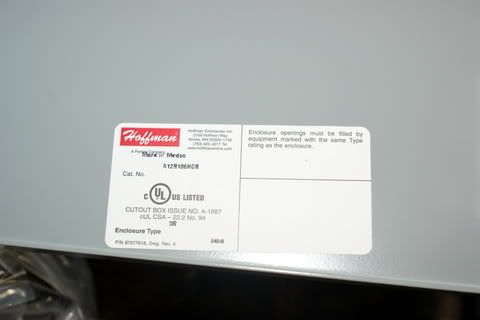
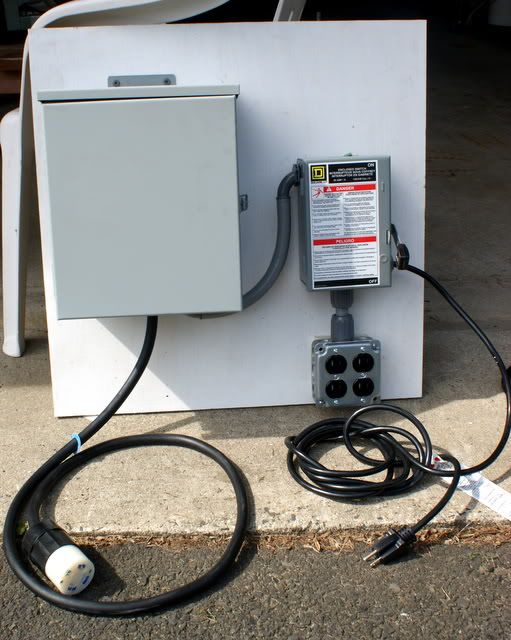
$24.90 Delivered : Hoffman Electrical Box 12"x10"x6" (Auction)

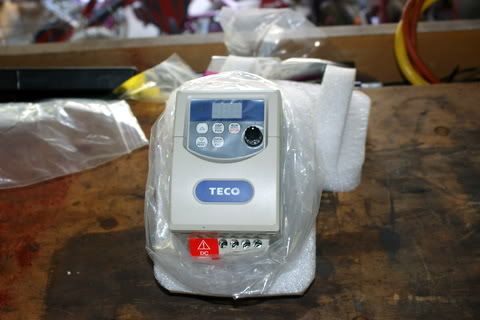
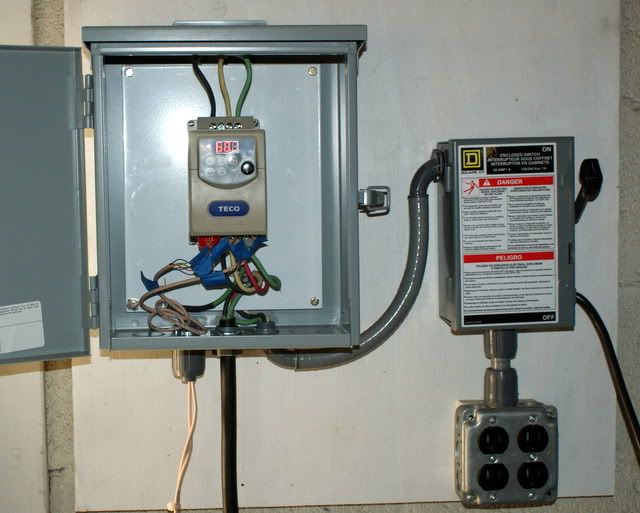
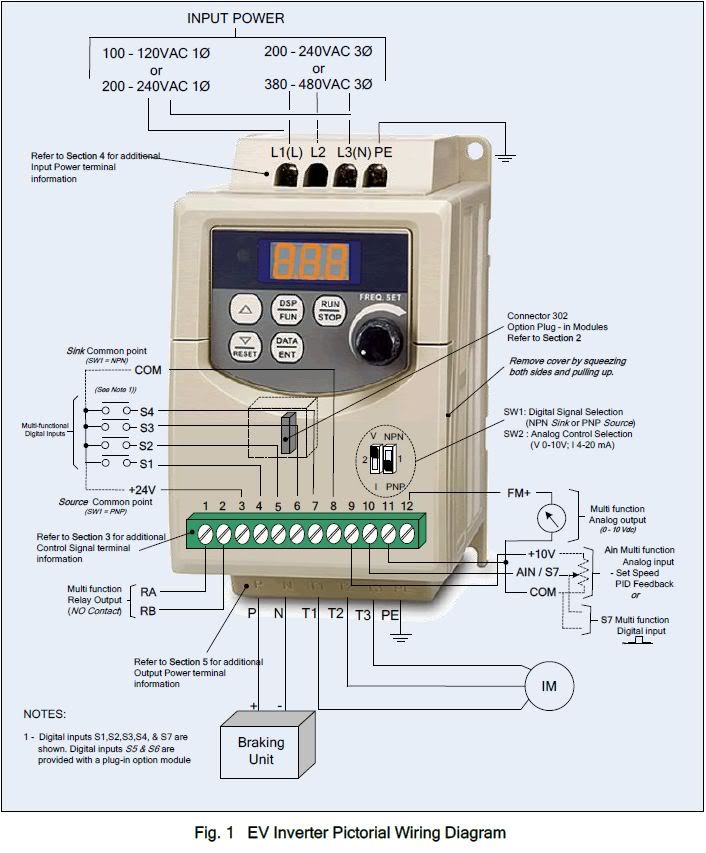
$145.71 Model JNEV-101-H1, Single Phase Input ONLY, Three Phase Output ( Dealers Electric )

1.jpg


2.jpg


3.jpg


4.jpg


5.jpg


6.jpg


:)
 
Last edited:
That Hoffman box looks very good.

As long as the interior volume of the box is at least four times the external volume of the VFD, and it appears that it is, you'll be fine, and there should be no need for ventilation.

Make any knock-outs on the bottom, if at all possible.

Horror Freight has a reasonably-priced knock-out punch set which covers all trade sizes from 1/2" to 1-1/4", inclusive.
 
The hoffman box does have the punchouts in the bottom of the box only.

I hope to wire it up on the bench today to test the various parts.
 
Here is an update.

The install went well, the teco vfd was very easy to wire up. Added a switched outlet to my panel for a light and such. The panel and motor connection are portable at this point as I hope to remodel garage in the future. The operation is the vfd/motor is flawless at this point, smooth and quiet operation.

I am going to reuse the original fwd/rev switch to remote operate the vfd and add a remote POT for speed control.

Pics tell the story.
7.jpg


8.jpg


9.jpg


10.jpg


11.jpg
 
Pup,

I see no logic wiring...are you switching the output of the drive with the drum switch? What does the TECO book have to say about that?:confused:

Stuart
 
The drum switch is inactive at this point. Control is via the vfd panel until I configure and tie in the drum switch and pot and maybe a kill switch as well.

:)
 
Sorry I just realized that I never updated with the final install pics.

I used the old drum switch to operate the FWD Stop REV.

Terminal ID for Drum Switch was
S1 = 4 - FWD
S2 = 5 - REV
COM = 8

Set Function F04 = 001 Turns on the external drum. 000 was the default. 3 Wires needed.

Used some thin gauge wire I had around.

The speed control was a Radio Shack 10K-Ohm Linear ( not Audio ) Taper Potentiometer part # 271-1715 $3.50 at the local store. I used a plastic bottle with lid to hold it and zip tied it securely below the drum switch. I had it in my junk and I meant to change it out with a metal box but I never got around to it.

Terminal ID for the POT speed control was
+10 V = 9 First lead POT
AIN = 10 Center lead POT
COM = 11 Last lead POT

3 wires needed for this as well.

Set Function F05 = 002 Sets Frequency to the External POT.

If your POT speed runs backward just reverse the 9 and 11 leads and the speed increase / decrease should reverse, in my case turn to the right go faster then left to go slower.


I used some tape to number/mark the wire for the connections. A few minutes to hook them up and I was running.

It runs like a dream in operation, I throw the power switch up and just open the door the watch the Frequency/Speed. I did use the set screw on the speed knob to index the POT so at the straight up position the frequency setting is approx. 60. The other setting I changed from default were setting the max frequency to 100 so my range is 5 to 100. I did lower the deacceleration value to 1 second from I think the default of 2.5 seconds.

These were from my notes but please check the manual yourself.

Thoughts and Comments Welcome


vfd12.jpg


vfd13.jpg


vfd14.jpg
 
Last edited:
Pot-in-a-bottle. That works!

Suggest you swap it out for a linear taper one, you'll be happier I suspect.

My bad, I did get the linear type. The local Radio Shack was actual sold out of the linear type and we had to search a bit to find one at the RS in one of the local malls.

I will fix that info up. Thanks
 
I just have to say that I absolutely love that pot-in-a-jar solution, even the tie wrap attachment accessory. Awesome! Nice knurled knob was undoubtedly not from Radio Shack, but a nice touch. Black paint too, so it looks even more legit. Did you think to put the paint on the inside of the plastic jar? The reason is, it doesn't get scratched off that way.

No offense meant, but it makes me think "Redneck Remote Control" and I mean that in all due fondness.

Just keep an eye on that drive, if you push it to the limit (which is doubtful) it may over heat with no ventilation, but I would leave it like this until proven otherwise. If you get an OH, OHC or OL2 fault code, it is getting too hot. OL2 is VFD Overload (as opposed to Motor Overload), which means it's not the load, its the drive that is over loaded.

Great install and documentation for future enthusiasts.
 
By the way, nice buy on that motor. Out of curiosity though, did you end up paying almost as much in freight as you spent on the motor? I always find that amusing (unless I am the buyer), makes me want to buy more stock in UPS
 
The jar is solid colored black plastic, very thick and no paint. :) I used what was on hand just to get setup and then it became one of those "when I get to it items".

The Baldor was the Buy It Now with free shipping price so I have no shipping cost on it.

The knob was a quick spin with scrap aluminum. I do find that is a great location for the POT as I have that machine memory where my hand always returns to that location as needed for the FOR STOP REV drum switch.

The only addition I might add is a E-Stop switch.....maybe one of the flap lever type mounted down below the tray. That way when I bale and duck I can hit the switch from below the lathe. ;)

Thanks For The Comments
 
You can fix anything with zip-ties. Although personally I would have
done the drum switch housing in black wrinkle paint and used *black*
zip-ties to put it together. :)
 
As long as the interior volume of the box is at least four times the external volume of the VFD, and it appears that it is, you'll be fine, and there should be no need for ventilation.

Does this rule apply in general to all VFD installations, and is it always better to have them in an enclosure? Or do you need ventalation when your going to a certain size, like a 20hp?
 
"Does this rule apply in general to all VFD installations, and is it always better to have them in an enclosure?"

The general rule is good.

Installation in an enclosure is your choice. Personally, I would install in an enclosure if mounting on the machine could subject the device to ingress of metallic chips or dust or of coolant.

My personal choice for a permanent installation is the box high up on the wall immediately behind the machine to be serviced, with EMT for the inlet and outlet, and the outlet down at a convenient level possibly somewhere between the knee and the waist, possibly using a drive-in insulator/bushing.
 
Thanks! for the help on the Teco EV . I got my South Bend 10L setup going this weekend with the help of your post. It is sweet ! I can't wait to turn some metal. I made the speed control nob for the first project. Thanks! Mark


Back
Top