Greg Menke
Diamond
- Joined
- Feb 22, 2004
- Location
- Baltimore, MD, USA
Follow along with the video below to see how to install our site as a web app on your home screen.
Note: This feature may not be available in some browsers.
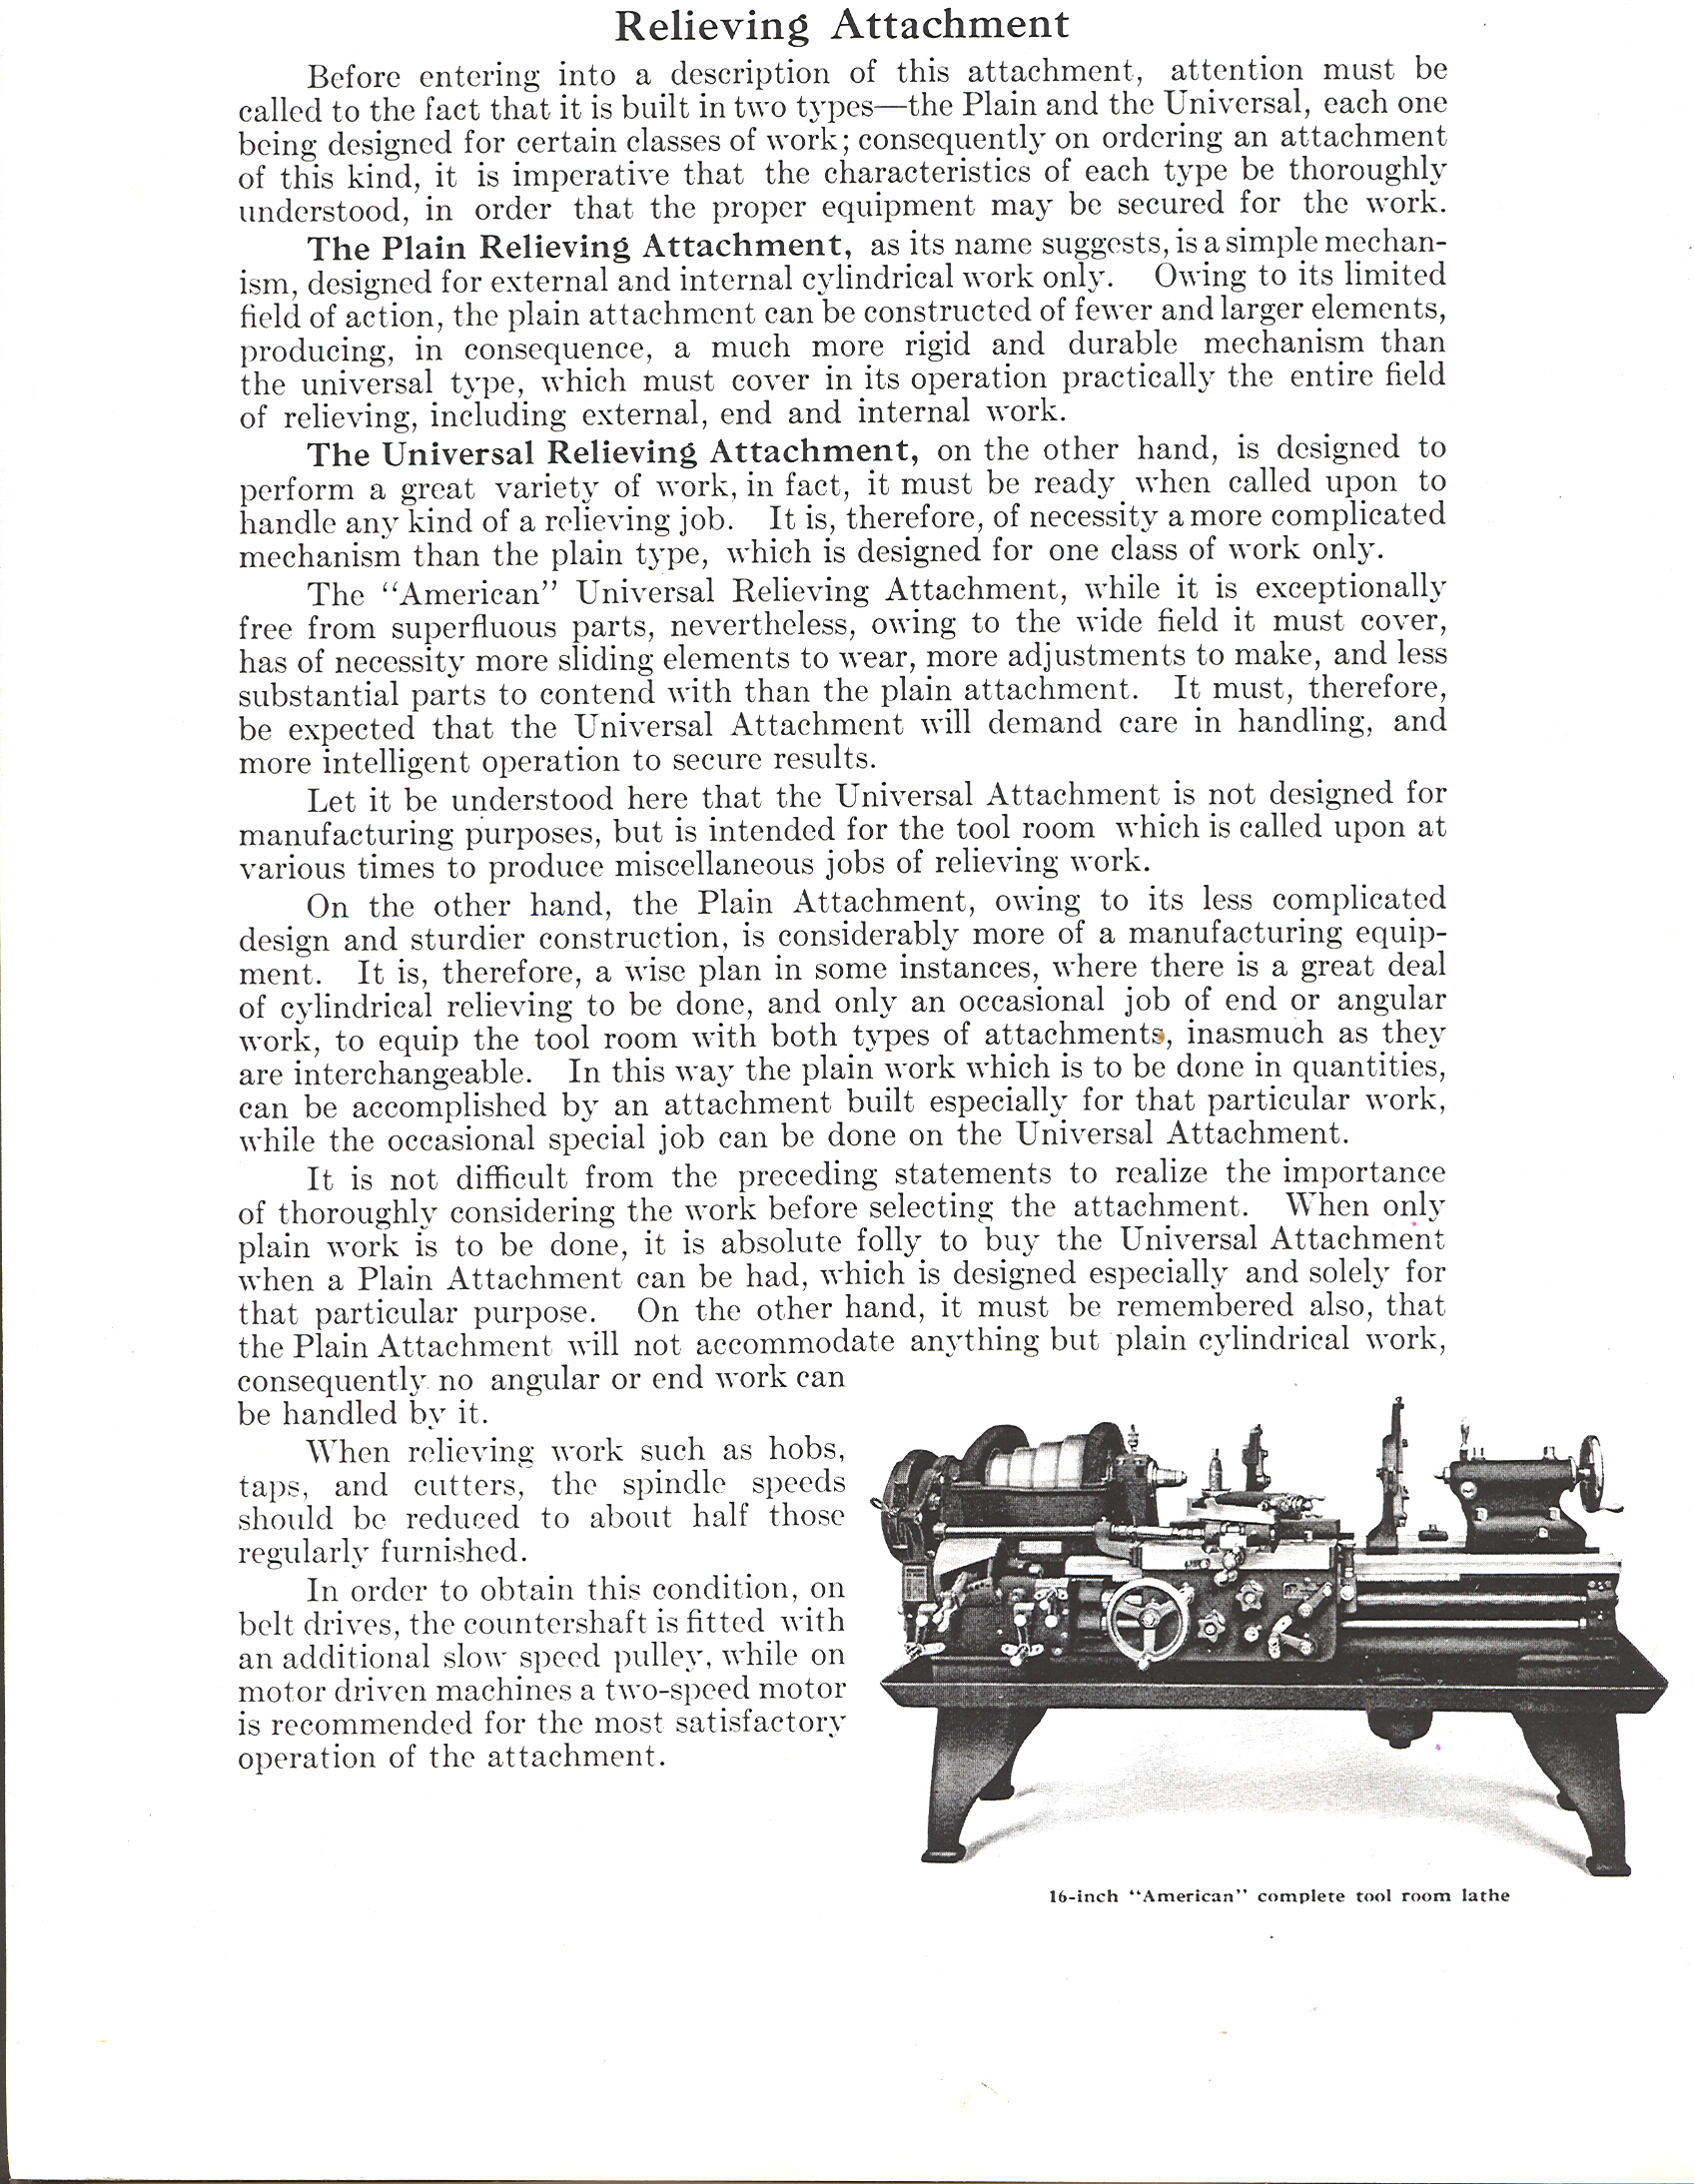
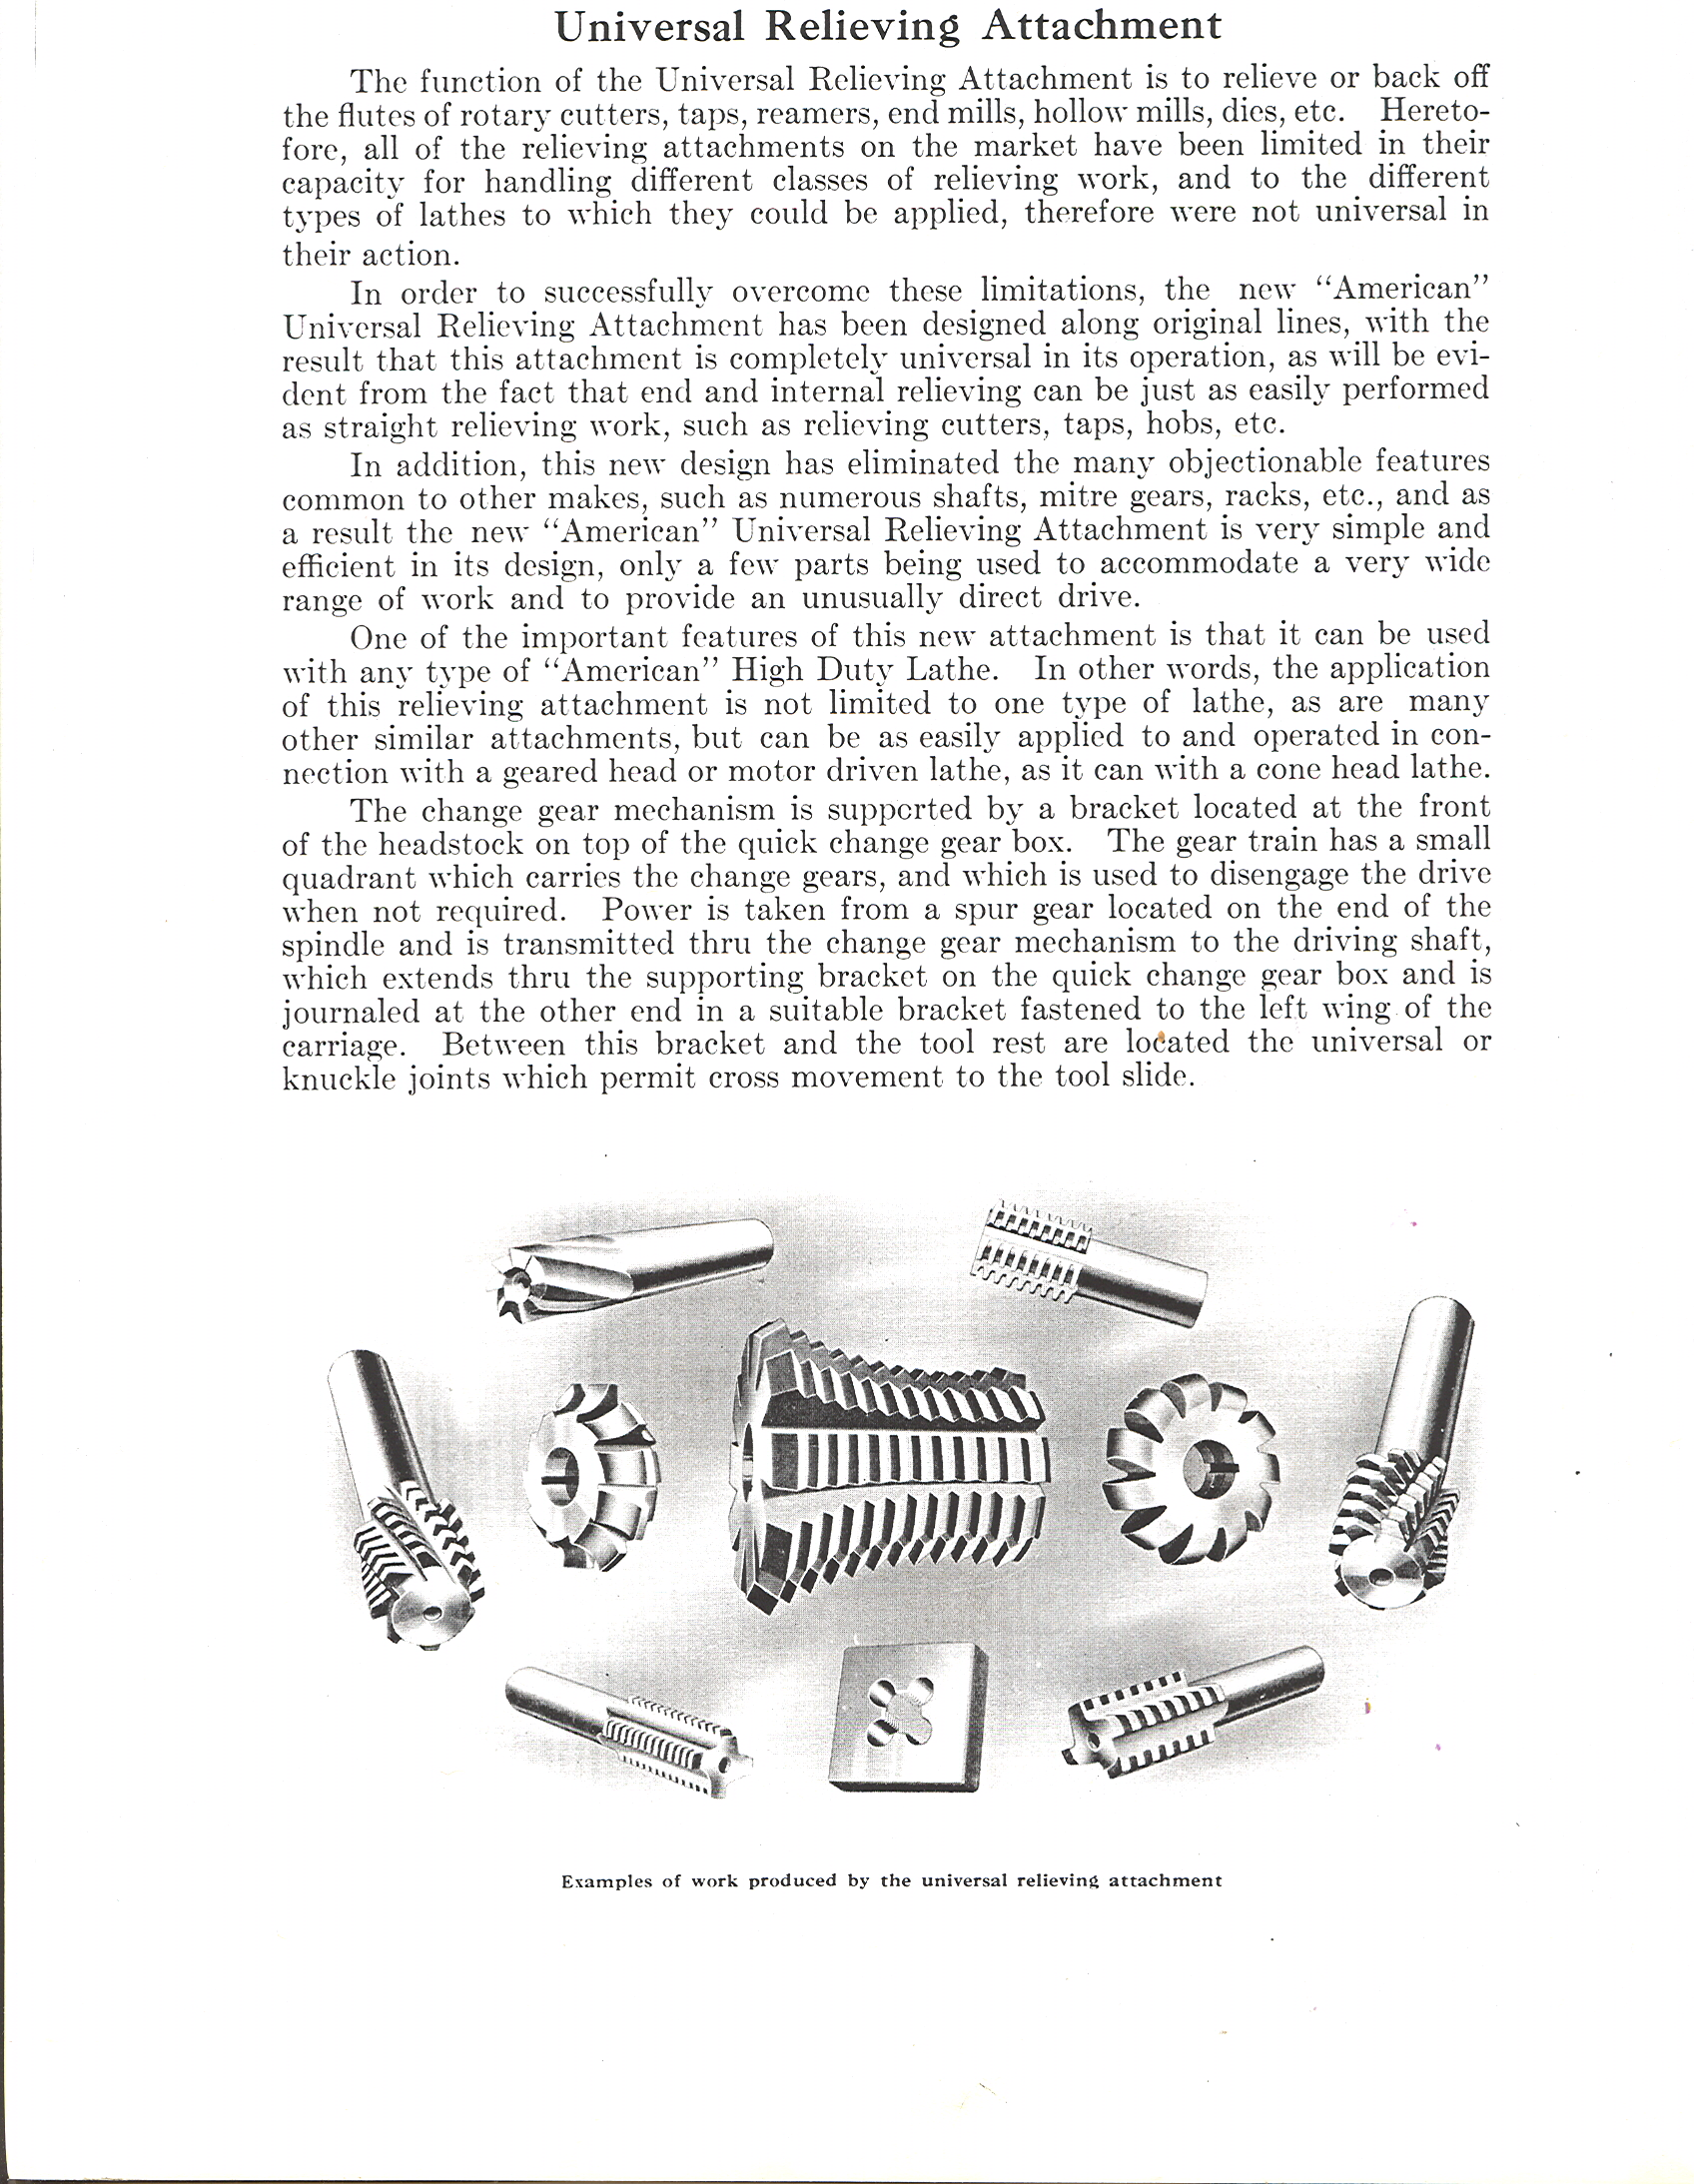
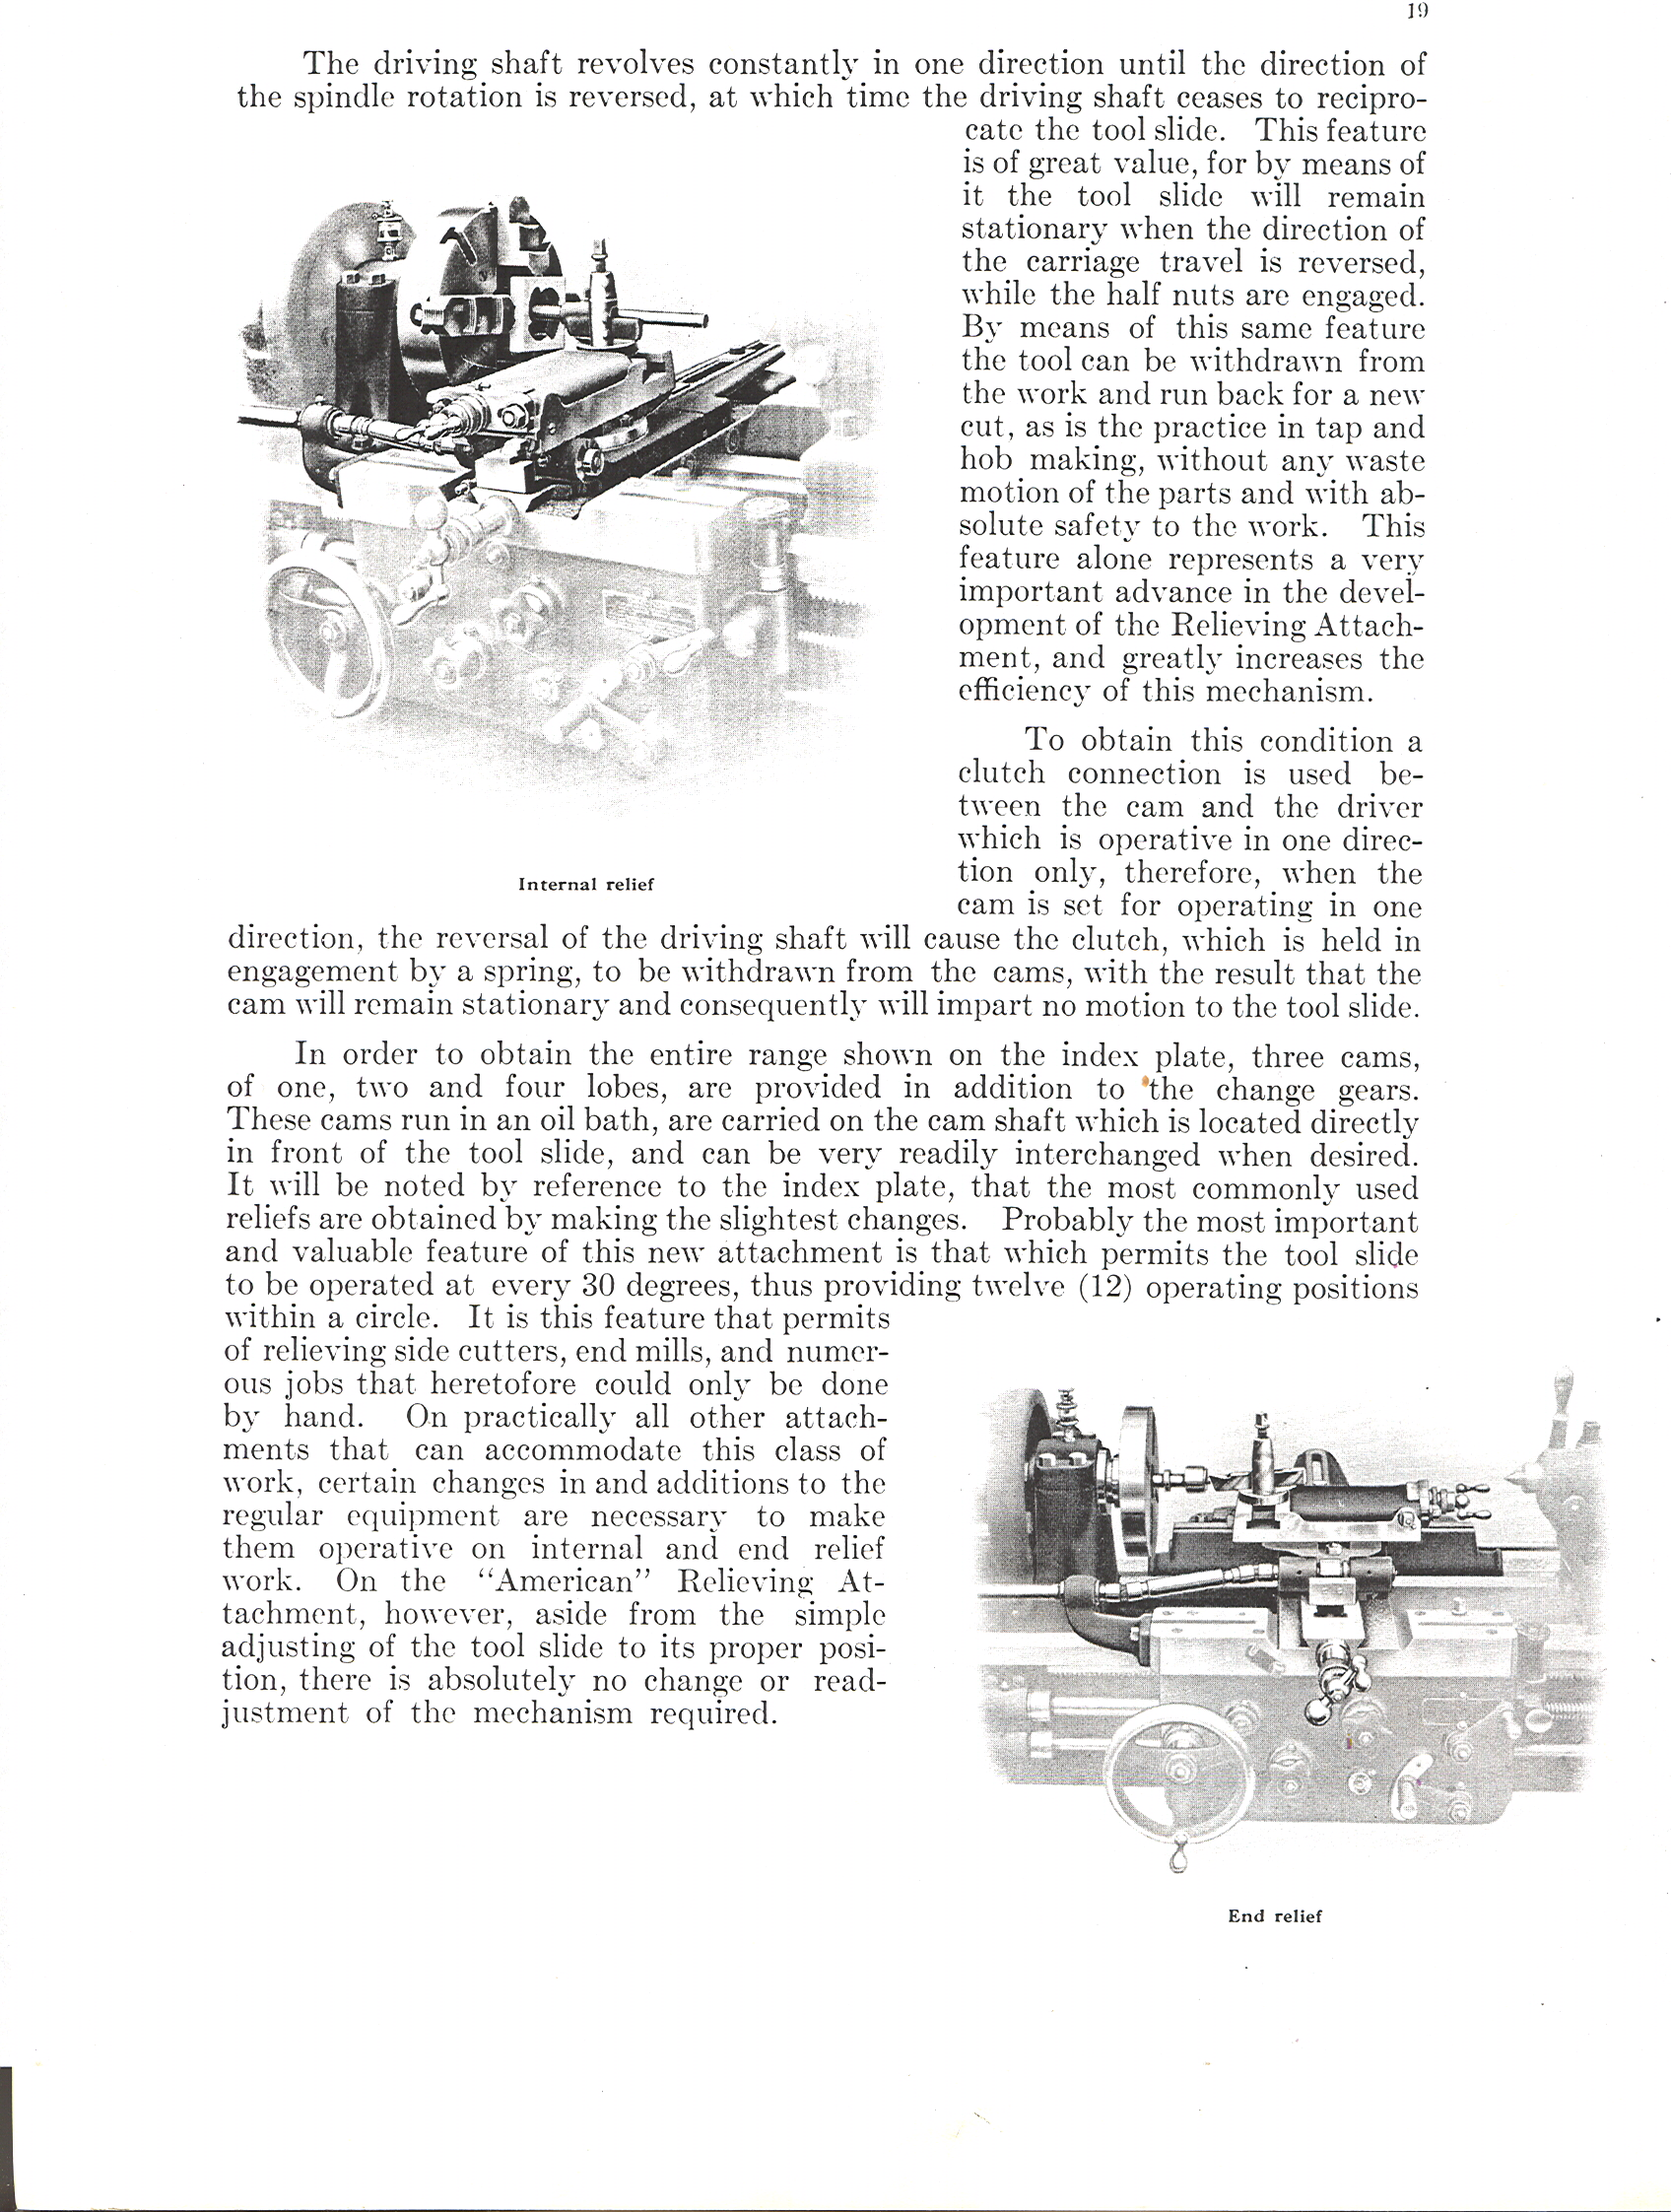
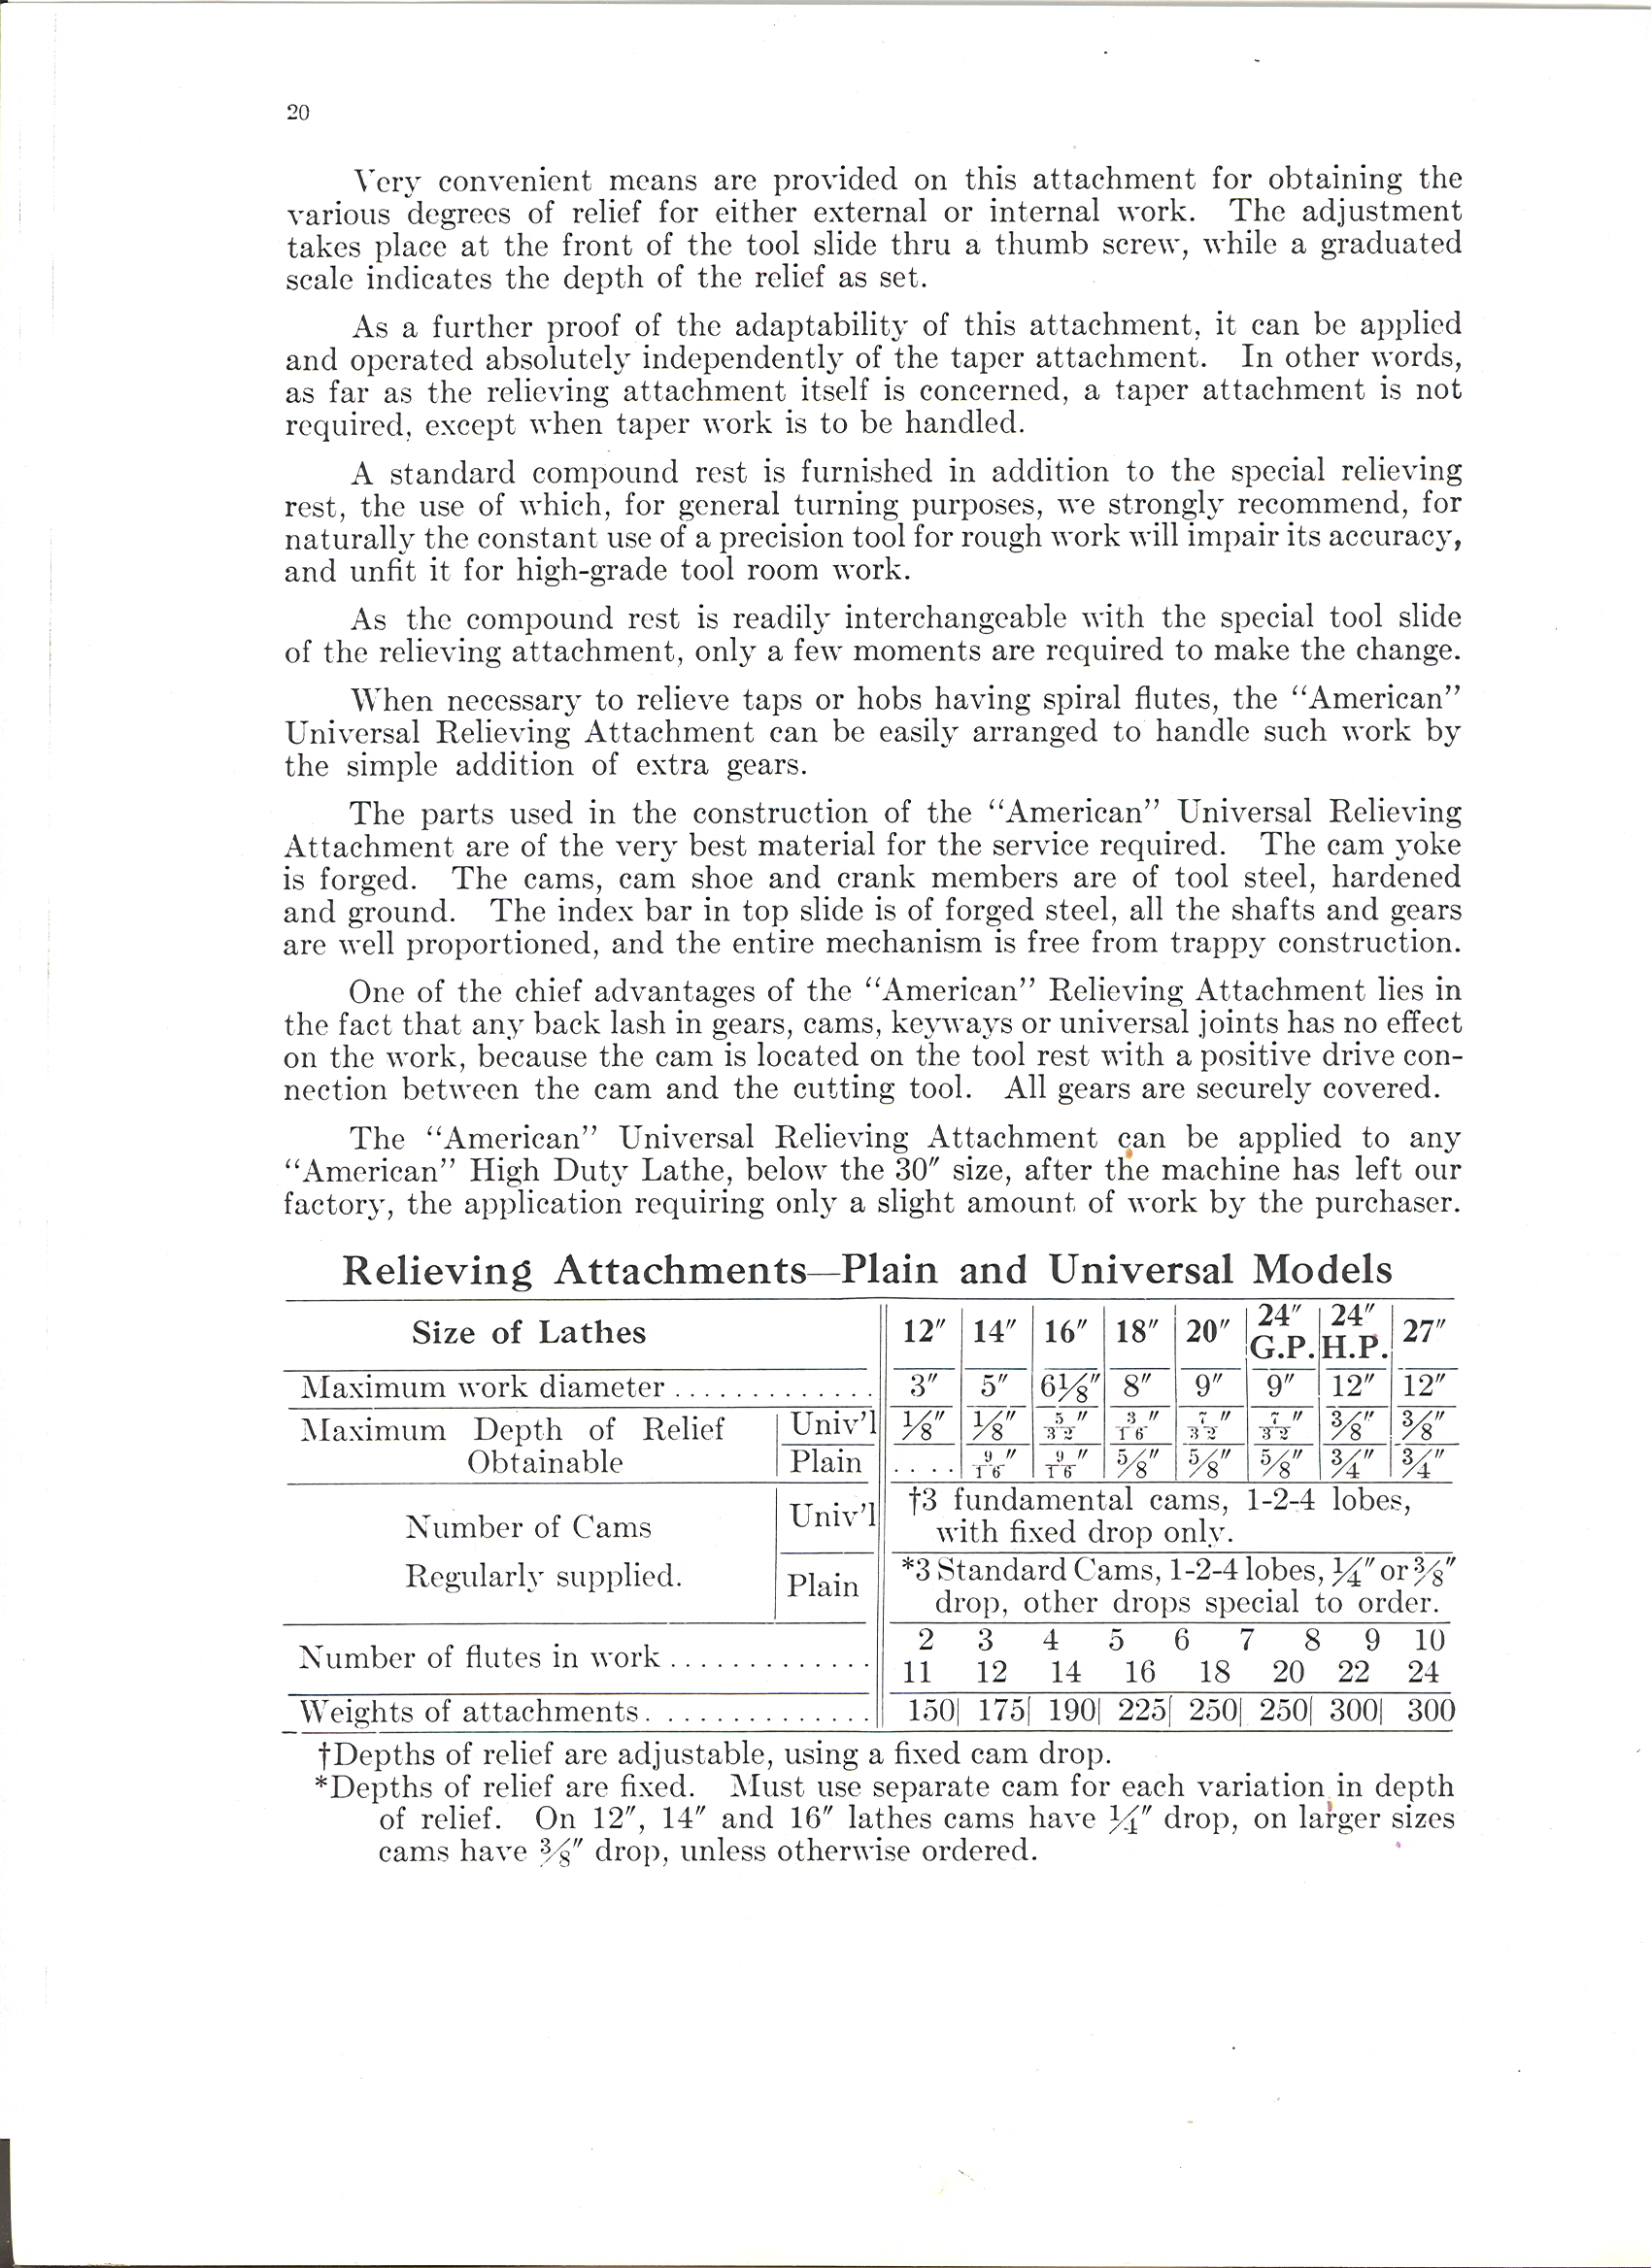
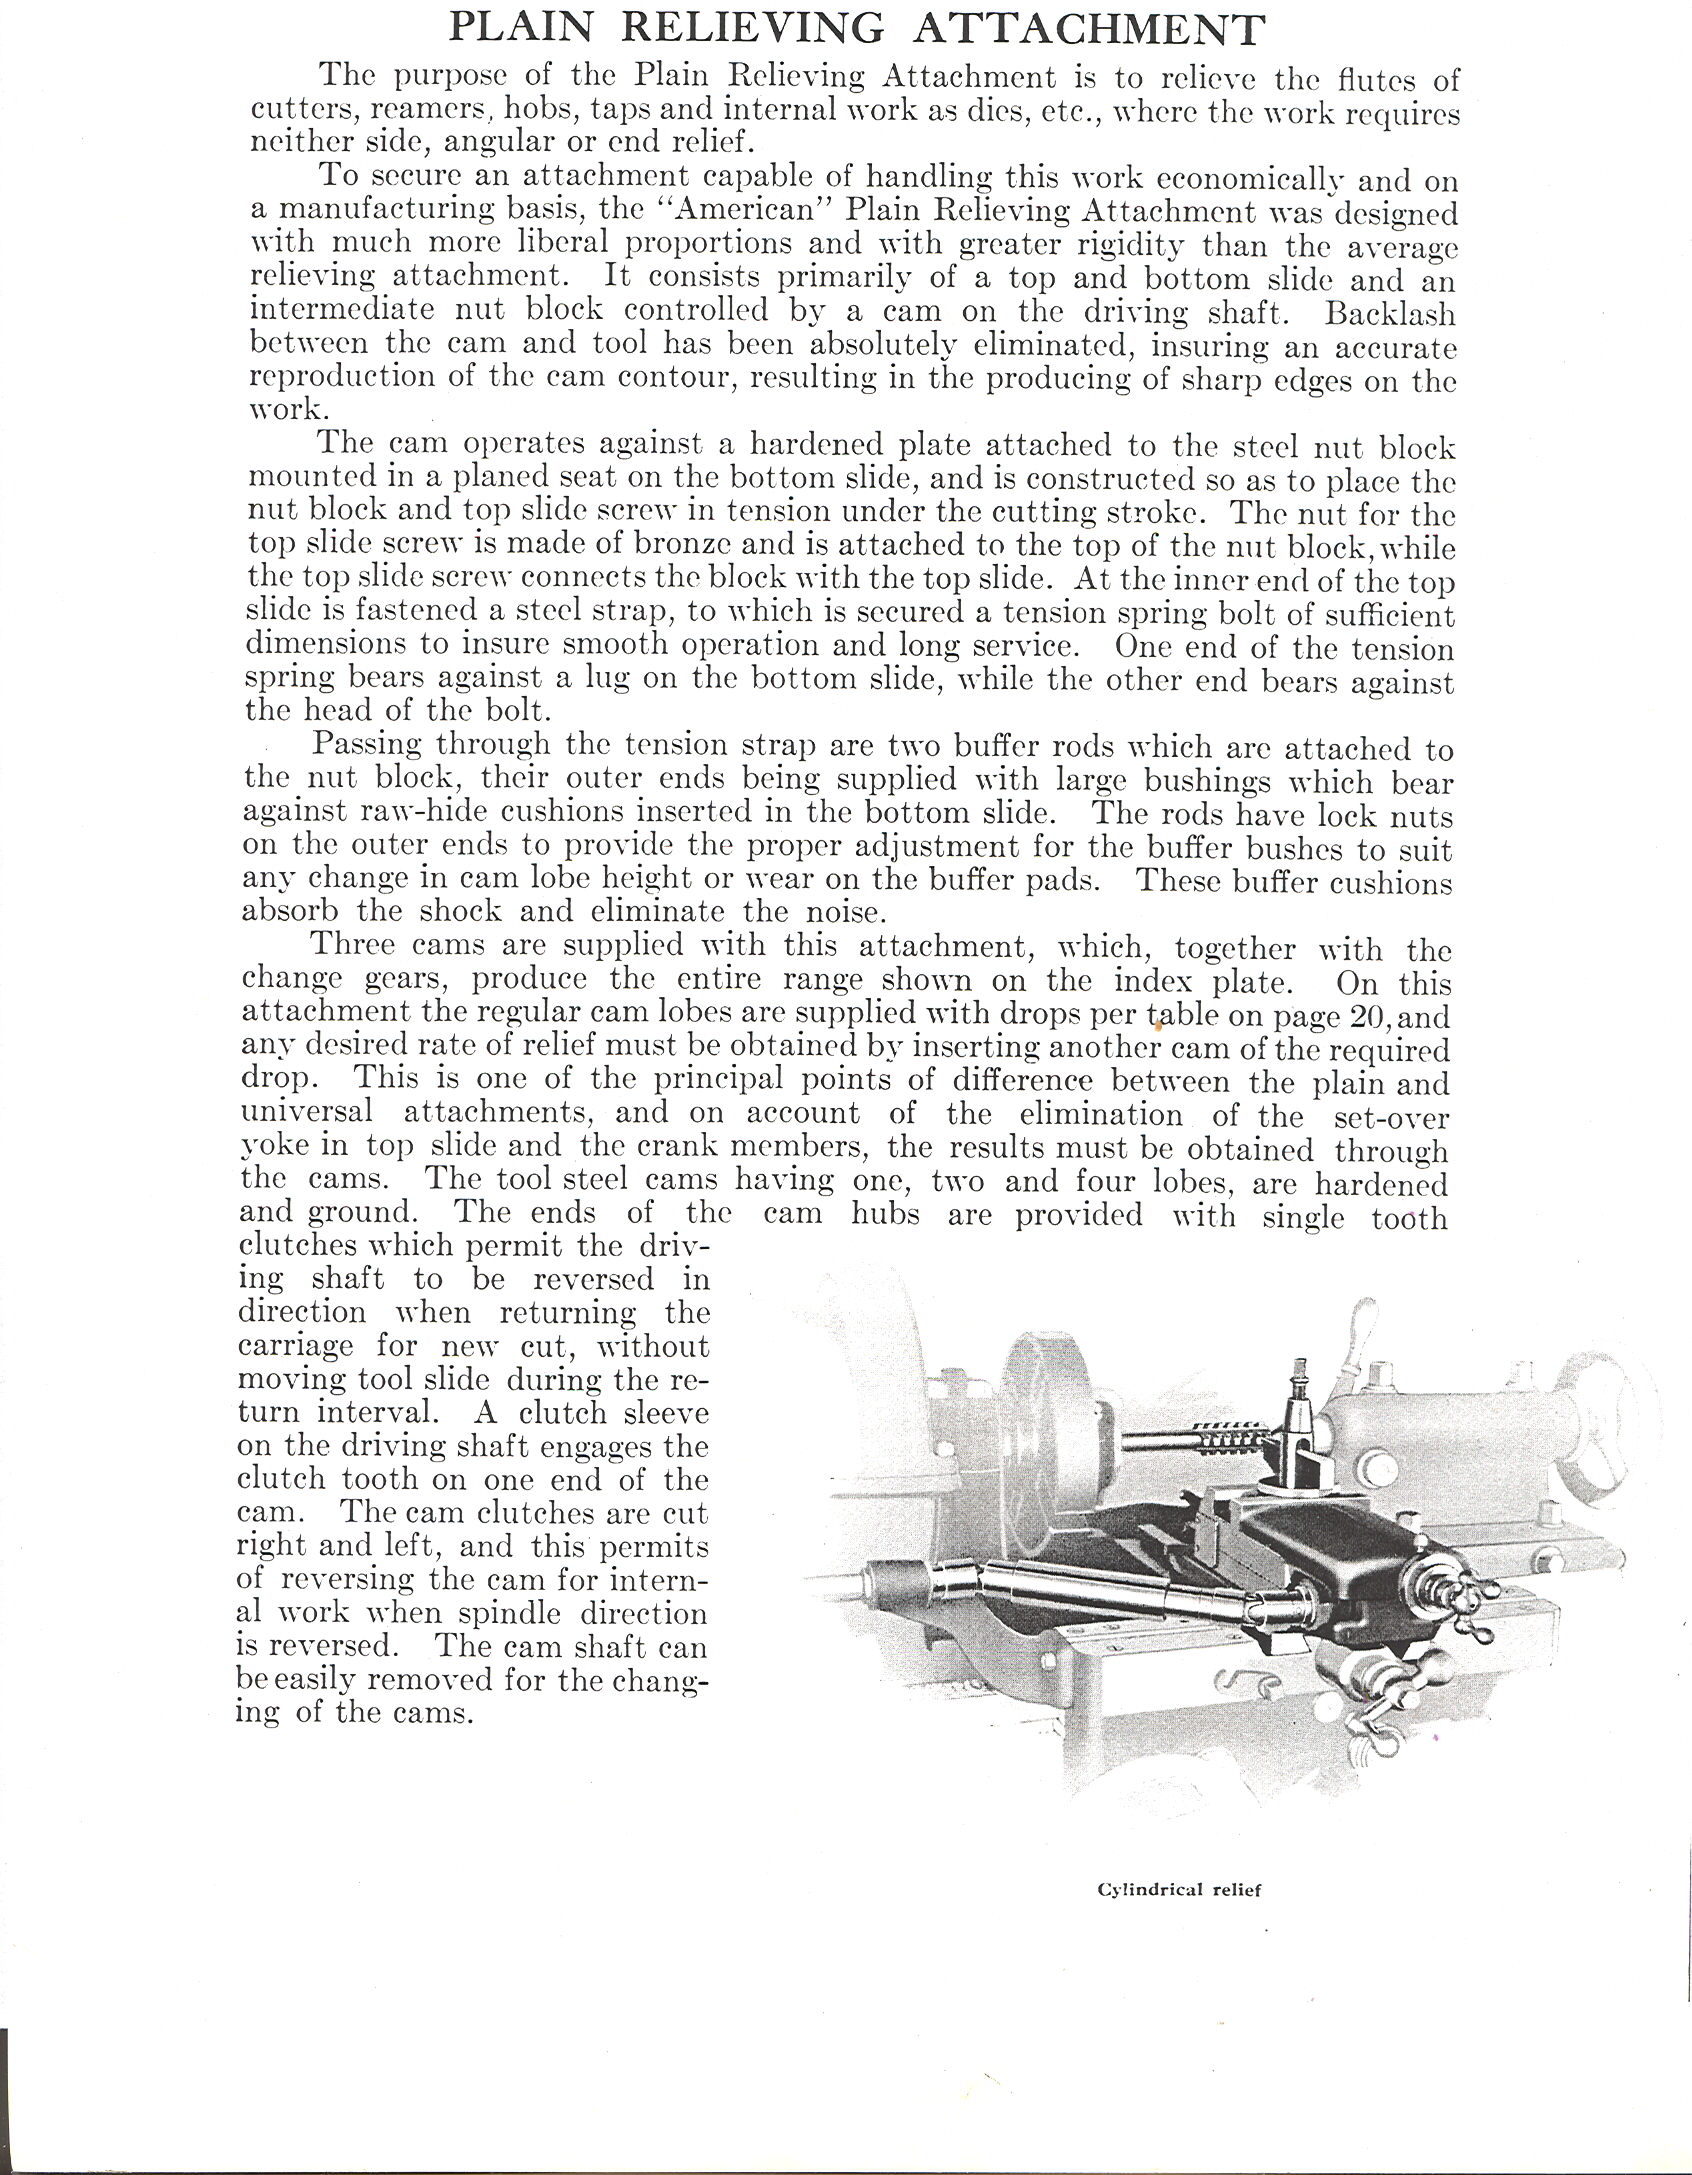
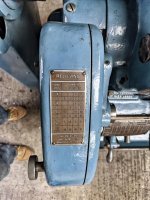


Probably amateursThere are a couple youtube vids of lathe relieving attachments operating, generally quite low spindle rpm- though I guess the # of lobes matters a lot.
 I've seen relieving lathes (Reinecker, I think ?) in operation, they run faster than you would expect. Not 1,000 rpm but still, pretty quick. And noisy !
 While you're working on the lathe its well worth taking the quill and screw out of the tailstock for some cleaning too- a nice thrust bearing inside and oil passages to clean where the screw journal runs, mine has a ball oiler just in front of the handwheel.
I'm toying with a DIY ER32 through coolant system for the tailstock- for rough/deep drilling mostly. I left the MT3 arbor with an 8-32 hole which I didn't plug with a setscrew so the tailstock assy gets flushed with cutting oil along with the tooling. Washed a fair bit of dirt out, the split cotter assy was particularly dirty. The downside is the MT ends up thoroughly lubricated so quill and tooling need cleaning afterwards.
 you'd think a tailstock would be simple, but they did fancy it up a bit. The taper on mine is a bit chewed up and only holds well if both taper surfaces are very clean and dry. I ran a MT3 reamer in it a little which helped some but I didn't push it and the steel is pretty hard- grinding seems a better option.
Notice
This website or its third-party tools process personal data (e.g. browsing data or IP addresses) and use cookies or other identifiers, which are necessary for its functioning and required to achieve the purposes illustrated in the cookie policy. To learn more, please refer to the cookie policy. In case of sale of your personal information, you may opt out by sending us an email via our Contact Us page. To find out more about the categories of personal information collected and the purposes for which such information will be used, please refer to our privacy policy. You accept the use of cookies or other identifiers by closing or dismissing this notice, by scrolling this page, by clicking a link or button or by continuing to browse otherwise.
