DocsMachine
Titanium
- Joined
- Jan 8, 2005
- Location
- Southcentral, AK
A couple weekends ago, I took a fair road trip and picked up a DoAll bandsaw- a good metal cutting bandsaw being one of the few remaining machines I felt I needed in the shop. (There's plenty I still want, of course, but that's different. ") )
)

The saw was in pretty good condition- good enough, in fact, that I'd initially taken it as being some thirty years newer than it was. (I'd assumed it was 70s-80s, turned out to have been made in 1948!)
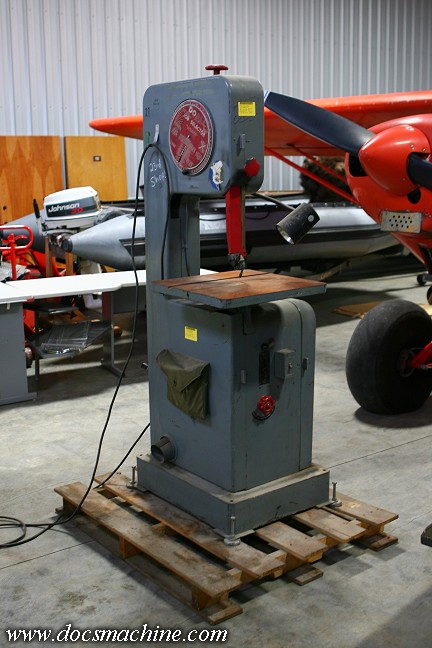
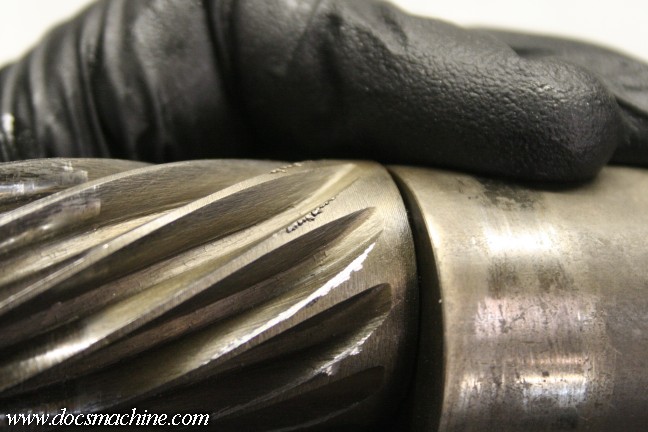
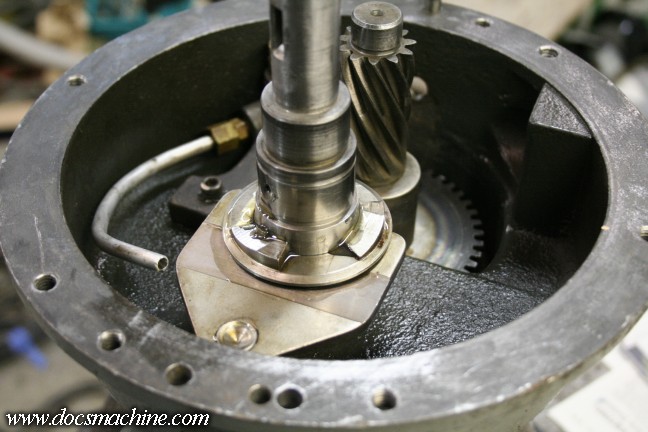
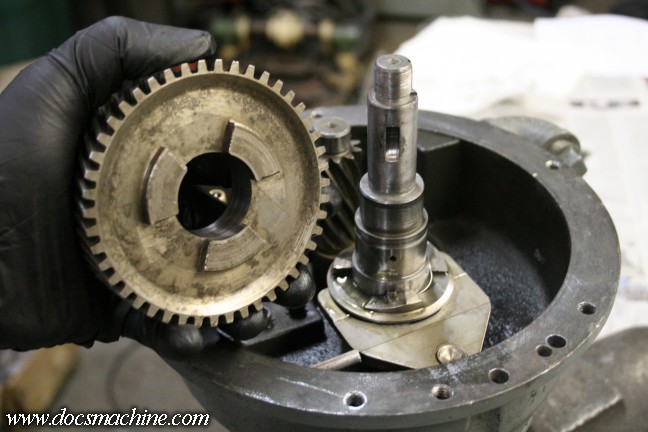
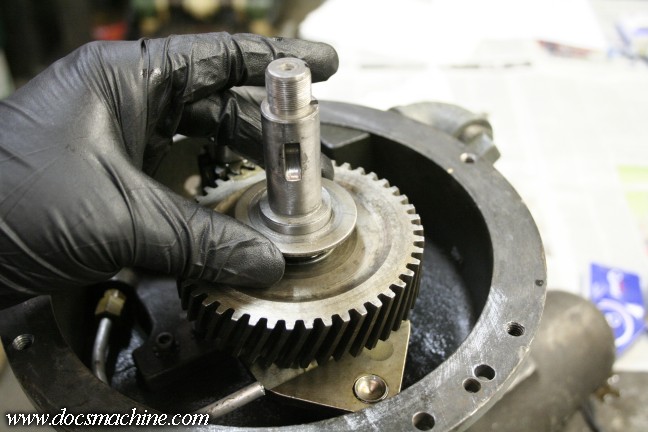
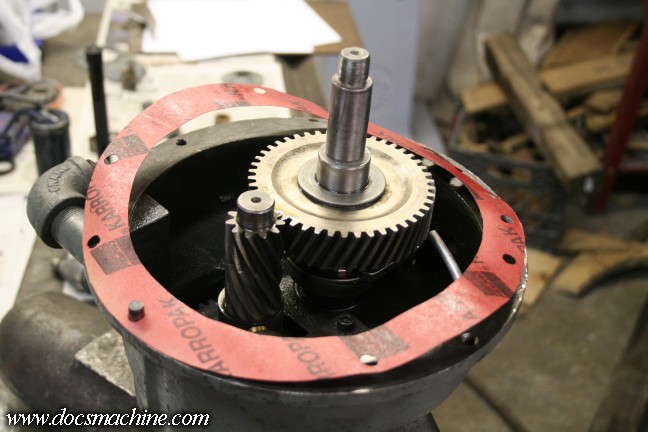
There were virtually no dings or dents, the almost certainly original paint was in great shape (nothing peeling or badly stained) the drive was in good condition, the guides were all there, etc.
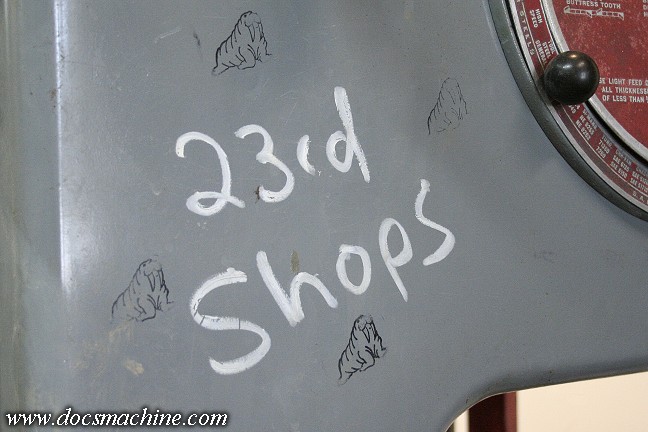
Superficially, the worst part was the... I guess graffiti would be a sufficient term. Having been in an Air Force maintenance shop, and quite likely for a good many years, some wag had hit it with a walrus stamp...
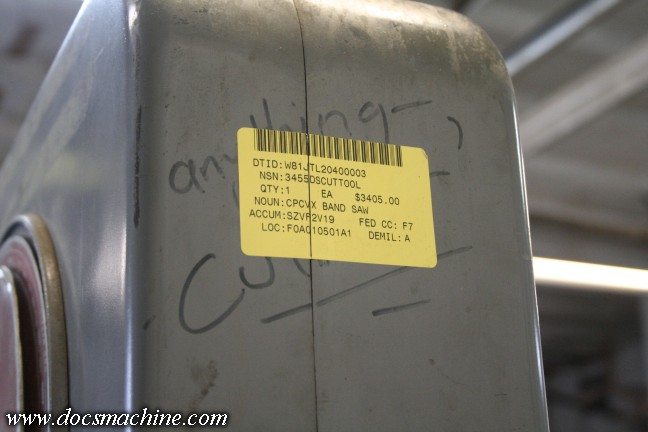
... Another had marked it as an "Anything Cutter"...
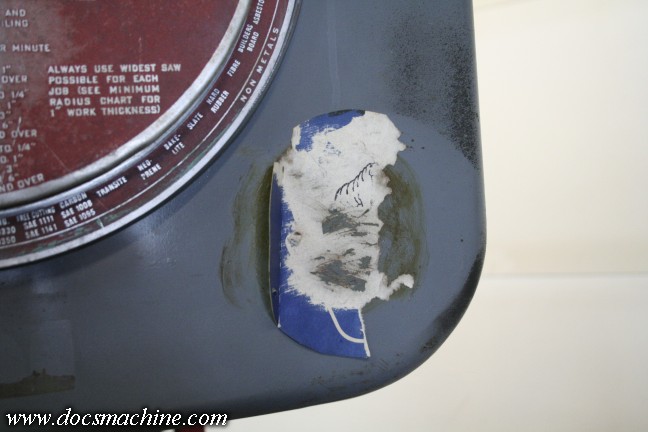
... And yet another had slapped a sticker, over where something else had once been stuck with a glue-stick, and at some point when the later sticker had been pulled off, Airman Walrus stopped by with his stamp again.
Fortunately all of that, plus the leftovers of other long-gone strips of tape, boot-scuffs and other marks were easily removed with a bit of elbow grease and some lacquer thinner.
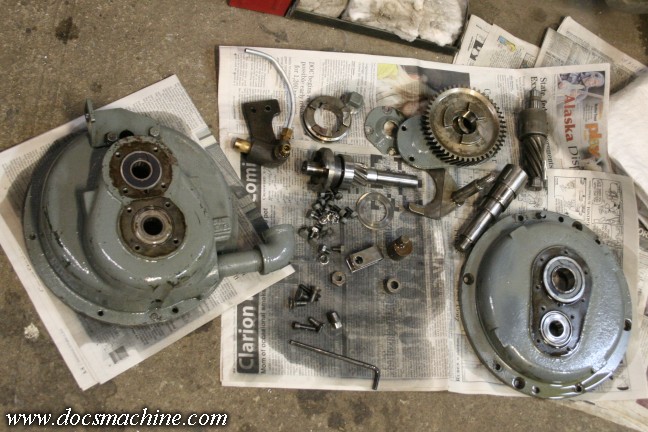
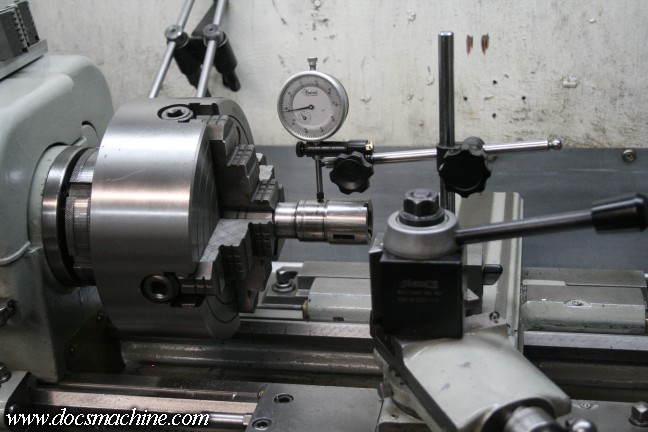
Now, as good a shape as it was in overall, there were a few things that needed attention, and as I've been tinkering on it, more bits have become apparent, so I decided to post this "build blog" of it.
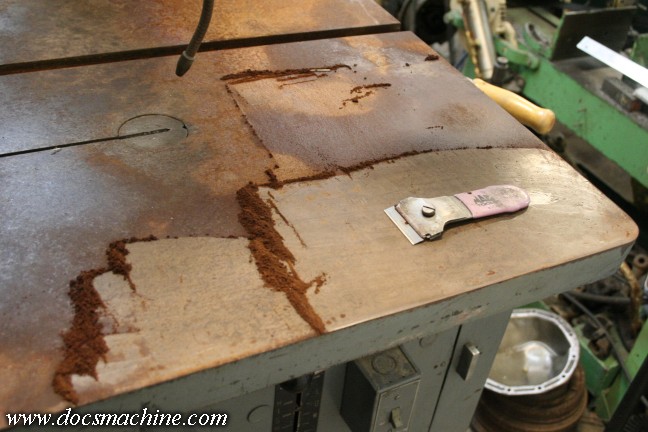
First and foremost was the table. Poor, but apparently relatively brief, storage had allowed the table to rust, though not deeply.
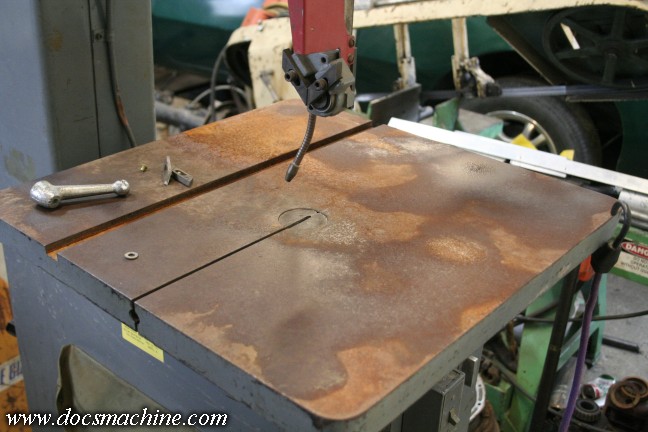
The bulk of it pushed right of with a razor blade- or rather, several razor blades, as they of course go dull quickly.
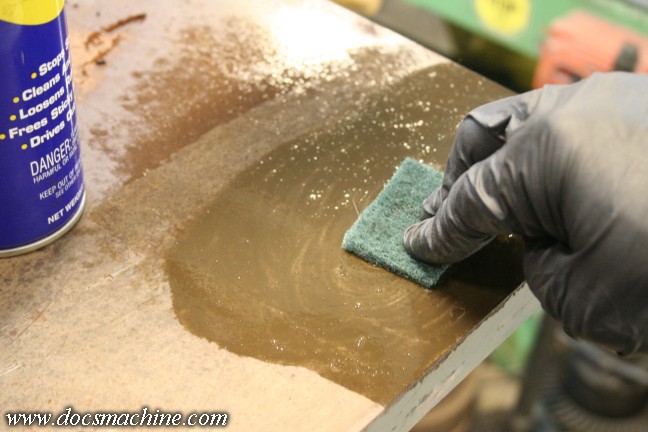
After that, most of the rest came off with some Scotchbrite and WD-40...
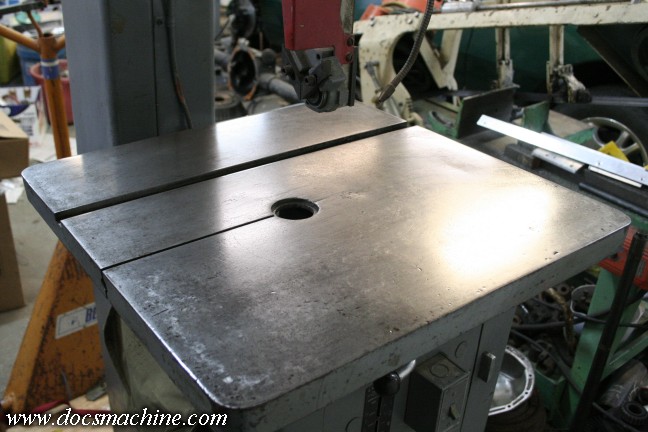
And a small stone took care of some of the nicks and dings.

After that, I brought back a bit of the luster with some 600 grit wet-or-dry sandpaper and a sanding block, lubricated with more WD-40.
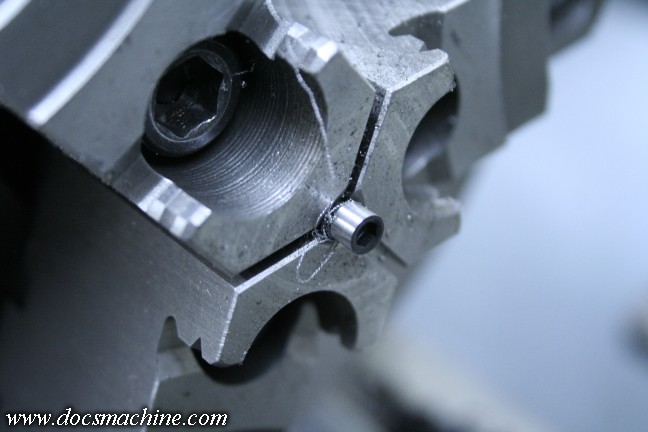
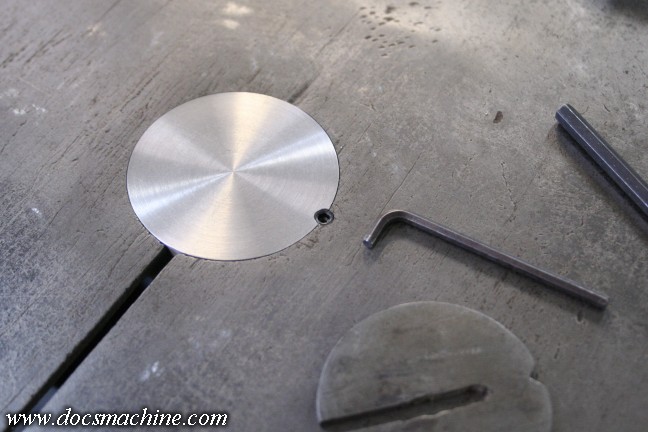
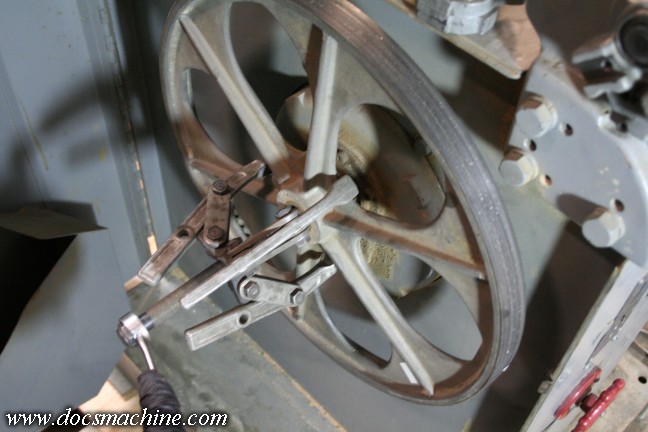
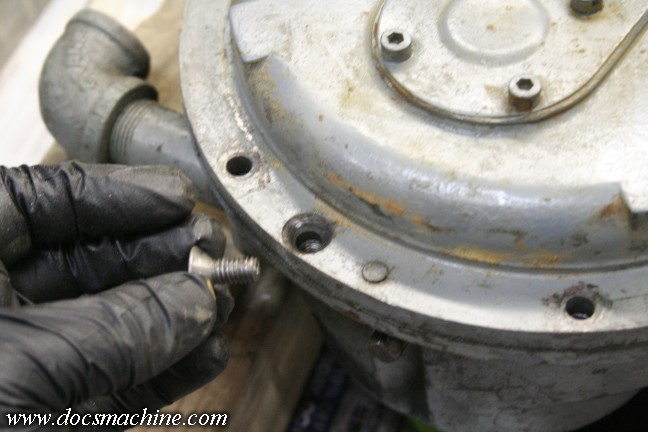
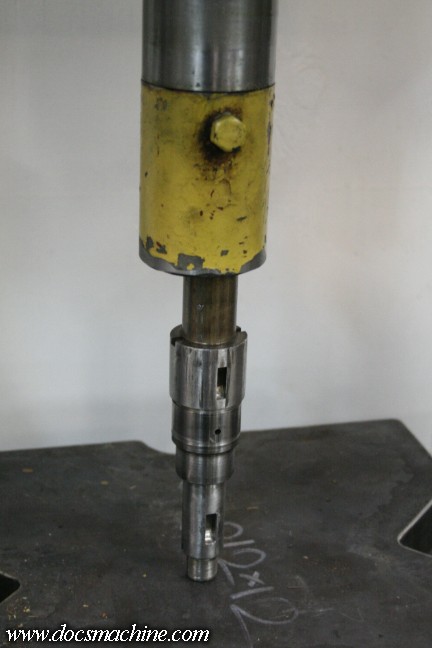
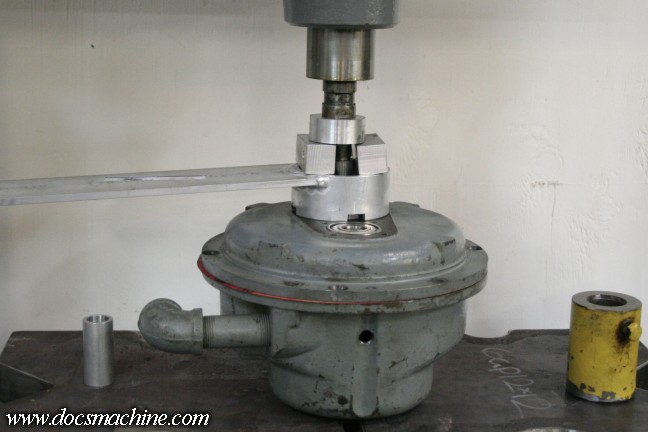
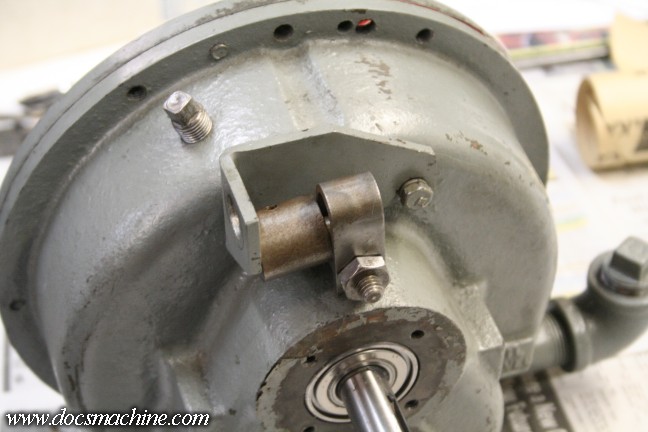
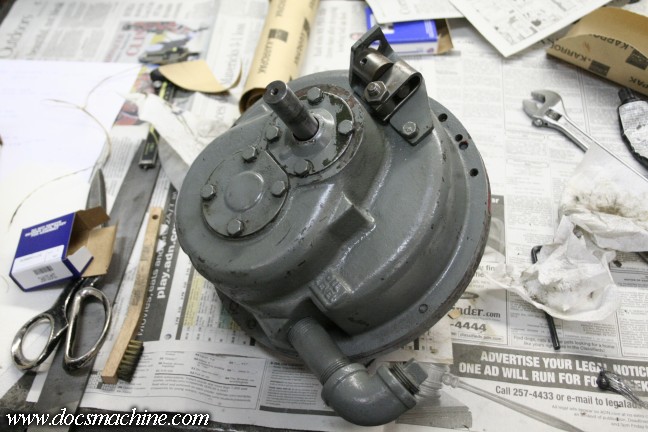
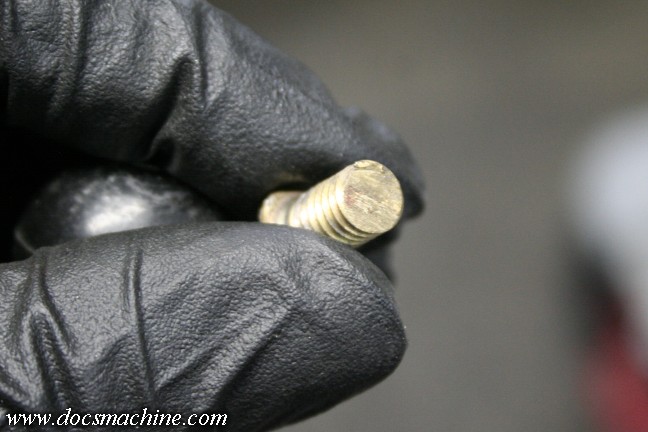
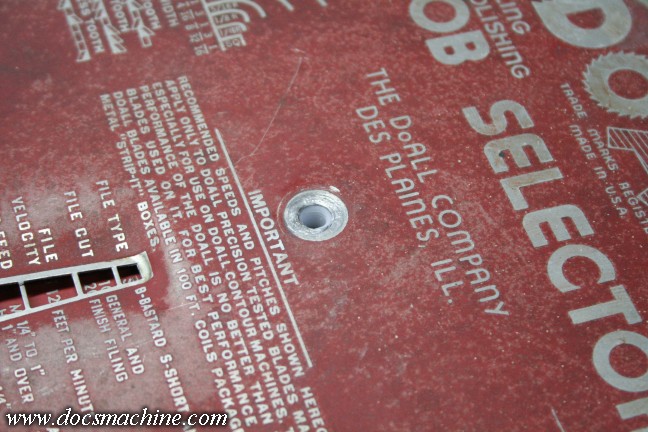
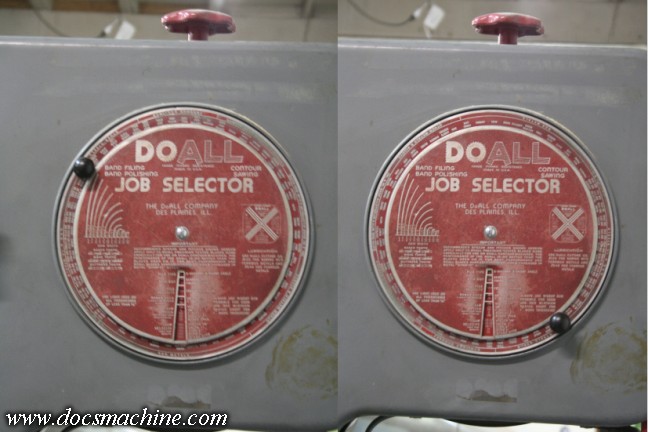
Next up was the classic DoAll "Job Selector" dial. Thankfully both discs were still with the machine, but the center hardware had been lost at some point, and they were just held on with a 1/4"-20 bolt. The knob, too, had been lost and changed at some point, and its' replacement was held on by a roughly ground-down and sawed-off brass bolt.
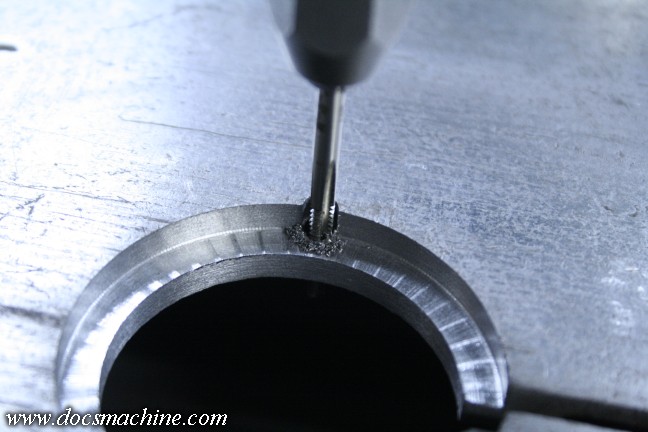
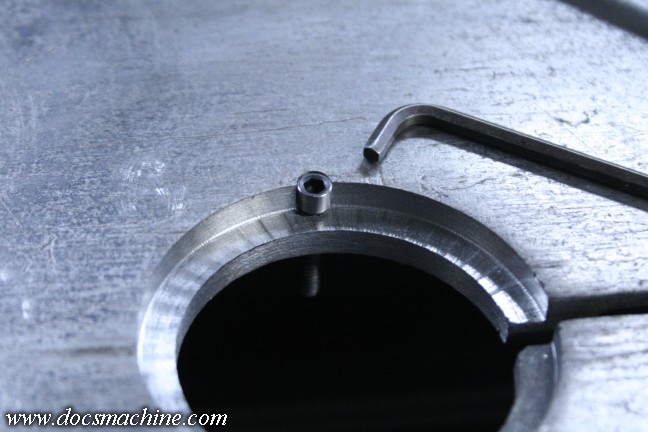
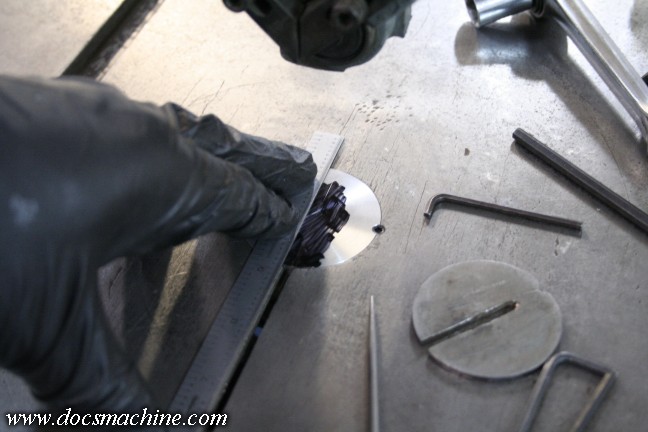
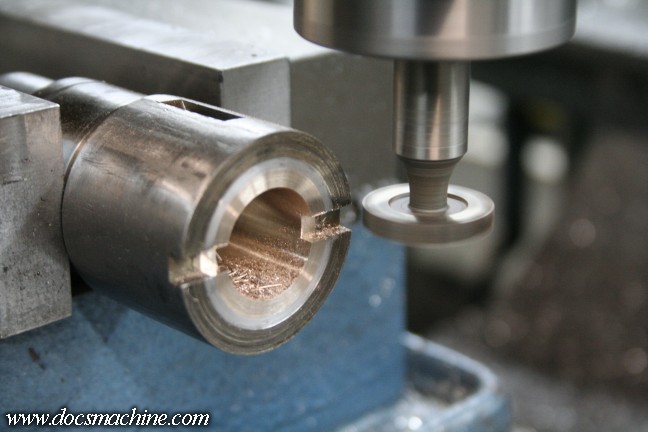
I replaced the bolt by shaving down a 5/16" capscrew until it had only a very thin flange for a head, to match the slight stamped recess in the DoAll dial.
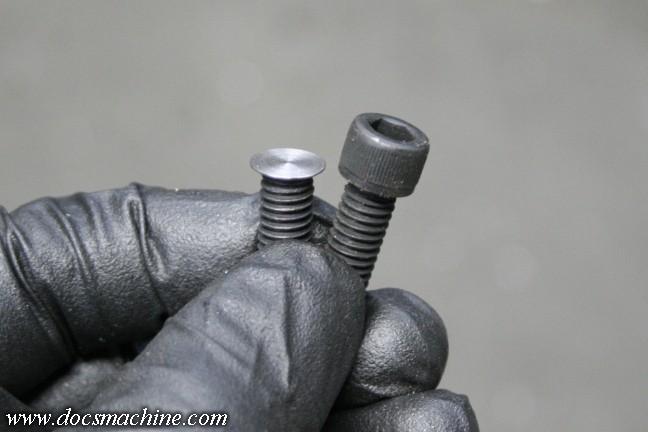
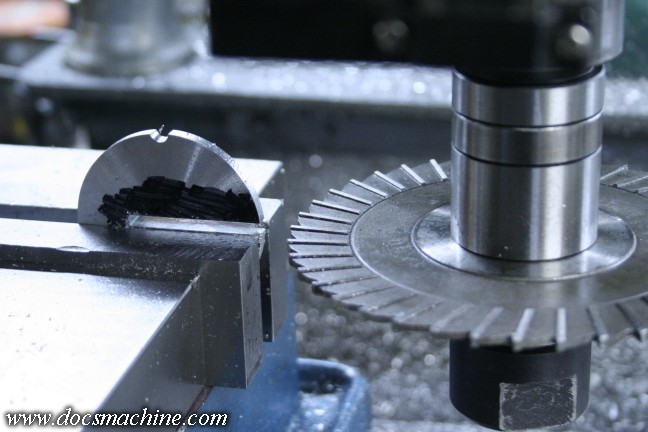
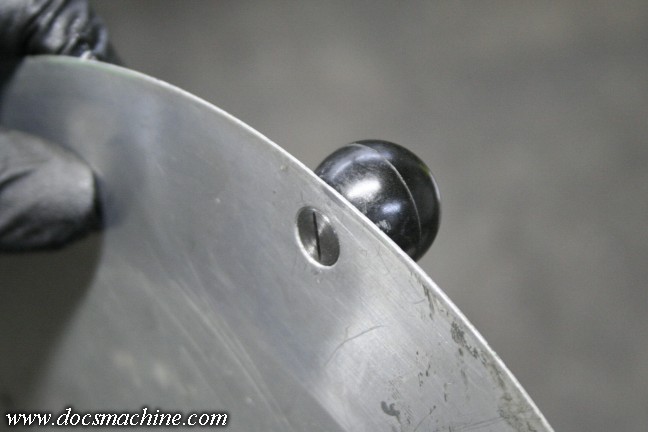
That I hit with a Dremel and a cut-off wheel, to give it a rudimentary screwdriver slot.

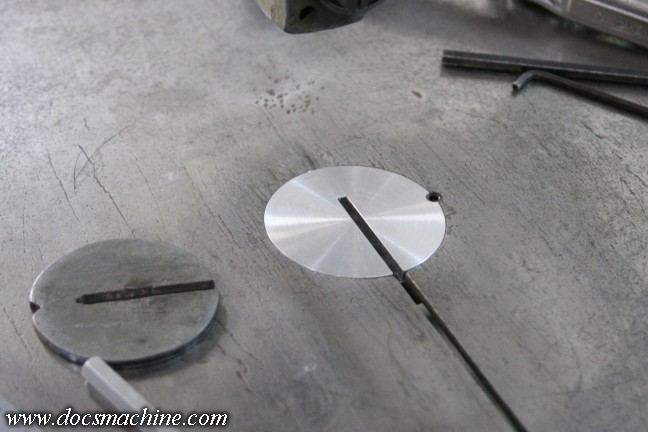
And here it is assembled:
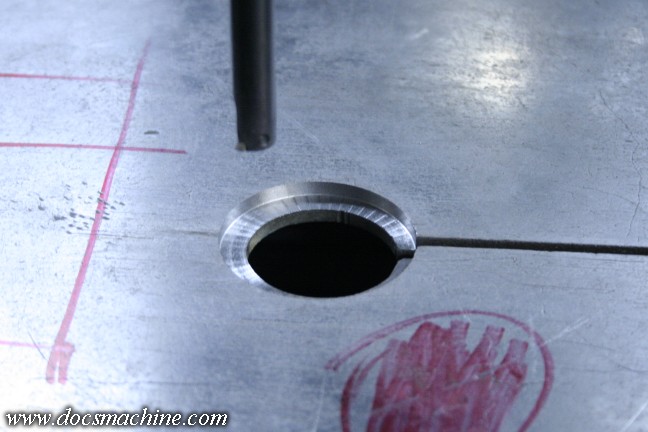
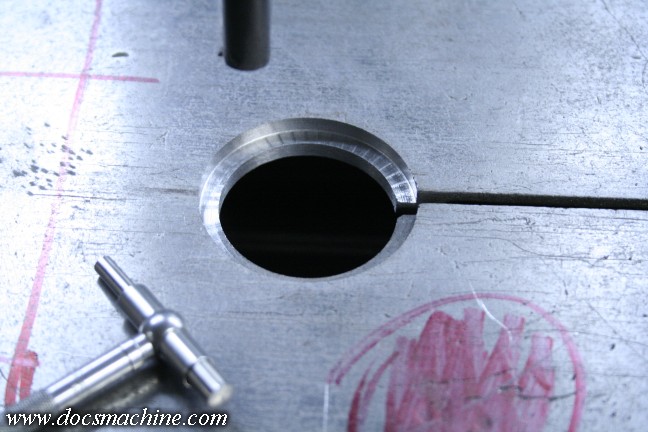
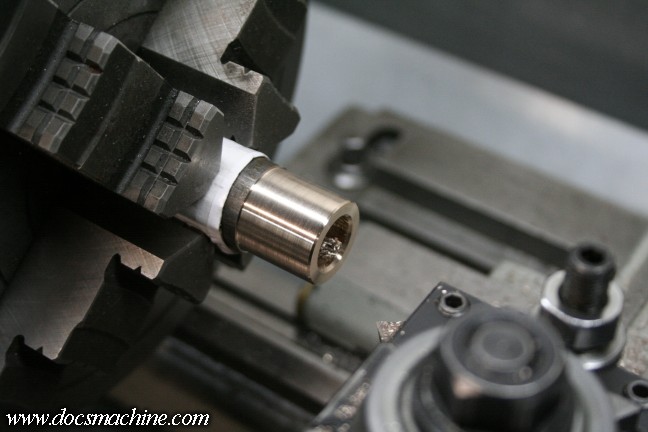
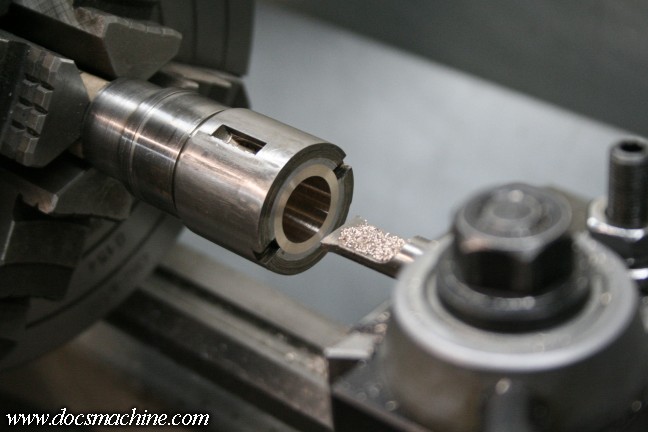
The two dials have a small stepped bushing in between, so that the outer dial is fixed, while the inner dial can rotate around it. The manual- still available at DoAll, surprisingly enough- shows the bushing, but gives no dimensions.
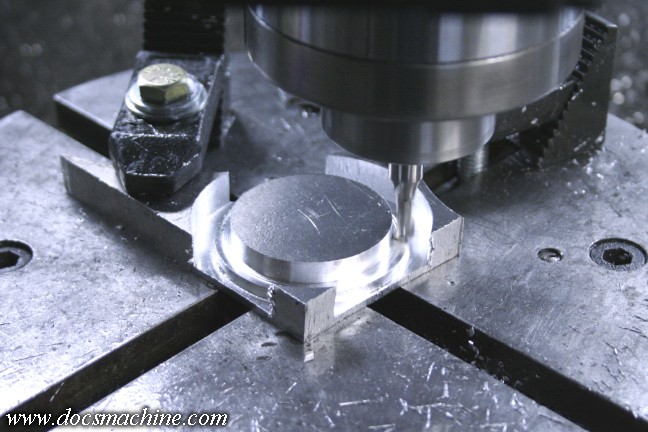
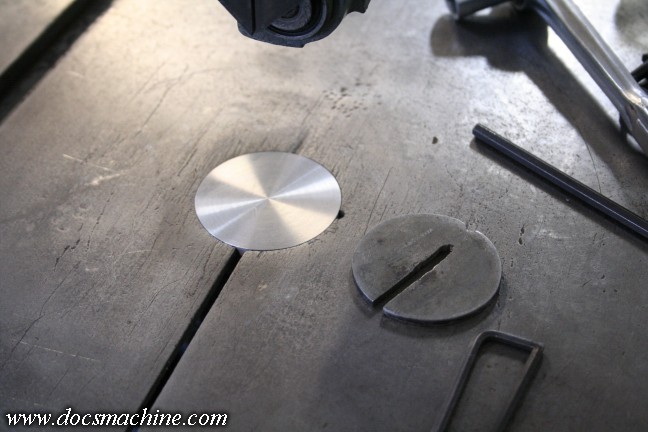
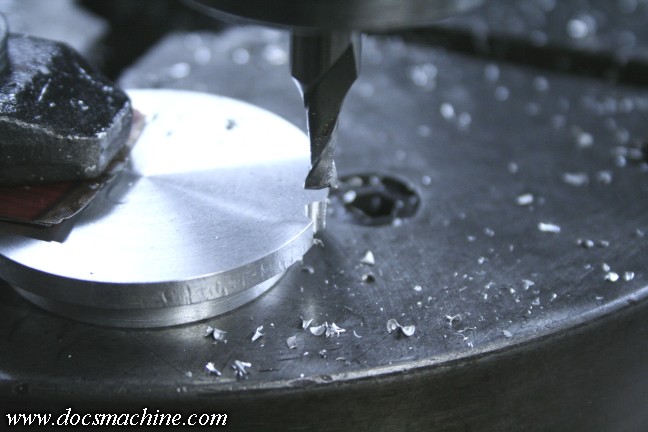
However, it's a simple item and was easy enough to gin up out of a bit of scrap white Delrin, with a little cut-and-try.
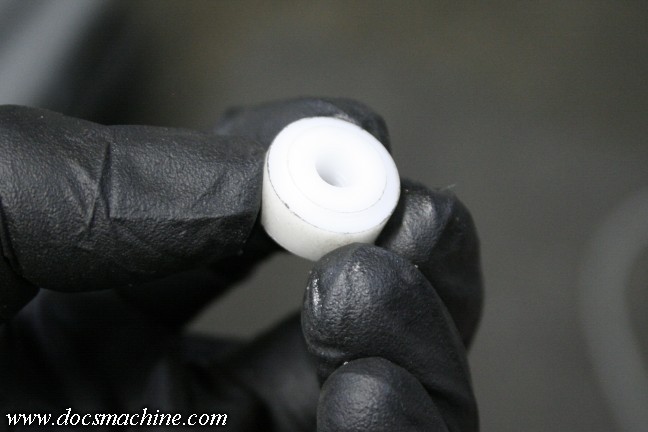
That holds the center of the inner dial, with a step that's just a smidge wider than the thickness of the dial. Therefore it can be bolted tight, but the dial will still be able to turn.
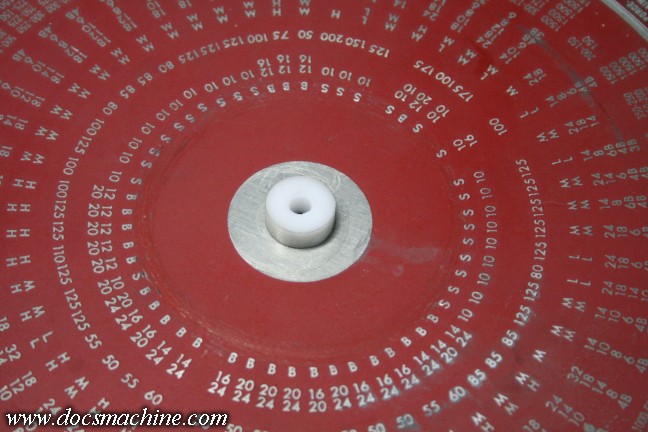
The outer dial just sits on top of that bushing- the extra thickness of the bushing necessary because at least on this older model, the outer disc is "domed" slightly.
A new 1/4"-20 bolt, a wide washer, and a Nylock nut completes the installation. Felt pads on the backing plate (the part bolted to the case of the saw) add just enough friction the disc can turn easily but doesn't flop around.
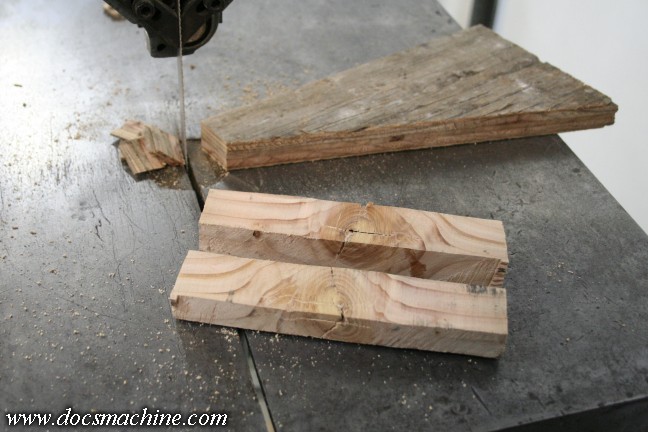
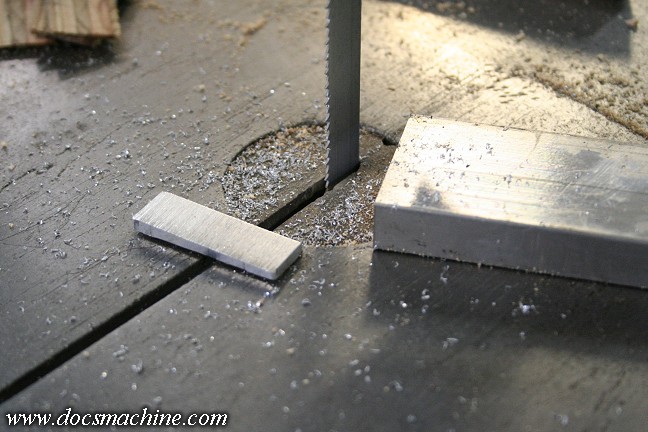
And that was as far as I could go at the time, as it came with no blade and the one I'd ordered hadn't arrived yet.
Doc.
)
The saw was in pretty good condition- good enough, in fact, that I'd initially taken it as being some thirty years newer than it was. (I'd assumed it was 70s-80s, turned out to have been made in 1948!)
There were virtually no dings or dents, the almost certainly original paint was in great shape (nothing peeling or badly stained) the drive was in good condition, the guides were all there, etc.
Superficially, the worst part was the... I guess graffiti would be a sufficient term.
Having been in an Air Force maintenance shop, and quite likely for a good many years, some wag had hit it with a walrus stamp...
... Another had marked it as an "Anything Cutter"...
... And yet another had slapped a sticker, over where something else had once been stuck with a glue-stick, and at some point when the later sticker had been pulled off, Airman Walrus stopped by with his stamp again.
Fortunately all of that, plus the leftovers of other long-gone strips of tape, boot-scuffs and other marks were easily removed with a bit of elbow grease and some lacquer thinner.
Now, as good a shape as it was in overall, there were a few things that needed attention, and as I've been tinkering on it, more bits have become apparent, so I decided to post this "build blog" of it.
First and foremost was the table. Poor, but apparently relatively brief, storage had allowed the table to rust, though not deeply.
The bulk of it pushed right of with a razor blade- or rather, several razor blades, as they of course go dull quickly.
After that, most of the rest came off with some Scotchbrite and WD-40...
And a small stone took care of some of the nicks and dings.
After that, I brought back a bit of the luster with some 600 grit wet-or-dry sandpaper and a sanding block, lubricated with more WD-40.
Next up was the classic DoAll "Job Selector" dial. Thankfully both discs were still with the machine, but the center hardware had been lost at some point, and they were just held on with a 1/4"-20 bolt. The knob, too, had been lost and changed at some point, and its' replacement was held on by a roughly ground-down and sawed-off brass bolt.
I replaced the bolt by shaving down a 5/16" capscrew until it had only a very thin flange for a head, to match the slight stamped recess in the DoAll dial.
That I hit with a Dremel and a cut-off wheel, to give it a rudimentary screwdriver slot.
And here it is assembled:
The two dials have a small stepped bushing in between, so that the outer dial is fixed, while the inner dial can rotate around it. The manual- still available at DoAll, surprisingly enough- shows the bushing, but gives no dimensions.
However, it's a simple item and was easy enough to gin up out of a bit of scrap white Delrin, with a little cut-and-try.
That holds the center of the inner dial, with a step that's just a smidge wider than the thickness of the dial. Therefore it can be bolted tight, but the dial will still be able to turn.
The outer dial just sits on top of that bushing- the extra thickness of the bushing necessary because at least on this older model, the outer disc is "domed" slightly.
A new 1/4"-20 bolt, a wide washer, and a Nylock nut completes the installation. Felt pads on the backing plate (the part bolted to the case of the saw) add just enough friction the disc can turn easily but doesn't flop around.
And that was as far as I could go at the time, as it came with no blade and the one I'd ordered hadn't arrived yet.
Doc.