I am looking for the trav-a-dial bracket for the square dial 10EE. SWI, was zero help with even a part number.
Does anyone here have the part number on the casting so i can start my interwebs search ?
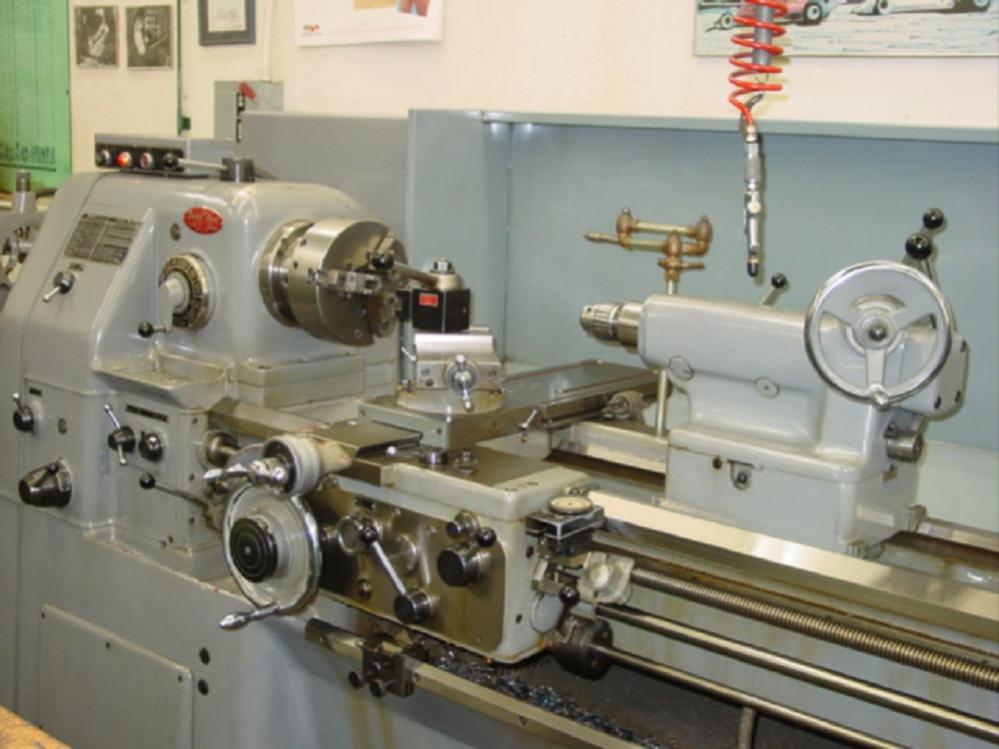
I found a picture of one that looks really close ... BR-87. Not sure if that is the correct one.
Todd
Does anyone here have the part number on the casting so i can start my interwebs search ?
I found a picture of one that looks really close ... BR-87. Not sure if that is the correct one.
Todd