small.planes
Aluminum
- Joined
- Sep 5, 2008
- Location
- Leics UK
Reposted with a better title.
I've been practicing with my J&S 540.
I don't have a master square, so I thought I could make one using 3 import squares - matching each one to another in round robin.
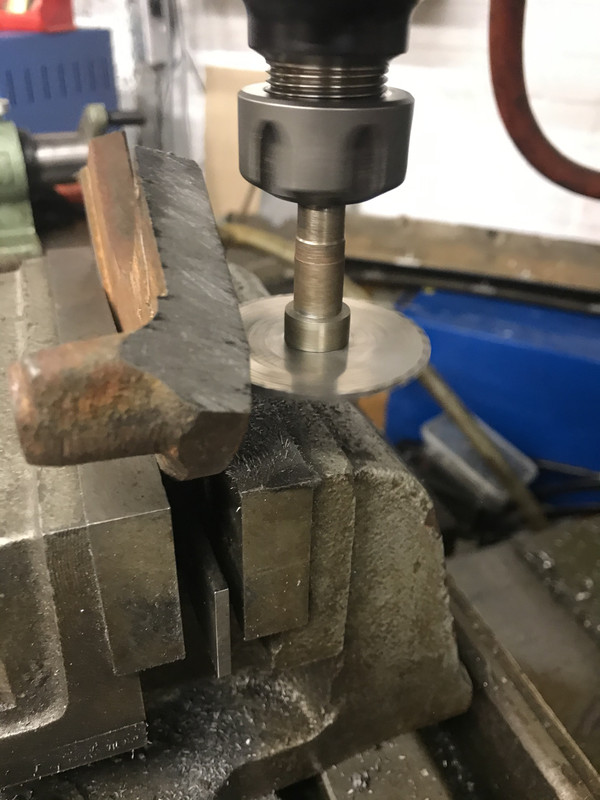
To do that all I needed was a flat flat. Seems like a grinder would be a way to make one of those...
I have assorted scrap waiting to be turned into new things.
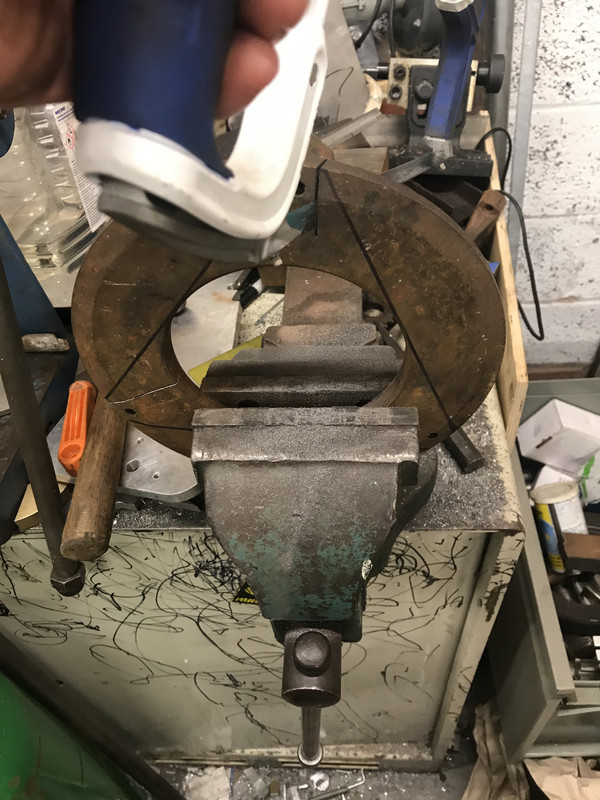
In the pile is an old clutch pressure plate - a reasonable lump of old cast iron.
I hacked it into 3 pieces:
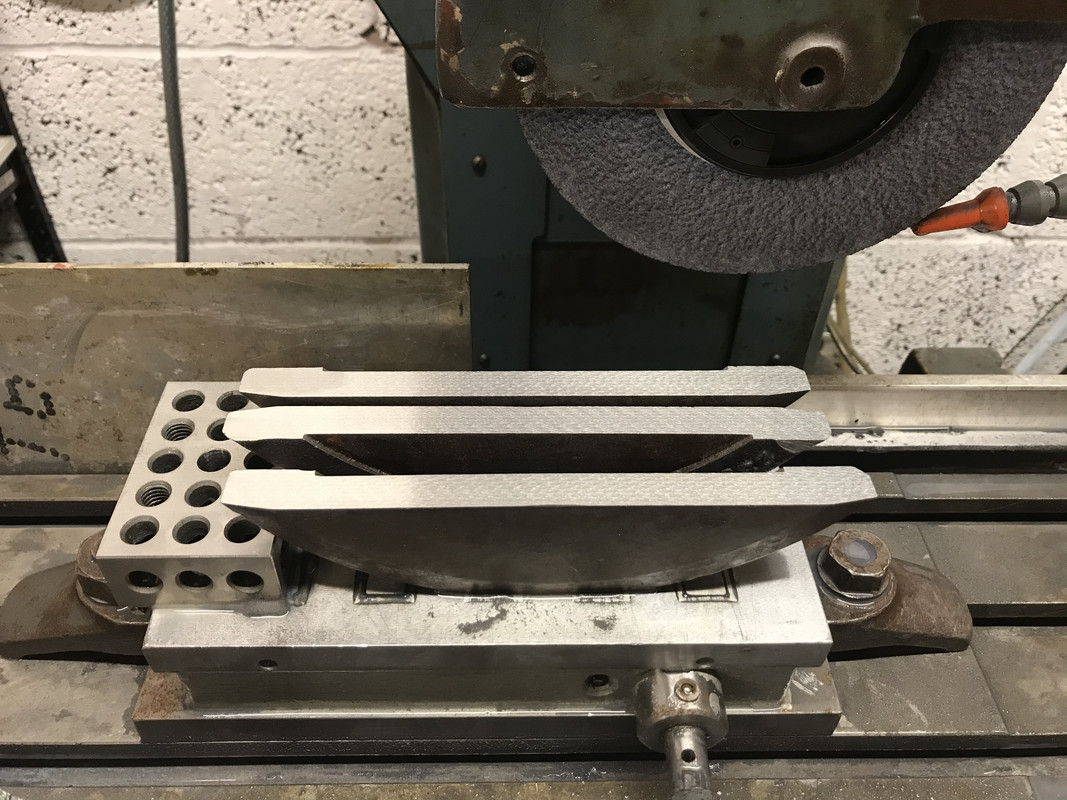
Then used my mill to make them 'mostly' straight:
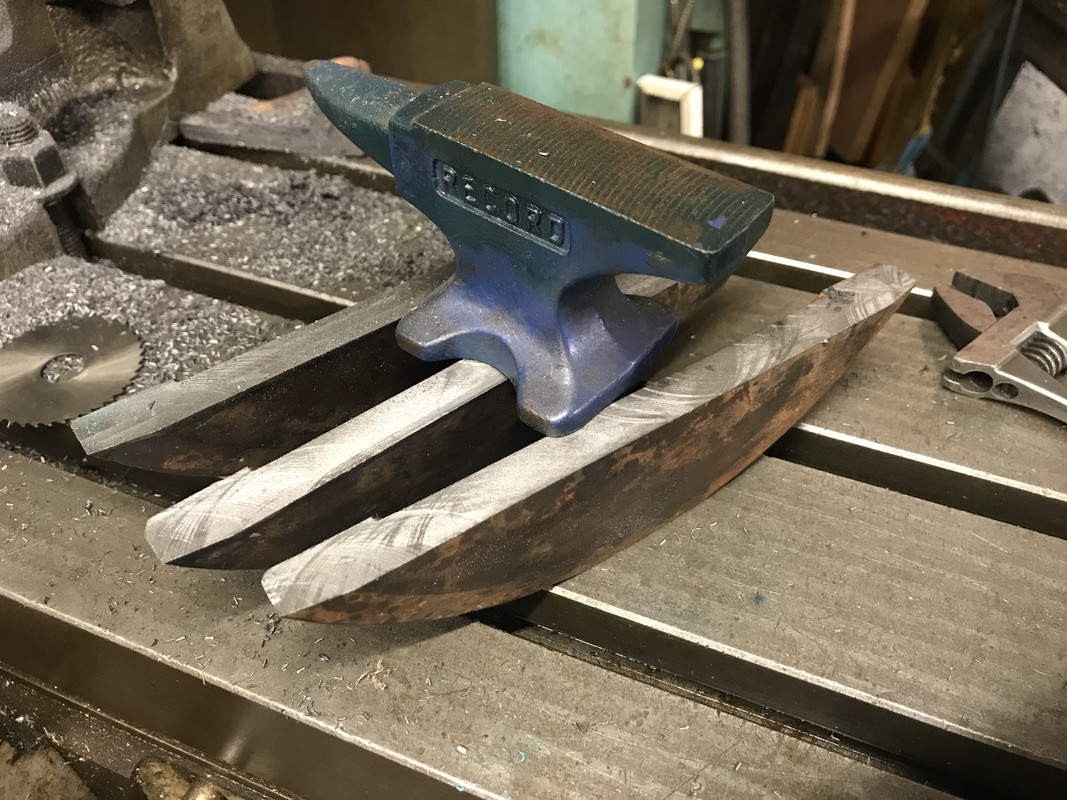
(anvil for scale") )
)
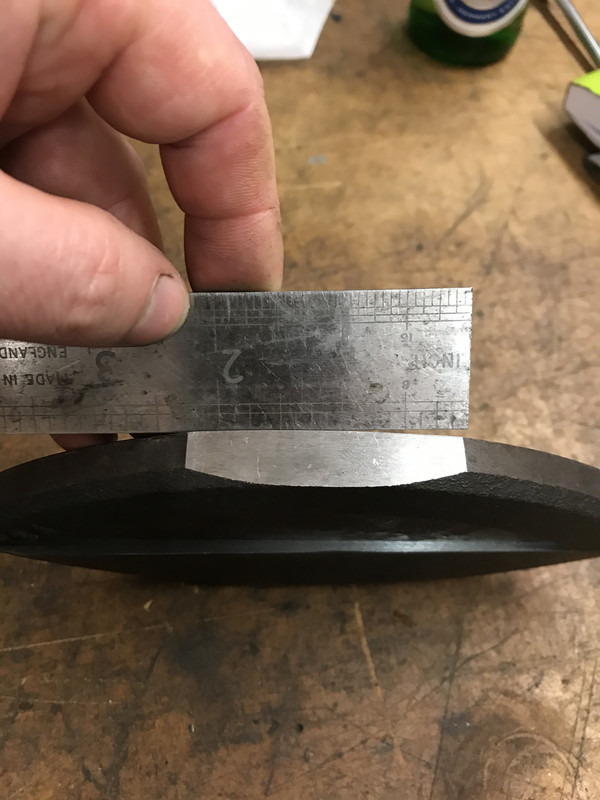
I also made them roughly the same height, and cut a small flat on the curved edge.
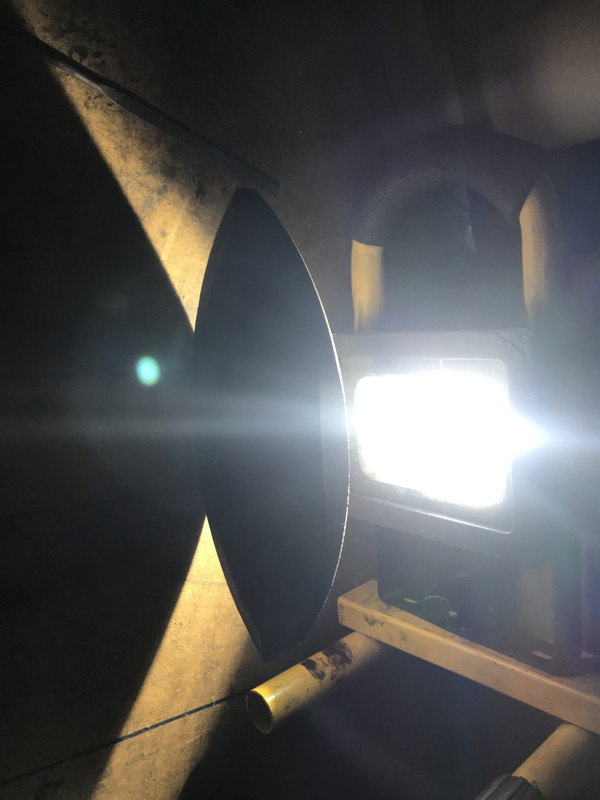
Then bunged them onto the grinder:
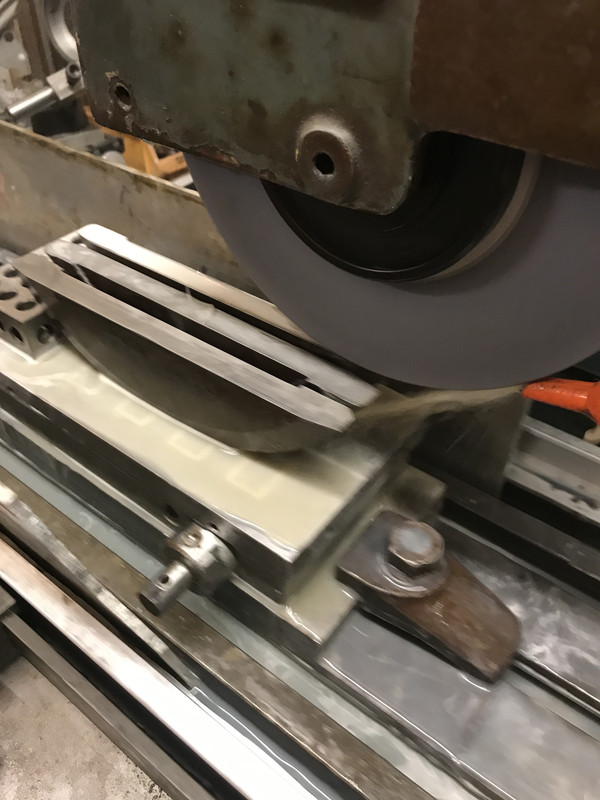
Taking care not to add heat I proceeded at around 3 thou DOC / 150 thou stepover. 46 K SG wheel.
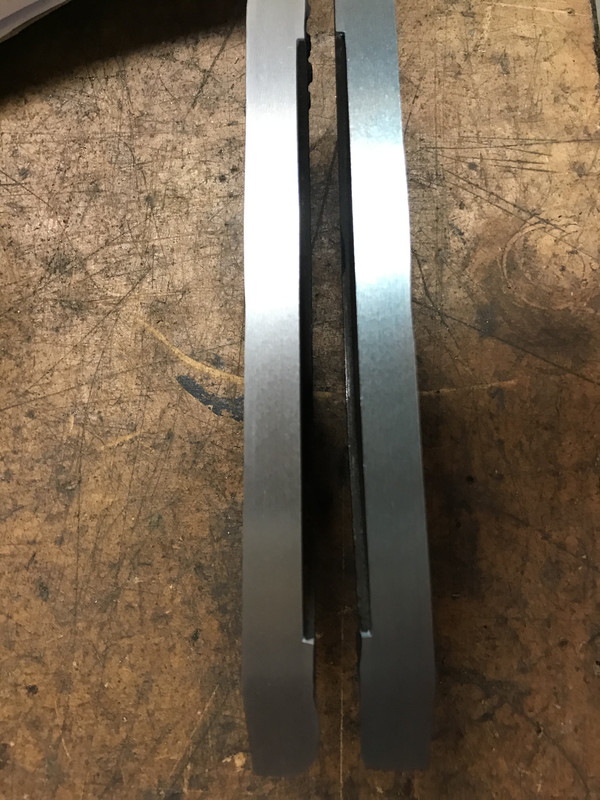
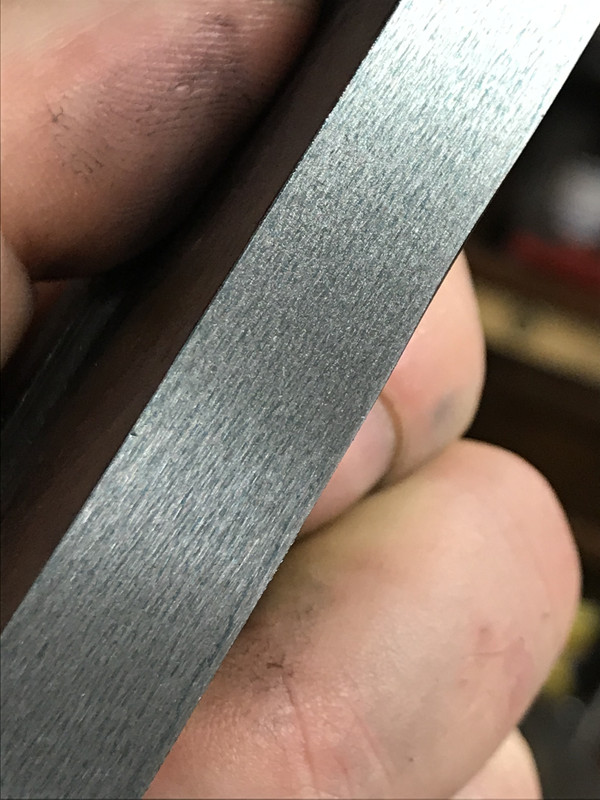
Turned out nice:
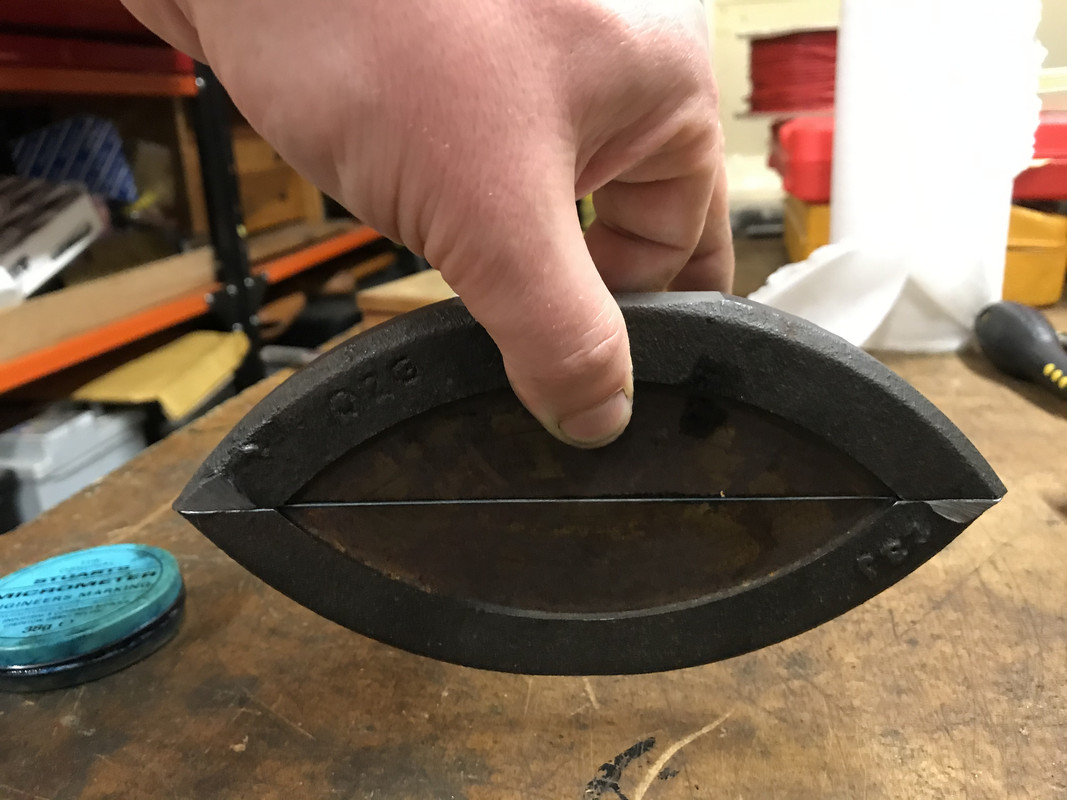
And blackout flat:
All 3 match with no light, and blue against each other really evenly.
Think that shows my grinder doesn't have significant wear.
Next I need to learn how to grind square and arbitrary angles. (tips gratefully received)
I think I have enough offcuts from this scrap to make a pair of 10mmx20mmx30mm mini 123 blocks.
Dave
I've been practicing with my J&S 540.
I don't have a master square, so I thought I could make one using 3 import squares - matching each one to another in round robin.
To do that all I needed was a flat flat. Seems like a grinder would be a way to make one of those...
I have assorted scrap waiting to be turned into new things.
In the pile is an old clutch pressure plate - a reasonable lump of old cast iron.
I hacked it into 3 pieces:
Then used my mill to make them 'mostly' straight:
(anvil for scale
)I also made them roughly the same height, and cut a small flat on the curved edge.
Then bunged them onto the grinder:
Taking care not to add heat I proceeded at around 3 thou DOC / 150 thou stepover. 46 K SG wheel.
Turned out nice:
And blackout flat:
All 3 match with no light, and blue against each other really evenly.
Think that shows my grinder doesn't have significant wear.
Next I need to learn how to grind square and arbitrary angles. (tips gratefully received)
I think I have enough offcuts from this scrap to make a pair of 10mmx20mmx30mm mini 123 blocks.
Dave