For the spindle bearings, apron, and other oiling points on the lathe, the oil that would have been spec'd years ago would be a "DTE Light". DTE = "Dynamo, Turbine, Engine", an old designation that is still used in industrial lubricant specs. As noted, if you go to Tractor Supply, they will have 2 gallon jugs of "Tractor Hydraulic Oil" in several weights or viscosities. ISO 46 is the modern designation. It is roughly equivalent to a 20 weight (SAE viscosity rating for automotive oils). The difference if the Tractor Hydraulic Oil is a straight-weight mineral oil with anti-foam and anti-corrosion additives. It is fine for use on old plain bearing machine tools and it is what I have been using on my machine tools for many years. Modern automobile engine oils contain a variety of additives, some of which are actually harmful to "yellow metal" (certain bronzes and brasses) bearings, and are also detergent oils- another undesirable property in this application.
For lubricating the bedways, and other sliding surfaces, a "way lube" is used. This is a lubricant made of an oil base with "tackifiers", to enable it to form a sticky film that will cling to the bedways, dovetail slides, feed screws and similar. I use Husqvarna bar and chain oil, which has the look and feel of a Vactra light way lube. Or, I mix the ISO 46 tractor hydraulic oil about 50-50 with Lucas Oil Extender. This has no additives which will hurt anything on a lathe, and does add the tackifiers.
I'd start by cleaning the lathe thoroughly. I use kerosene or diesel fuel (if you can stand the smell and your shop is located where the smell of diesel will not permeate your house). I use aerosol cans of automotive brake parts cleaner with the thin tube "wands" to blast solvent into each oil hole, as this will dissolve sludged oil in small oil drillings or oil passageways. As you clean the lathe, you will get familiar with all the various parts and probably find oil holes you never knew about.
Manuals for these old machine tools usually never really existed. The exceptions to this are, as noted, South Bend's book "How to Run a Lathe", and a similar manual put out by LeBlond for the Roundhead Regal lathes. The Southbend book is about the Southbend lathes, but is close enough in design, having cone pulleys and back gearing, to be applicable to your lathe.
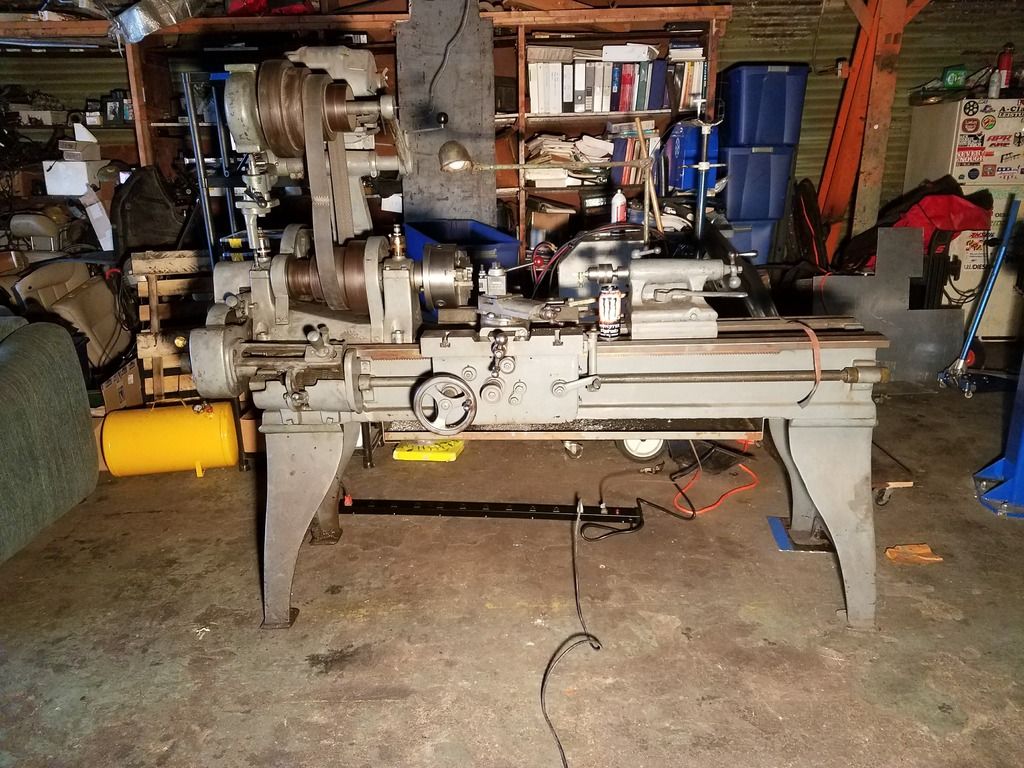
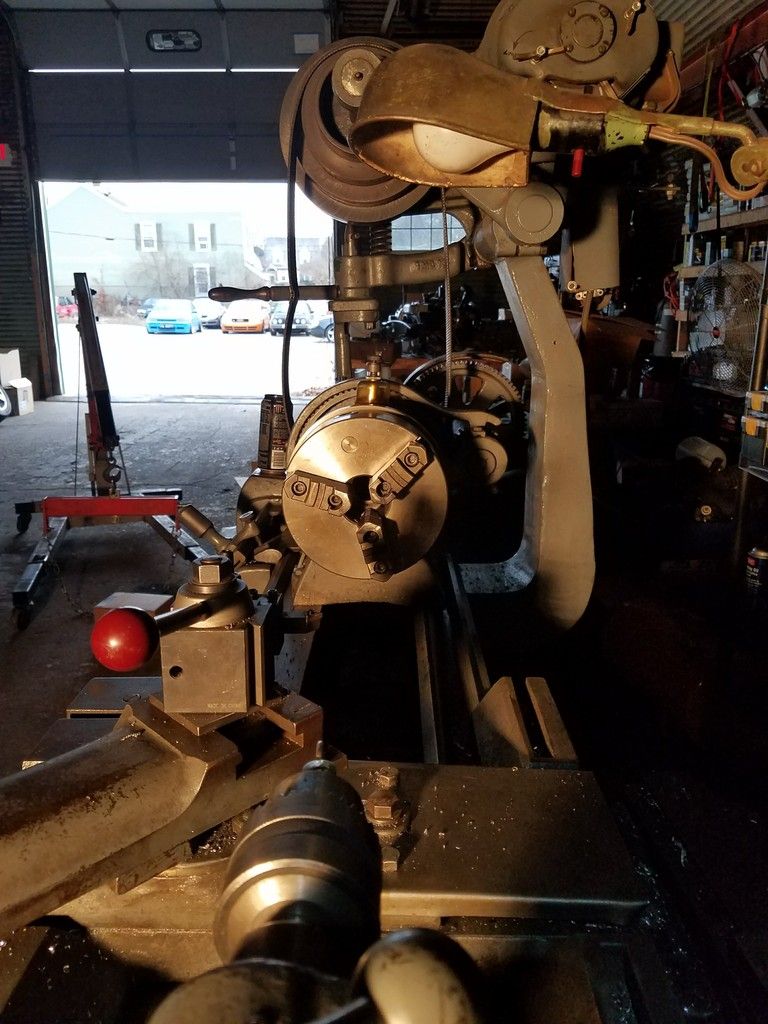
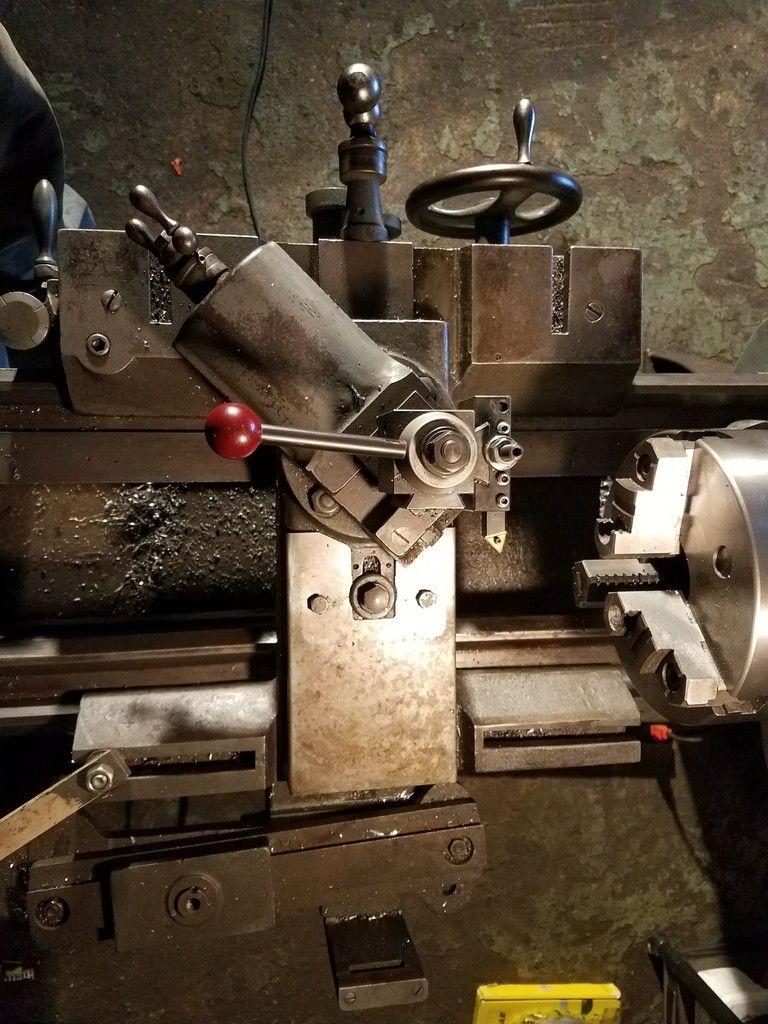
You lucked into getting the lathe with a modern "quick change" type of toolpost. I believe you have a "Phase II" brand toolpost- a Chinese knockoff of a design used by Aloris and Dorian. I run a Phase II quick change toolpost on my old Roundhead LeBlond lathe. It is a handy setup, and hopefully, you got all the toolholders with it. These will include a parting (cutoff) tool holder, a boring bar holder (and hopefully a boring bar), and a few openside tool holders for handling toolbits and small diameter boring bars (some of the toolholders will have a vee groove in the bottom of the tool opening). You also have an indexable carbide toolholder in the toolpost. Unless you have a stock of carbide inserts for that tool holder, I'd suggest you get used to using High Speed Steel toolbits. On an older lathe, it never turned fast enough for running carbide tooling, and with some wear and looseness, is not likely to be rigid enough for the loads carbide tooling puts into a machine tool. Carbide tooling is handy and will work, but for most jobs in an old lathe, High Speed Steel toolbits are more than sufficient. And, with some proper grinding the use of an oil stone, you will be amazed at the surface finish- done right there is no filing or polishing with emery cloth needed. High Speed Steel toolbit blanks are inexpensive and can be ground freehand on a common bench grinder. Touched up with an India Medium Hard oil stone, a properly ground HSS toolbit will give a surface finish, even on an old and somewhat loose lathe, that looks like it was precision ground.
HSS tools let you grind form tools for things like threading, O ring and snap retainer ring grooves, or whatever job is at hand. You grind both ends of a HSS toolbit blank, so you get "two for one", and as the toolbit wears or you decided to change the geometry of the tool, you regrind it easily. Oldtimers had coffee cans and cigar boxes filled with HSS toolbits ground for all sorts of jobs. I am not fussy about the exact angles I grind my toolbits to. As long as the basic geometry is right, the toolbit will cut properly. If I am needing a toolbit for threading, I use a "center gauge" as my template when I grind the toolbit. Some trial-and-error is what most people who are coming into this work on their own go through before they get the hang of grinding their own toolbits. I was fortunate in attending a technical HS with a heavy machine shop program, and working in machine shops after school and summers thru HS and college. The result was I learned how to grind a toolbit and to sharpen twist drills freehand early on. Both are important basic skills that go with owning and operating a lathe of this type.
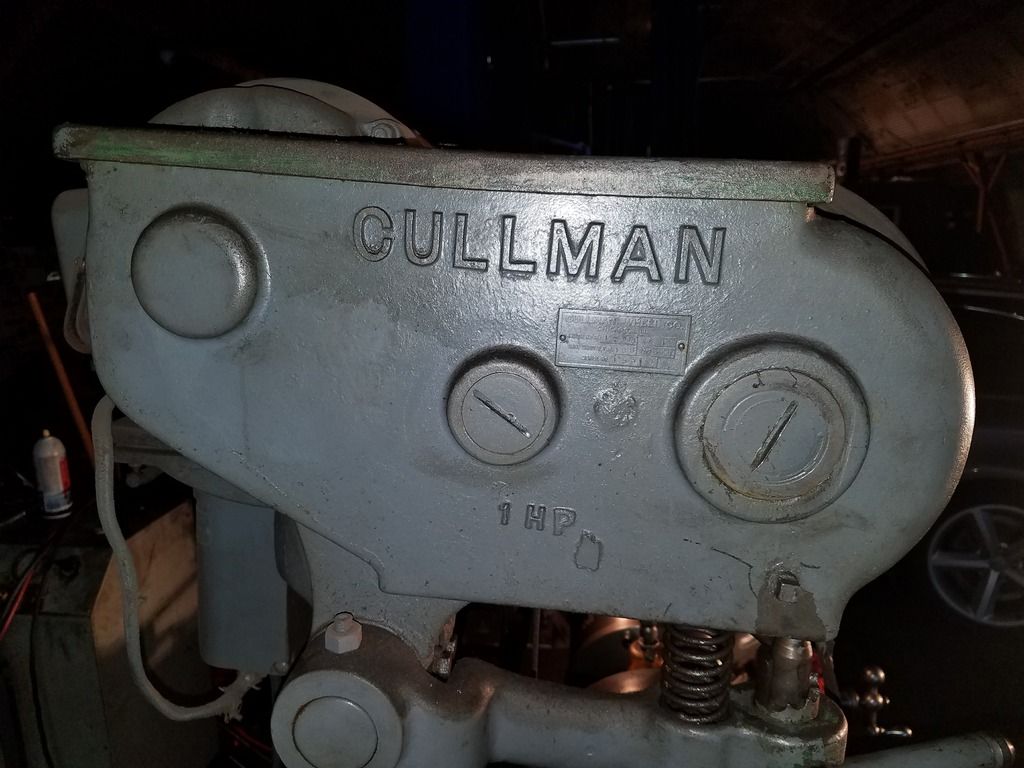
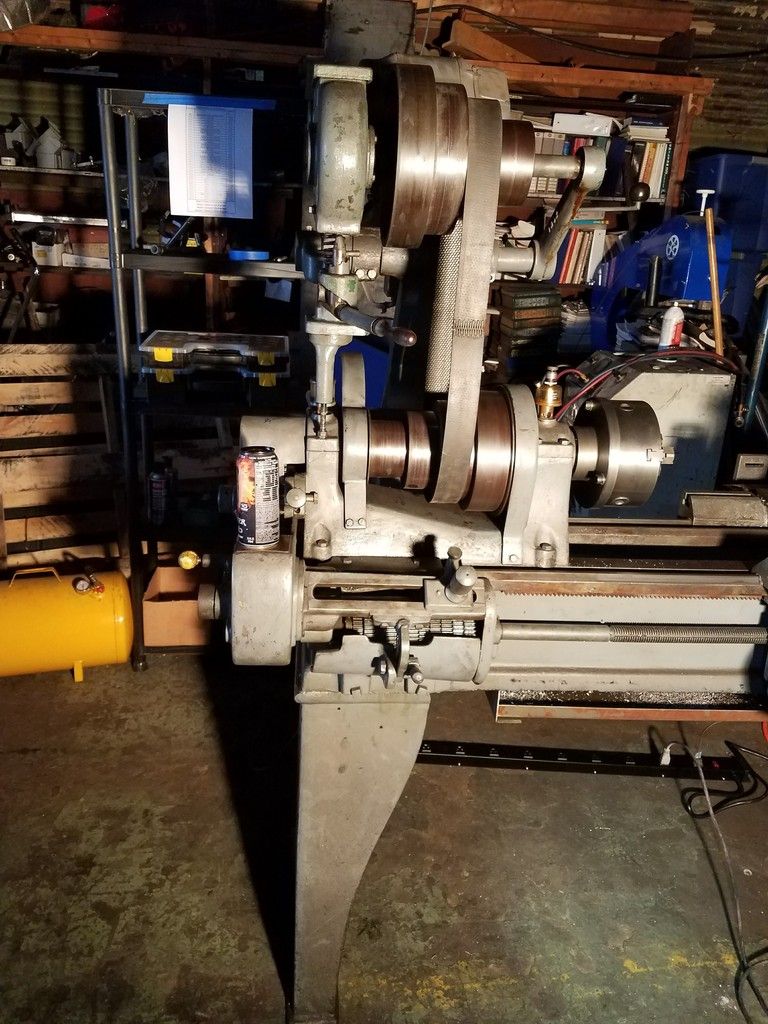
A good practice to get into is to slacken the flat belt when not using the lathe. Humidity can cause leather belting to take a permanent stretch, so we used to take the leather belts off the pulleys over weekends and holidays. With canvas/rubber belting, this is likely not an issue, but the Cullman drive does have a lever to slacken or tighten the belt. Easy enough to leave it slack over periods of time when the lathe is not being used.
Another safety rule we were taught as kids in HS: when you are done setting up a job to run in the lathe, bring the carriage and compound rest to the extreme positions they will need to be in (up close to the headstock if the job requires it) and pull the lathe over by hand. If there is any chance of the chuck jaws striking the compound, or a lathe dog (for turning between centers) striking the other parts of the lathe once things get rolling and the carriage feeds up closer to the headstock, this is a way to find it out and prevent a "crash". Look at the LH corner of the compound on most lathes and you will see they have been mauled by chuck jaws to varying degrees. Not a safe thing and not something you want to have happen.
Never get too familiar with your lathe, it is an inanimate chunk of iron which can grab you and pull you in with no hesitation on its part.
ALWAYS take the key out of the chuck as soon as you are done tightening, loosening, or adjusting the centering of a job. NEVER leave the key in a lathe chuck any longer than you need to. The old shop teachers would holler murder about this, and the German immigrant machinists and foreman I came up under would holler worse and give you a quick jab or slap for leaving a key in a lathe chuck. It is a danger to you, and anyone working nearby.
Never get the bright idea of handling the turnings (cuttings) coming off the lathe barehanded. This will likely cut your hand as easily and quickly as a razor, and send you to the ER for sutures. I knew this rule like I know my name, but one time a few years back, I was machining a small job out of a piece of O-1 (oil hardening drill rod). A nice continuous turning was curling off the work, and in an absent minded moment, I stuck a finger under it to wing it away from tangling the carriage handwheel. In less than the blink of an eye, I knew I had a deep cut on my finger. I took one look and knew right away that it needed suturing. I took some paper towels and made a pressure dressing, shut down the lathe and headed upstairs to my wife. I asked her to run me over to the local hospital's ER. A physician's assistant put in 4 stitches.
I knew better, and had seen other people get bad lacerations from handling chips and turnings, but in one of those absent minded moments when I got a little too familiar with the lathe, I got bit. Wear gloves when you handle the turnings or cuttings, and use pliers or a hook to pull the bird's nests of cuttings out from where they may have wadded up. The girths (cross members) of the bed casting are places where chips tend to accumulate on some lathes. Make sure the lathe is stopped before you get ideas of cleaning up the chips.
Get in the habit of wearing safety glasses. I wear prescription eye glasses which are ANSI approved as safety glasses- if I put the side shields on. I discovered that small chips can make it over the top of these eye glasses and get into my eyes. That was another few runs to the ER over the years. Fortunately, my eyes changes with age and I need to take my glasses off for close work. So, I wear regular plastic safety glasses in the shop. These do a much better job of keeping small chips out of my eyes. Milling aluminum seems to throw the worst chips, but some lathe operations with interuppted cuts will also throw small chips. Machining cast iron will throw small chips rather than continuous turnings, so safety glasses are something to be worn anytime you are working at anything which might throw off chips, abrasive particles, or liquids such as solvents, cutting oils, etc.
Make sure that your work is properly secured in the lathe, and that your tooling is also properly secured- check chuck jaws for tightness, or if turning with one end supported on the tailstock center, make sure the center is run in and adjusted so it has a good preload and the tailstock quill (spindle) is locked. Live tailstock centers (with ball or roller bearings) have taken the guesswork out of this to a large extent. As you are setting up a job and tooling in the lathe, it is easy enough to miss tightening things and under the load of cutting, you find out the hard way. Learn to set the tip/cutting edge of your toolbits at the center height of the lathe. A bit above center and the tool will rub and have to be forced into the work to cut. A bit below center and the tool will gouge into the work and be pulled in and under, binding on the work and gouging.
A good all purpose cutting oil is found in plumbing supply stores, or in Lowes or Home Depot. It is a cutting oil used by plumbers for cutting threads on pipe. This cutting oil is typically a mineral base oil with some lard oil and sulphur added. It is a good oil for turning steel and brass. Cast iron is turned dry- the graphite in the iron is its own lubricant. Aluminum needs a lighter cutting oil such as WD 40 or kerosene. Aluminum tends to "weld" to the cutting edge of the toolbit, making a "built up cutting edge" which gouges and tears the work, spoiling the job. I put the cutting oil on with a small paintbrush.
Cat Litter is an excellent oil absorbent to use on the floor under and around your lathe- it has a total loss oiling system and if you lubricate your chucks and use cutting oil, it will throw off that oil.
Get in the habit of using the 4 jaw chuck. Learn to set up work in the 4 jaw. I was taught to "buck in" the work by using a toolbit or toolholder as a fixed reference point and turning the lathe over by hand to see which jaw has the work closes to the reference point, which one the furthest, and adjusting (taking out half the distance between the side of the of the work and toolbit on the "loose side"), and getting the work within 0.010-0.015" runout by eye. At that point, the teachers would let us use a dial indicator. A 4 jaw chuck lets you get work running dead true, and lets you chuck odd shaped jobs. A 3 jaw chuck is handy, but can never be relief upon to hold work so it runs dead true. If you had to bore out an existing part, or turn a diameter on an existing shaft, these have to be concentric with the centerline of that part or shaft. A 3 jaw chuck will not get things running dead true, a 4 jaw chuck will. If I had to have only one lathe chuck, I'd take the 4 jaw chuck. I hardly ever use the 3 jaw chucks on my lathes. The 4 jaw chuck, having individually adjustable jaws with regular jaw screws, will also hold a job a lot tighter and more securely than the 3 jaw chuck. Learn to use the 4 jaw chuck. As an old shop foreman once said to me when I was a teenager working for him: "Anyone can setup a piece of round stock in a 3 jaw chuck and think they are running a lathe..." He handed me a job to do in an engine lathe that was a rough casting requiring a setup on a faceplate as my test or introduction to engine lathe work in his shop.
Most of this work is "head work". Plan your jobs, make sketches, and figure out how to do a job in as a few setups as possible. Every time you "break a setup" to re-position the work in a machine tool for a subsequent operation, you risk losing accuracy. Plan your work so you have reference surface to setup off (or indicate off of) if you have to re-chuck a job for some further work.
If you are making mating parts, bore the female part first- if possible. Turn the male part to the required fit in the female part. Use "telescoping gauges" and micrometers to check inside diameters if a precise job is needed. Using the same outside micrometer ("Mike") on telescoping gauges for bores and outer diameters on mating parts assures consistency in your measurements if you are working on something like fitting ball bearings into bored seats- where you only need a very light press fit amounting to a few ten thousandths. On an old lathe like yours, a person who knows how to work with the machine can do that kind of work.
Get some scrap stock to learn on. Some mild steel (like cold rolled round bar and square bar to get the hang of chucking it to run true), and after you are comfortable with setting up your jobs and tooling, try turning to exact diameters. The teachers we had in HS were former machinists and toolmakers. They used to tell us to get in the habit of treating every job as if it had to be done to the highest standards of workmanship, even if it were something pretty sloppy. The reason for this was that if we were used to working accurately and getting good surface finishes and producing fine work consistently, if we did have a job where there were no second chances, we'd be able to do it with confidence rather than fear. The old shop foremen and journeymen I came up under used to tell me much the same. Some jobs are on parts of machinery or motorcycles or antique engines, and you do not get a second chance if you mess up a dimension. Doing fine work consistently is a good habit to be in.