What's new
What's new

Cincinnati #3 mill restoring

ToolCat

Aluminum
Joined
Dec 20, 2005
Location
Kearney, NE
Cincinnati #3 mill. Been on and off this for some time. It is finally pretty much finished and ready to make some chips. :) Here are pics of it along the way in reverse order.


IMG_1090.JPG


IMG_1087.JPG


IMG_1085.JPG


IMG_0906.JPG


IMG_0912.JPG


IMG_0921.JPG


IMG_1096.JPG


IMG_1099.JPG
 
Looks great - thanks for sharing. If is the 450 RPM variety manual and Parts Service scans are available for emailing if needed. PM me with email address if interested

John Oder
 
Man that is some inspiration. I will have 400 questions for you when I dig into my #3. I will add that the high speed manual and parts is also available if needed.

Did you rescrape the ways and table?

Why was it necessary to take the knee apart?
 
Amazing job on the mill (and the other machines).

Do you use these for business purpose, or hobby?

Thanks for sharing the photos. They are a great inspiration for some of my (several) machine projects that I've been nibbling at for years.


btm
 
Wow those are some great photos. Do you have pictures of the rest of your shop too. It looks like some nice machinery. How do you keep the whole place so white?

Do you actually make chips in there?

Adam
 
Amazing job on the mill (and the other machines).

Do you use these for business purpose, or hobby?

btm
Thanks btm! I use them for a little of both. I enjoy the older machines and I guess the business helps justify the hobby. :0
I make engraving equipment. www.AirGraver.com

Looks very nice...

Did you keep track of your hours? and expenses?
No, that is not a good idea. hehe :)

Man that is some inspiration. I will have 400 questions for you when I dig into my #3. I will add that the high speed manual and parts is also available if needed.

Did you rescrape the ways and table?

Why was it necessary to take the knee apart?

Hey me (great login name :))

The drive box had problems. Someone must have crashed into something. There is a coupler that connects the end of the Y axis lead screw to the drive that had been replaced with an aluminum one that was above to fail. Also the portion of the casting that bolts to the underside of the saddle that holds the Y axis nut had a corner busted off. The casting holding the lead screw must have loosened, got cocked and then someone forced it and broke things. I replaced all of the bearings in the external drive box and the box under the saddle. Concerning the ways, I can measure the thickness of the Y axis square bed with a mic and there is .0005" wear in the middle. Someone before me went through and added turcite and scraped the ways (could have been 30 years ago) I only replaced the turcite on some of the gibs and scraped them. The end of the Z axis where the handle fits was so worn the handle was sloppy. I turned the end of the lead screw and made a sleeve to drive on it to get the handle to fit again. The male/female mating notches for all three handles were worn and would slip off when trying to crank them. I just used a file on them to square them up and that worked. The rod that attache to the handle for the rapid had a key way slot in it that was wiped out. I made a new rod for that. Oh yea.. and the Y axis lead screw was bent. Not at the end where the handle is but on the threads. I set it up in the lathe with an indicator and used the dro on the lathe with a chunk of metal bolted to the carriage to use as a pusher. After three hours of chasing the bend around I finally got it straight.
Motor is 10hp In one of the manuals it says how much oil these things hold. I can't find the info now but it is like 17 gallons in the column and 5 gallons in the knee. I drained the column and rinsed with oil and the knee I drained and rinsed with mineral spirits numerous times, wiping out between rinses. Also squirted mineral spirits through the oil lines to be sure they were opened. I have purchased several manuals for it. The two most helpful are:
"Cincinnati Service/Parts M-786" and "Cincinnati M-1790/1912 Parts/Service"

Wow those are some great photos. Do you have pictures of the rest of your shop too. It looks like some nice machinery. How do you keep the whole place so white?

Do you actually make chips in there?

Adam
The shop is new. Hasn't had time to get dirty yet. I started moving in this Spring.

These pics are from the old shop. The two small mills are Deckel FP1s. The small turret lathe is a Schaublin 70.

PA310005.JPG


PA310003.JPG


PA310001.JPG


PA310008.JPG


hardinge2small.jpg


hardinge3small.jpg

hardinge4small.jpg
 
Last edited:
These are shots from earlier this Spring of the new shop when were still moving things in:
shop-b4.jpg

shop-b8.jpg

shop-b7.jpg

shop-b3.jpg

shop-b9.jpg
 
Last edited:
All is very nice, sure would be nice to have a shop. You have done a great job restoring all those machines. Look brand new.
 
Wow, what a marriage made in old iron heaven -- your restoration talents meet the real estate and iron availability of the midwest. I look forward to seeing that FP1 treatment on some American iron. The Cinci is just a warm-up I bet!
 
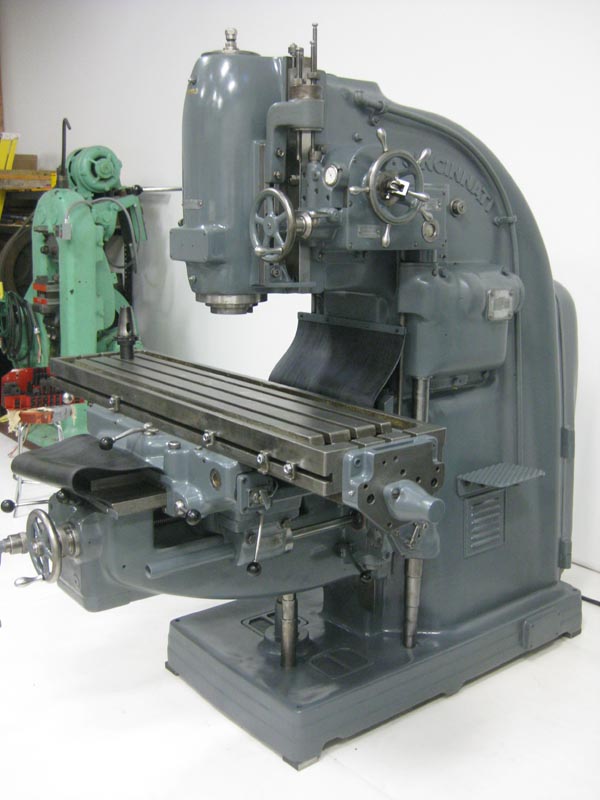
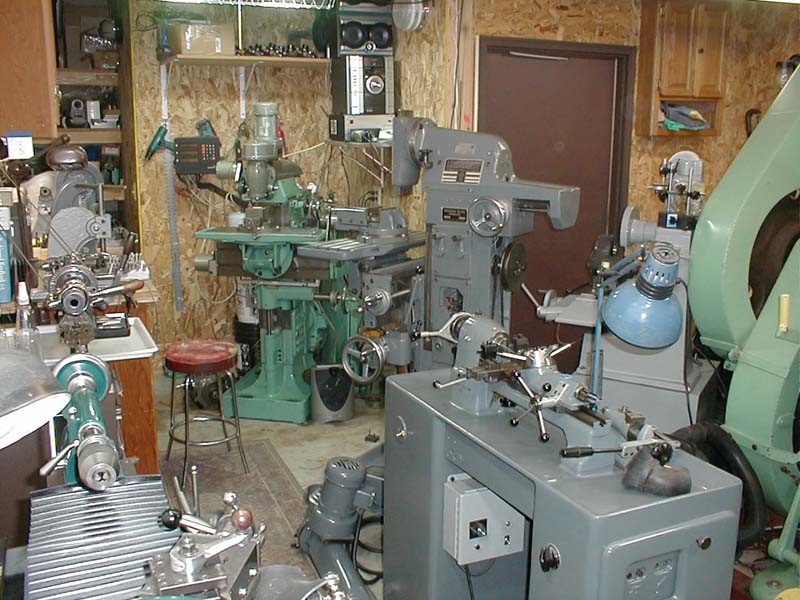
Have been running this mill's younger brother this week. Finally got our '47 #3 vertical tooled up and running. I don't think I'll ever be able to run any of the cheapo chinese bridgeport copies again. This is what a mill should be like. The total lack of flex makes it so much easier to use. The gear drive powerfeed is absolutely positive, no matter what. You actually have torque and constant feed at very low feed rates, which is nearly impossible with a Servo type. No stalling out or speeding up as you work.

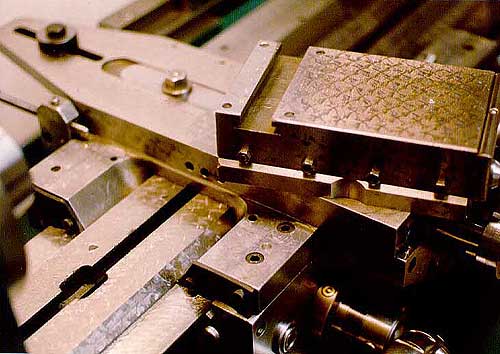
I had to recut a keyway in a motor shaft that had been gouged out. Our welder Tigged up the oversize walls and I milled it back to dimension. First off, the 1,000lb rotor would have not only overloaded the china special, it would have tipped it over. Hung it out to one side and worked the end with no problems. An 18mm endmill didn't make the table judder and shake. Due to the lack of the machine jumping up and down, I was able to finish the cut in about 1/4 the time, taking two conservative roughing passes and a finish skim cut to get the bottom even, instead of a half dozen .050 deep cuts. It was pure joy.
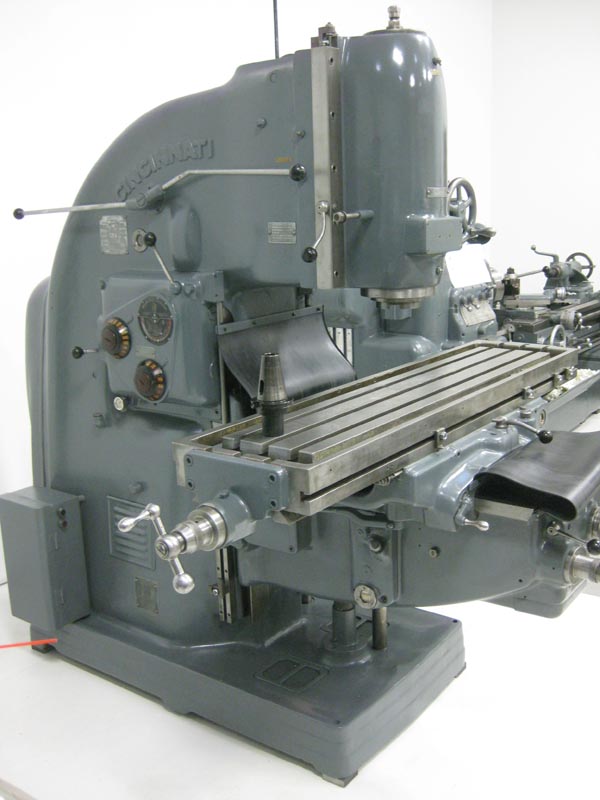
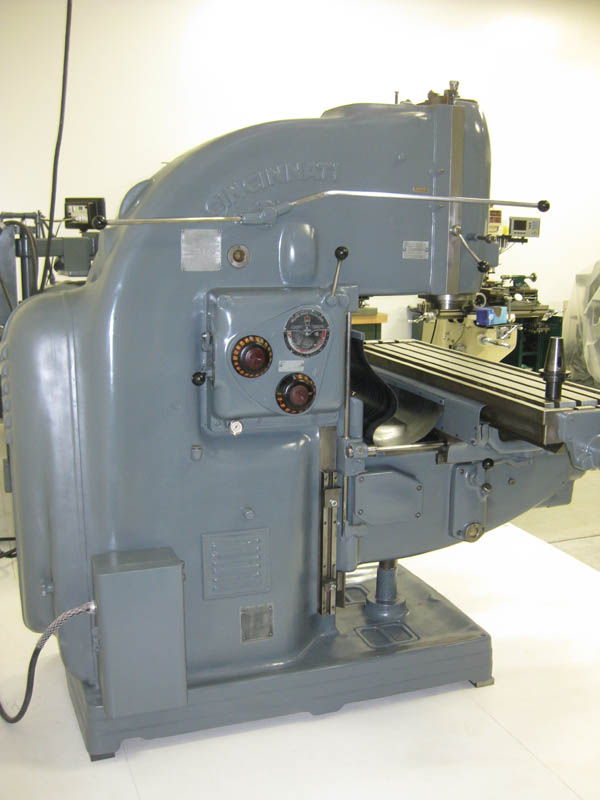
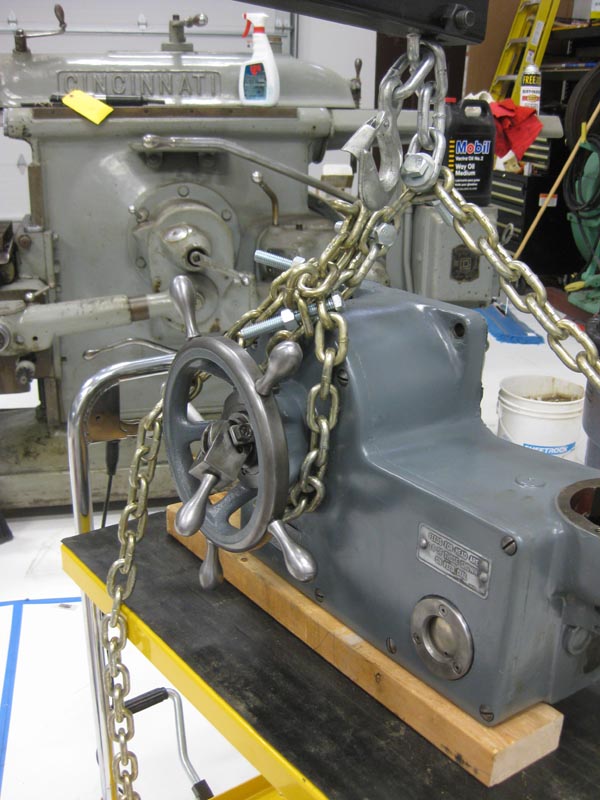
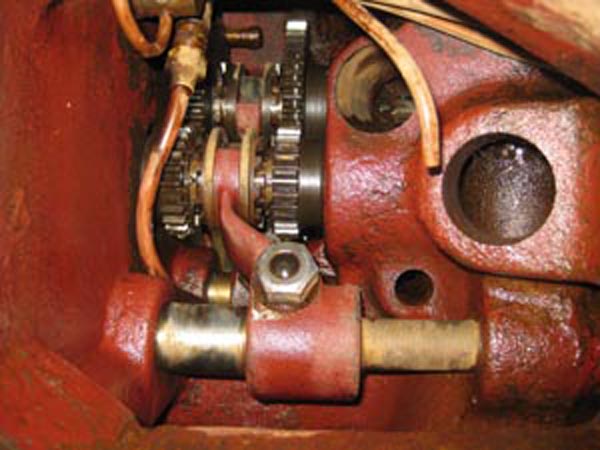
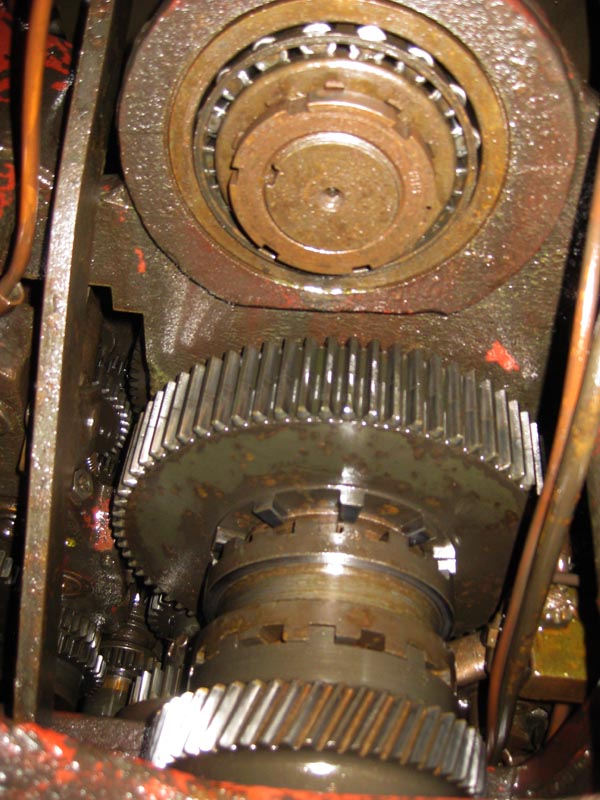
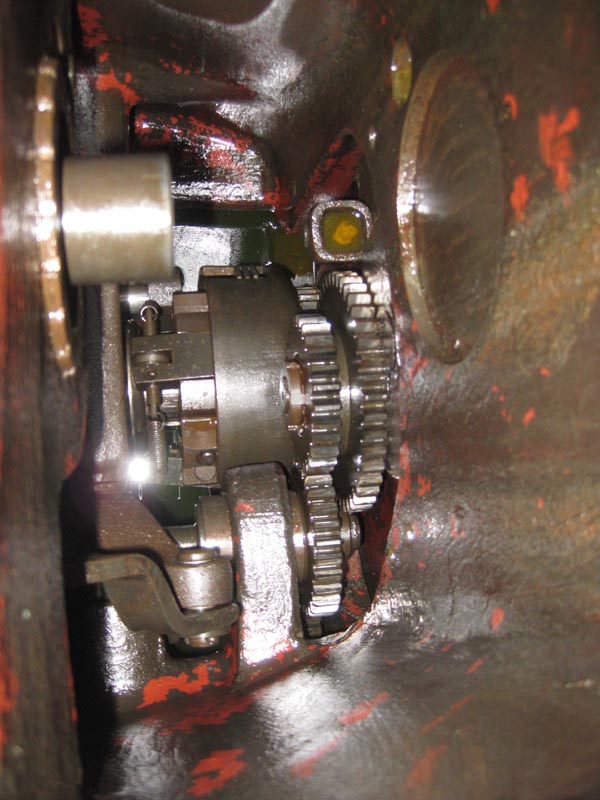
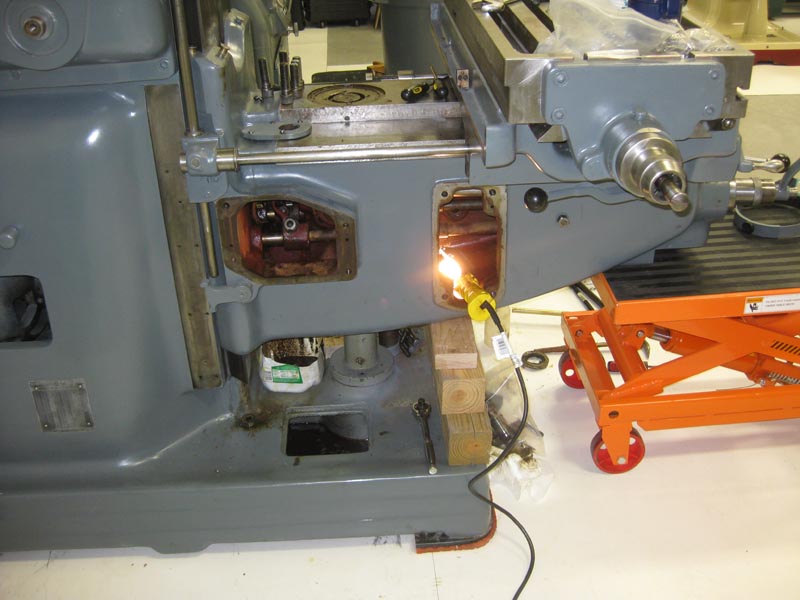
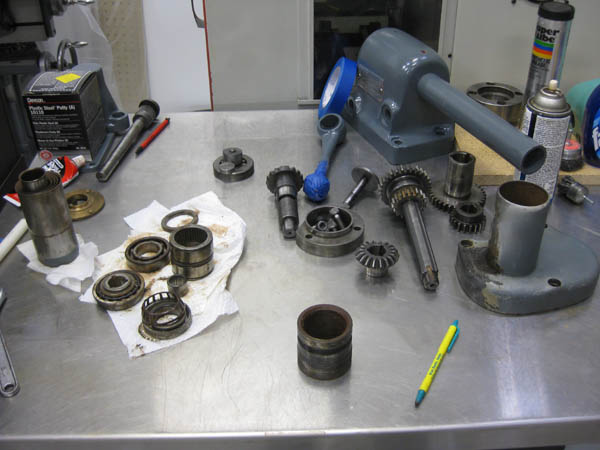
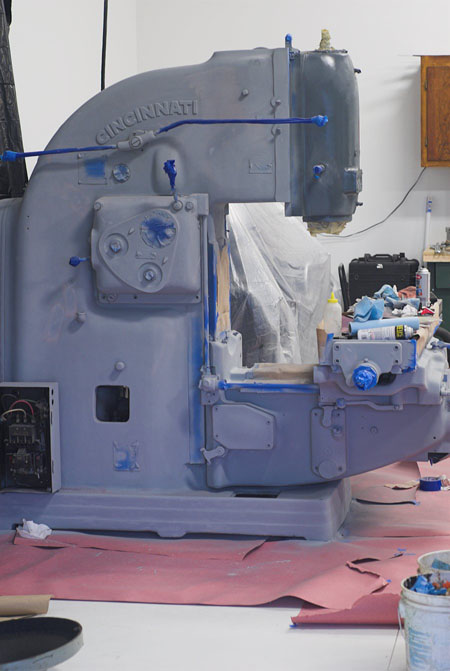
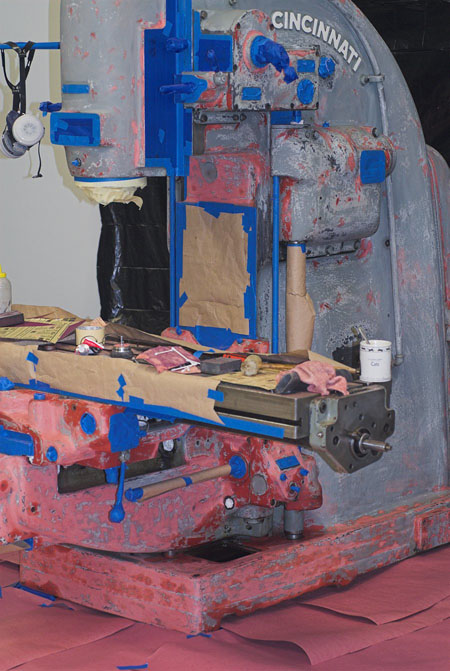
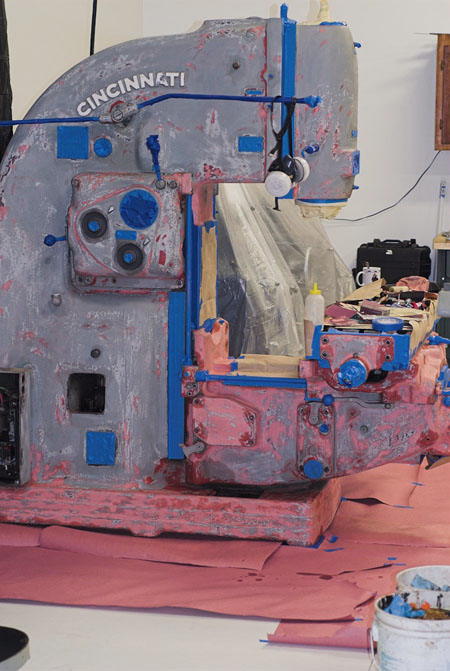
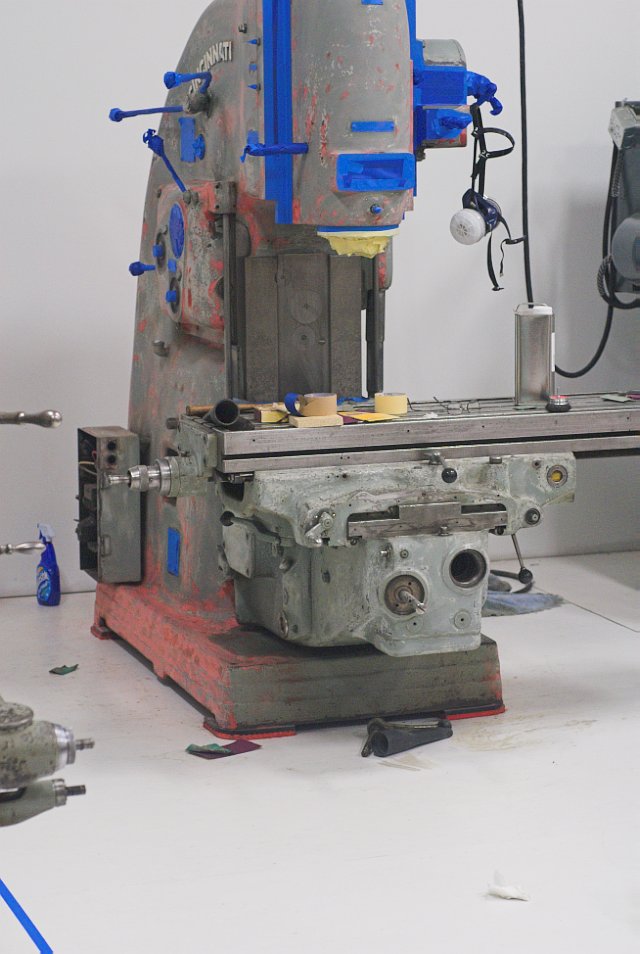
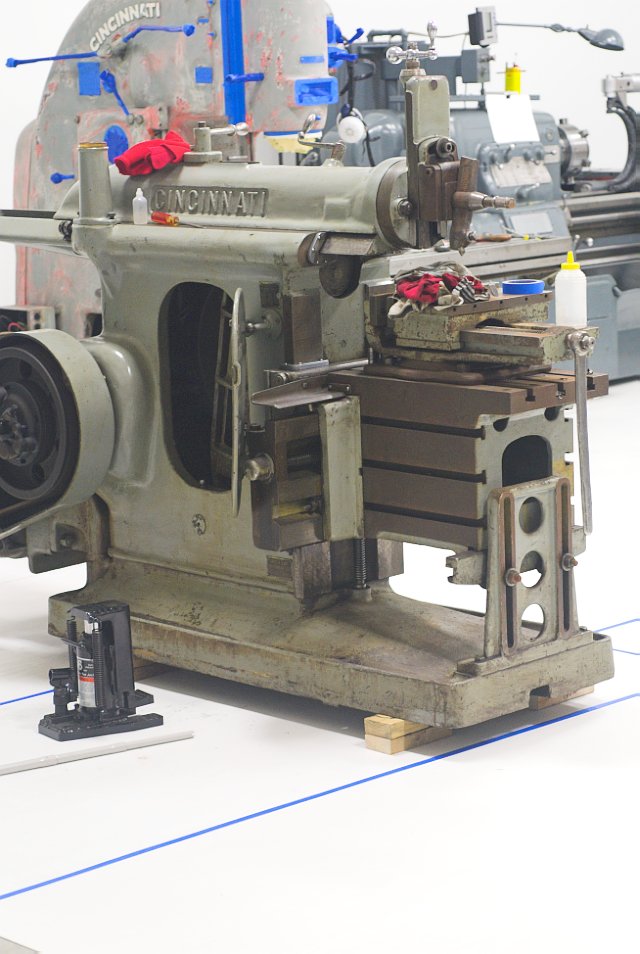
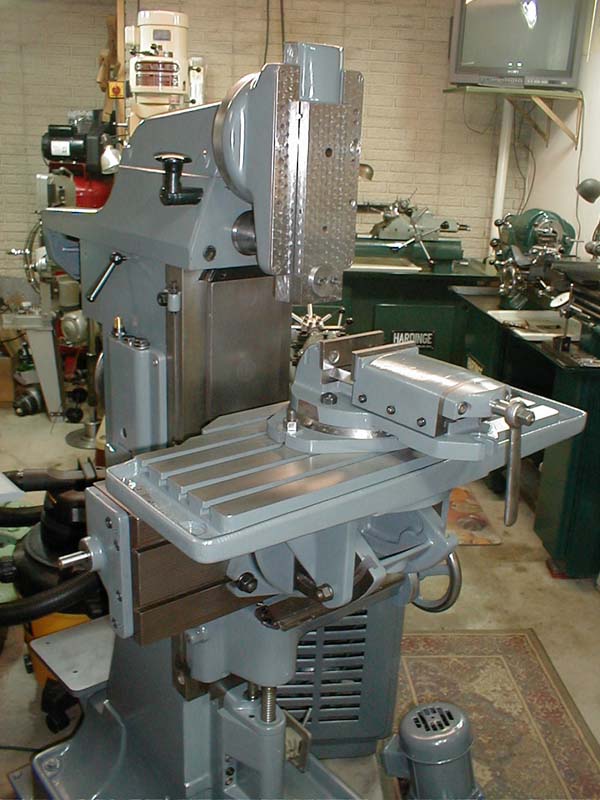
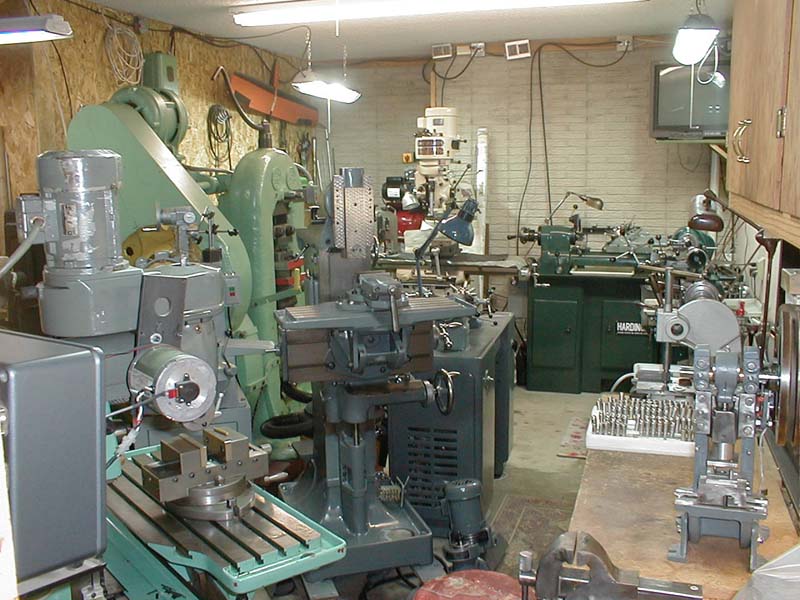
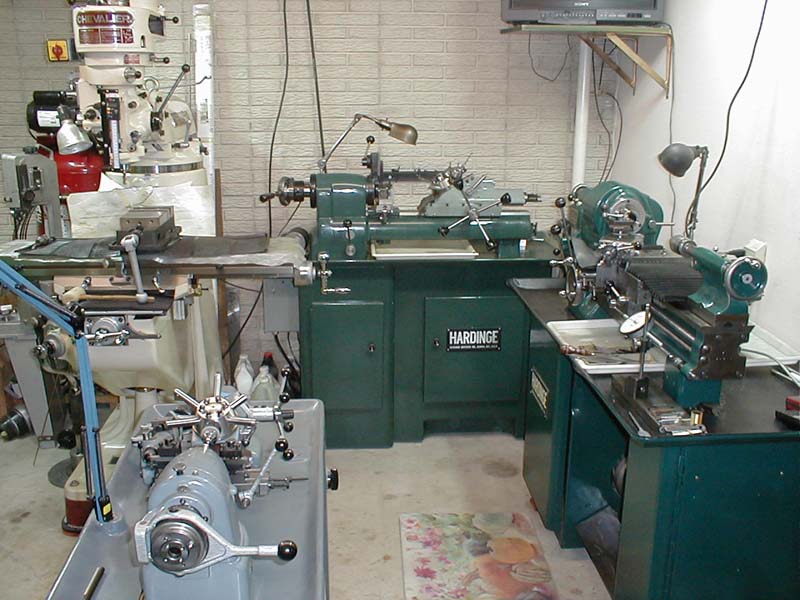
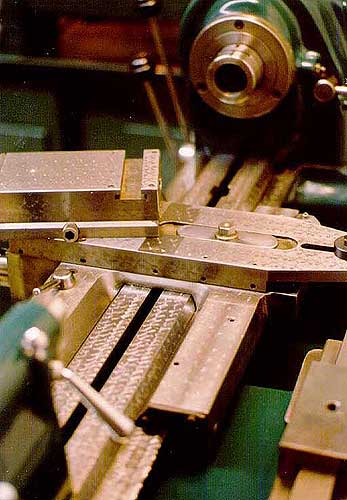
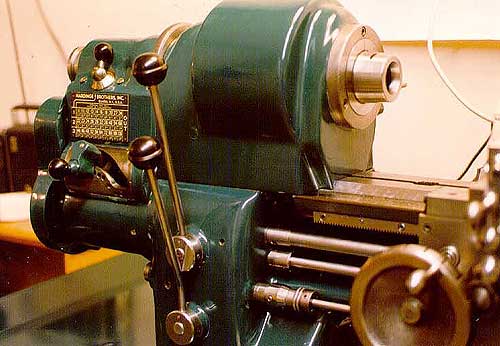
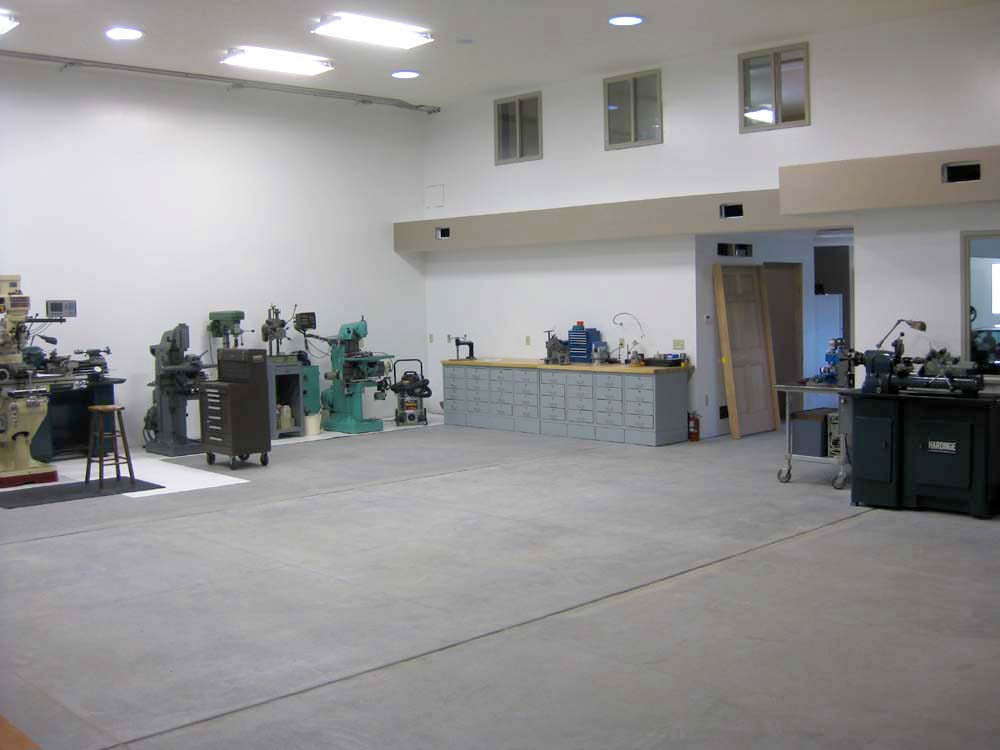
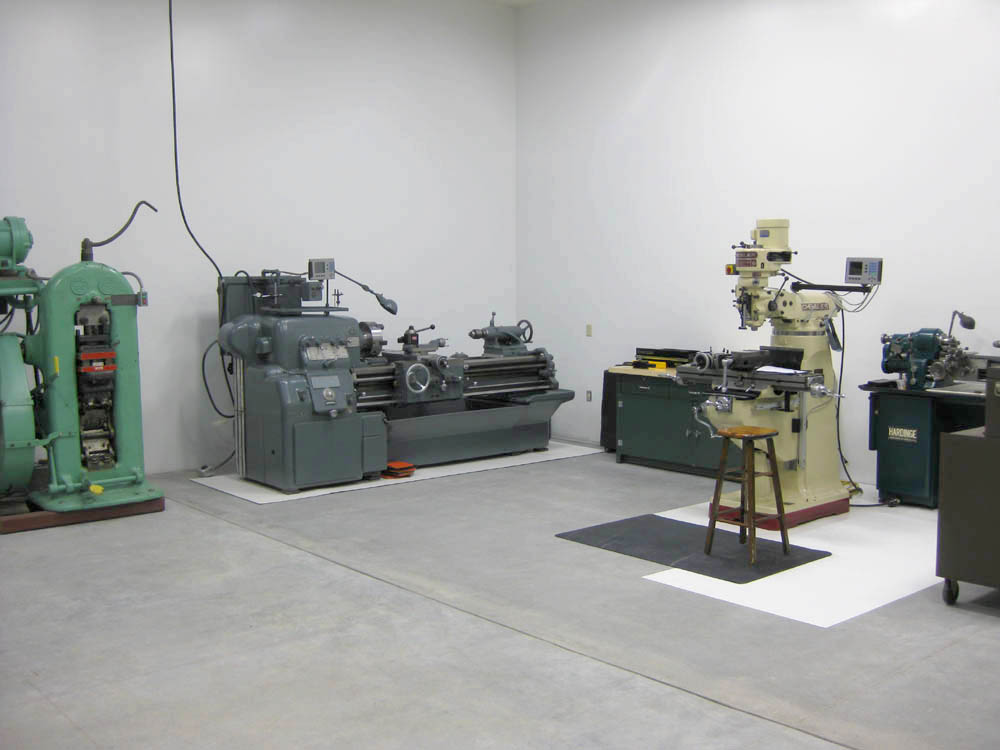
 
nice shop

Steve-thanks for the great pics of your shop

Did I really see a couch,kitchen,corvette and oriental rug in the same photo at a machine shop? COOL... good luck in the new building
 
Pretty sure the #3 is 9" head travel. It makes moving the knee almost unnecessary for most jobs. I love my #3 but am looking forward to the day I can do a throughout going thru like Steve has done.


Back
Top