What's new
What's new

Moving our shop, new setup!

Gujustud

Aluminum
Joined
May 13, 2014
Location
Squamish, BC
Fairly new poster here on PM.

A bit of background. My father has been a machinist for as long as I know. He's worked at a lot of big shops doing everything from managing, machining and programming. Finally in 1999 he decided to start his own shop, and purchased a VF7. He officially opened his own shop in 2000 a few minutes from our home (I was living at home at the time). I went in on a part time base and learned everything about machining from my dad. In 2002 I started with him full time. I picked up all the office work as well.

I worked with him for approx 7 years, again learning everything from him, never had gone to school to learn machining. We got on well, but obviously butted heads a few times (as father and sons do!). In 2008 I decided to finally go off on my own and start my own company (photography/cinematography freelancer) which I had already been doing for a few years on the side.

My father decided to retire this year at a age of 65, so about 1.5 years ago, he moved his shop into another unit (in the same warehouse complex) but joined up with another new shop under the impression that he would eventually be able to sell his company to them. Even though he was 65 years old, my father was a hard worker, generally working 8-10 hours a day, 5-7 days a week. 6' tall and tough as nails he would be there moving heavy parts etc. He loved what he did.

Unfortunately early this year, my father was diagnosed with brain cancer and has been unable to work since Feb. Being a single man run shop, this poised a problem. My father left the shop in my charge, and I was glady able to do this to take the stress of his mind as he is currently going thru treatment. Obviously this was a bit difficult for my wife and I, as just in January we were planning on moving out of the country as my wife had a great job opportunity, but she turned it down as soon as we found out about my fathers condition.

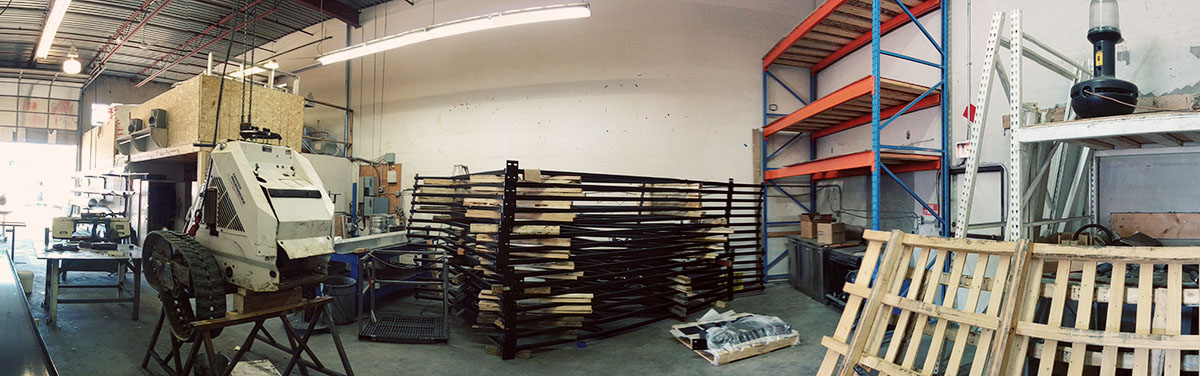
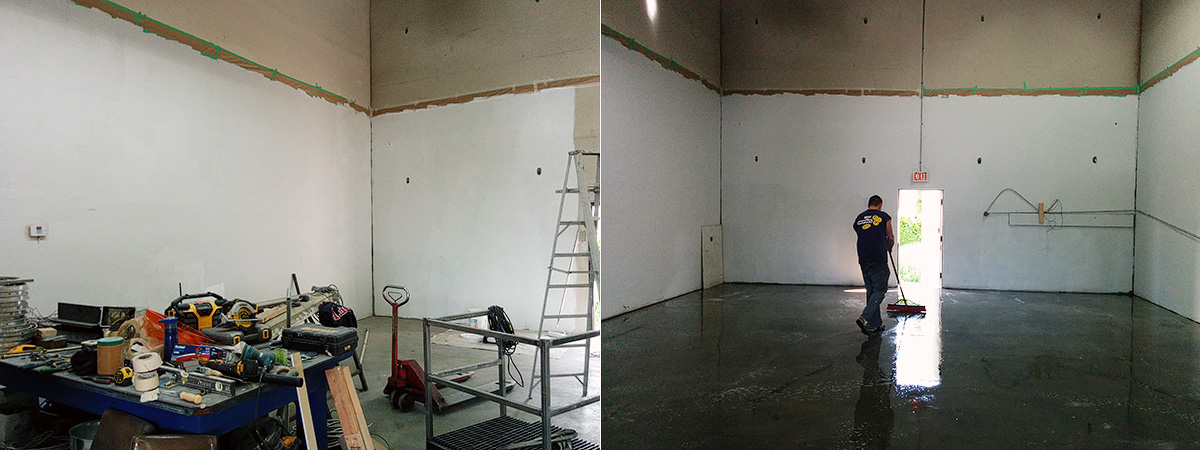
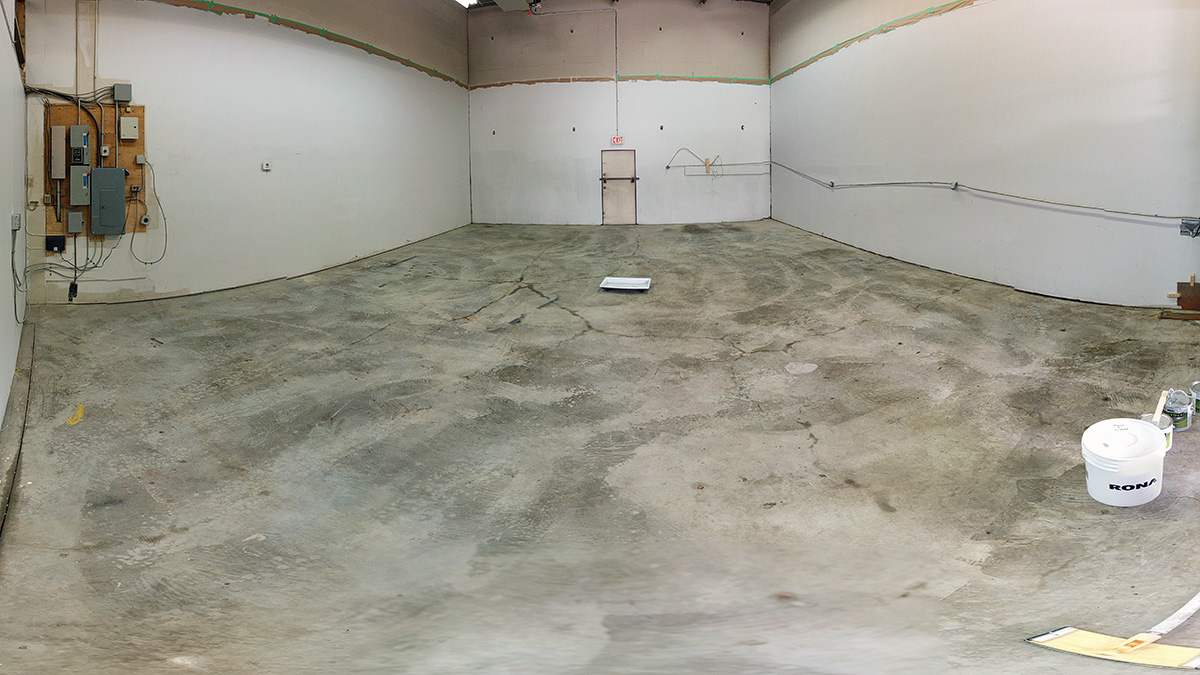
Being that our shop is currently under the roof with another shop, I've come to the realization in the last few months that the best option for me to keep the company running in a style I would like, is to move it into my own bay. Luckily another bay in the same complex is available, so I've made the decision to move there by the end of this month (it's actually 2 bay's away from the original bay that my dad had set up his shop in).

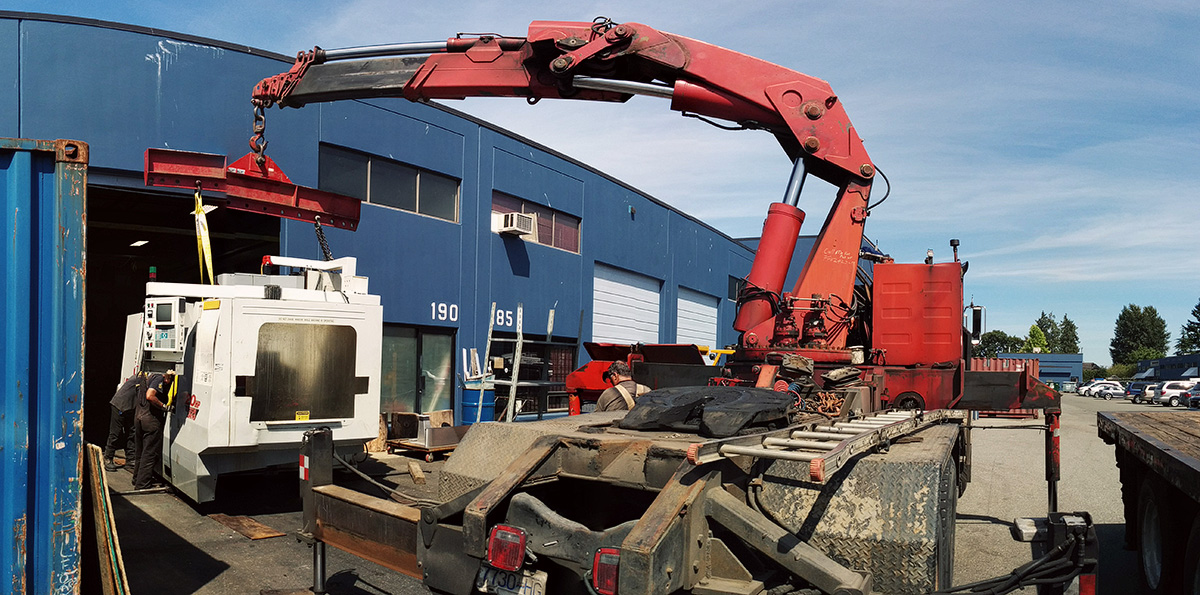
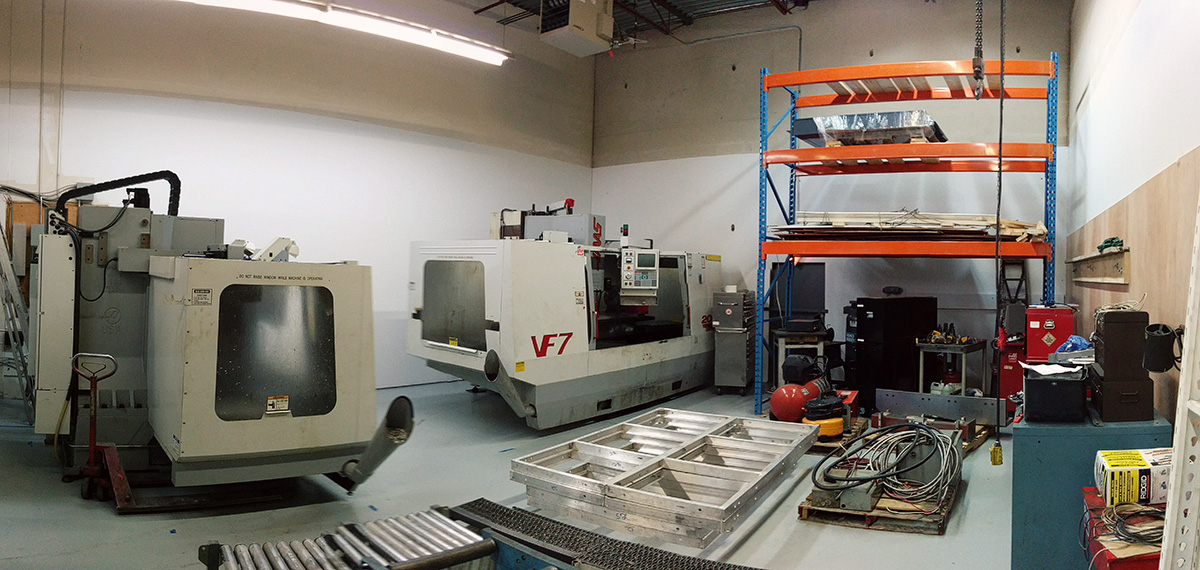
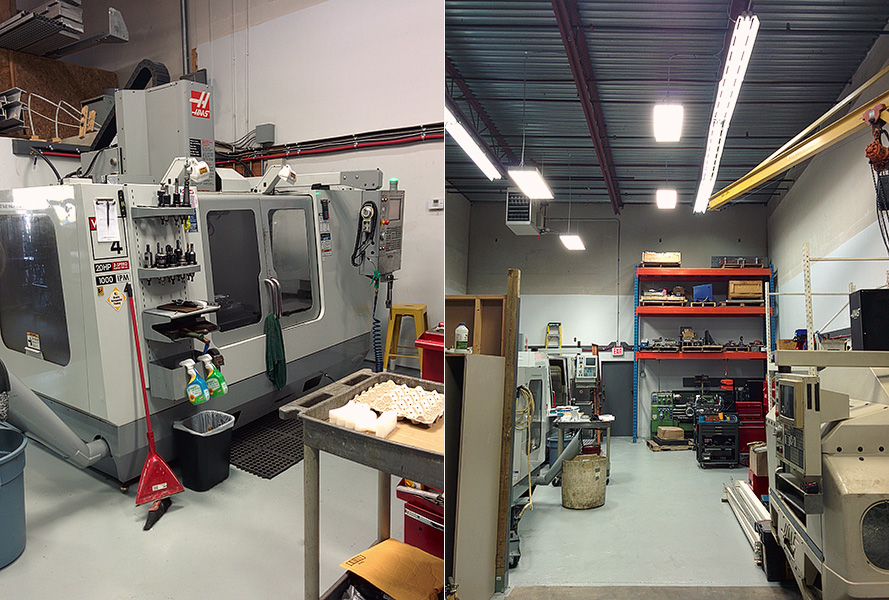
There is a lot of work involved, as we currently have 3 CNC's (VF7, VF4, VF2) to move, with a LOT of tooling, fixturing, and some manual machines as well (lathe, cut off saw, etc). Coming from my last 7 years of doing photography and cinematography and running my own business I've become a extremely clean, organized and efficient. This obviously was a few things that my dad didn't do so well (and probably the biggest thing we butted heads on).

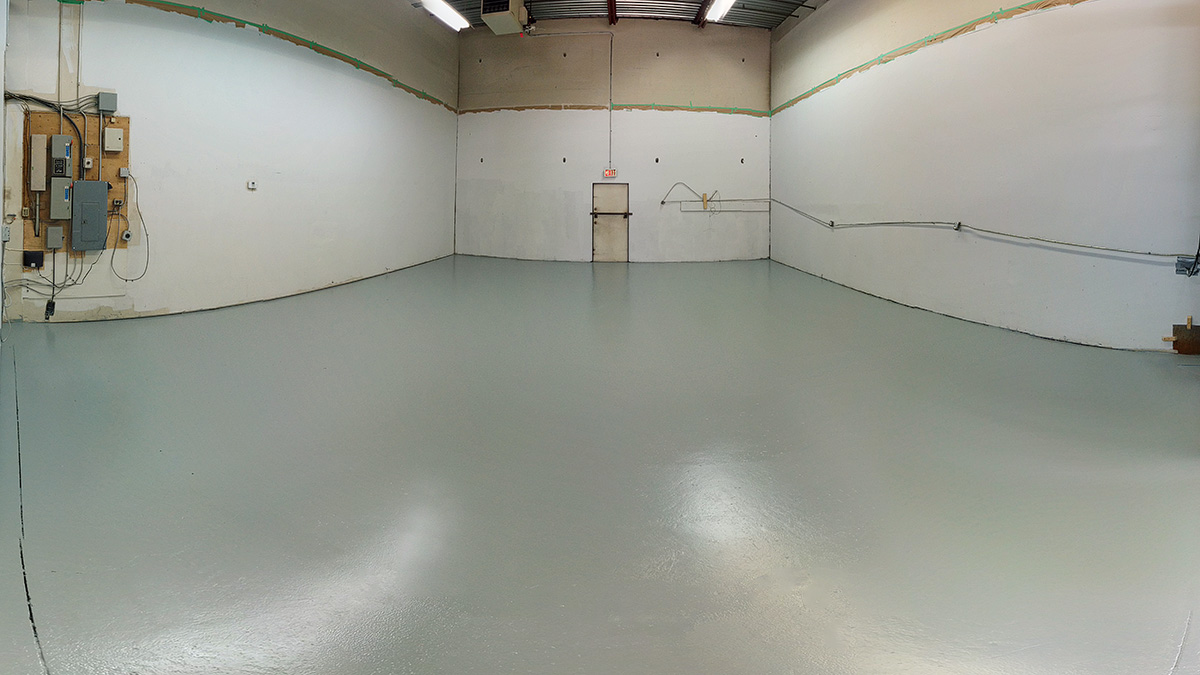
So with that being said, it's nice in a way that I get to start up the shop and get it cleaned up and organized finally. My dad has his own way of organizing tooling that really only he knew how it worked ;) I've decided to document it here and also pick the brains of many of you here to get the shop setup and run in a organized manner!
 
So here is the new warehouse that I'm moving into. Currently all this stuff is the current occupants stuff that will be moved out in the next week. Once it's all moved out, I'll be slapping some paint onto the walls, ripping down all the current wiring, and 'finally' putting epoxy on the floor (I've always been a big fan of it).

newshop_overview.jpg


Once that is done, I'll be running new wiring, new airlines and new lights. Then the machines can move in.

Here's the office. There was vinyl tile, with carpet tiles on top of it. Carpet doesn't work for me in the office, so I've ripped it all out. Will be going with a concrete floor (most likely putting some new thinset on top then sealing it), much easier to clean. The office is about 150sqf or so, plus there is one other small room (around 50sqf) which will be the inspection room. It's needed some mudding/drywall, and the two rooms are getting a full paint coat today.

office.jpg
 

Attachments

  • newshop_overview.jpg
    newshop_overview.jpg
    89.3 KB · Views: 362
Sorry about your pops, but good on you for stepping up. Nothing wrong with making it your own, I'm sure your dad is proud of you. I will be watching to see how it turns out. Never understood why you wouldn't take the time to paint your shop. For how many hours of your life you spend there it might as well look nice.
 
Thanks everyone for your support! Means a ton! My dad was a bit concerned initially when I told him I'm moving, but now he's stoked. I take pictures often to show him the progress as he's not always able to come.

This week we've been finishing up the office. There was a window cutout between the two office rooms, so I've sealed that in, as I'd like to make the one smaller room the inspection room. So after some drywall and mudding, we finished up painting all the office rooms.

The cement under all the vinyl carpet/tiles looked terrible and couldn't be cleaned off, so I decided to get some self levelling cement and put a layer on top. Tomorrow I'll put a clear sealant on it and Saturday move the furniture in. Can't wait to get the office furniture in.

office_floor.jpg
 
The cement is interesting.
I have no use for anything otherwise in a machine shop.

Is this going to stay that color, or is it just wet yet?


------------------

Think Snow Eh
Ox
 
It is wet in the photo above, and will dry a bit of a grey color (the image above does look a little more brown, but it is not!). It'll most likely have some of those swirl lines in it, but I'll have to see tomorrow, specially after I apply the self sealant. If I really end up hating it, I'll just apply some concrete floor paint to it, but for now it's much better than what it looked like before.
 
Sorry for the lack of updates, it's been quite busy the last few weeks getting things all ready.

The office is slowly coming together. Floor is dried but still changing slightly (this image below is from a few weeks ago). It's still a bit of a mess moving things in, but once it's all done, I'll post a better photo (and not a cell phone pic!).

office_01.jpg


We've been working on the warehouse quite a bit. It's really just myself and one friend helping me, but we've done quite a bit ourselves.

The lower half of the walls were quite bad, so I decided to patch and paint them up 13' from the ground, which is pretty 'eye' level. Everything above that is quite good and just really needs a dust. We cut a line at 13' and painted up to that height.

warehouse_01.jpg


Still needs another coat, but we decided to do that after the pressure washing and epoxy is all done. You'll see in the above photo we pressure washed, etched, then pressure washed again. It's amazing how much oil and grit the etching pulls out of the cement. And we were able to do that with one $10 jug of acid.

And here is what the floor looked like prior to doing the epoxy:

warehouse_preexpoy.jpg


And after the epoxy:

warehouse_postexpoy.jpg


It did take quite a bit of time and work to do it, but boy am I glad. Turned out really well, and makes the shop look so much brighter! We did two coats in this area (approx 32' x 25'). Total cost was around $300-$400. Well worth it IMO.

We've slowly started to move things in and need to start electrical/airlines this week before we move in the CNC's. Will post a update shortly.
 
And after the epoxy:

warehouse_postexpoy.jpg


It did take quite a bit of time and work to do it, but boy am I glad. Turned out really well, and makes the shop look so much brighter! We did two coats in this area (approx 32' x 25'). Total cost was around $300-$400. Well worth it IMO.
Floor looks beautiful and the color looks exactly like the epoxy color I chose too. I still love the look of mine. :D

That said, the floor is tough as nails for most things. Do not, I repeat, DO NOT do any kind of welding that throws sparks on the floor--including a little POS 120v MIG welder.

My floor has lots of little pin holes where the spatter burned through the epoxy and left little burn marks. I scrubbed the areas best I could with Scotch Brite to hide most the damage, but the holes are still there. :(

If you need to do any welding, get a high quality weld blanket and lay it down prior to working. The cheapie fiberglass weld blankets at Harbor Freight do not stop weld spatter from penetrating if used as a drop cloth. BTDT and I almost started a fire. :eek:

The cheapie HF weld blankets are only good enough to use as a backstop when using an angle grinder to keep you from throwing sparks all over the shop. They suck as an actual weld blanket.

Again, weld spatter will make your new epoxy floor look like crap and downright piss you off.

Here is the first google search I found that had a lot of info on types of weld blankets:

Welding Blankets - Save on Heavy Duty Welding Blankets
 
Thanks for the comments!

So last week was moving week! It took about 5 hours to move all 3 VMc's over.

movingday01.jpg


And here is the layout with the VF7 and VF4. Still lots of work to do. Need to get power/air run and tons of organization and cleaning, but looking forward to getting the machines up and running.

movingday02.jpg
 
VF7 is a great size as a first machine. Wow your Father had some vision! Most guys start with a iddy biddy VF0 or VF1-2. An 84" travel can help out with multiple vises and fixtures.
 
What is the with the spreader bar under that crane hook? That's one weird looking jog it takes.

So is the photo really compressed, or is that shelving going to move so you can actually load that VF7? (Or maybe the photo is misleading and there's really 8 feet of space there?)

Isn't it amazing how quickly your nice empty clean spiffy space is suddenly full of 3 VMCs and "stuff" - tall stuff, short stuff, critical stuff, required stuff, and then some more ....

Good to see you moving forward!
 
VF7 is a great size as a first machine. Wow your Father had some vision! Most guys start with a iddy biddy VF0 or VF1-2. An 84" travel can help out with multiple vises and fixtures.

Yup, my dad wanted something that would set him aside. Until recently in our warehouse complex, it was the largest CNC machine for the last 14 years. Yup the 84" helps doing a lot of large parts or multiple vises.

What is the with the spreader bar under that crane hook? That's one weird looking jog it takes.

So is the photo really compressed, or is that shelving going to move so you can actually load that VF7? (Or maybe the photo is misleading and there's really 8 feet of space there?)

Isn't it amazing how quickly your nice empty clean spiffy space is suddenly full of 3 VMCs and "stuff" - tall stuff, short stuff, critical stuff, required stuff, and then some more ....

Good to see you moving forward!

The photo was taken using the panorama mode on my camera (so several frames were taken). It didn't do a good job lining up the spreader bar (as they were moving the machine) hense it looks a little weird.

The shelving in the back is not in the proper position yet. It is approx 1.5' from the wall on the right, and at least 2' from the wall behind it. We kept it away from the wall for now so we could run our electrical/air. Once it is in place there will be plenty of space to load the VF7 (even where it stands right now it doesn't block the door at all).

Yeah definitely the space is filling up... fast! I still have quite a bit to still move over (our lathe and a bunch more tooling). My goal however is to the center of the shop feeling quite open, with easy access to everything.
 
Is that framework in the middle of the room a project, or is that some of the "required stuff"?


I have a bunch of that same pallet racking.
Yours looks deeper tho. Mine is only 30" deep I think.


---------------

Think Snow Eh!
Ox
 
It's been a while since I last updated this post. Summer has been quite busy not only at the shop, but also with my 'previous' other job. I've been working with a company in Japan that manufactures underwater camera housings. They were making a new housing for a new camera of mine, which was finally completed this summer. They asked me to join them in the Philippines (where I've been twice before) to test out the new housing. I've been to the Philippines twice before (was there for 2 months working at a dive shop getting my divemaster cert) and after seeing some previous footage of mine, they asked me to join them to test out the camera. Needless to say, it was a nice break after the move into the new shop.

But as soon as I got back, I was right back at it again, getting the new shop all dialed in. Lots of long hours, but things are finally started to look good (the new T5 lights are amazing!)

newshop_oct2014.jpg


The above image, shows two images from Sept/Oct. After finally getting a used Kaeser SX6 I got our VF4 up and running and have been doing quite a bit of machining on it. The VF7 still needs some work, and I've been handcuffed waiting to get one of the way covers fixed.

There is still a 'crazy' amount of organization required, and I can really only tackle a little at a time, but I'm at least getting a good idea of what's where. My dad has 8 tool boxes, none of which have a single label on them :P

I've been learning programming, which I never really did a lot before, so that's been a fun process. Here's a quick picture I took while testing out the threadmilling before running it on the actual part.

threadmilling.jpg


One area, I've been trying to tackle, is the new small inspection room. We never really had one before (just our granite slab in the corner of the shop). This time around, I knew I wanted to have a inspection room, regardless of the size. Over the years, my dad has collected his fair share of inspection tooling, some quite old which I'm sure I'll keep around. Here's one nice one that has been collecting, dust, but looks great:

oldinspection_01.jpg


But that being said, I've always thought it would be a great idea to have a CMM or a GOOD height gauge for inspecting parts. I know in the past with some clients, we've had to provide reports, and for a few jobs, we've actually had to outsource this. An actually CMM right now, was out of the question, so I've been keeping my eye out for a B&S Micro-Hite. Low and behold, after about 3 months of searching, I was able to snag a great deal on a used Micro-Hite 900. Our granite slab however isn't on a proper table, so I'm having the fabrication shop next door weld me up a slick one, which I'll get powdercoated, install some anti-vibration leveling legs on, then get the Microhite all setup. Here's a quick picture after I pulled it out of the box.

microhite900.jpg


Does anyone here use one of these? I believe the instruction manual might actually be for 'another' unit, so I'm hoping I can get one from B&S, unless someone here has one? The power panel is V03.

More pics soon once I get the VF7 up and running (and replace all the plexi on it!).


Back
Top