Jamie
Hot Rolled
- Joined
- Oct 14, 2005
- Location
- Ont. Canada
Since being a member of this forum, I've posted
pictures of my shop and a few items, but I've
never shown any of the work I do. So in order to
give my self credibility, and to prove to a few
others my machining capabilities, I've decided
to post a sample of my work. These pictures are of
a job I just completed for a client.
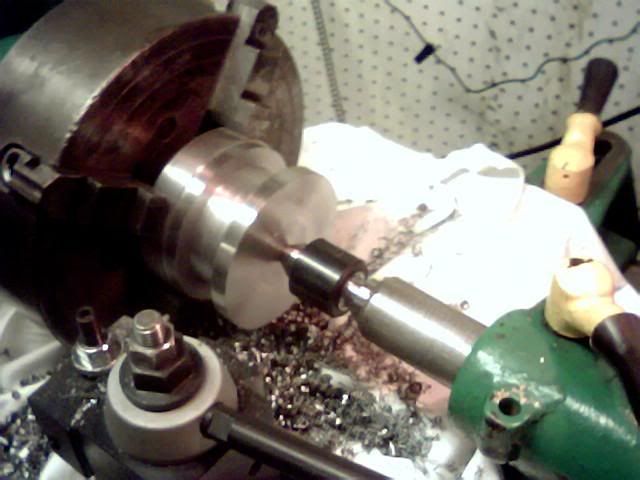
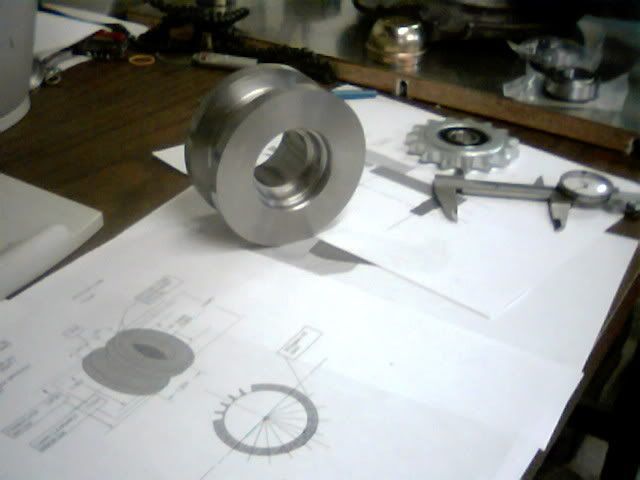
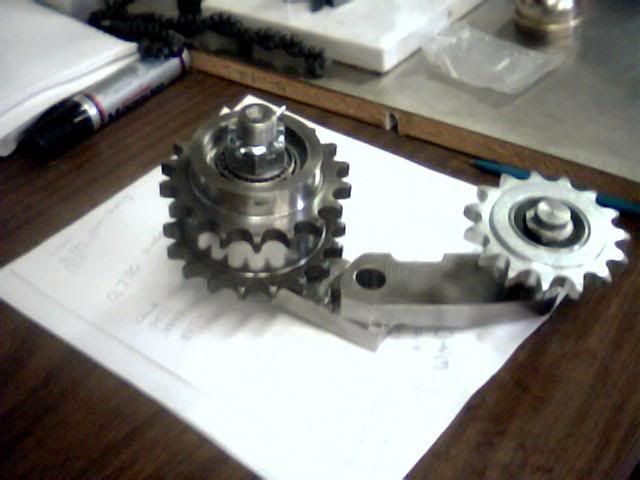
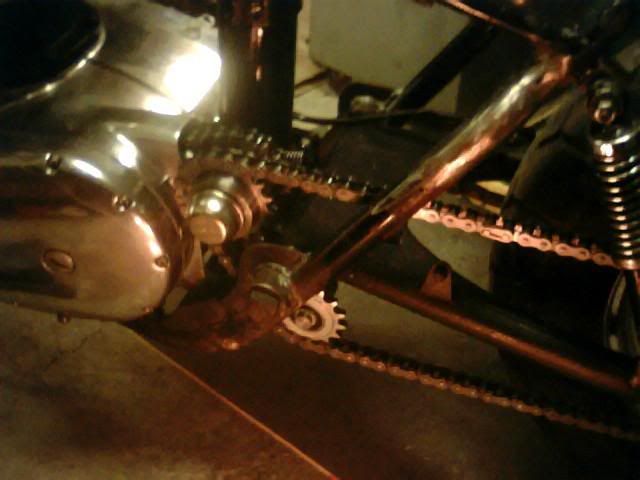
The client was in the process of modifying a BSA
650cc and didn't realize the offset of the drive
sprockets. I had to come up with a design, and
try to engineer it with durability and function-
ability in mind. Alot more time went into the
design phase than the actual machine time, as it
took 10 hrs from start to finish to produce the
assembly, and over a week to design it. Wish I had
a good CAD package as this was engineered using
Microsoft Paint and a calculator.
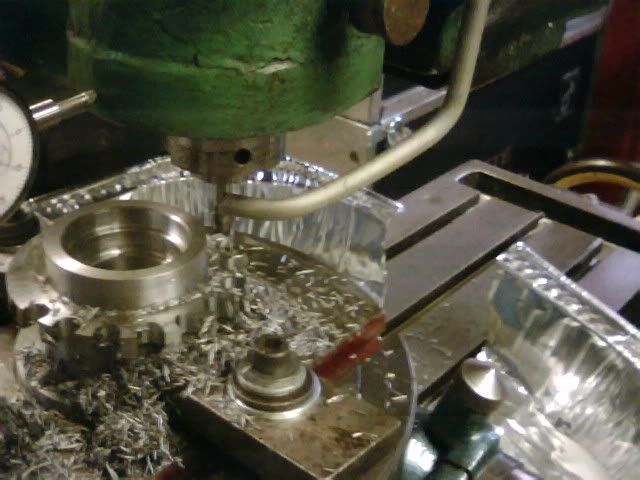
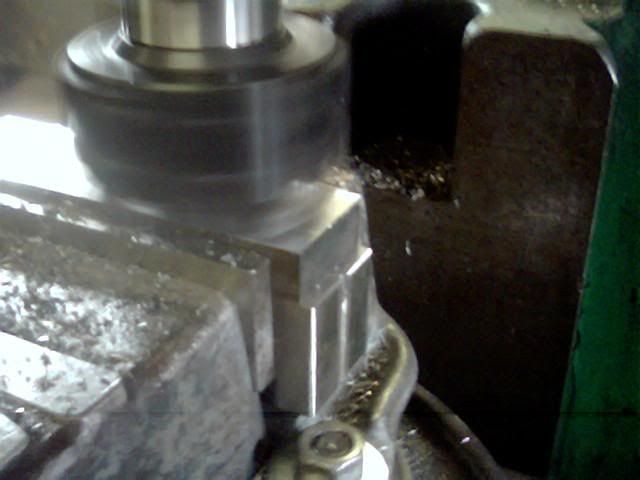
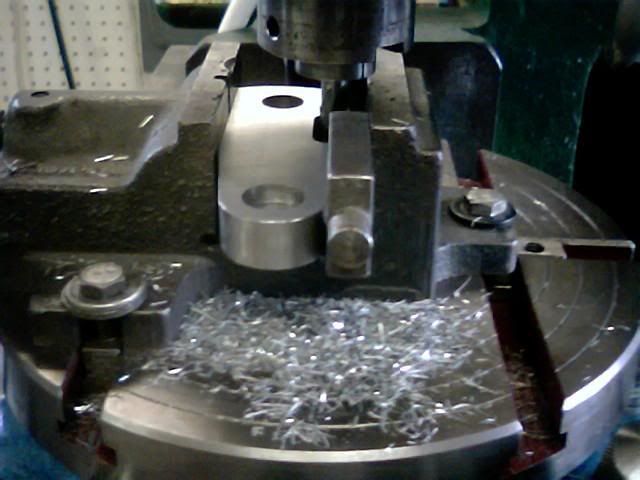
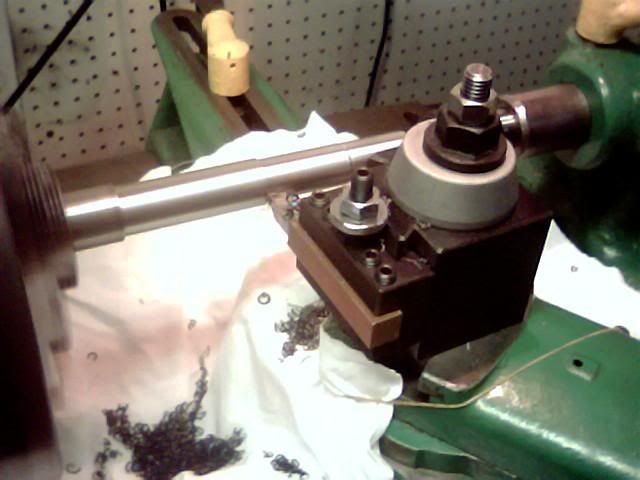
The assembly was done by manual machining on my
VN#12, and my SB 113 D.
No CNC, just woman's intuition.
Enjoy the pics.
I also had the client sign a waver stating that he
was told about the potential dangers, and that he
acknowloges that he is responsible for the safe
operation of the assembly, and that he must afix
the proper safety guards and cautionary lables.
Jamie
pictures of my shop and a few items, but I've
never shown any of the work I do. So in order to
give my self credibility, and to prove to a few
others my machining capabilities, I've decided
to post a sample of my work. These pictures are of
a job I just completed for a client.
The client was in the process of modifying a BSA
650cc and didn't realize the offset of the drive
sprockets. I had to come up with a design, and
try to engineer it with durability and function-
ability in mind. Alot more time went into the
design phase than the actual machine time, as it
took 10 hrs from start to finish to produce the
assembly, and over a week to design it. Wish I had
a good CAD package as this was engineered using
Microsoft Paint and a calculator.
The assembly was done by manual machining on my
VN#12, and my SB 113 D.
No CNC, just woman's intuition.
Enjoy the pics.
I also had the client sign a waver stating that he
was told about the potential dangers, and that he
acknowloges that he is responsible for the safe
operation of the assembly, and that he must afix
the proper safety guards and cautionary lables.
Jamie