What's new
What's new

Mitutoyo #1507 indicator binding; How to adjust

medida

Plastic
Joined
Oct 5, 2014
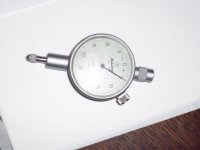
I just got a Mitutoyo 1507 indicator with a bunch of parts. It looks like it was dropped, as the crystal had popped out and the shaft binds (the needle does not return to zero all the time). I took the back off and did not see any issues (and it was clean inside). I did see a you tube video on a Chinese made indicator where it had been dropped....and they took the bezel and faceplate off.....and there was adjustment screws under the faceplate. Once these were loosened and then adjusted, the binding went away

I'm assuming the Mitutoyo has something similar. However, it looks like the needle first needs to come off.

Does anyone know if there is a adjustment under the faceplate? If yes, what is the sequence to get the adjustment screws
thanks
dean
 
If it is anything like a Tesa, you should see where the adjustment can be made under the cover (lug or plain back) side. There are three screws that allow movement of the pinion gear's interface with the rack in the plunger.

 
I kinda figured I need do to do this. There is no adjustment on the back that I can see. I expect it is on the front side. However, I expect it is under the front faceplate. So my question was how do I get to it? Do I just pry off the rotating bezel and crystal? Do I then pry off the needle (so that I can take the number faceplate off to get access to the adjustment)?
 
Did you first check to make sure the shaft wasn't bent? A slightly bent shaft would be more likely for a binding issue than a gear misalignment. I have never worked on this specific model, but have fixed dozens of Mitutoyo dial indicators and they are all similar. If the shaft is straight: after removing the back, look down into the unit. There should be a slide with a single screw holding it in position, loosen the screw a few turns and push the slide toward the center of the unit. This should free the bezel for removal. Be careful when removing the bezel as the outer white ring with the graduations comes off with the bezel and will bend the needle. Gently lift the bezel and slide off in the direction of the needle point. Under the graduation ring you will find 3 screws on the outer ring of the case. Loosen them just enough so that you can rotate the case while holding the front plate in place. This is how you adjust the gear to rack engagement pressure. Reverse for reassembly. Note: turning the case far enough that the rack completely disengages the gears will allow the clock spring that operates the rotations dial (the small dial) to unwind.. You will then have to reset it by manually turning the main dial needle the correct direction until rack re-engagement holds it at zero (which is a PITA).

If these instructions don't help or you can't find/don't have a bezel release slide, post up a clean picture of the open back and I'll walk you through based on the construction type you have.
 
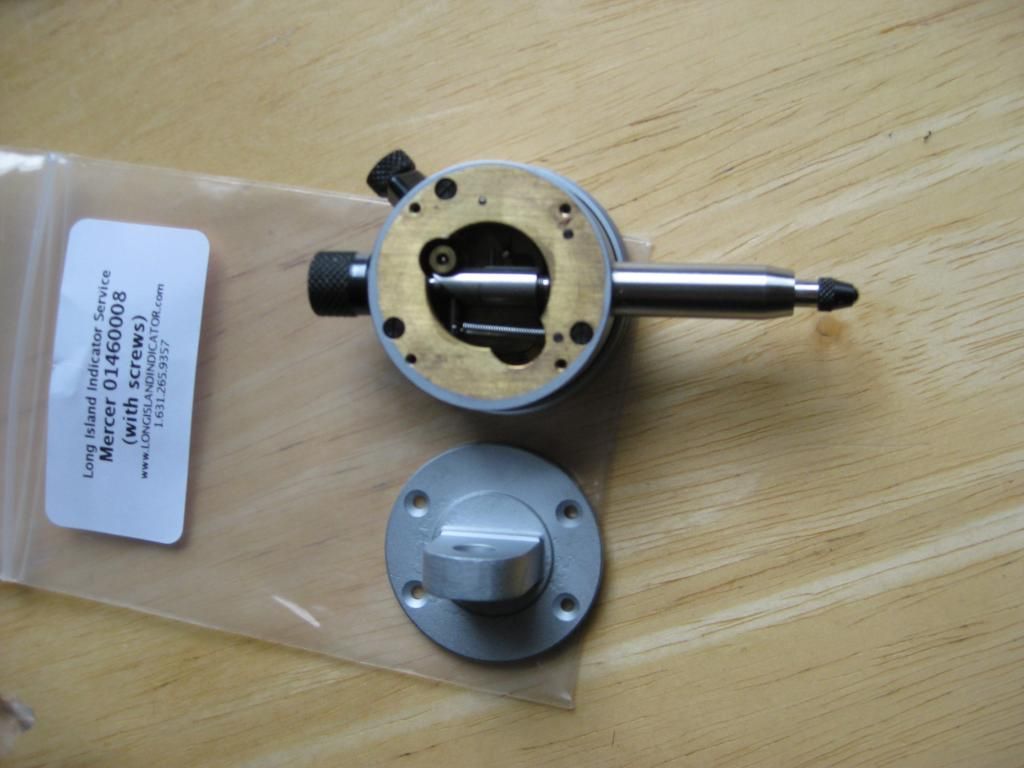
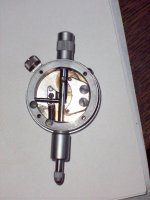
I did not find a slide that I could move. There is an item that is doweled and held down by one screw near the centerline of the item. Here is a pic100_3411.jpg100_3412.jpg
 
The bezel is held in place by the "spring" that is in the bottom left corner. Not the return spring, but the semi-circular one in the pocket. Push that over with jeweler's screwdriver or a scribe. It rides in a groove on the id of the bezel. Once it is moved out the groove, the bezel can be removed to gain access to the screws that hold the frame to the case.
 
Thanks
got the spring out and the bezel off. However the face plate will not come off with the needle on. The hole in the face plate is smaller than the needle pivot diameter. Is there something unique to taking off the needle?
thanks
 
It's not the best way to do it but, two small screwdrivers used together as pry bars will pop a hand. It is important to apply even pressure or the staff can become bent. A trick is to place a piece of tape on the hand so if it flies off you can easily find it. Also, before you loosen the case screws, put the hand back on and use your finger to prevent it from unwinding when you adjust the backlash for the plunger. Or tape the hand to the frame to prevent it from unwinding.

You know when it is set correctly when the indicator operates smoothly and there is no movement of the needle when you rotate the plunger back and forth. You are shooting for zero backlash with smooth operation.

I did a YouTube video about Chinese indicators in response to a post on another forum. It's not the greatest video because the explanation of what's going on had been discussed in the thread.

Sticky Chinese Indicator Fix.wmv - YouTube
 
OK, got the hand off and access to the cam adjustment screws. I loosen the screw and rotated it a little. The gear teeth mesh...but they are not interference. The pin still binds. Took some brake cleaner and cleaned it out and blew it off with air. put some very light lubricant in I had.....and it binds a little. It is like if I had twice the spring force it would work. Any thoughts?
 
Did you make sure the rack rod is not bent? Check the teeth to make sure there is no dirt/burs? Also make sure you clean and lube the guide rod (Perpendicular rod to the rack that interfaces with the slot at the 9:00 of the case in your first pic). Actually now that I look at it, it is unusual for the return spring to be attached to the guide rod. They are usually attached to a dedicated post, Which it looks like you have at the 12:00 of your rod in the pic (or is that just a hole?). If it is the spring post, that would explain a lack of return power.
 
The feature at 12:00 is the stop. The guide rod has a slot milled in it for the spring. How would I check if the rod is bent? When I was rotating the front plate, I noticed that I had the rack not engaged (still holding the needle)...but also noticed that the needle did not move freely. I'm wondering if the previous owner tried to fix this and unwound the one spring. Take a look at the pic and see if it looks wound to you
thanks
 
Hard to say for sure from the picture, but it looks like it is under tension. Are you sure the guide rod isn't milled for the removal wrench? are the machined parts flats or is it a groove all the way around? If the main gear itself is binding you have much bigger issues than alignment. As for checking the rod, I usually remove it and put it on my balancer. I have a little setup for straightening small rods. If you can't figure it out, pm me for my address and I'll fix it for the cost of round trip postage.
 
Take the face off again, reinstall the hand and tape it down to the brass frame. You can now remove screws and pull the frame from the case. Now you can move the plunger up and down to determine if it's binding. If you want to pull the plunger out you have to remove the cap at the 12:00 position and unscrew the limiter screw. Next move the guide rod to the pocket at the bottom of it's travel and rotate it out. If there are flats it can be unscrewed. Otherwise support the plunger rod and use a pin punch to drivre the guide rod out. Now the plunger rod can be slid out of the case.
 
As far as the main gear- Try this- With the rack disengaged from the pinion, crack the screws at 3:00. Shift the plate until the hand moves freely. Tighten the screws.

I use to do this for a living. Stuff moves when it gets dropped. Always try adjusting any gear meshing/backlash before anytihing else. Most repairs on this stuff does not require parts but adjustment.
 
Without the exact model number I just found a photo on the net with the info you posted. There won't be any adjustment (not enough for this) on that indicator under the plate, it lost mainspring tension when it was dropped. Hopefully the gears weren't damaged but most of the time at least the main gear is notched badly. Pull the hands, remove the two screws that hold the plate to the body and remove it. Visually inspect the main gear for damage where it contacts the rack. If none is found put the hand back on the center shaft loosely and wind the mainspring tight 6 to 8 turns then reassemble the plate to the body without letting the mainspring unwind. What little play there is under the two screws is used for very minor adjustment when you work the plunger and listen to the gear mesh.


Back
Top