What's new
What's new

'69 South Bend 13" Restoration

Cody Akin

Plastic
Joined
Dec 3, 2020
Newbie to the forum as well as the South Bend world!

I am currently restoring a 13" South Bend lathe built in 1969. I followed a bit of Mr. Jacob's restoration here, and I am doing something very similar. Is there any interest in photos, or has that topic been beaten to death?

I've hit a couple of trouble spots now and then, so I thought this place may be a good source for info and assistance.

Thanks, and look forward to lurking around here!

Cody

Pictures are mandatory! They keep the information flowing for the viewers but people can see what you are dealing with and try and help if it's needed. There is an extra bonus in it can help you if you need to go back and go over something you did.
 
Backstory and Sellers Photos

My lathe was purchased from a woodshop in Granbury, Tx in September 2020. I found the lathe on Facebook Markerplace and decided I had to have it! My brother, Casey, and I are equipment movers, so the move to our shop, in Grand Prairie, TX, was fairly easy utilizing our forklift and rollback truck.

After purchasing the lathe card, we learned the lathe was built for Briggs-Weaver in 1969. Ironically, Briggs is currently a customer of ours, and we move their forklifts on a daily basis! There was also a “Property of FW ISD” tag on the front door of the machine, as well as a “10” stenciled on the gear door, so it may have spent some time in a classroom.

Because the lathe was neglected in a wood shop for the last several years, the entirety of the machine was CAKED with sawdust and old waxy oil. For this reason I decided a full teardown was in order. I’ll attach a few pre-disassembly photos below.


Sellers photo


Screenshot of sellers photo


Serial Number 12985TKX


She took a beating!
 
Last edited:
Lathe Teardown

Teardown began early November 2020. It's kind of amazing how fast you can tear one of these down, vs. how long it takes to get it back together! I think i had it torn down to its basic parts in one evening. Attempts were made to keep everything in order, and most of the photos I took were to remind me how things came apart. If I had known I was going to post my story, I'd have taken more!


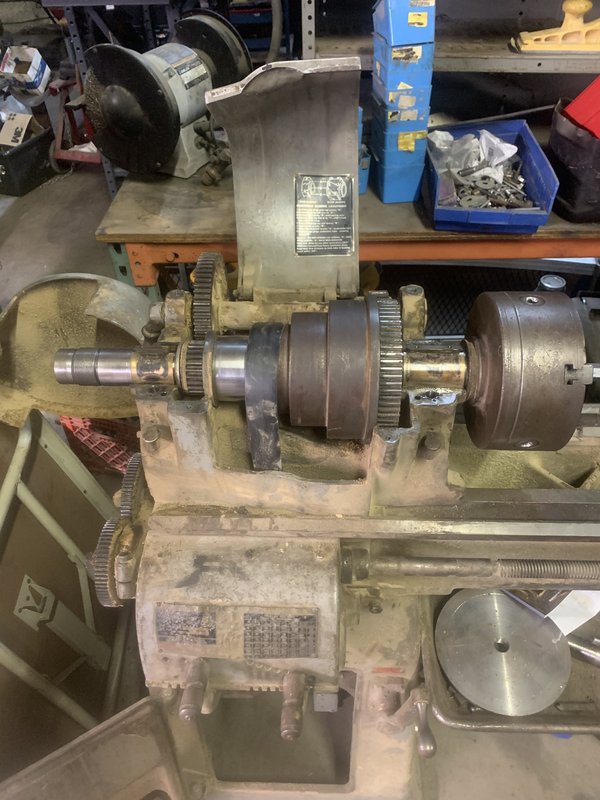
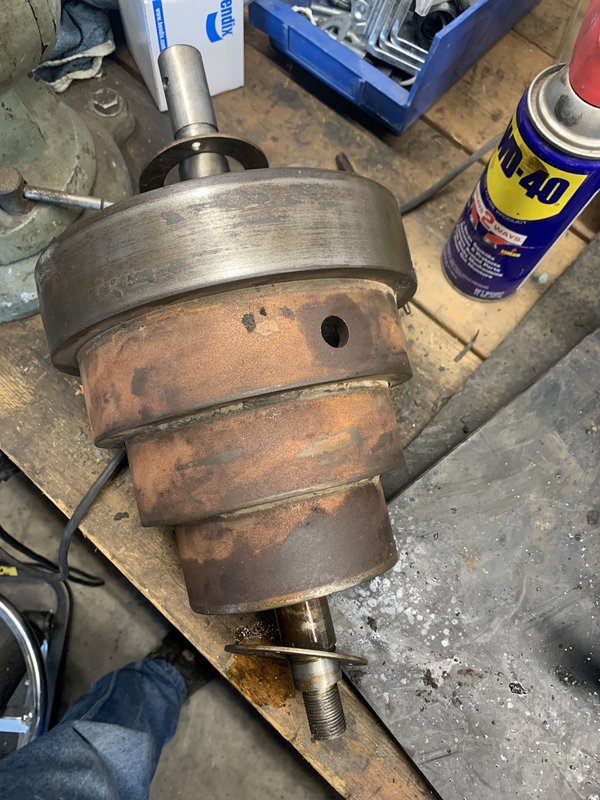
First look at the spindle bearings. Nothing looked overly worn. In trying to remove the chuck, it was discovered that the #9 Woodruff key was sheared on the top cone pulley shaft. I STILL have not figured out how to remove the chuck, and I've tried most everything on Youtube!


Who wants sawdust cake?


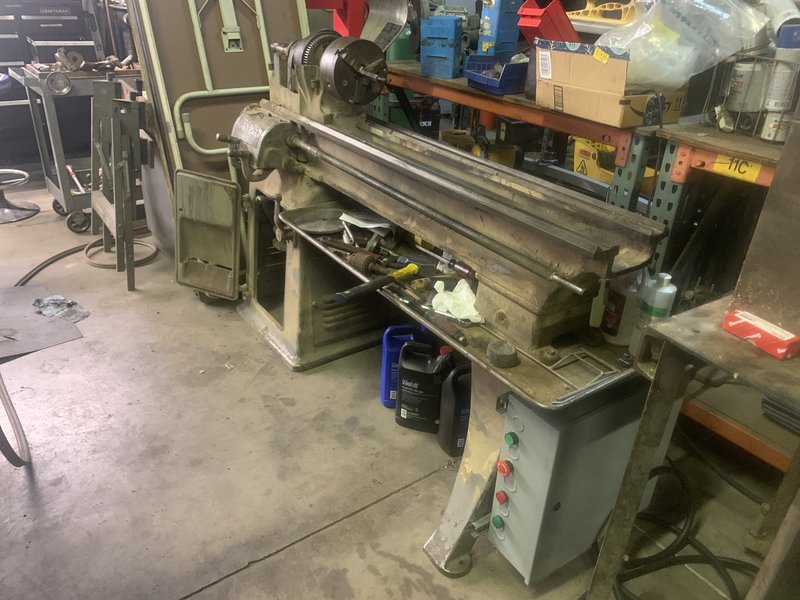
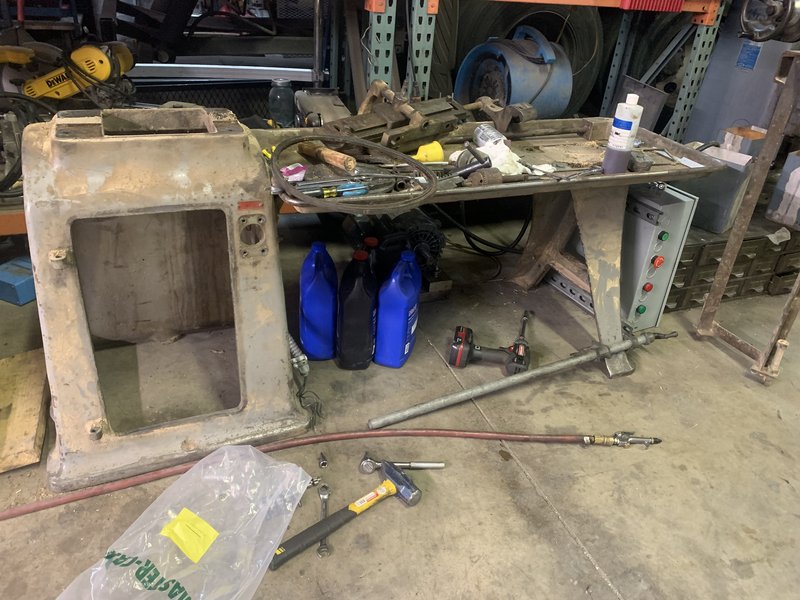
The chip tray doing what it does best... collecting junk! The box mounted on the right side of the foot controls our rotary phase inverter.


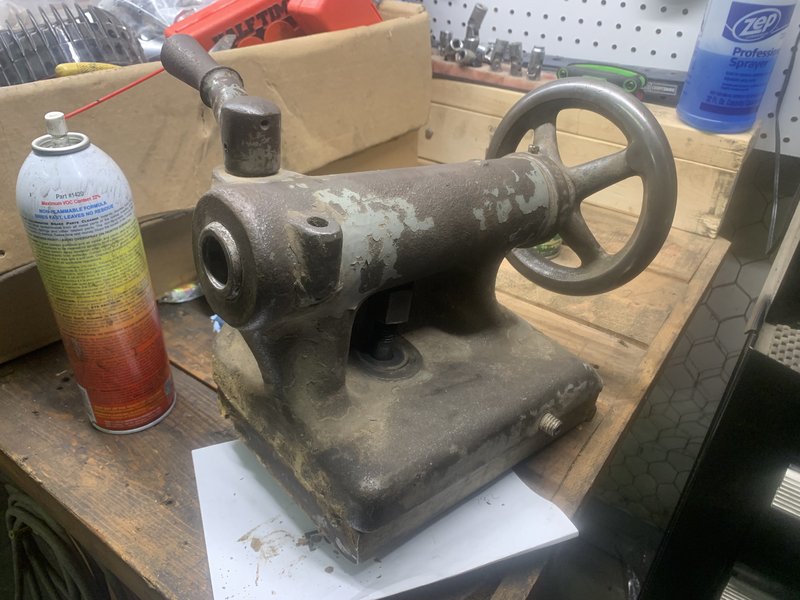
Not too bad on the outside, but boy the inside sure is gummy!


The belt is cut! I tried everything in the world to get the lower pulley out of the belt without cutting it. Three hours wasted, and I ended up cutting the belt anyway.


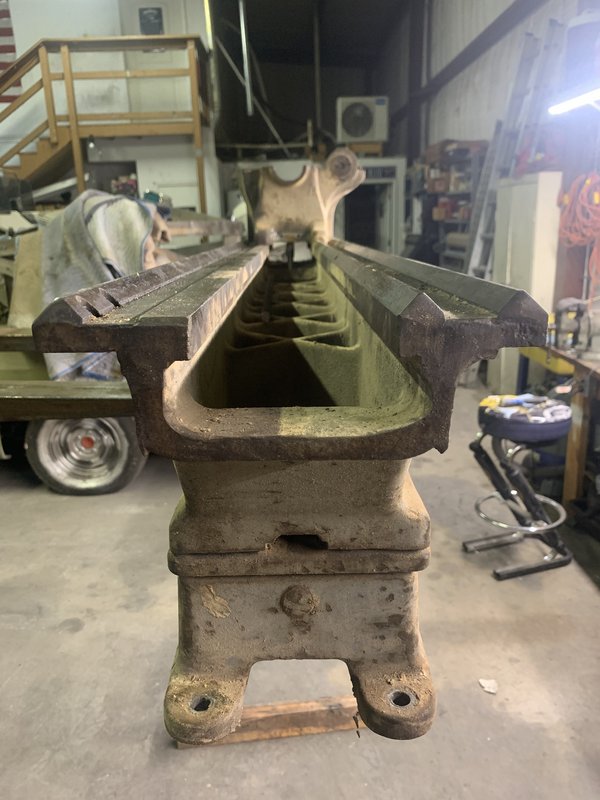
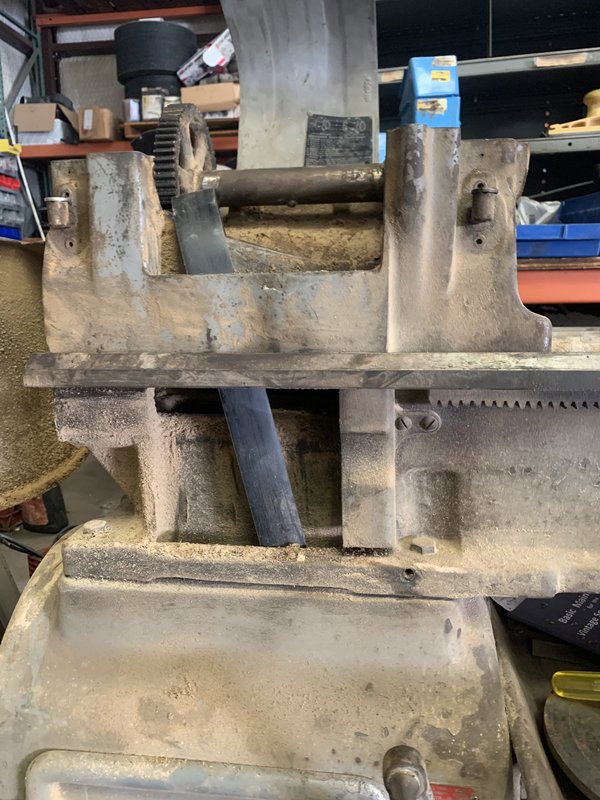
The yellowy color is more sawdust. The ways seem to be in ok condition. I have done no measuring, so I don't know exactly how good/bad everything is.


More slop to scrape with a putty knife.


Cross slide screw bearing is missing its balls! The screw/nut will have to be replaced due to bad wear.


Probably the last thing I'll restore.


Topless! I bought A, B, C and way oil by the gallon From MMC.


When is the last time the belt was moved on this thing?


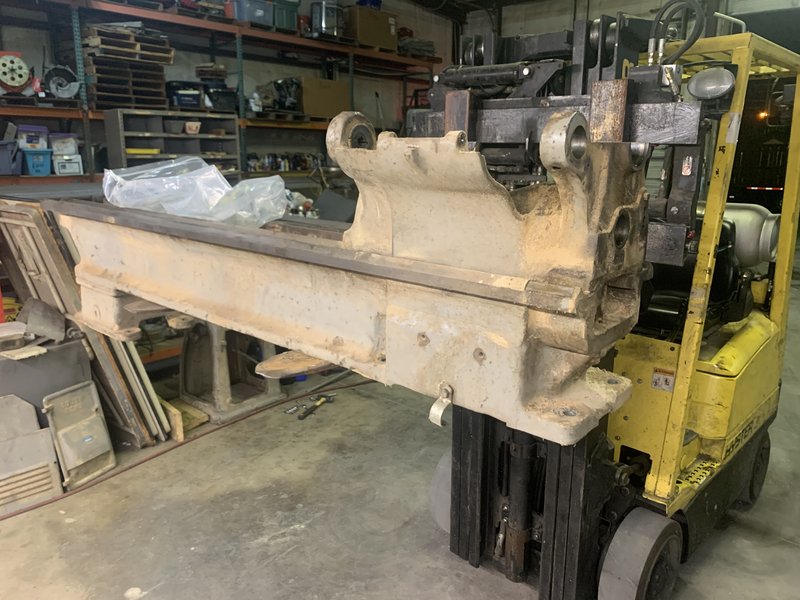
If you don't have a forklift and a power washer...GET ONE!


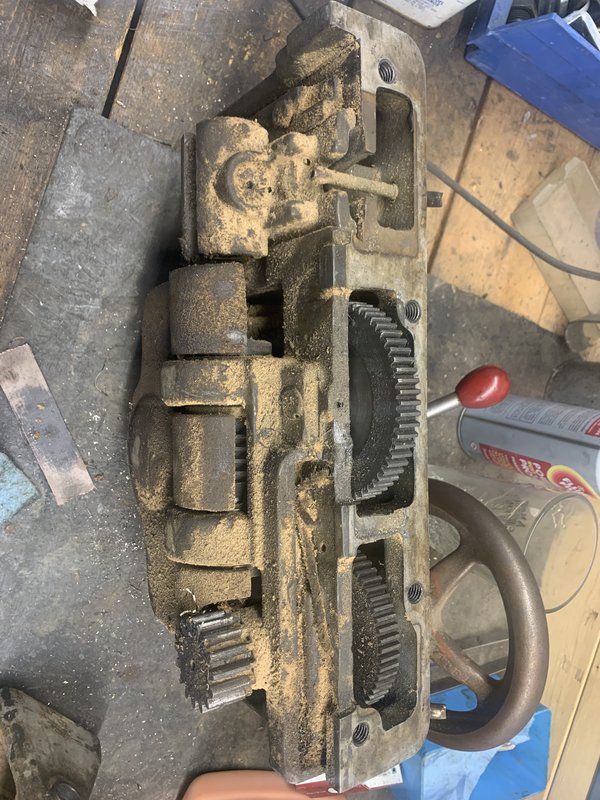
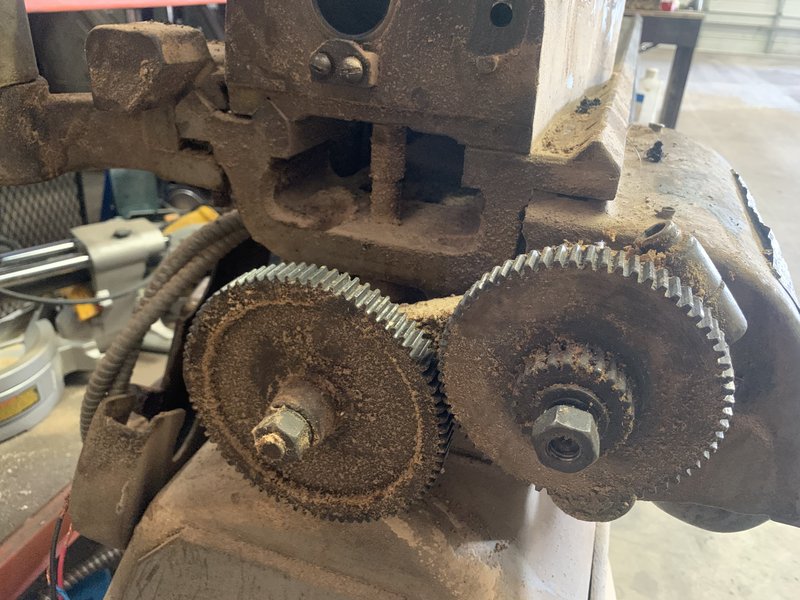
So far, no missing teeth!


Peeking in the window of the apron. I think about 1oz of oil came out of the drain plug.


My favorite shot of the sawdust cake!
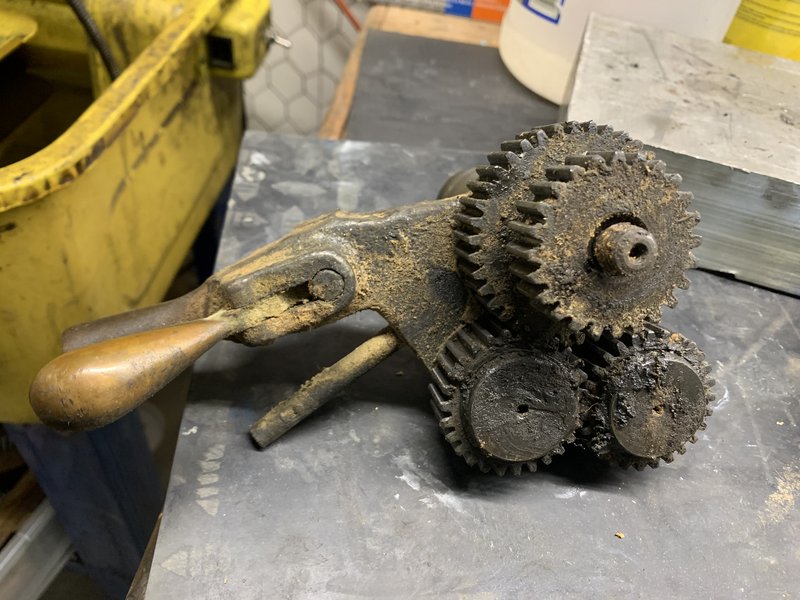

Needs a soak!

Next, I'll post some pics of the cleanup, and priming/painting.
 
Wow, what a beast! Good thing it found YOU! I'd say you're right about it being used by students;
just look at that tool-post carriage "beat-down". I'll bet it was put on auto-feed and came up to the
chuck more than a few times. Can you imagine the racket this must have made?! I'm sure the instructor
was pleased.

Thank for the pics; you are definitely doing the right thing. That wood dust has a way of finding itself
into all of the nooks and crannies that are just dying for a bit of oil. And yes, lots and lots of photos before, during
disassembly, and after reassembly. It will make life easier.

I also highly advise getting one of these books and the felt kit...you're going to need it!!

https://www.amazon.com/South-Bend-L...2867P2CVD3A&psc=1&refRID=MCWRJHZ9Z2867P2CVD3A

Interesting, my 9" Model A South Bend lathe was purchased in 1946 from Briggs-Weaver. My Dad acquired it sometime in the early 50's and it has been in the family ever since. I hope my son continues to keep it. I was born and raised in Texas.
Welcome to Practical Machinist; you'll get a lot of help here. And like Kevin said, photos are mandatory!
(Your reversing gears not only need a soak, but a complete disassembly!).
I think most all of the quick change gear box (QCGB) plates used small little tap-in rivets as opposed to metal screws
like yours has. Those plates can be reproduced for not much money. Just take your time and do it right. New oiling felts
are a MUST! Keep us updated.

PMc

View attachment 306938 View attachment 306937 View attachment 306944
View attachment 306950
 
Thanks for checking out my progress, and for the good tips! Your lathe is gorgeous btw! Photos like yours are what inspired me to take on this project. Interesting that we both have an ex-Briggs lathe. I wonder how common they are?

I was fortunate to be playing on ebay last month and found the book and rebuild kit for sale, so I've been using it to guide me through the re-assembly. I knew nothing about all the felt wicks that were inside these machines, so the kit was a must-have for me. I've also learned to hate taper pins!

I bought a second compound on ebay, as the original had a really beat-up T-slot, and it also had the scarring from an apparent crash with the chuck. I'm beginning to think this is a necessary action on a South Bend:D
 
Thank you for the kind words!

Yes, we all hate taper pins! But just remember that heat is your friend when it comes to beating these out.
(Good for freeing up stuck screws and bolts too)
Propane torch for about 6-7 seconds should help a lot! And remember that taper pins are readily available and
cheap at McMaster-Carr. But you know all that.

PMc

View attachment 306971 View attachment 306968 View attachment 306969 View attachment 306970
 
possible tip for getting your chuck off. As you already have the spindle out, see if you can press the spindle pulley and bull gear off. Then you can drill and bore (if you have a mill or another lathe) a big chuck of steel to the OD of the middle part of the spindle under the pulley (ie, not a bearing surface). Drill and tap for 4 bolts, then split it down the bore. That'll give you a very rubust shaft clamp to hold the spindle with. Soak the spindle through the bore of the chuck (plug the spindle bore) with kroil/ ATF/ whateverpenetrant for a couple of days. Heat the willies out of the bit of the backplate that threads onto the spindle once a day or so. Then clamp the spindle in a bench vise, put a piece of 1" hex into the chuck and use an impact.*

* if you don't have one or more of the above, modify to suit :)

There's not much that will be able to resist heat, penetrating oil, brute force and patience!
 

Broke down the apron today and boy what a mess! The pin that locks in the keyway on the clutch lever was found to be sheared off. That’s the third sheared pin/key I’ve found on this lathe. I’m so glad I tore this thing apart right from the get go, rather than doing the plug-and-play, and trying to figure out why nothing worked properly!
 
possible tip for getting your chuck off. As you already have the spindle out, see if you can press the spindle pulley and bull gear off. Then you can drill and bore (if you have a mill or another lathe) a big chuck of steel to the OD of the middle part of the spindle under the pulley (ie, not a bearing surface). Drill and tap for 4 bolts, then split it down the bore. That'll give you a very rubust shaft clamp to hold the spindle with. Soak the spindle through the bore of the chuck (plug the spindle bore) with kroil/ ATF/ whateverpenetrant for a couple of days. Heat the willies out of the bit of the backplate that threads onto the spindle once a day or so. Then clamp the spindle in a bench vise, put a piece of 1" hex into the chuck and use an impact.*

* if you don't have one or more of the above, modify to suit :)

There's not much that will be able to resist heat, penetrating oil, brute force and patience!

Man that would have been good advice before I put the spindle back in. Once I found the key was sheared under the cone pulley, I replaced it and put it all back together after I painted. I then tried the strap wrench technique, only to break the handle off! Next will be my 1” impact gun with a big hex in the chuck. Fingers crossed!
 
Post your images HERE on this board. That way, in years down the road when your image hosting site decides to change their service agreement and your images disappear, they will STILL be visible to future viewers.

Also, very bad practice of not supporting your leadscrew when you remove the rear support.
 
Man that would have been good advice before I put the spindle back in. Once I found the key was sheared under the cone pulley, I replaced it and put it all back together after I painted. I then tried the strap wrench technique, only to break the handle off! Next will be my 1” impact gun with a big hex in the chuck. Fingers crossed!

that's a shame. I'd personally just take the spindle out again :) If you're trying to remove it in place make sure you hold the spindle not the spindle pulley or backgear. It'd be a shame to have to replace another key or the spindle pulley if it cracks at the spindle lock position (only seen that once though). I did see a thread where a guy built a long lever to clamp to the end of his spindle (not sure if it was an SB or a different make). Took a few iterations, but it worked in the end.
 
Post your images HERE on this board. That way, in years down the road when your image hosting site decides to change their service agreement and your images disappear, they will STILL be visible to future viewers.

The "Sticky" said images must be hosted on an image hosting site. Is that no longer true?
 
Looks good! I went through my 1969 16", but didn't tear it down quite as much as you did yours. I bought mine in 1992 and am the second owner. I bought it from my employer.

I can't believe how good it cuts. Far more accurate than I expected. I put a digital readout on it and absolutely love it!

lathe.jpg
 
The "Sticky" said images must be hosted on an image hosting site. Is that no longer true?

No. I don't understand why it hasn't been updated. There have been new tutorials on posting pictures that should be a sticky, but it appears that the admin has taken his leave.

I posted one months ago that details two methods that a lot of people are using. Access it here.


Back
Top