Mike DeHart
Aluminum
- Joined
- Jan 27, 2011
- Location
- South Jersey, USA
Latheman Ted posted some stops for sale along with bed brackets for using the stops with collets. Try as I may, I just cannot visualize how these stop brackets are put into use. I didn't want to hijack his thread, so here it is. How do the bed brackets work in actual use? My google-fu has not turned up any light on this one.
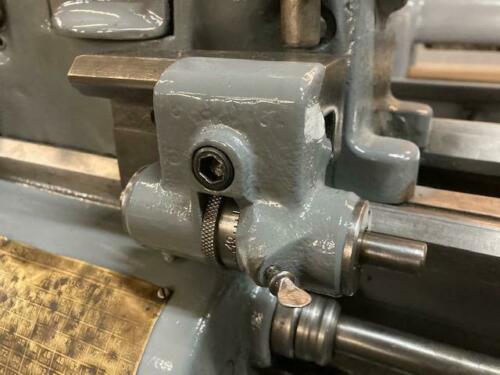
And, as long as I am asking, what other types of carriage stops are there and how are they used? I have a micrometer stop, I get how that works. I have seen the solid stop. That makes sense also. But there are others out there, both factory and shop made. Some are simple, some look like clockwork. What have you got and how is it put to use?
And, as long as I am asking, what other types of carriage stops are there and how are they used? I have a micrometer stop, I get how that works. I have seen the solid stop. That makes sense also. But there are others out there, both factory and shop made. Some are simple, some look like clockwork. What have you got and how is it put to use?