Dear All,
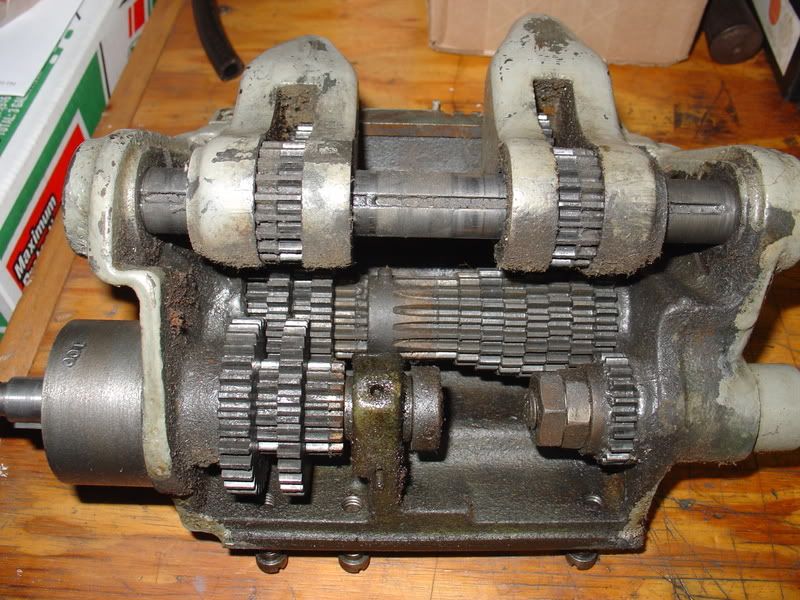
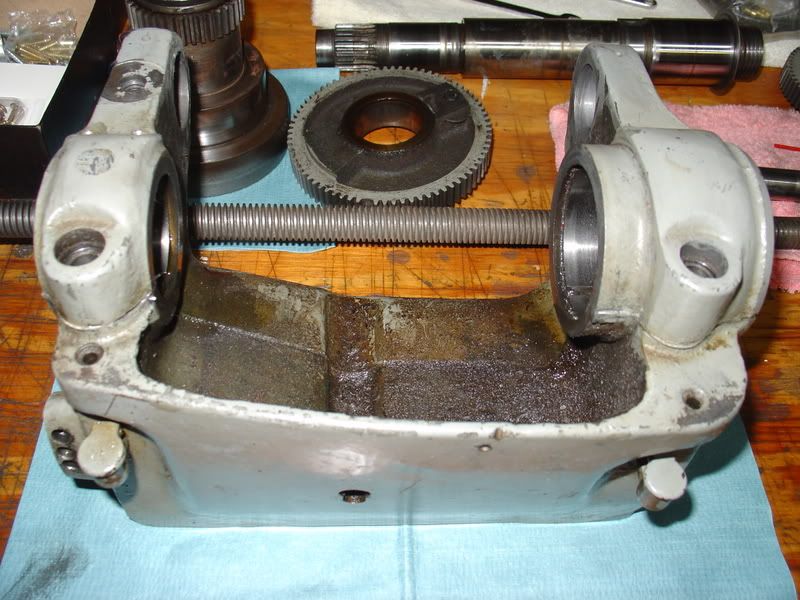
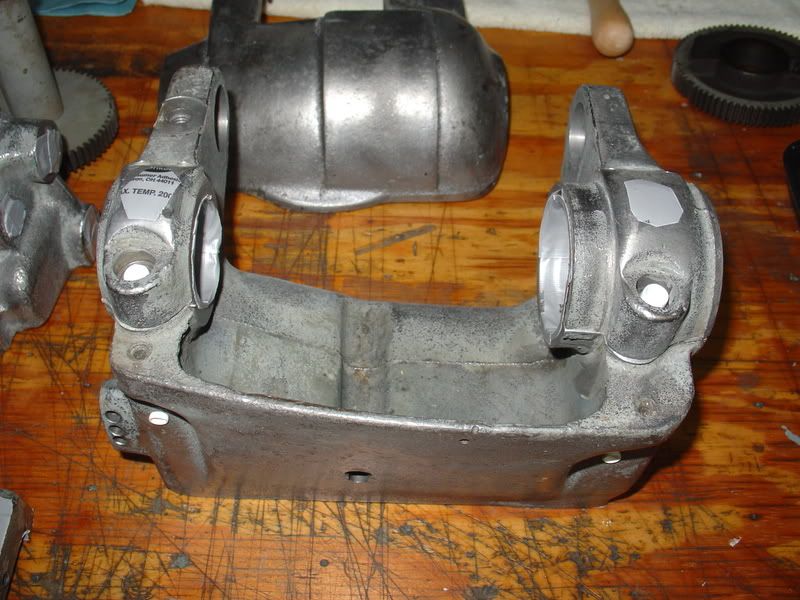
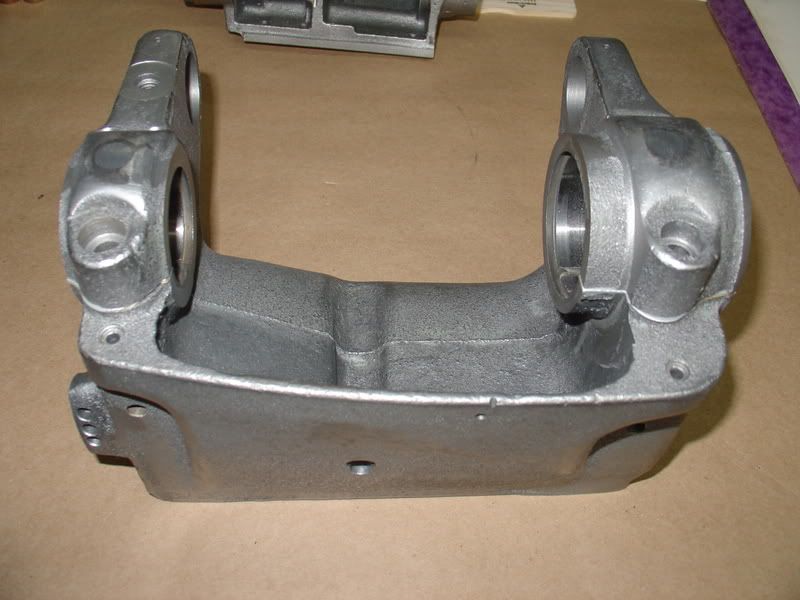
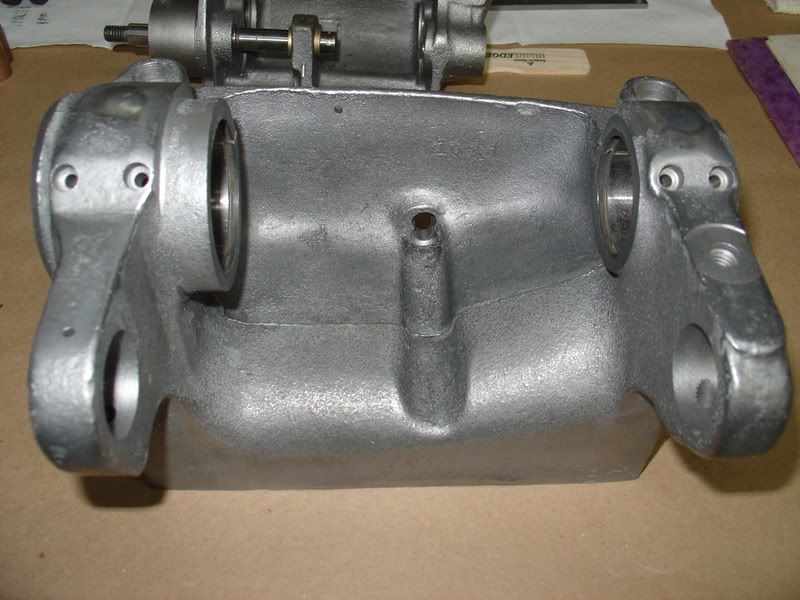
I am restoring a South Bend 10k lathe that my father received from somebody about 35 years ago. Dad used it only for wood and I wound up with it 25 years ago when we had to "clean out" the house I grew up in.
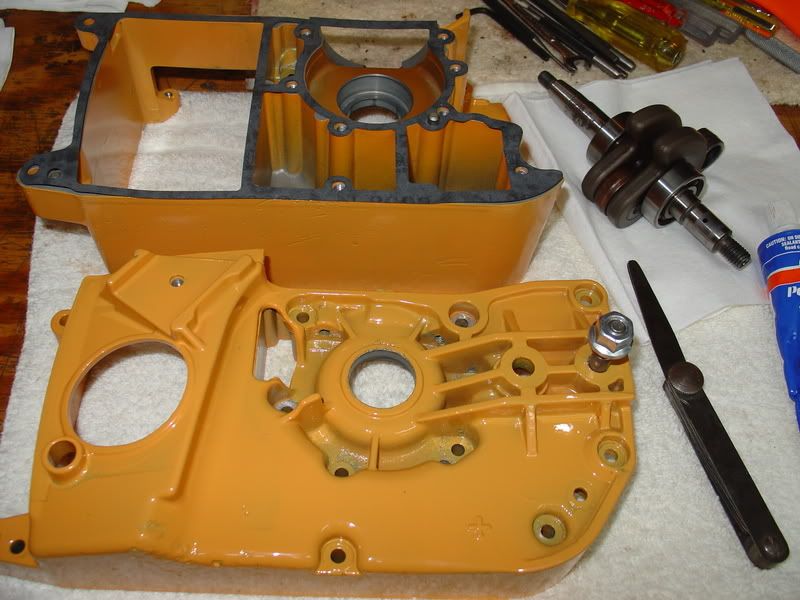
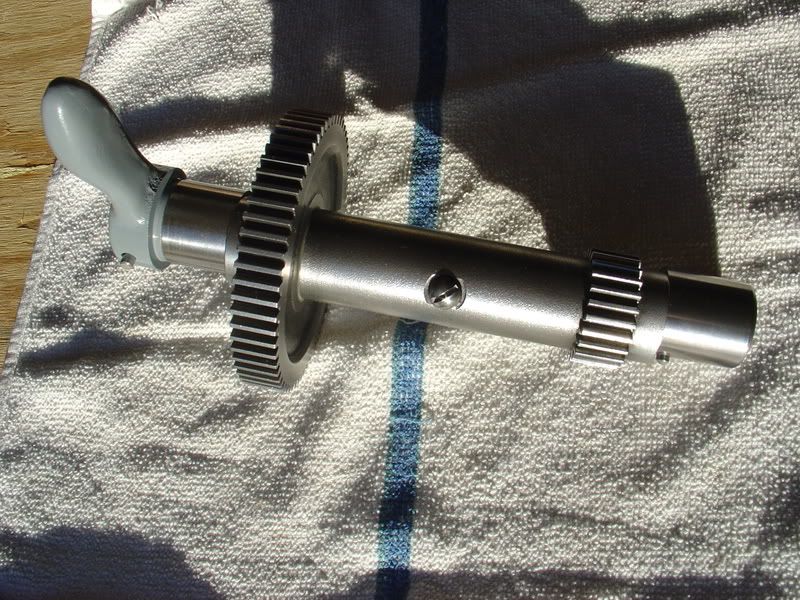
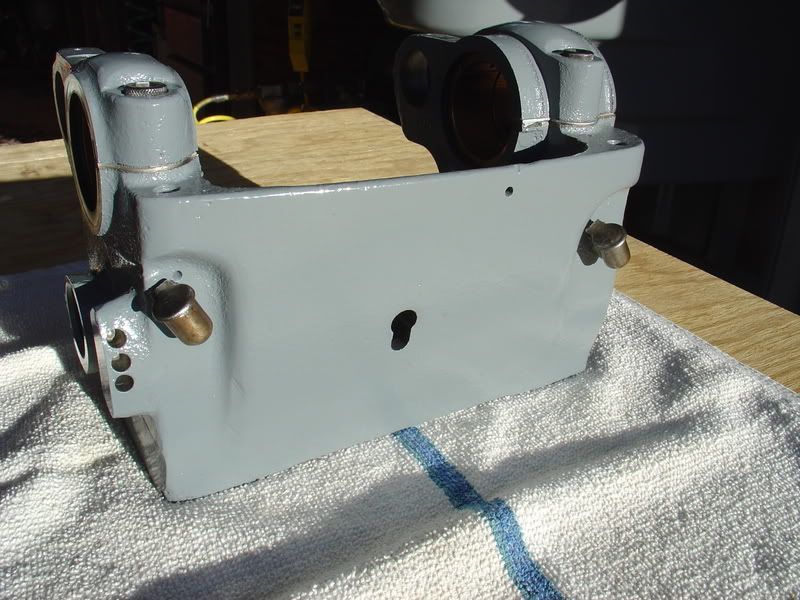
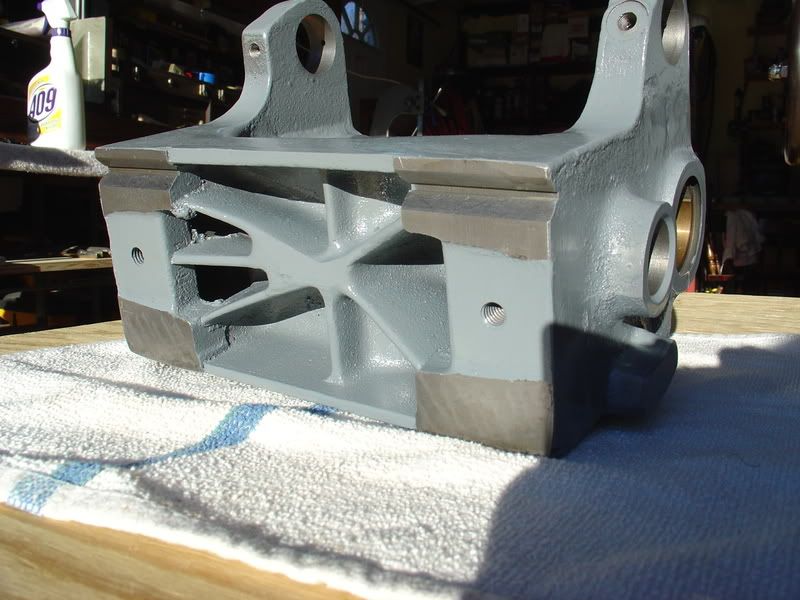
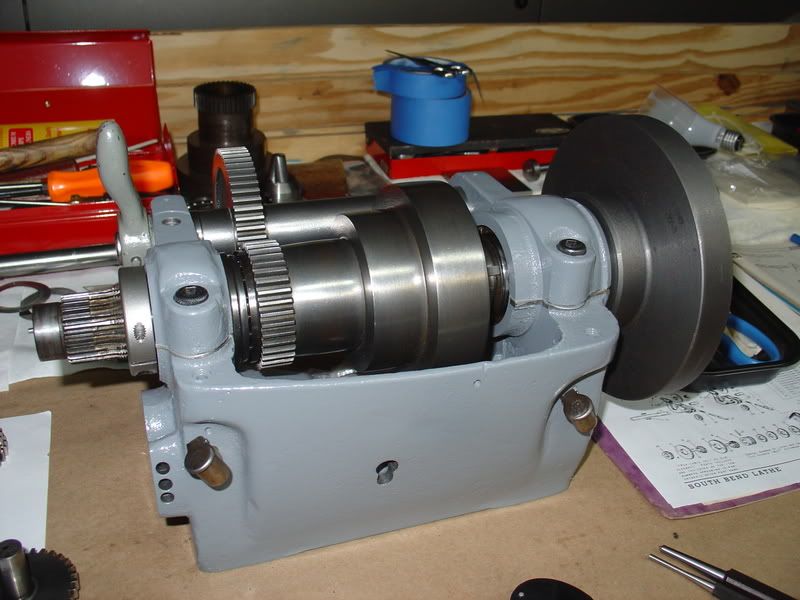
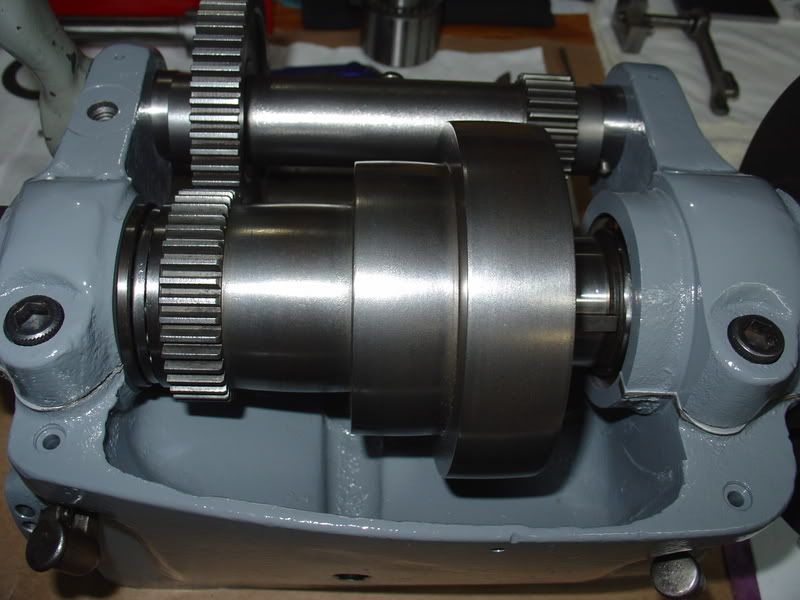
I have used it for wood and metal over the years, mainly for repairing things, cleaning round things, making bushings, etc. After receiving a 1967 Index Model 756 knee mill this past spring and restoring it, I felt the need to restore the "old South Bend". I love to do this type of work and find it very satisfying when finished with every step in the process. The restoration includes 100% dissassembly, thorough cleaning, inspection, replacement of worn or damaged parts and paint. Even a few upgrades like the serpintene belt and large dials.
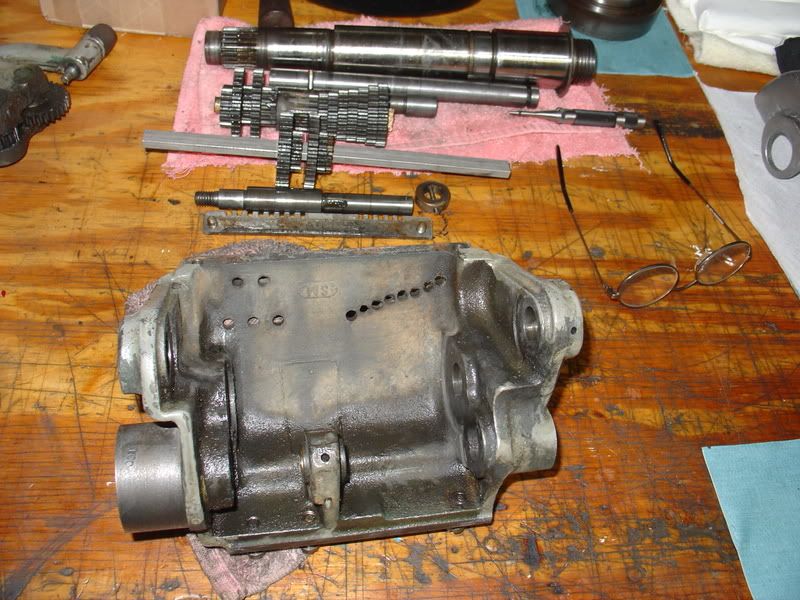
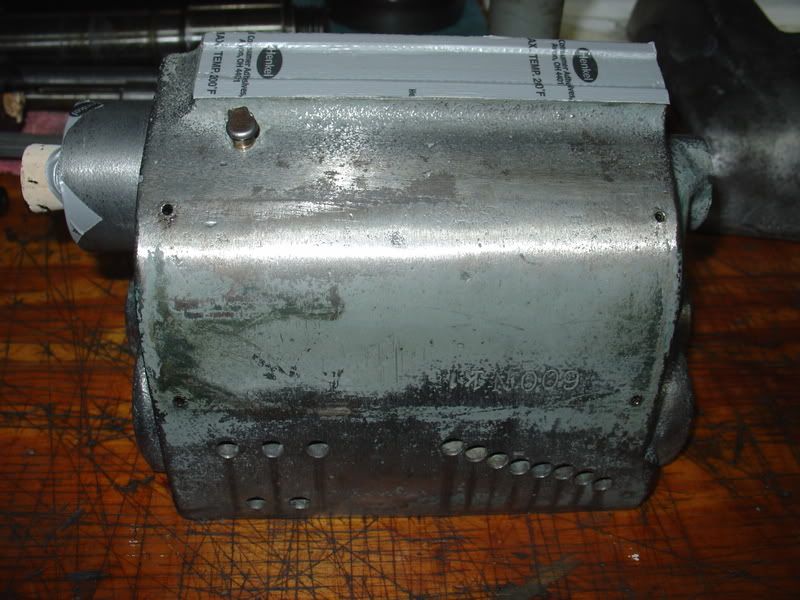
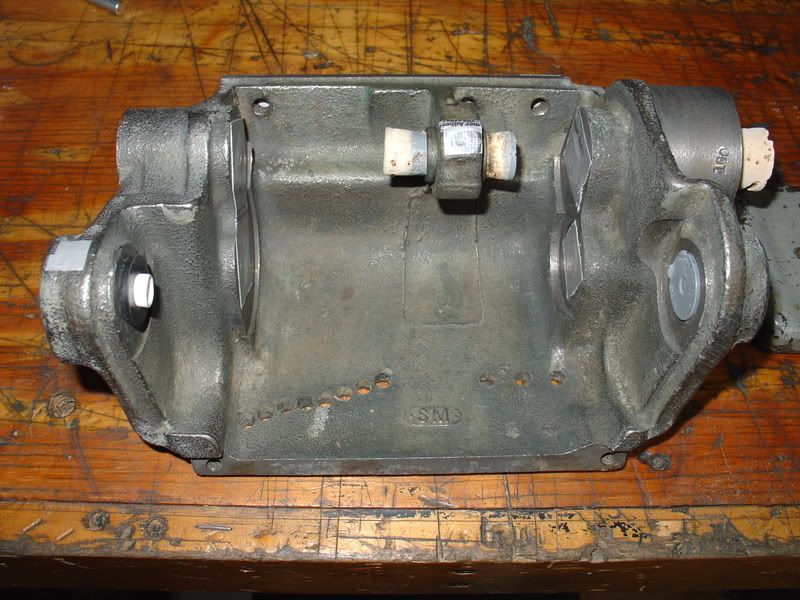
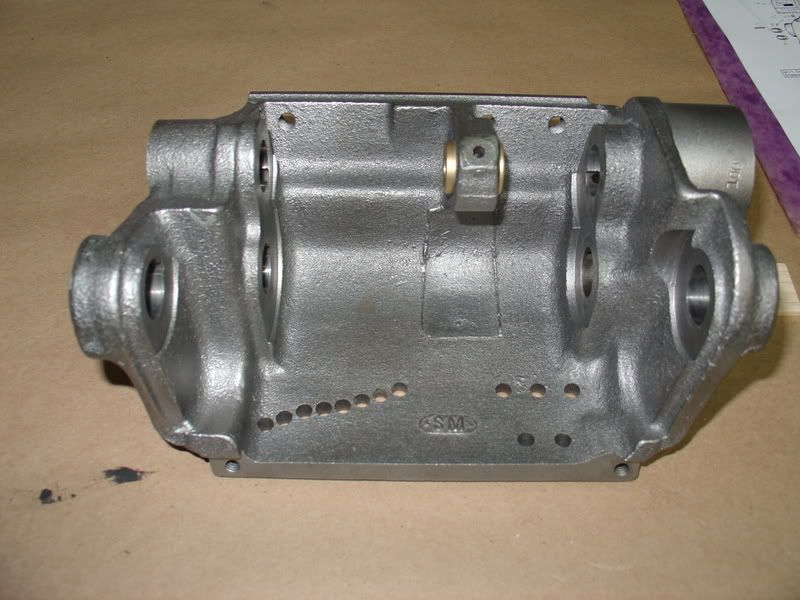
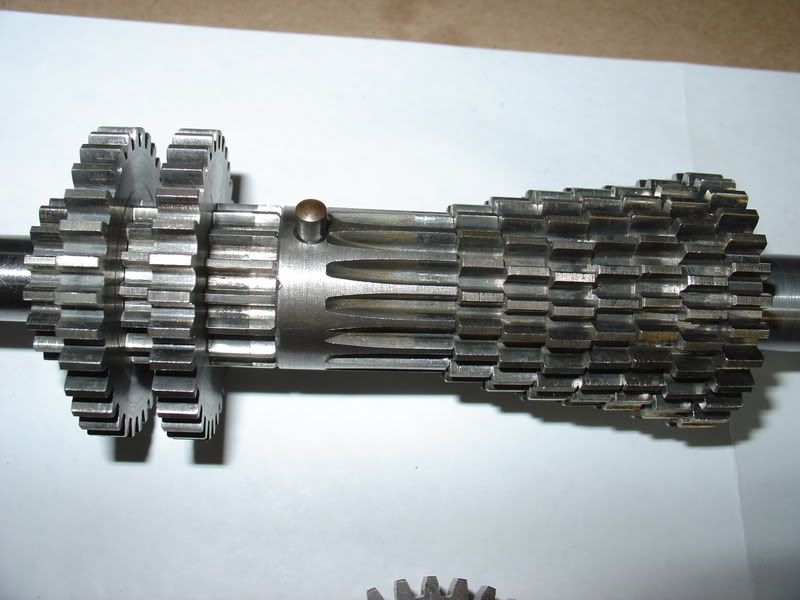
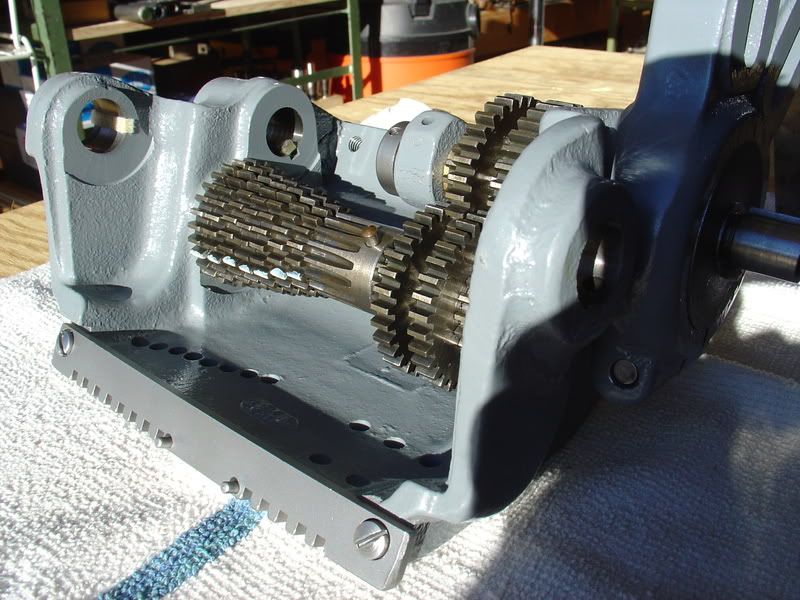
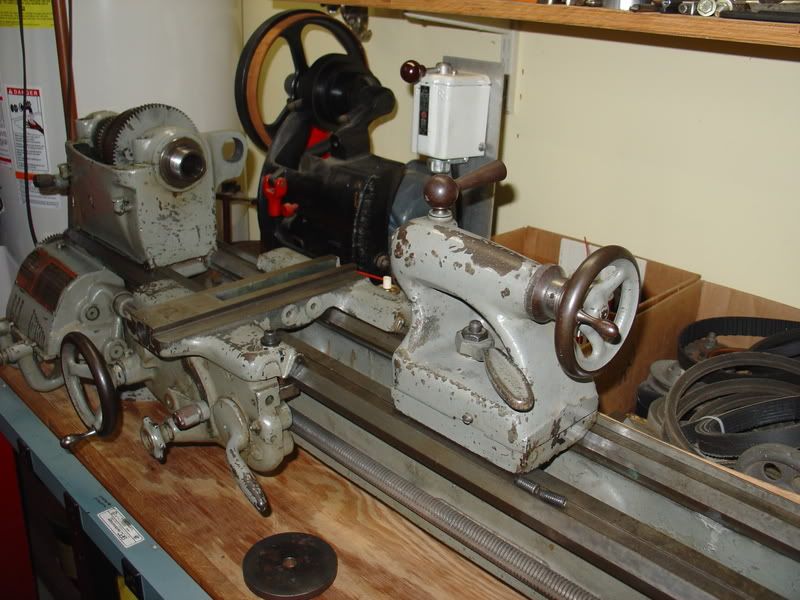
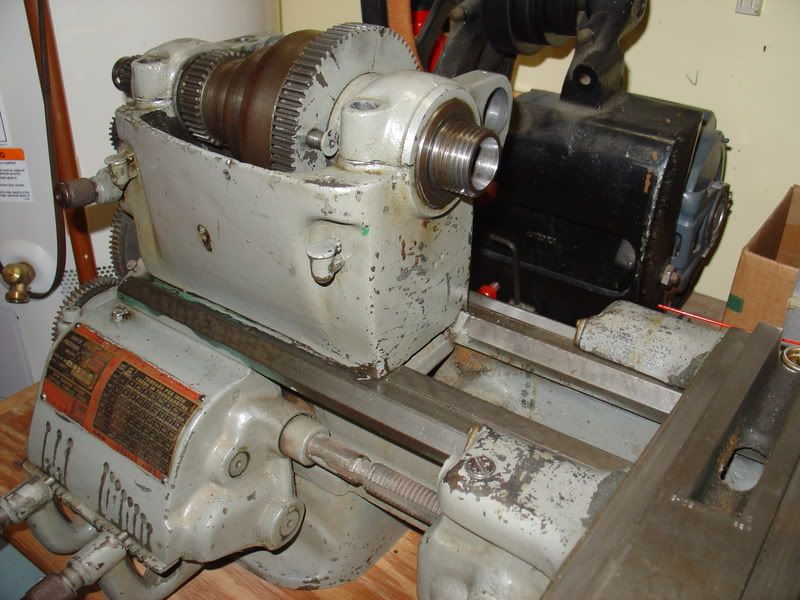
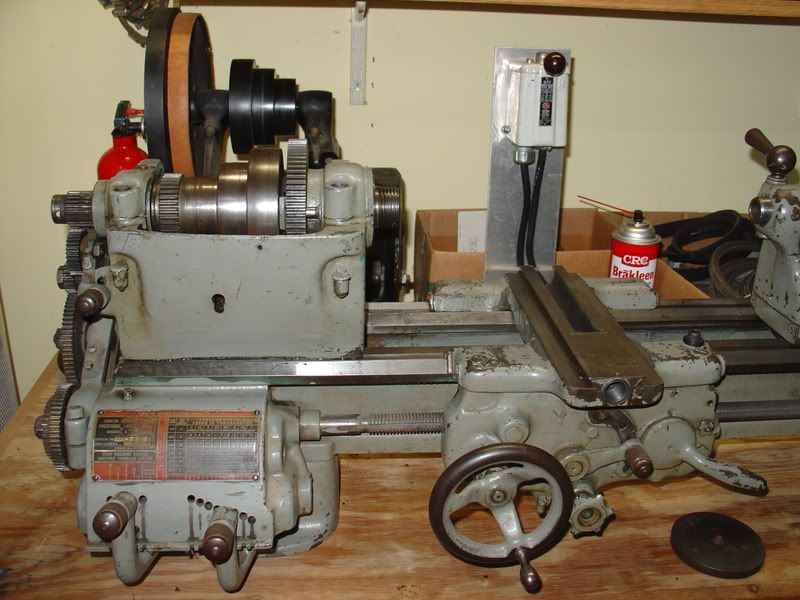
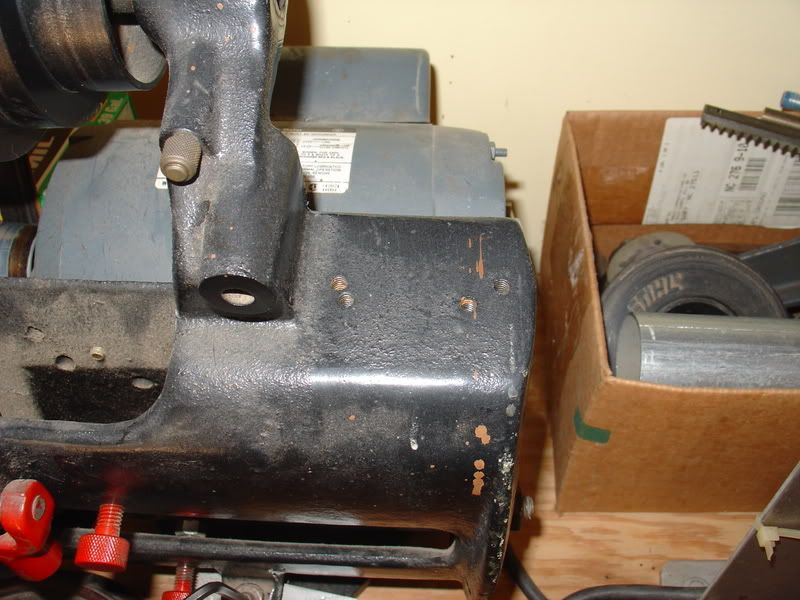
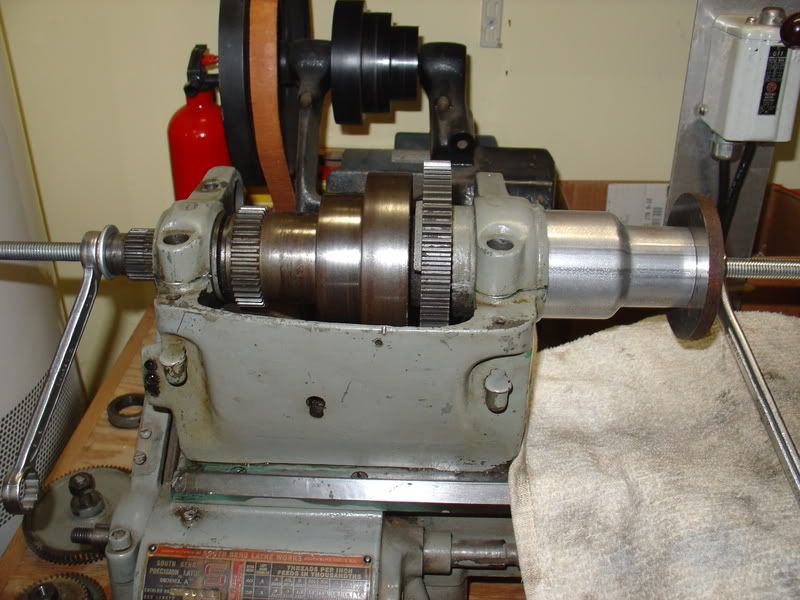
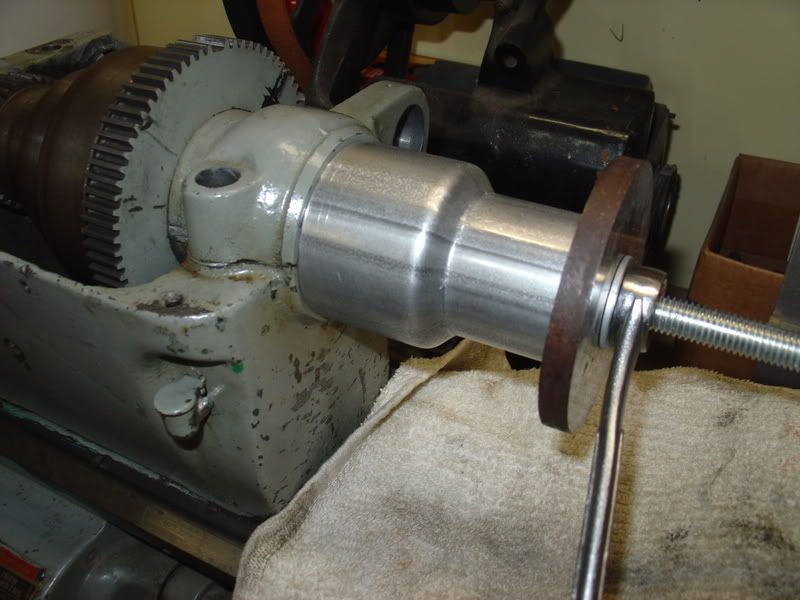
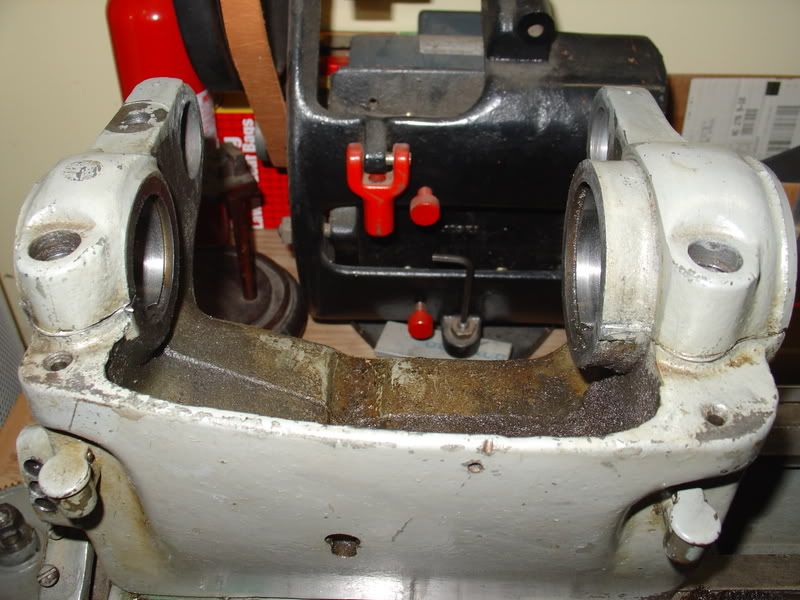
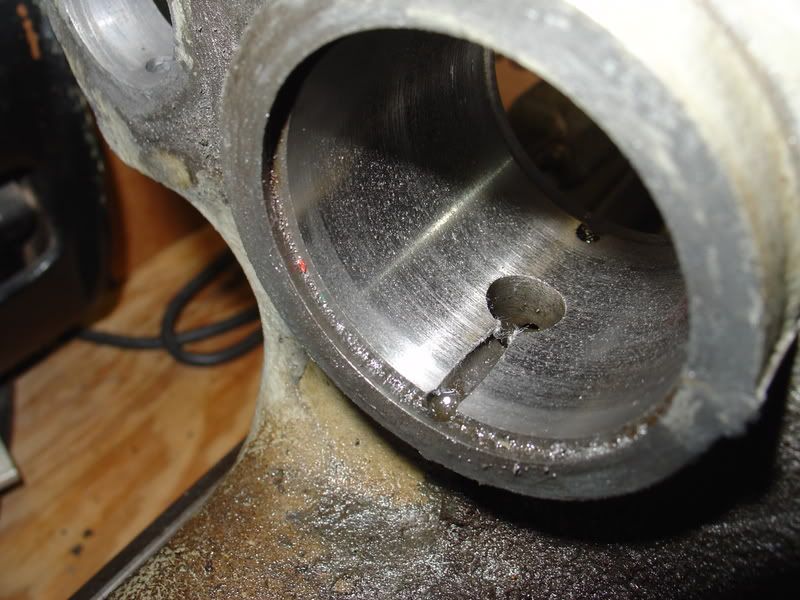
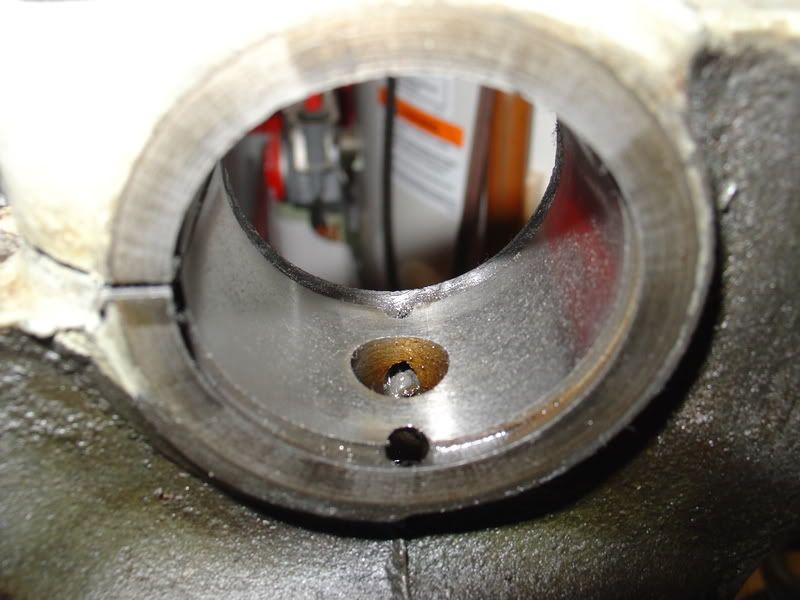
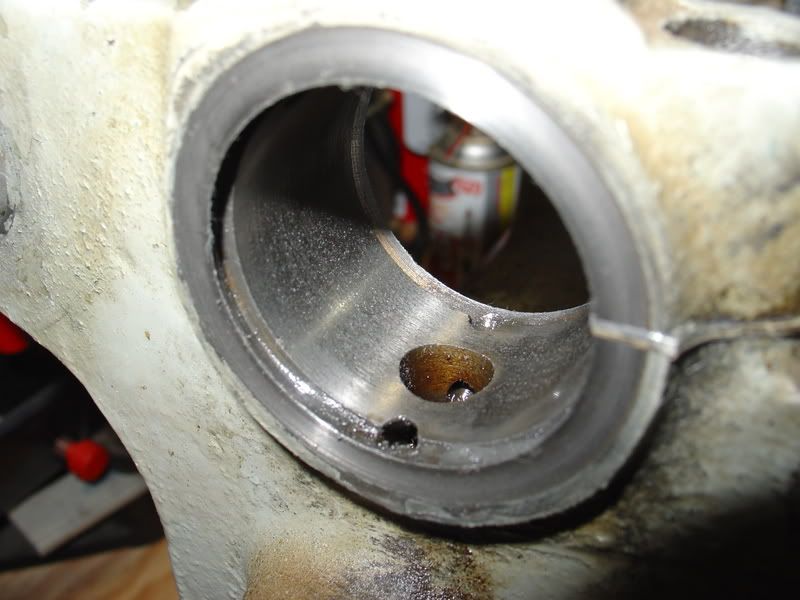
Here are some "before" pictures. I will continue to add additional pictures to this thread as I go along but wanted to get this post started while I had some extra time over the holidays.
Please let me say "Thank you" to those members of this wonderful forum who have already helped me out. I am sure I will have additional questions as I go and I hope I can begin to answer questions asked by others.
Sincerely, John.
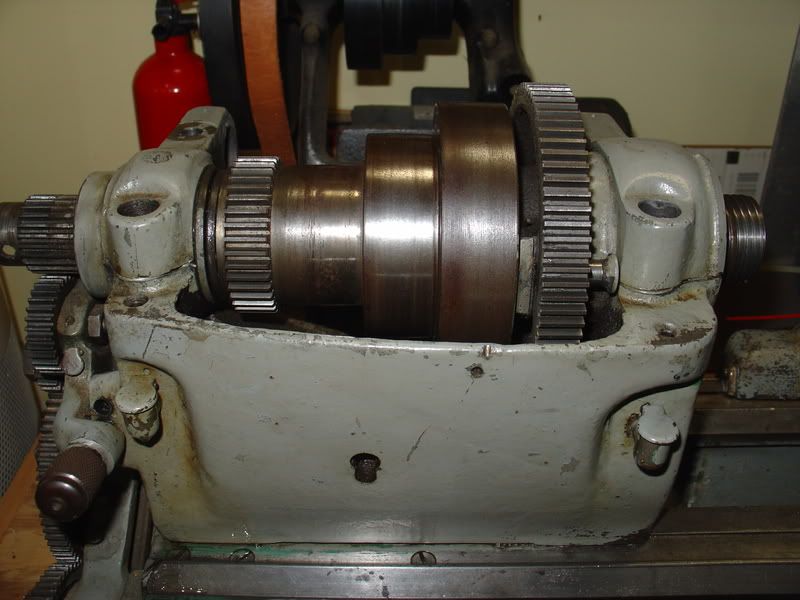
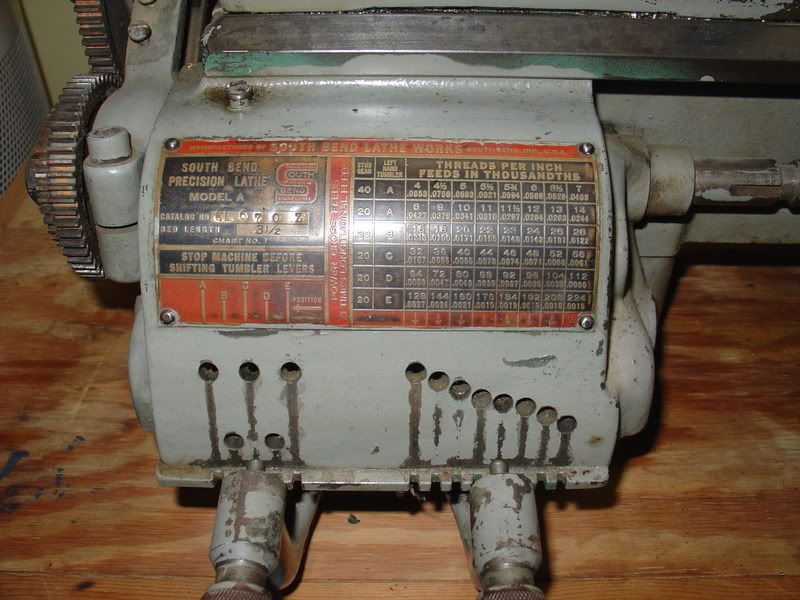
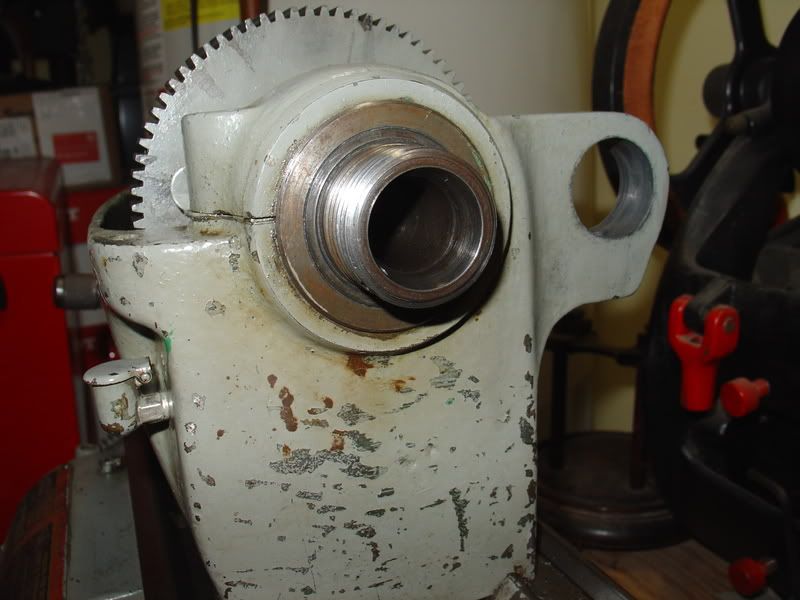
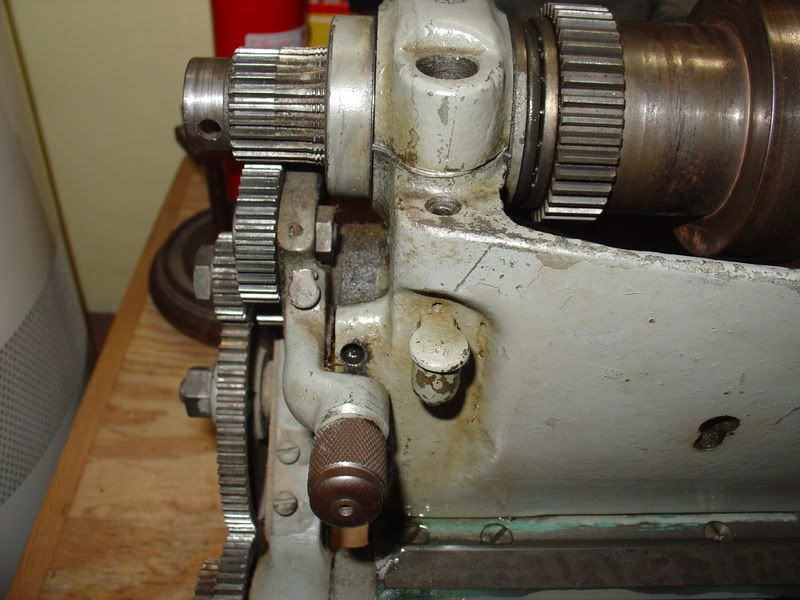
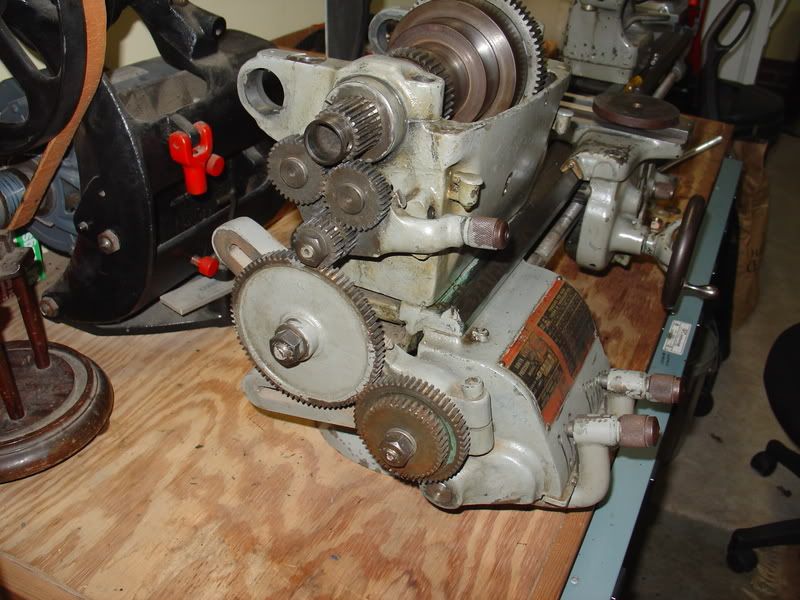
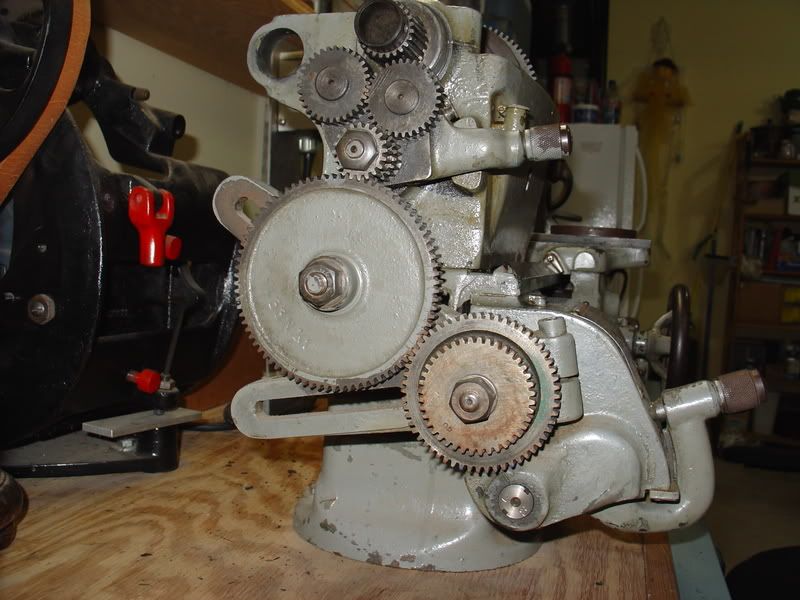
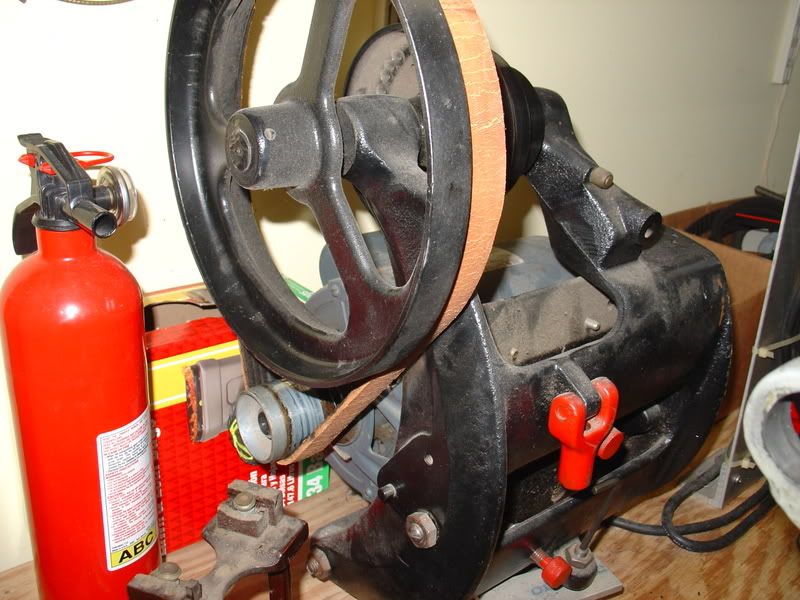
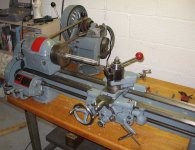
I am restoring a South Bend 10k lathe that my father received from somebody about 35 years ago. Dad used it only for wood and I wound up with it 25 years ago when we had to "clean out" the house I grew up in.
I have used it for wood and metal over the years, mainly for repairing things, cleaning round things, making bushings, etc. After receiving a 1967 Index Model 756 knee mill this past spring and restoring it, I felt the need to restore the "old South Bend". I love to do this type of work and find it very satisfying when finished with every step in the process. The restoration includes 100% dissassembly, thorough cleaning, inspection, replacement of worn or damaged parts and paint. Even a few upgrades like the serpintene belt and large dials.
Here are some "before" pictures. I will continue to add additional pictures to this thread as I go along but wanted to get this post started while I had some extra time over the holidays.
Please let me say "Thank you" to those members of this wonderful forum who have already helped me out. I am sure I will have additional questions as I go and I hope I can begin to answer questions asked by others.
Sincerely, John.


 Some day...