What's new
What's new

Restoring ways/bed on SB13? & Belt replacements

Sugarkryptonite

Plastic
Joined
Jan 14, 2021
Hi guys,

I noticed in Brad Jacob's restoration thread of SB13, he managed to get the ways looking brand new again...not sure how he did it. Don't think he had the machine ground, but I could be wrong, didn't read every post in his thread. Anyone have any tips for restoring mine? Mine is in good shape but very dirty and oil stained.

What's the best way to clean them without damaging the finish?

IMG_4179.jpg


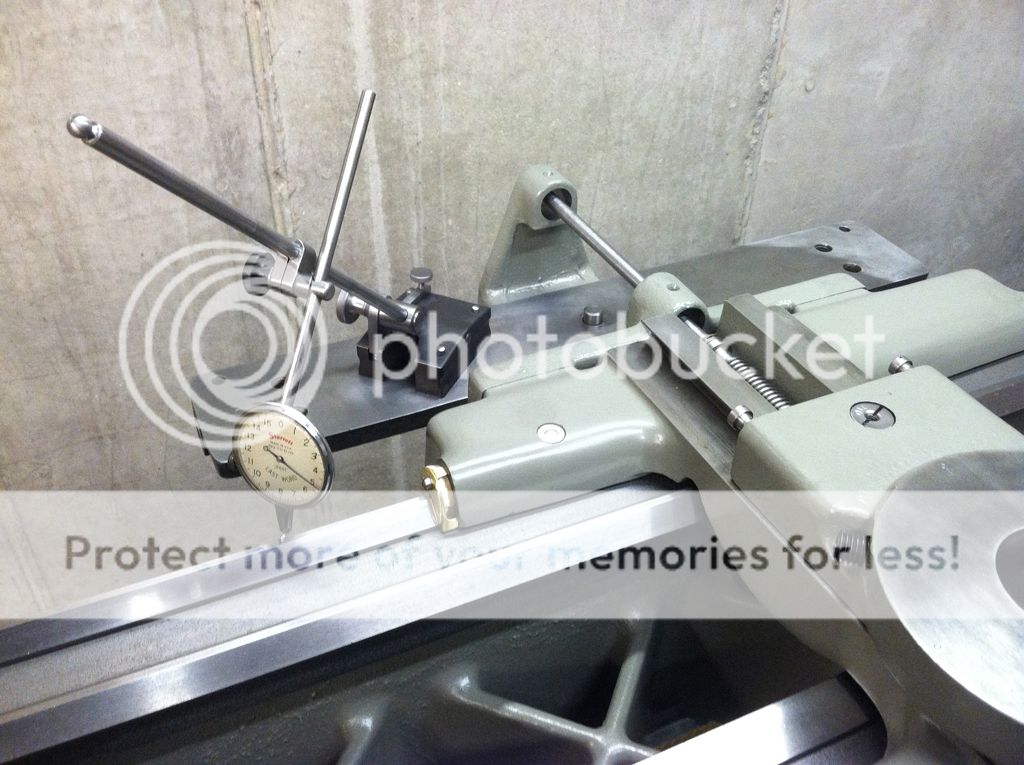
And here's mine (in the process of being restored):

9GUTavH.jpg


On another side note, I've been avoiding cutting the belt off to save it, but I would like to be able to clean and paint all the lower parts of the machine. Getting belts around here might be difficult. I read that some people have used a 10-14 rib serpentine belt, glued together with Loctite plastic bonder? Anyone have more info on this? Which belt to buy, etc?
 
It looks like he had his bed reground.

There is a thread around here about the serpentine belts and how you prep and glue them up. Do a quick title search on "serpentine" to read the posts. Someone posted on how to get the correct belt based on the length you need.
 
Hi guys,
Mine is in good shape but very dirty and oil stained. What's the best way to clean them without damaging the finish?

Well, its the finish that you are complaining about, so you either polish it or leave it alone. Most pros on this site will advise against using anything gritty on your ways, but it doesn't get much worse than a complete bed regrind, does it?

Just my opinion, but I don't think there is anything wrong with using Scotchbright or Wet/Dry on the portion of the bed where the saddle doesn't run. I wouldn't use a wire brush wheel at all. I would probably use 1000 grit wet/dry wrapped in a flat stone or perhaps a flat-ground tool blank on the ways where the saddle runs just enough to brighten them up, followed perhaps by some Mother's white polish until you are happy. Of course, thoroughly clean the surfaces with mineral spirits or thinner to remove any and all grit (until a white wiping rag remains white).

It's up to you if you want to remove the headstock, but you'll probably wish you had later. I always keep my ways (and other raw steel) well oiled with Starrett M1 spray or just rub it with spindle oil. Will help to keep it covered too with clear sheet of plastic.
Assuming your shop has no AC, you'll have to stay on top of it to keep the surface rust at bay.

You can do it; just takes some elbow grease. The lathe is old and worn anyway, so you're not really going to "damage" it by a little cleanup, are you? It probably does much more damage just by letting these machines sit there and rust. Or, of course, you could do nothing and continue using it as you have been. There's nothing wrong with having a bit of pride in your machine.

Here is thread about serpentine belt:
Don't delay... do the Serpentine Belt Fix today!

PMc

View attachment 312908 View attachment 312909 View attachment 312910

Thanks. Actually I've never used the machine. I'm doing a "restoration" on it. I will not be taking the headstock casting off, mind you. That's more than I want to do and am just a hobbyist that might use this machine once a month.
 
For the belt I'd recommend these guys:
Baltimore Belting – 766 E 25th St, Baltimore, MD 21218 (410) 338-1230

Call over the phone to give dimensions. You want 3/16" thick, then width and length. For length, raise motor handle so belt is loose, you want it to start to tighten just as you begin lowering. You'll have maybe 3/4" to an inch room for error either direction, so try to make your best judgement, or you will be ordering another if too short, or send it back to get cut if too long.

I think they refer to it as a transmission belt. It has a cut seam with something like staples on either end. You push a pin through to join the two ends.

As an example look at the pics here:
SOUTH BEND,ATLAS,LOGAN DRIVE FLAT BELT 3/16" X 1.75" CUSTOM CUT,LATHE, Mill etc | eBay

Thanks but being in Canada this makes it 2x the price that it shows on their site, even on eBay after the exhcange.

Wendering if anyone has any specific belt part #'s we can use for a 13" SB (all the threads on there were for 9" and 10" I think). Would make it a lot cheaper for me to just go grab a regular serpentine belt at my local auto parts store.

Also had read in those threads a few people were worried that the ribs on the serpentine belts would wear into the pulleys themselves. Any concern on this?
 
I think on some of the smaller lathes you don't have to cut the belt, if using a serpentine. I think depends where the driving step pulley is in relation to headstock. Might just need to lift spindle from headstock and slip it over, something similar for driving pulley.

On a 13", 16" and such you need to cut the belt of a serpentine to get through both sides of head stock. I don't think I'd be in love with gluing the seam. Besides belt tension, it would have to handle the torque. I can't say impossible, but I've not read up on it enough to know. Just knowing the operation a bit, It seems likely glue won't hold up.

Canada has industrial belting companies, might check for prices. Just a couple, googling around:
Lightweight Belting Shop | Ontario Belting

Products – Canada West Belting
 
Not An Issue

Also had read in those threads a few people were worried that the ribs on the serpentine belts would wear into the pulleys themselves. Any concern on this?

No, not really. The serpentine belts can leave definite marks on the pulleys, but
are easily sanded away. The pulleys on my '58 9" were slightly marked by
a serpentine too, but that was a little issue.

PMc

View attachment 313186 View attachment 313187
 
No, not really. The serpentine belts can leave definite marks on the pulleys, but are easily sanded away. The pulleys on my '58 9" were slightly marked by
a serpentine too, but that was a little issue.

Looks like those marks are where the rust was worn off!

I remember hearing about someone was actually going to machine in the proper grooves for a serp belt. Don't know if he ever did or not. I don't think that these pulleys have enough meat to put in grooves like that - it also defeats the purpose of a flat belt being able to slip off under excessive loading.
 
Polishing Tips

Nice job on those. How did you polish them so nicely? Methods used?

Thank you for the kind words. Most will agree that the pulley cones are over-polished. Once the lathe starts getting used, the bright will disappear in no time. It would actually make more sense just to leave them satin for better grip.

The only real reason why all of this stuff is so finely polished is that I have a second SB lathe to use for spinning parts. Otherwise you have to hand sand and then take them to a buffing wheel (which I hate by the way). You can use a drill press in a pinch too if the part will fit.

Back to the pulley cones, you can do these while in your machine by just alternating the belt. But be warned, this is a really messy job as that black shit will sling everywhere! Keep the rpms as low as you can, and put plastic on the wall and anywhere you don't want liquid swarf to end up. And wear your worst clothes!
But generally, I start with 600 grit wet/dry wetted with WD40 or water. Wipe that grit off, then use 800, wipe then use 1,000, and even 1500 if you like. By the time you get to 2000 (if you do), you're pretty much polishing anyway. 2000 doesn't last worth a damn. Final polish is Mother's "Aluminum / Magnesium" white polish (on a cloth) which makes it very bright. I've found that cast iron will polish bright just like any other metal (I used to think that most people were actually having these pieces chrome plated!).

You've also got to be really careful spinning these pieces on a lathe as not all shapes are easy to work with. It's always better to use a tongue depressor or popsicle stick to back up the sandpaper as getting caught by a handle can be a life changing injury for sure. :nono:

The little handles on hand wheels will easily come off by grabbing in a vise and hitting the wheel with a rubber mallet. The handles on the graduated feeds will NOT come off (at least for me), and pose a hazard. Actually, the worst one is that little 45-degree quill lock on the tailstock...that one is a definite "GOTCHA". I ended up screwing it into a spare piece of 1" round for a handle, and taking it over to the buffing wheel.
I also found it easier to paint a piece first, then cleanup with sandpaper (like hand wheels).

It just takes a bit of time, which these days, I have plenty of unfortunately. Of course, none of this is really any good unless you keep these bright pieces maintained with a coat of oil as best you can. One PM member mentioned that I should do some DIY nickel plating on the small parts. Seems easy enough to do.
If you have a small part that needs polishing, send it my way and I'll take care of it for you.

Here are some before and after photos. (and next post too)

PMc

View attachment 313206View attachment 313207View attachment 313208View attachment 313209View attachment 313210

Thanks! I will probably do something similar with the cone pulleys (although not to that extent), as I have a second SB13 that is functional and a daily driver. Thanks for sharing your method. You can check out my build here if you're interested: https://www.hobby-machinist.com/threads/south-bend-13-mechanical-restoration.90105/page-200


Back
Top