What's new
What's new

The return of the Nichols Mill

-Sometimes that works, sometimes it doesn't.

Over all the machines I've rebuilt and all the tags I've removed, my main conclusion is there's no one trick that always works. :D

Occasionally you can tap the head with a sharp cold chisel, and the rivet will rise up enough to get a good grip with a pliers. Other times, I've had to use a sharp wood chisel, and come up under the plate itself to start prying. Some have been big enough I could grind a slot in them (most aren't) but even then, half the time all that does is crack half the head off when you go to twist it.

On one machine, I drilled some holes in the end of scrap strap steel, laid the hole over the head of the rivet and gave it a very quick spotweld with the MIG. That usually only works with brass and steel or stainless tags- I've blown holes in aluminum ones.

I even have a pair of end cutters I belt-sanded the jaws to nearly razor sharp. That's handy for a lot of rivets, but there's plenty where the head is too hard, or too deeply embedded in the tag to get a grip on.

In a couple cases, like my big lathe QCGB, the holes go all the way through, so once I disassembled the box, it was easy to take a thin punch and pop 'em out from the backside.

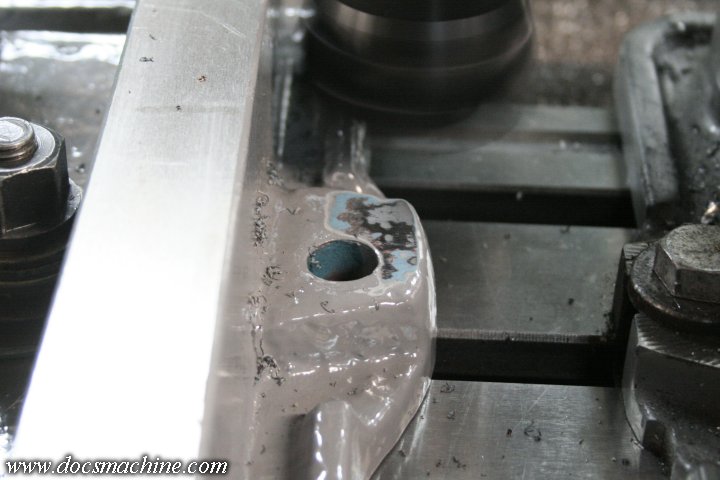
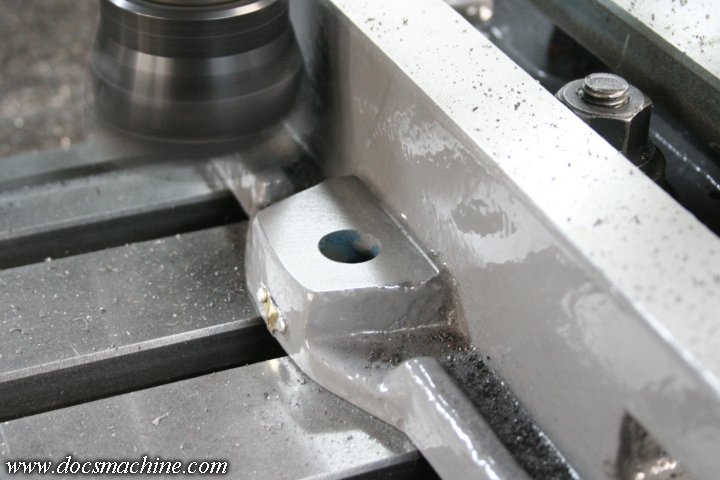
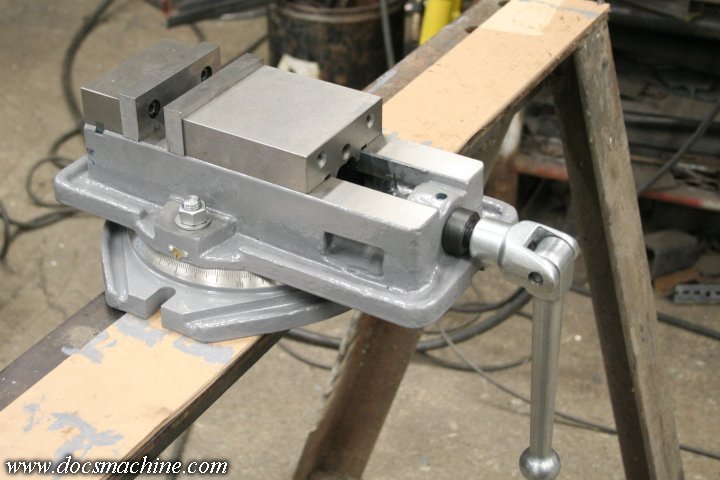
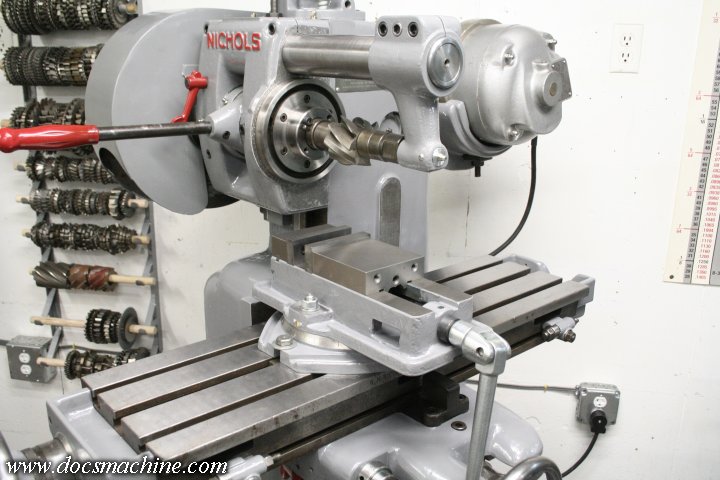
On this Nichols, though, every single trick I tried, failed. Those rivets were NOT coming out, at least not without badly damaging the tag. I was eventually forced to carefully grind the heads off, grind the stubs smooth, and then raise the tag up a little and redrill the holes.

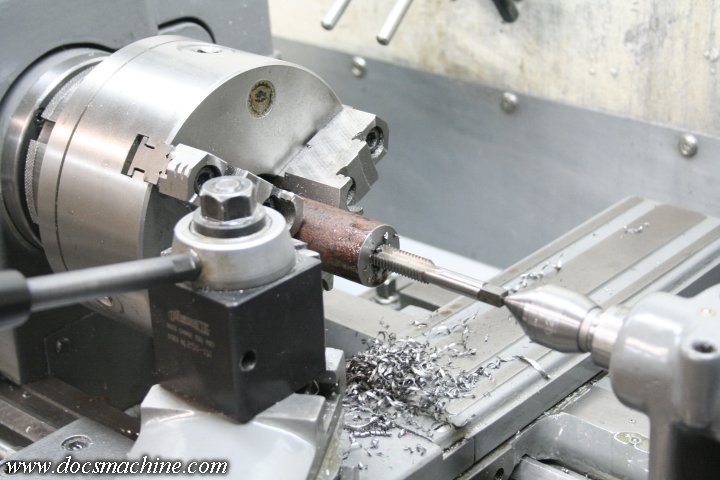
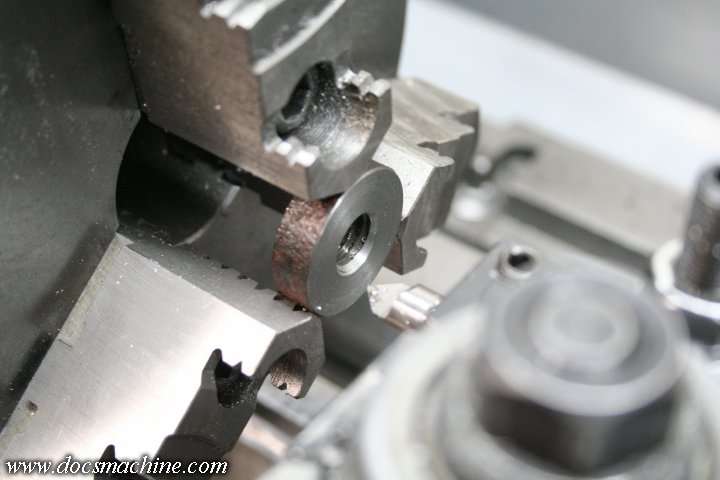
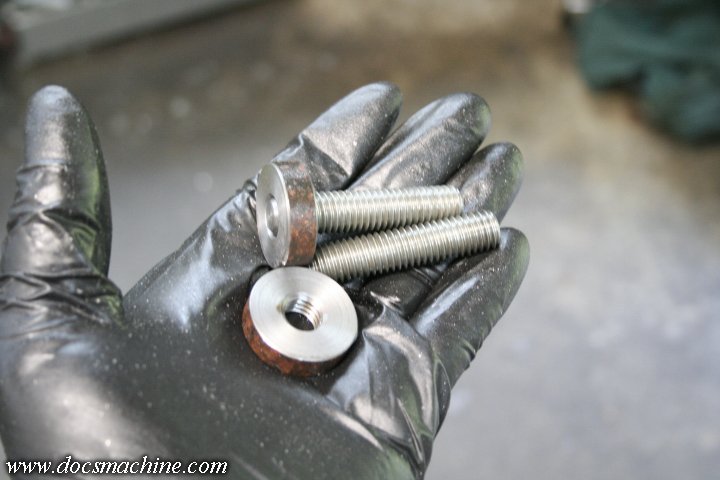
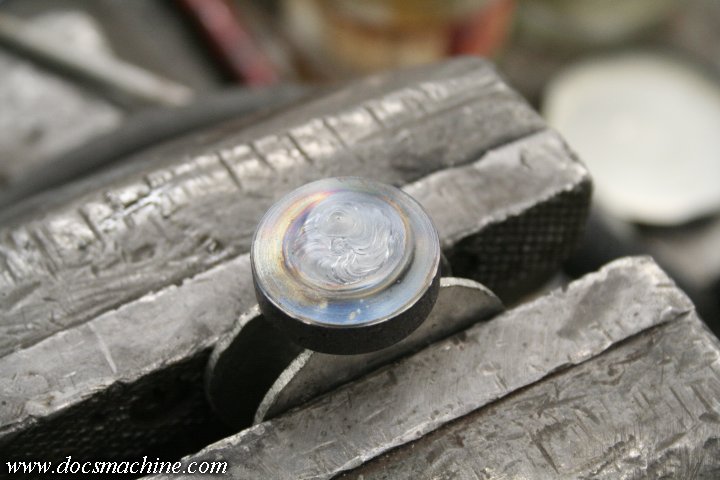
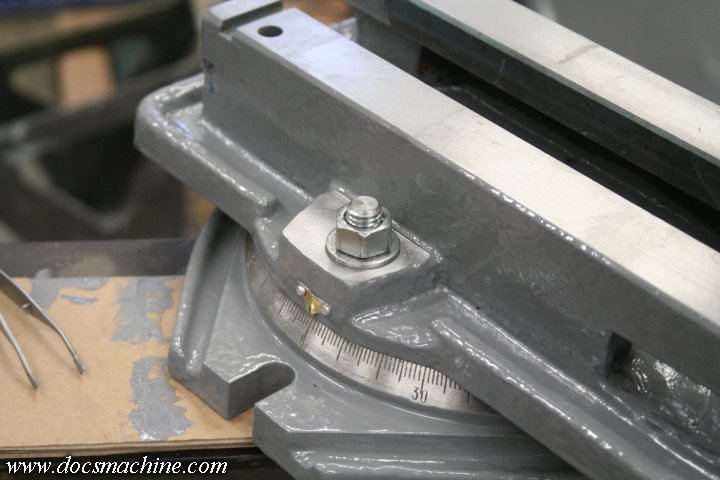
(I reattach the plates with tiny stainless buttonhead allen screws, occasionally as small as 2-56, but usually 4-40, or sometimes 6-32.)

Doc.
As I said, sometimes.

Sent from my SM-G950U using Tapatalk
 
I couldn't find suitable replacement bolts for the swivel base, at least not easily, so I had to make some. A chunk of rusty ol' mystery metal out of the junkbins was good to start, and that got drilled and tapped to 1/2"-13, maybe an inch deep.

nicholsvise-08.jpg


Parted off, screwed to a chunk of 1/2" allthread, and faced...

nicholsvise-09.jpg


Then removed and one side of the hole got deeply beveled.

nicholsvise-10.jpg


Two chunks were cut off the allthread, faced to length and chamfered, adding up to just a smidge (that's a technical term) longer than the original bolts.

nicholsvise-11.jpg


Mating up the chamfered ends, those got TIG welded together good and hot.

nicholsvise-12.jpg


And while those were cooling, I used a razor blade and a little solvent to remove the runs and drips from the machined faces of the castings, getting them cleaned up and ready for reassembly.

nicholsvise-13.jpg


Once the bolts were cool enough to handle, they went back in the chuck for a little truing up, as neither one was quite square and true after welding.

nicholsvise-14.jpg


I thought it'd be neat to use the Nichols itself to mill the flats, but I had parts of the vertical had scattered all over it. So I got out the 5C square block and a 1/2" collet, and milled the flats on the main mill.

nicholsvise-15.jpg


A little deburring and voila`! Two T-slot bolts nearly identical to the originals, except in 1/2" coarse, and with slightly larger and thicker heads.

nicholsvise-16.jpg


Back to the castings, as I was painting, I noticed that the "steps" where the hold-down bolts go were not exactly level or true, so I slapped that, too, on the mill, and buzzed those ears down a skosh (sorry about all the technical terminology) 'til they were, in fact, flat (ish.)

nicholsvise-17.jpg


nicholsvise-18.jpg


Put the new bolts in the base...

nicholsvise-19.jpg


And take a couple of 3/8" washers and bore them out to 1/2", to get a set of non-oversized ones...

nicholsvise-20.jpg


And bolt 'er all together. At the moment, I don't believe the 0-degree mark in the least, but if nothing else, it's at least a starting point.

nicholsvise-21.jpg


And there you have it. Fresh paint, fresh grease and a little lube makes a great bit of lipstick for this particular pig. :D

nicholsvise-22.jpg


Clear off the vertical head parts, throw a fun cutter in the spindle just for show, and bolt 'er down!

nicholsvise-23.jpg


I haven't trammed it yet, and have no idea how close the actual zero-degree mark is, but I doubt I'd be using it anyway. A dial indicator can get parallel pretty easily, and just clamping the vise to an empty arbor can get 90 degrees nice and quickly.

Again, at some point I'll likely replace this with a better-quality vise, but this gets something on the machine, today, and for almost no cost.

Doc.
 
Most of those cheezy screwed on index mark plates have some adjustment room, so you can get it true, and move the index mark to show zero correctly.

Agree on an actual measured setting for most any accurate work, but for angles off zero it can be OK for many things to just get it as close as the scale shows it, if the scale is reasonably accurate and zeros OK.
 
In this case, the index mark on the vise base is riveted on, it's not adjustable.

I could, of course, make it adjustable, but there's little point. I wouldn't trust it for a proper tram, as just the parallax of the hash marks could be quite a few arc-seconds, so they're really only useful for coarse numbers, whether or not the zero mark is on the dot.

In the next day or two, I plan to tram it a bit, see if I can line it up with the degree marks spot-on for zero and use just the base bolts for adjustment. That should get 'em at least pretty close, but for a proper tram I'll use an indicator, of course.

Doc.
 
Doc,
Thank you for the good read. Much appreciated.
As I am reading through I did not see (may have missed it) spindle bearing part numbers or if you made notes on it?
Thank you
 
I made notes, but didn't post it. I figured if anyone was rebuilding their Nichols, they could get the numbers off their own parts.

But for those interested, the Nichols spindle, at least this standard-speed version I have, uses two Timken bearings, the roller cone is L305649 and the race is L305610 for both. There are no seals.

Hope that helps!

Doc.
 
So.... I spy a Springfield in use. Yet no mention of moglice in the other thread? Did you have to put it together to put it to work, or just a little behind on the updates?

Edit: Err, no, that's too small. So, nvm.
 
Hijacking your thread Doc- on a whim I dusted off my 10yr old almost done overarm brace, bored it for the running bushing


small-IMG_20200818_114601.jpg


Its a little bulky and the center distance is a couple thou too large so the bushing bored a little egg shaped. OTOH being aluminum its not heavy. The oil hole leads to an annular ring cut into the aluminum around the middle of the bushing, a hole in the bottom of the bushing brings oil out into a couple oil grooves cut into its ID. The running bushing has no perceptible motion side to side, a bit of wiggle up and down. Arbor spins freely and doesn't bind when the brace is moved close to the head.

NMTB40 arbor is 1", length 11 1/2" exclusive of the taper and drive flange, made by Cinci and mercifully straight though somebody spun a couple cutters on it. As shown the far end of the overarm is about 1" inside the head, I'd move the brace and overarm a bit closer in when setting it up for work.

Now I have to find a job for it... :)
 
Last edited:
Hey Doc, used the 3/4" nmtb collet the other day- for a drill chuck w/ straight arbor. A big improvement in gage length, I was using the Nichols as a drill press. The collet wanted a slightly shorter drawbar, so I put some washers on mine to move the end out a bit... I sure wouldn't mind finding a few other sizes, will have to keep looking for some.
 
The manufaturer of these is/was a Canadian firm, that seems to have little or no online presence, and I can find few or no references to the collets themselves.

In another thread, someone noted that... Schaublin, I think it was, made a similar collet, but they, too, were rare- and fabulously expensive if you could find them.

I don't really need to drill with this setup, but the collets are indeed handy for holding endmills on certain close-quarters cuts. I'm hoping they'll be even more useful in the vertical head.

Doc.
 
lol, yeah the Nichols is not quite an optimal drill press. The Bpt has a job in a 4-jaw chuck on a rotary table; took forever to dial all that in, didn't want to disturb it just to punch holes thru some aluminum plate. The amount of Z on the Nichols suprises me occasionally, seems proportionally more than the Bridgeport. I looked up those Shaublin collets... pricey and metric, which is fine but not what I'm looking for.


Back
Top