What's new
What's new

'49 Heavy 10 Rebuild

Found instructions on how to convert a computer power supply to a lab power supply: How to Convert a Computer ATX Power Supply to a Lab Power Supply

I wanted to try electrolysis and had a couple laying around so I made one. There's a lot of wires but all in all it was pretty easy.
20121207_195415.jpg


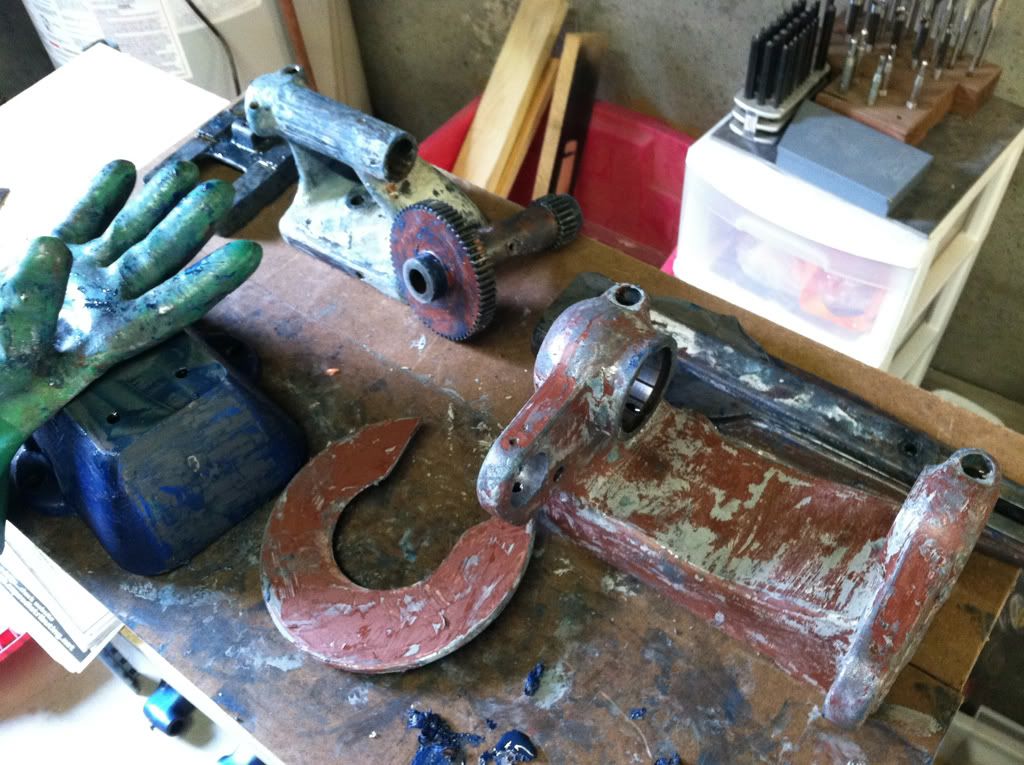
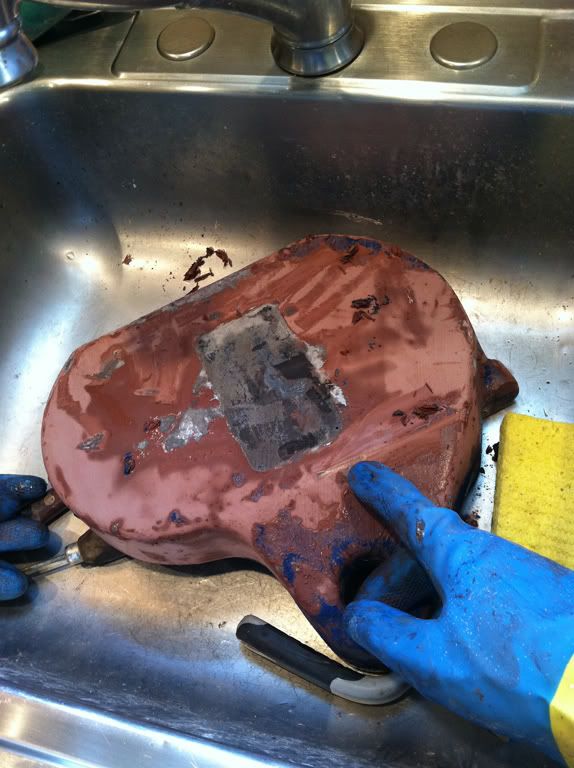
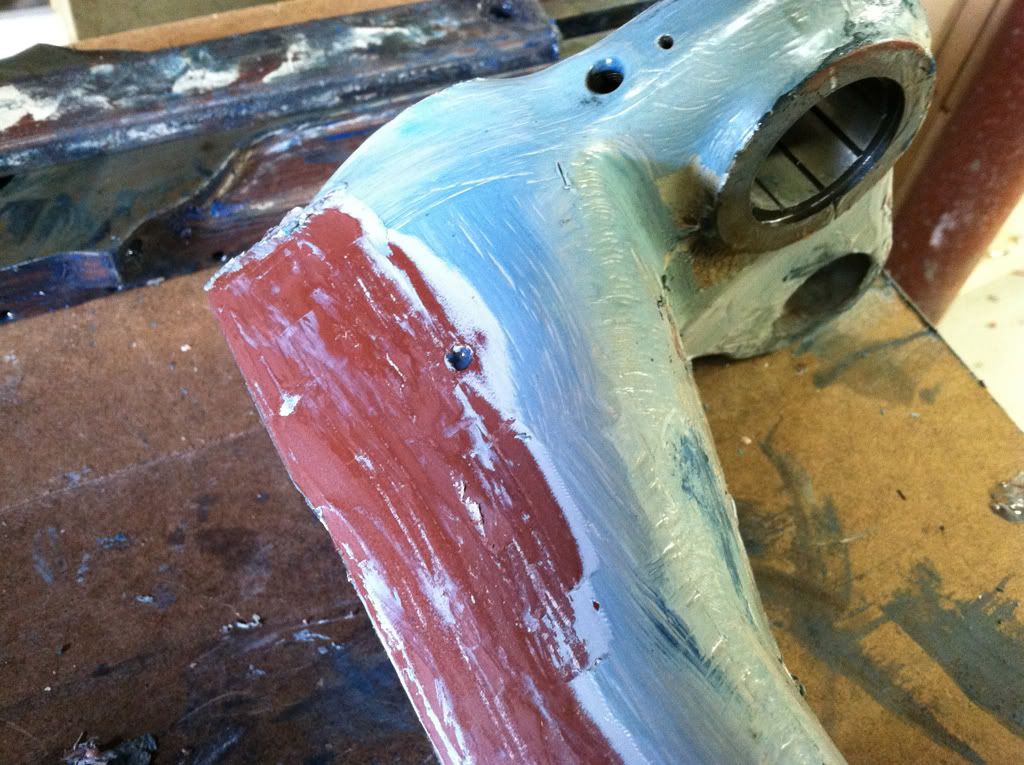
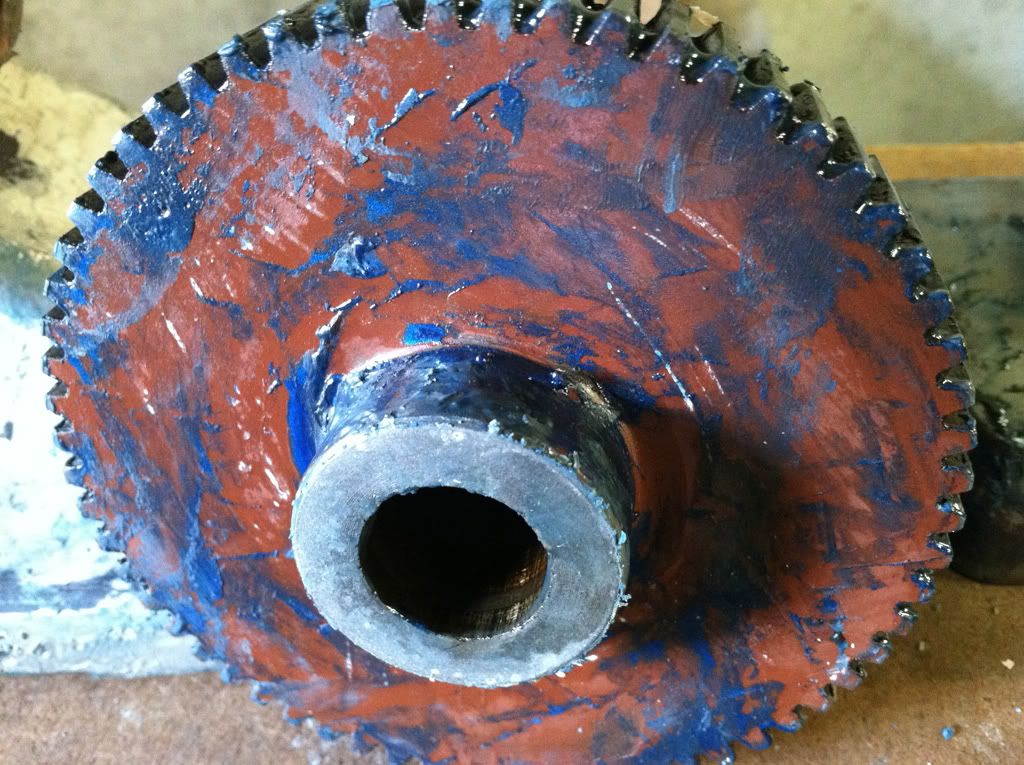
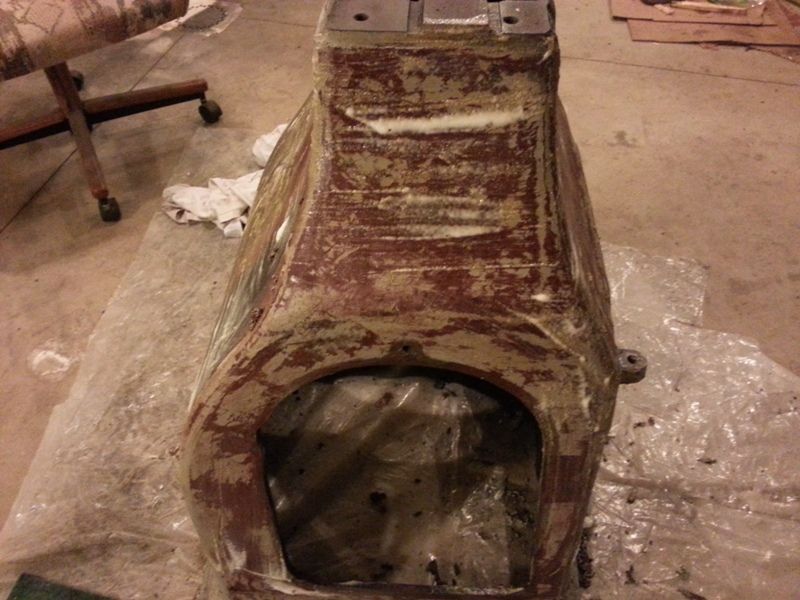
I will get some after pics. I purchased graphite rod as others have mentioned. I have only done it on the cabinet doors and sides so far but it does get the paint off. You do need to brush it quick once and then it does the rest. Its not perfect but it, and I could definitely improve upon my method by using more graphite as I only have 1 right now, but it sure beats doing everything by hand. I put it in the tank and come back a day later. Allows me to get other stuff done.
 
Tonight I tried the Peel Away after reading the thread that is floating around right now. I have only used Airplane Paint Remover before. That stuff works awesome but is deadly as all hell. I put it on my cabinet and bed. Its about 4 hour later and I can already see things bubbling up. I will get back to it tomorrow. I like its whip cream consitency.

After removing the motor I found this
20121208_215944.jpg

20121208_215957.jpg


Was wondering what you guys recommend. I know this motor works, I heard it run. Should I just wipe it down or try to get inside? It looks pretty bad in there. You can kind of tell around the openings. I don't want to dislodge an old wires as this looks to be original...maybe I should just leave it as it is.
 
Was wondering what you guys recommend. I know this motor works, I heard it run. Should I just wipe it down or try to get inside? It looks pretty bad in there. You can kind of tell around the openings. I don't want to dislodge an old wires as this looks to be original...maybe I should just leave it as it is.

Well, these electric motors are not all that complicated. If the motor runs nice and quiet, then you are probably alright. If you want to clean the gunk out of it, then you might as well take it apart. It's pretty easy. There are two end caps, and typically they are a very light press fit over the bearings. There are only 4 screws holding the end caps together. Take those out, and use a piece of wood to punch the end caps out, or even use a bearings puller if you have too. Once the end caps come out, the rotor just slides out. The bearings are mounted on the rotor with a very tight fit. You can either re-grease them, or replace them if necessary. New bearings on ebay are typically $5-$8. As far as cleaning goes, use a soft nylon brush to get the dirt out. DO NOT use any solvents on the windings, as that might damage the insulation, and once the winding short, it is a done deal. You can also clean out the contacts of the centrifugal switch with some 600 grit sand paper. The switch contacts will have some oxidation, so it's a good idea to clean them up.

Here is a nice thread on restoring an old motor, if you are interested in more details.

WoodNet Forums: Restoring an Old Electrical Motor

Good luck.
 
With the PeelAway, use a brass or steel brush to break the paint down away from the surface, then just wipe it off with paper towels. Pretty easy stuff to work with.

Cheers.
 
Thanks for the tips. I tried scraping a little tonight after soaking in Peel Away for 24 hours and it didn't work too well. I put some more on and will try the brass brush tomorrow. I forgot about the bearings in the motor which I will probably replace once I'm in there. I'm getting a red color under everything that won't come off even after electrolysis. I'm assuming this is old primer.
 
I've worked on 2 lathes so far, and there was no primer on them. Not sure if South Bend used primer when they manufactured the lathes. I imagine they would just put 1 coat of paint on, as that's the most economical thing to do from a production stand point. When I was examining the original paint job on a 1968 9A lathe, it was less then impressive. The only reasonable conclusion was that the lathe was painted with many parts already assembled, so many areas that should not have had paint on them, did. Even the rack gear on the lathe bed had paint on it. Kind of weird.

Some people have mentioned finding some kind of body filler material under the paint, which would not come off either, so maybe that's what it is.

If it is the filler, and it's not coming off, then maybe just leave it there. Smooth it out with some sand paper, and paint over it again. Post some pictures of it, and maybe someone here will recognize it.

Also, you probably don't need to wait that long with PeelAway. The longest I've waited was maybe 4 hours. It has a 24 hour working time, so it will start to dry after that time.
That's kind of the problem I've run into with Citristrip. It dried fast, and once it's dry, the paint would not come off easy.
 
Here is what I am talking about. The door is after electrolysis. The base has Peel Away on it. Its all over the main parts of the machine. Wondering if it was a repaint. My bed is a darker grey but its in the middle of my bed too.

20121214_211019.jpg

20121214_211010.jpg
 
Does anyone know where I can get some taper pins? Are they special pins from South Bend or can I grab them from McMaster Carr and similar places?
 
That's right. I was looking around for it because I knew I saw it somewhere. I need to reread that thread. Maybe its a '49 thing? Thanks!
 
ANYTHING will come off with Citristrip, anything... I've done 3 lathes, two drill presses and Bridegport. No paint, filler or anything has remained stuck after Citristrip.
 
ANYTHING will come off with Citristrip, anything... I've done 3 lathes, two drill presses and Bridegport. No paint, filler or anything has remained stuck after Citristrip.

Some of that red primer came off of mine, but the majority held up through both citristrip and jasco paint remover. I have some more to do on my bed, but a wire wheel brush on a pneumatic die grinder seems to work as good as anything else. That red primer (whatever it is) is tough stuff IMO.
 
Some of that red primer came off of mine, but the majority held up through both citristrip and jasco paint remover. I have some more to do on my bed, but a wire wheel brush on a pneumatic die grinder seems to work as good as anything else. That red primer (whatever it is) is tough stuff IMO.

I went through the same thing. I first used hot TSP to remove the paint. Some of the castings were a little stubborn. On these pieces, after the "paint" was gone, I hit it with Citristrip (globbed it on) and let it sit over night. The Citristrip turned it to mayonnaise ;)

Yours is a 49' and mine was a 46'. So it looks like SB used this type of filler in the mid-late 40's. Interesting...

IMG_0777.jpg


IMG_0829.jpg


IMG_0761.jpg


IMG_0762.jpg
 
A friend of mine has a steam pressure washer so I took my pedestal and legs over there to get cleaned. Will probably do the same for the pan as well. It worked ok as they were soaking in the peel away for a while so the paint and red stuff was already like mayonnaise as Brad says. It didn't get everything off and created some surface rust quickly. I plan on giving it a once over with a wire wheel on my grinder to knock everything down and touch anything else up by hand. As far as the Peel Away goes I wasn't too impressed and I think I will try something else next time.

I just got my large drive pulley off tonight and it was a real pain. I boogered that one up a little along with some others. Not really sure yet what sizes I need Flash, was just trying to think ahead. My plan is to finish disassembling all of the sub-assemblies and hit the pedestal with some paint on the inside tomorrow. Then work my way up from there by painting the pedestal and getting the motor and mounting bracket back in. That should give me time while painting my way up to the bed to finish tearing down everything else completely so I can come up with a list of any parts I need to get and repairs I need to do.
 
1-3/4" long, #4 taper is what I have. Shoot me your address if U need 1.

One problem I found with chemical removers is that temperature plays a big part in how fast they work. I had to bail on stripping my bed that way. It just wasn't working quick enough @ 60*.
 
Ok, so I have been making progress. Down to one last pin that has been holding me up for days. It holds the nut on that is threaded through the plate with the cone pulley and has the ball on the other end. It started to go about a 1/4" and it hasn't move since. Pretty sure I banged it hard enough now that its deformed in there. I can't bang it back either. Not sure what to do.

I did find some 88504 bearings for the shaft with the cone spindle for around $9 at Fastenal. Hopefully they turn out to be the right ones.

Even though my bed only looks like it has .004" of wear the top of the ways look like someone used them as a table. I got a quote from American Machine and Tool Rebuilding in NJ for $650 to regrind the bed. They said it would take about a week to do and they are only about 1.25 hours away. Might pull the trigger or I might wait. I'm gonna post some pics of the ways. Would like some opinions on what to do (basically I just want you to convince me to spend the money).

Jonesy -

If you do get your bed ground, you'll need to get the saddle done as well, because from SB, they were matched (bed to saddle). This way, you ensure a perfectly matched set. And for $650, that's a great price to restore the accuracy.

One word on this topic: We all buy these machines for great prices, really. We pay a fraction of what they (would have) sold for in today's market. I know, I know, they're "obsolete" from a technology point, but for us hobbyists who like to learn and master the basics and enjoy use these machines for their manual-functionality, these machines are a steal for what we get them for. So in my opinion, if you really love your machine and go through the hard work to restore them AND YOU PLAN ON USING THEM, I think it's a very good idea to invest a little money to really "restore" its accuracy. I buy N.O.S. parts WHENEVER I see them available. With each part, I move closer to the factory-specs and improve its ability to perform... It all adds up to a better machining experience.
 
Last edited:
Does anyone know where I can get some taper pins? Are they special pins from South Bend or can I grab them from McMaster Carr and similar places?

...........Yes McMaster Carr, I buy the pins longer than needed and then mark them and cut to fit. Seem to fit better...............Rick
 
My lathe had that red primer on the cast parts but not on anything else, nothing removed it except a wire wheel. I left most of it on the cast pedestal but wire wheeled it of the bed. whatever it is it is tough stuff! As far as grinding the bed goes, if you think it is that worn, now is the time to do it as once it is all repainted and assembled you probably wont tear it down to do it at a later time.


Back
Top